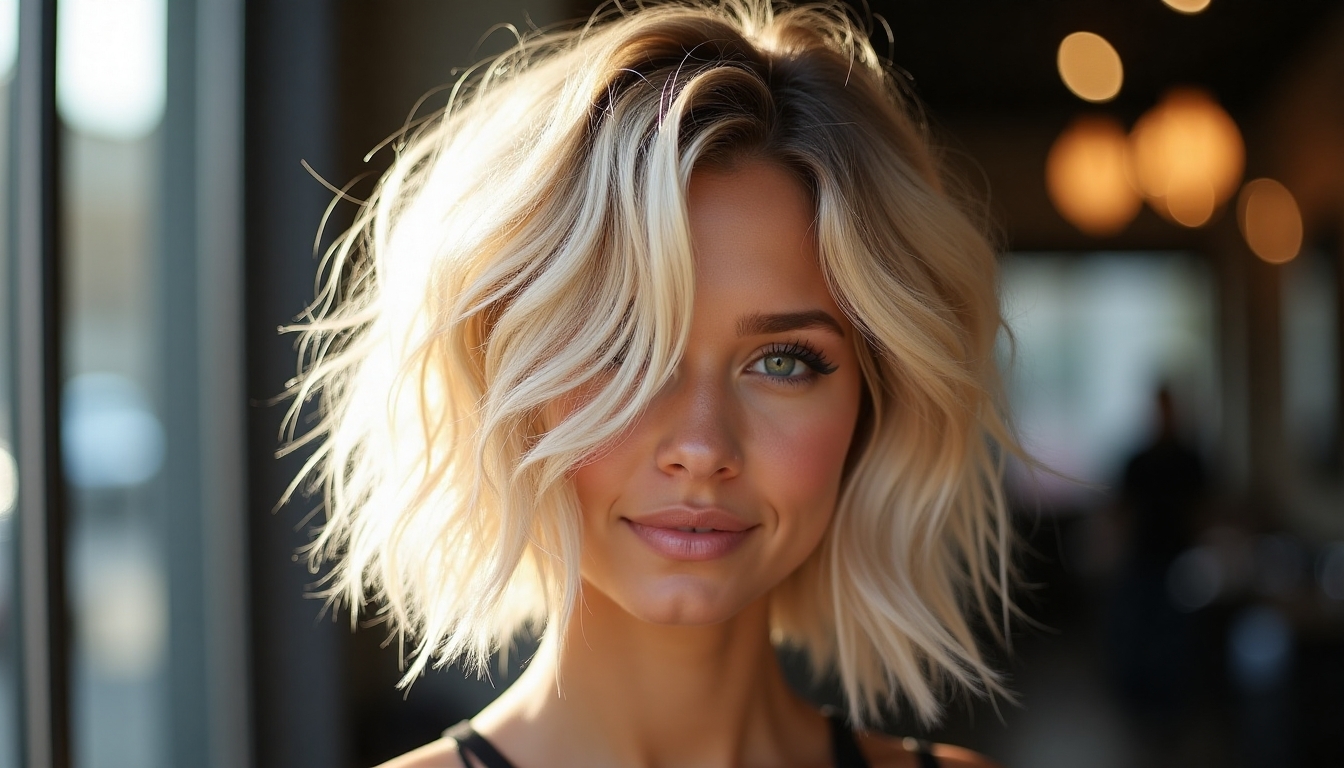
I’ve spent countless hours perfecting formal hairstyles that strike the perfect balance between elegance and drama. After experimenting with everything from intricate braided crowns to sleek architectural buns, I’ve discovered that the most stunning looks aren’t always the most complicated ones.
What truly makes a hairstyle memorable is understanding which dramatic elements work best with your face shape and personal style—and there’s one unexpected detail that transforms any ordinary updo.
The Classic Low Chignon With Modern Twists
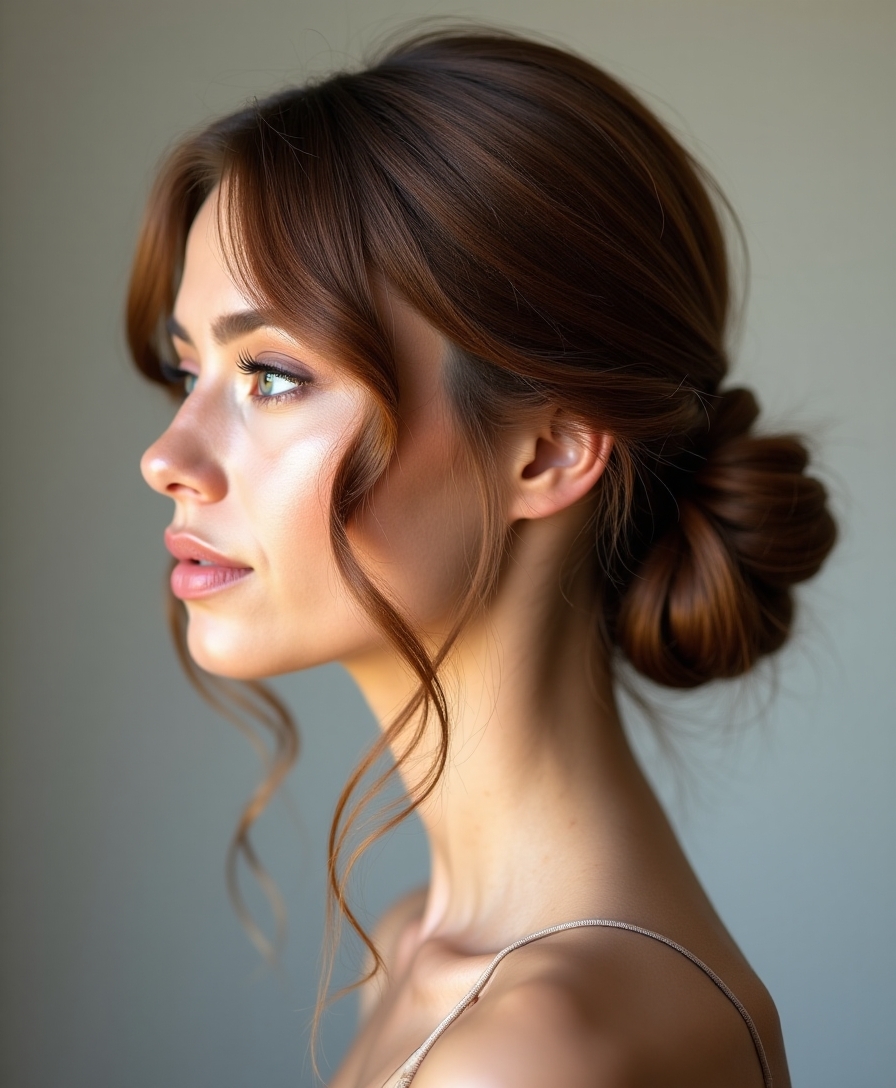
When I discovered the low chignon at my first formal event, I never imagined how this timeless updo would evolve into my go-to style for everything from black-tie galas to job interviews.
I’ve learned that adding textured braids, twisted side sections, or strategic face-framing pieces transforms this classic into something uniquely yours while maintaining sophisticated elegance.
Additionally, incorporating elegant hair accessories can elevate the entire look, making it suitable for any occasion.
Romantic Side-Swept Hollywood Waves
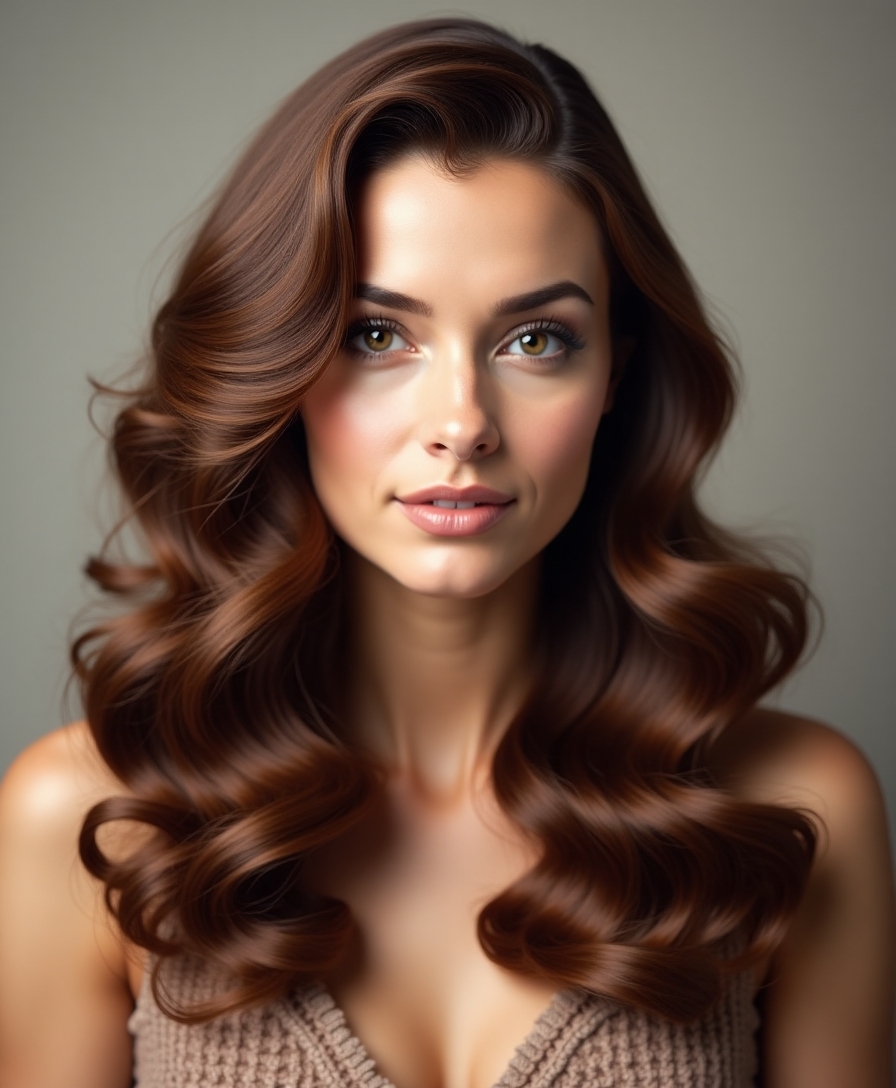
The red carpet glamour of Hollywood waves never fails to make me feel like I’m stepping into a vintage movie scene, especially when swept dramatically to one side. I create these sultry waves using a large barrel curling iron, then brush them out gently with a paddle brush.
The deep side part adds instant sophistication to any formal event. This style works exceptionally well for brides wanting to showcase their gorgeous long locks while exuding elegance and charm.
Elegant Braided Crown With Cascading Curls
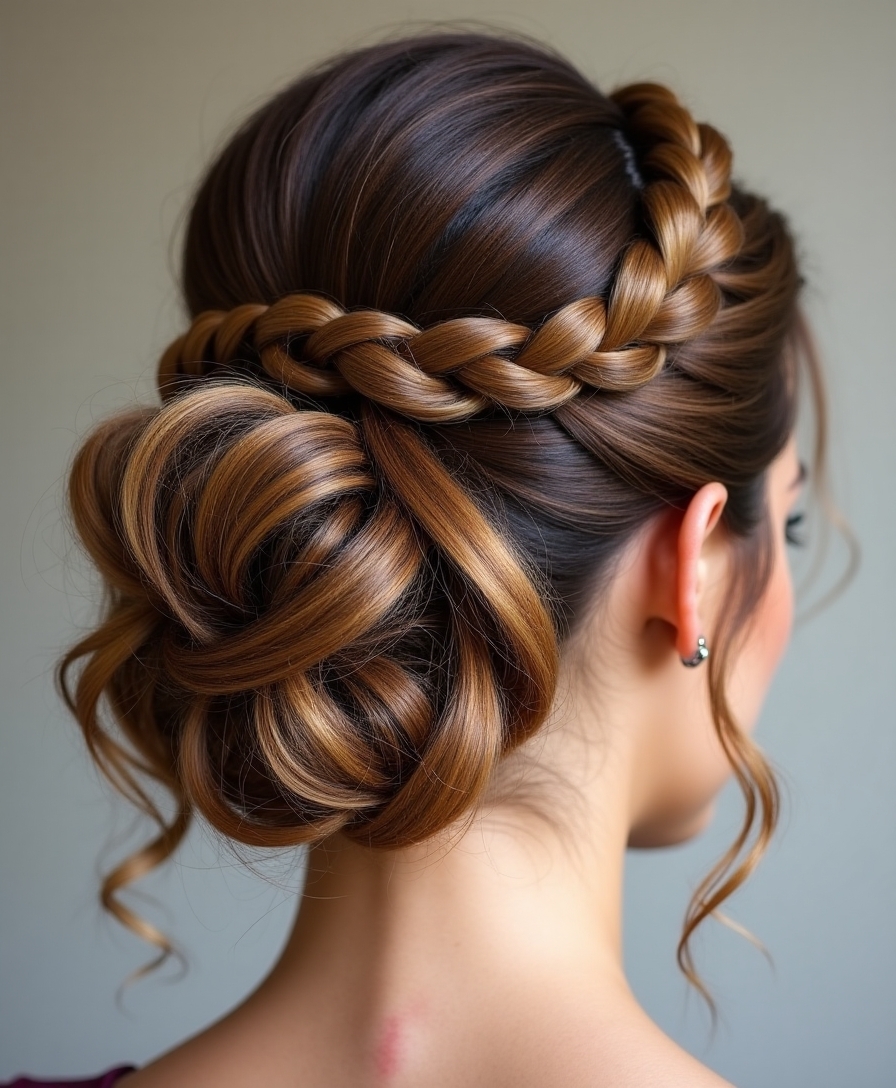
I’ve perfected this braided crown technique after countless formal events, and I can tell you it’s absolutely worth mastering the steps.
The key is creating a secure foundation with your crown braid before you even think about styling those cascading curls. To enhance your look, consider incorporating chic half up half down styles which are perfect for weddings and other formal occasions.
Once you’ve got the braiding down, you’ll need to strategically place your curls so they flow naturally from the crown and frame your face beautifully.
Crown Braiding Technique Steps
Mastering this ethereal crown braid transformed my approach to formal styling completely.
I start by creating a deep side part, then begin Dutch braiding along my hairline from ear to ear. I incorporate small sections while maintaining tension, keeping the braid close to my scalp.
Once I reach the opposite ear, I secure it invisibly with bobby pins.
Curl Styling and Placement
Once my crown braid’s secured, I focus on creating those show-stopping cascading curls that’ll make this style unforgettable.
I wrap two-inch sections around a large barrel curling iron, holding for eight seconds.
Then I gently finger-comb each curl and position them to flow from one side, creating that romantic waterfall effect I’m after.
Sophisticated High Bun With Face-Framing Pieces
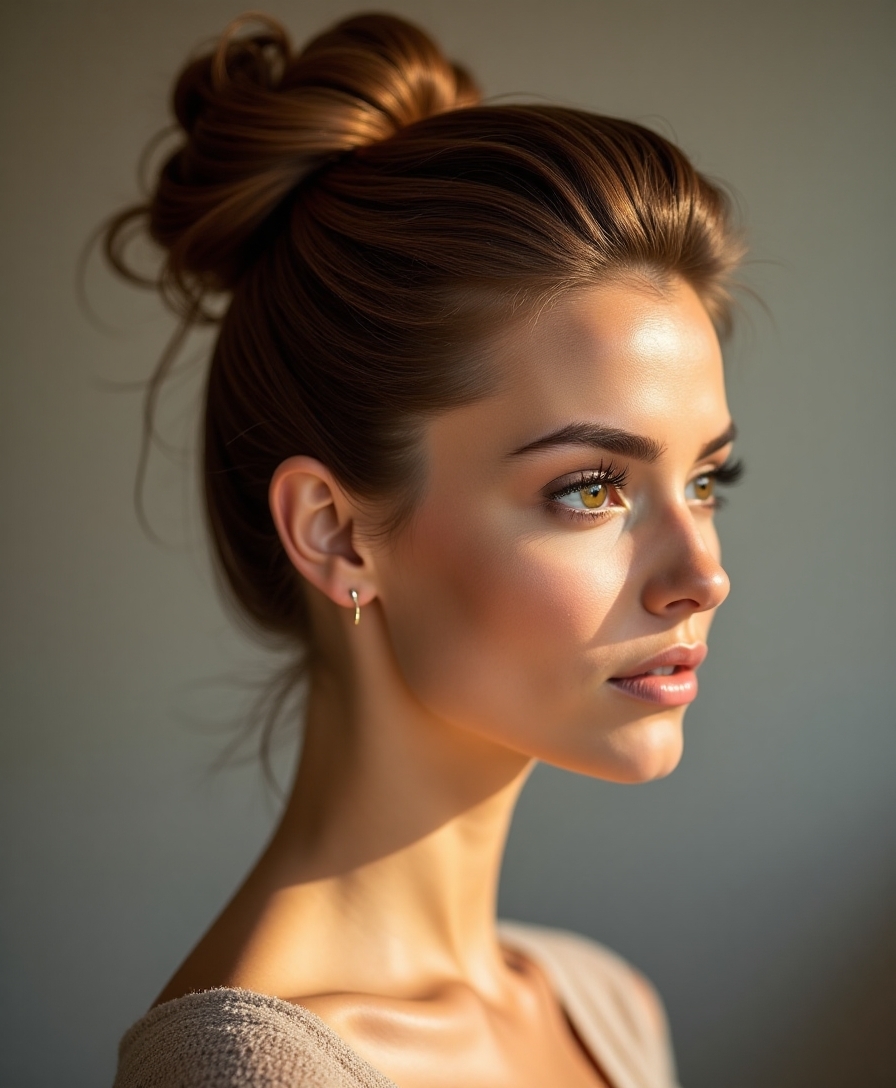
I’ve perfected this sophisticated high bun over countless formal events, and I can tell you that mastering three key elements will transform your look from basic to breathtaking.
You’ll need to focus on creating a rock-solid base structure that won’t budge during your event, strategically placing those face-framing pieces to flatter your features, and finishing with the right securing techniques that keep everything polished.
Trust me, once you nail these fundamentals, you’ll have a go-to formal style that photographs beautifully and feels confident all night long.
Creating the Base Structure
Before diving into the decorative elements, I’ll focus on building a rock-solid foundation that’ll keep your sophisticated high bun looking polished all night long.
- Start with day-old hair for better grip and texture
- Apply volumizing mousse from mid-lengths to ends only
- Brush hair into a high ponytail at your crown’s peak
- Secure with a clear elastic band twice
- Lightly tease the ponytail for added body
Strategic Face-Framing Placement
While your bun’s foundation sets the stage, the face-framing pieces you choose can make or break this elegant style.
I’ve learned that pulling out two thin sections before twisting works best. Don’t overthink it—I grab pieces about pencil-width from each temple.
These soften the severity while maintaining sophistication. Trust me, they’ll naturally curve around your face beautifully.
Securing and Finishing Touches
Once you’ve got those face-framing pieces positioned perfectly, bobby pins become your best friend for locking everything in place.
I’ve learned that quality pins make all the difference in keeping your sophisticated bun secure through hours of dancing and socializing.
- Insert bobby pins with the wavy side down for maximum grip
- Cross pins in an X-pattern for extra hold on thick hair
- Mist with strong-hold hairspray before and after pinning
- Keep extra pins hidden in your purse for touch-ups
- Use pins that match your hair color for seamless blending
Additionally, experimenting with elegant low bun hairstyles can help you discover different styles that suit various occasions.
Dramatic Deep Side Part With Vintage Pin Curls
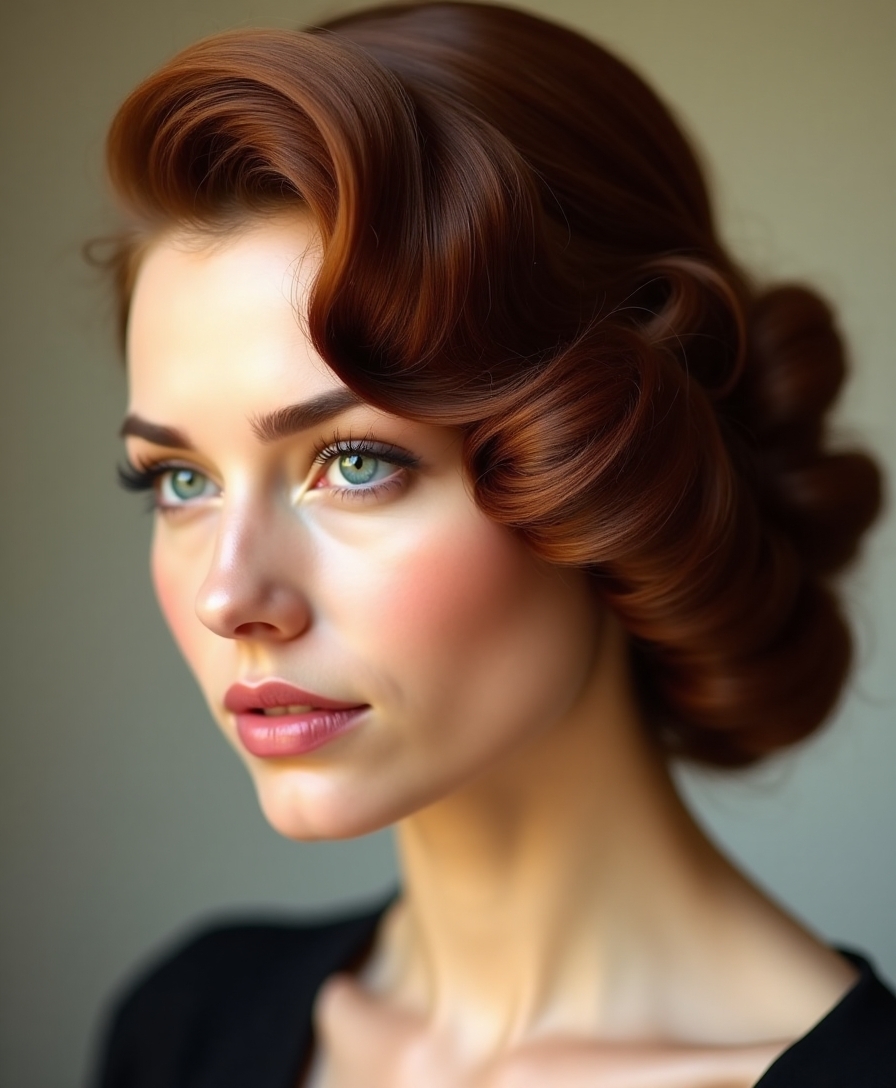
Although modern hairstyles dominate today’s red carpets, I’ve found that nothing captures old Hollywood glamour quite like a dramatic deep side part paired with vintage pin curls.
I create this look by parting hair deeply to one side, then forming tight pin curls around my face and securing them with bobby pins that match my hair color perfectly.
Textured French Twist With Strategic Volume
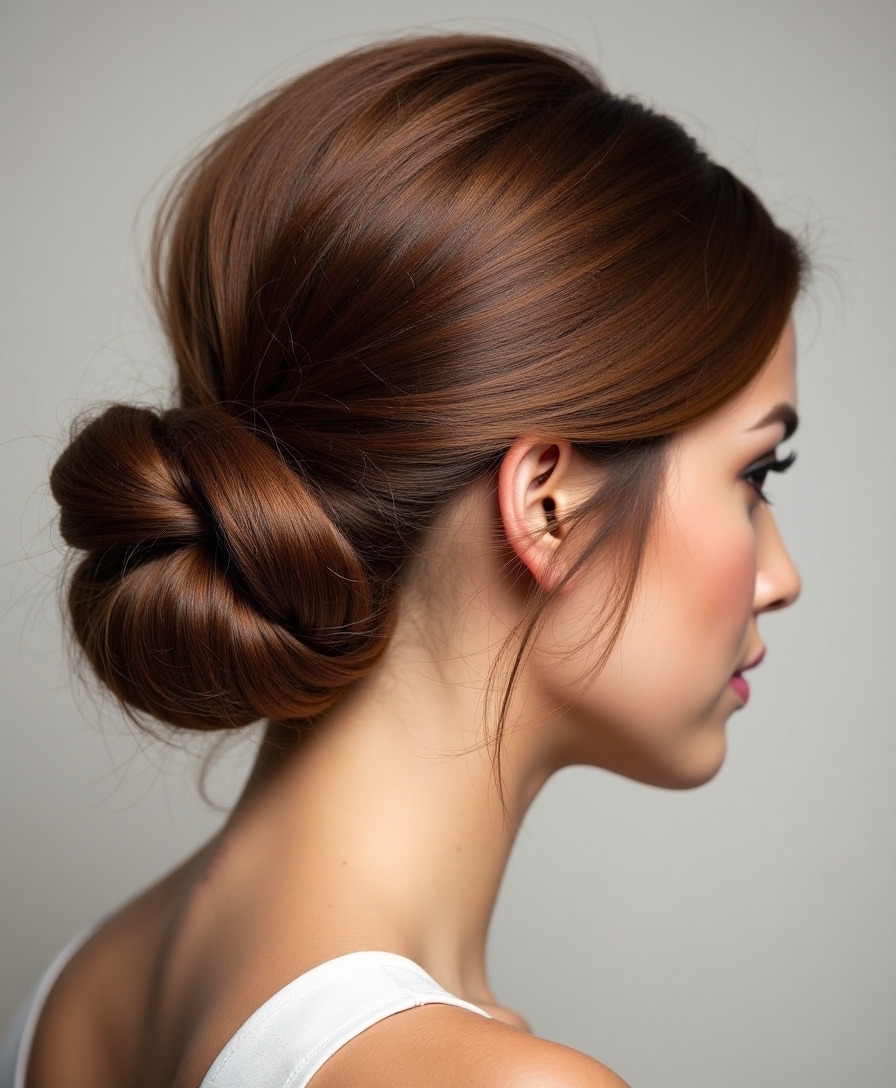
I’ve discovered that the secret to a stunning textured French twist lies in building the right foundation before you even start twisting.
You’ll want to focus on creating that base texture first, then strategically place volume at specific points rather than trying to add it everywhere.
I learned this technique from watching my stylist work her magic, and it’s completely transformed how I approach this classic updo.
Creating Perfect Base Texture
When I’m preparing hair for a textured French twist, I’ve learned that the secret lies in creating the right foundation before you even begin twisting.
Without proper texture, your style will fall flat within hours.
- Apply texturizing spray to damp hair for grip and hold
- Blow-dry with a round brush to create volume at roots
- Use a curling iron on random sections for movement
- Tease gently at the crown for strategic lift
- Finish with light hairspray before styling
Volume Placement Techniques
The magic happens when you strategically place volume in three key zones: the crown, mid-lengths, and the twist itself.
I’ll backcomb the crown area first, creating height that frames your face beautifully.
Then I’ll add gentle teasing through the mid-lengths before forming the twist.
This layered approach prevents that flat, lifeless look I’ve seen ruin countless formal styles.
Low Ponytail With Intricate Braided Details
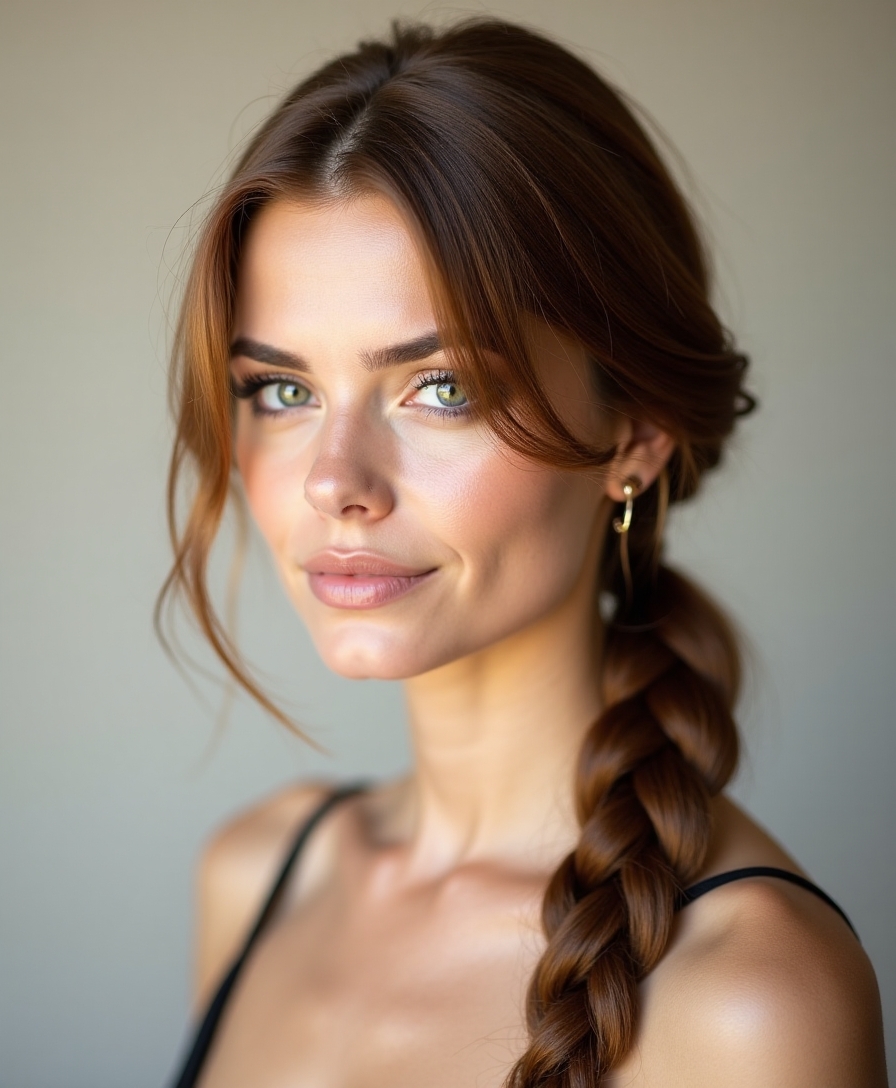
Although simple ponytails work perfectly for casual days, I’ve discovered that adding intricate braided details transforms this classic style into something truly elegant for formal occasions.
- Start with a deep side part and create small Dutch braids along your hairline.
- Weave thin ribbon through completed braids for added sophistication.
- Gather everything into a low ponytail at the nape.
- Wrap hair elastic with a small section of hair.
- Secure loose pieces with bobby pins that match your hair color.
Incorporating twist braid hairstyles also adds a stylish flair to your overall look.
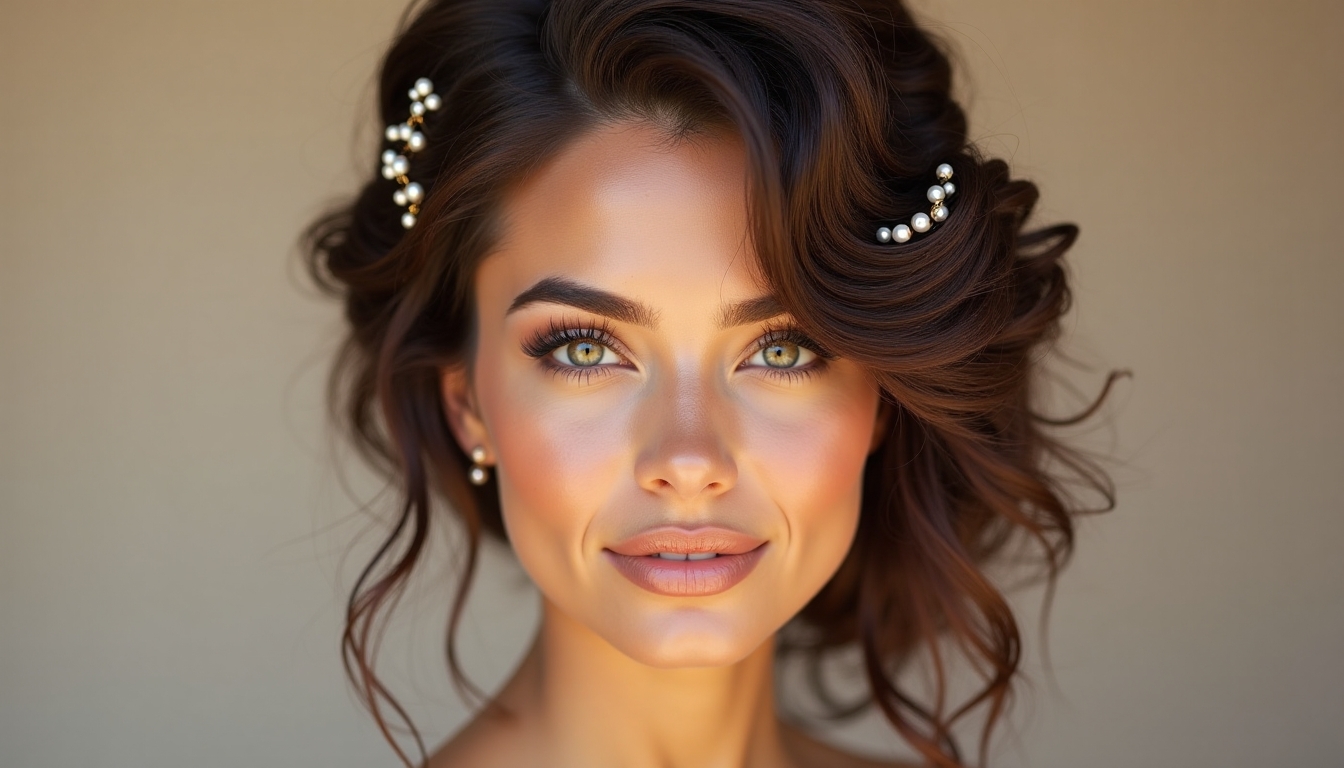
Soft Updo With Delicate Pearl Accessories
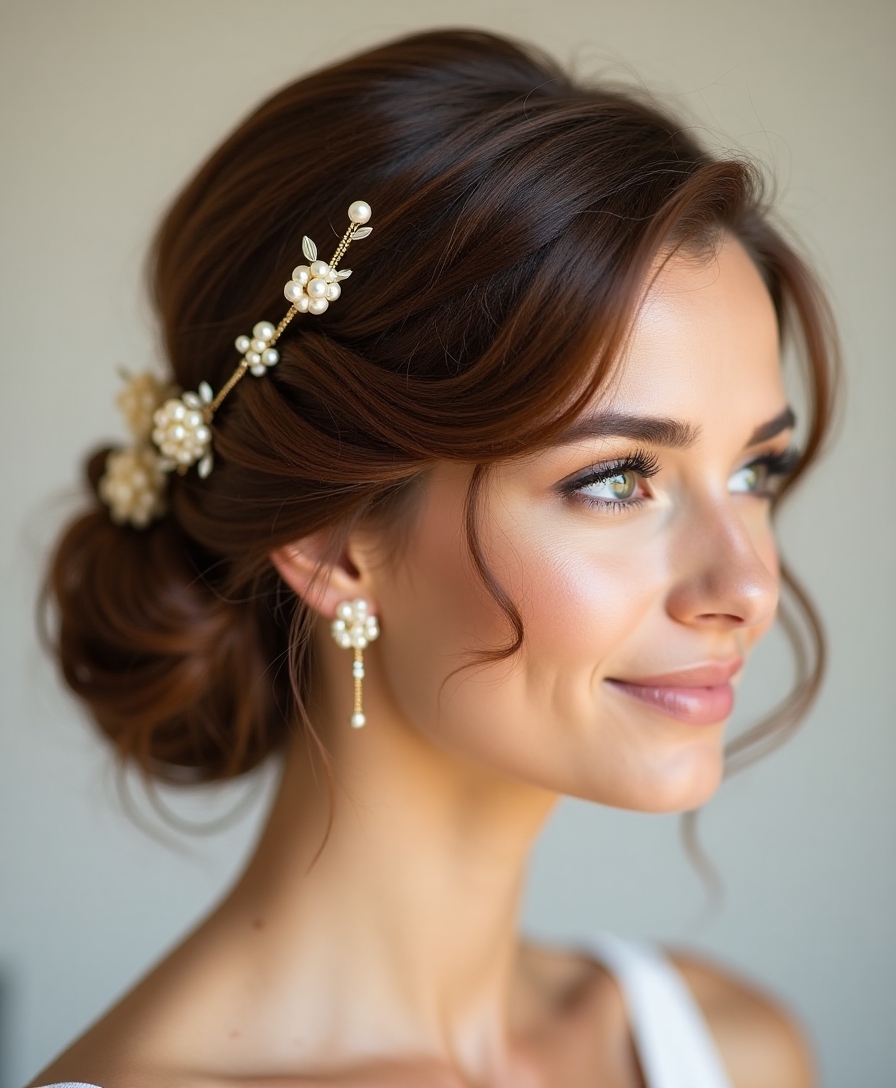
Every time I need an elegant hairstyle that strikes the perfect balance between polished and romantic, I reach for a soft updo adorned with delicate pearl accessories.
I loosely gather my hair into a low chignon, leaving wisps around my face. Then I strategically place pearl pins throughout the twist.
It’s effortlessly sophisticated.
Bold Asymmetrical Swept Style
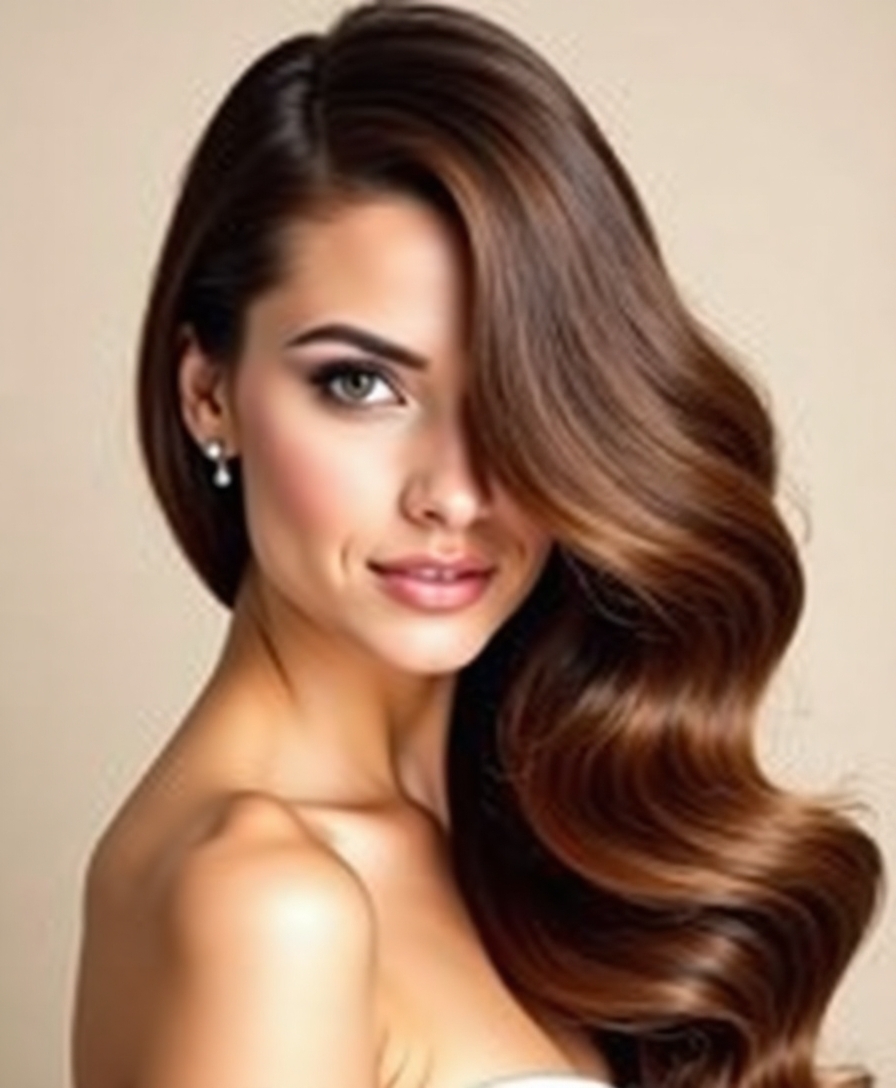
I’ve found that bold asymmetrical swept styles create stunning drama for formal events, especially when you want to move away from traditional symmetrical looks.
The key to nailing this style lies in mastering the asymmetrical technique and knowing exactly which products will hold your hair’s dramatic sweep throughout the night.
I’ll walk you through creating this eye-catching look and share the specific styling tools that make all the difference.
Creating the Asymmetrical Look
Several years ago at a charity gala, I watched a woman command the entire room’s attention with nothing more than her bold asymmetrical swept hairstyle – and I’ve been obsessed with recreating that dramatic elegance ever since.
- Start with freshly washed, slightly damp hair for better hold
- Create a deep side part positioned above one eyebrow
- Sweep all hair to one side using a wide-tooth comb
- Secure behind the opposite ear with bobby pins
- Set with strong-hold hairspray for lasting asymmetrical drama
Styling Products and Tools
Three essential tools make the difference between an asymmetrical style that falls flat within an hour and one that holds its dramatic sweep all evening long.
I always reach for a strong-hold texturizing spray first, followed by bobby pins that match my hair color exactly, and finally a lightweight shine serum to eliminate any frizz without weighing down the style.
Timeless Half-Up Half-Down With Gentle Waves
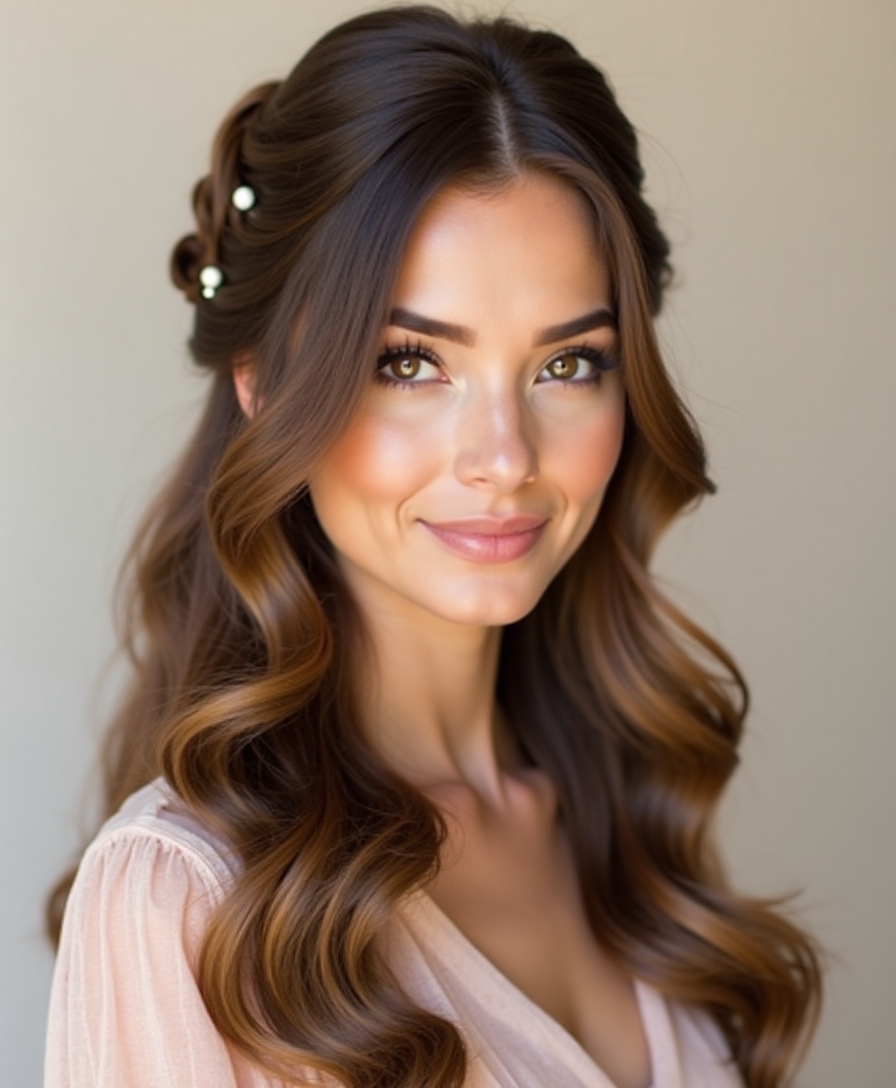
Elegance meets effortless beauty when you master the half-up half-down style with gentle waves.
I’ve found this look strikes the perfect balance between sophistication and romance for any formal event.
- Create loose waves using a 1.5-inch curling iron
- Tease the crown section gently for subtle volume
- Secure the top half with a clear elastic
- Hide the elastic with a decorative bobby pin
- Finish with light-hold hairspray for longevity
Statement Fishtail Braid Wrapped Into a Bun
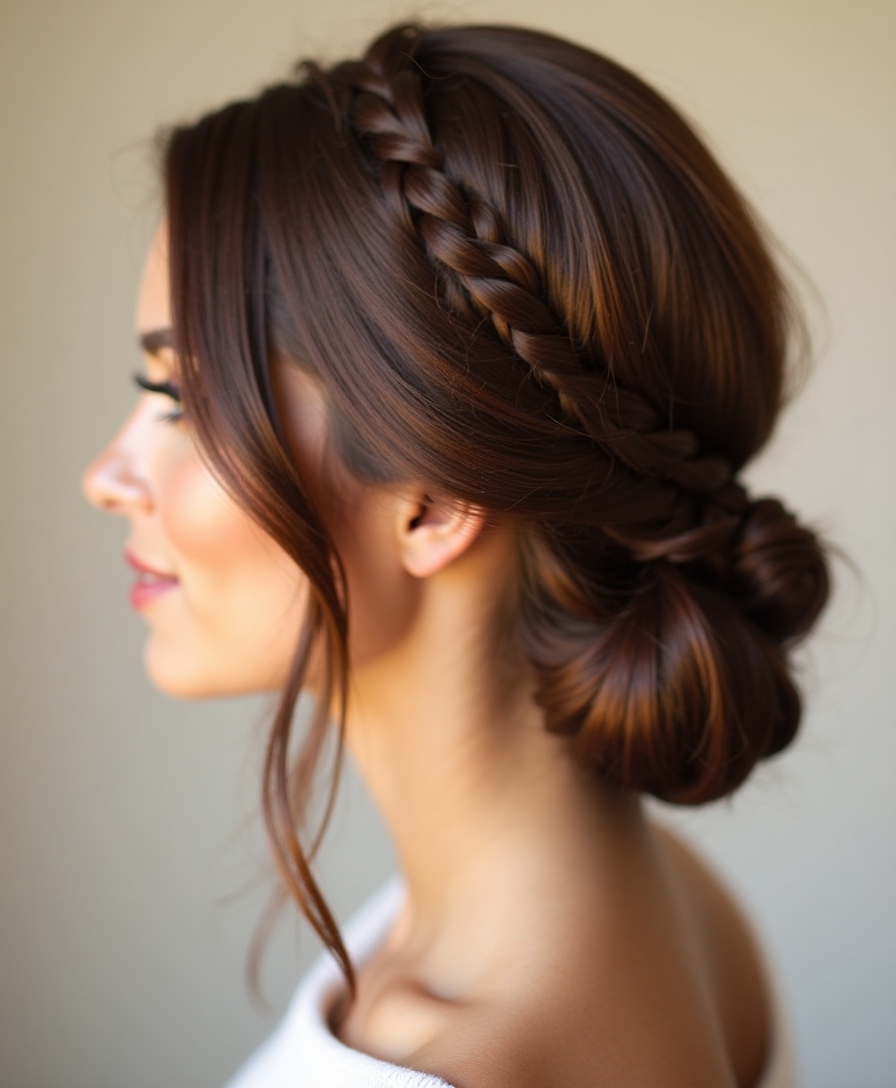
When I stumbled upon this technique at a wedding last year, I knew I’d discovered something special.
The bride’s stylist created a chunky fishtail braid, then twisted it into a low bun at the nape.
I’ve since mastered this look myself—it’s surprisingly manageable yet creates incredible texture and visual interest that photographs beautifully.
Sleek Pulled-Back Look With Architectural Height
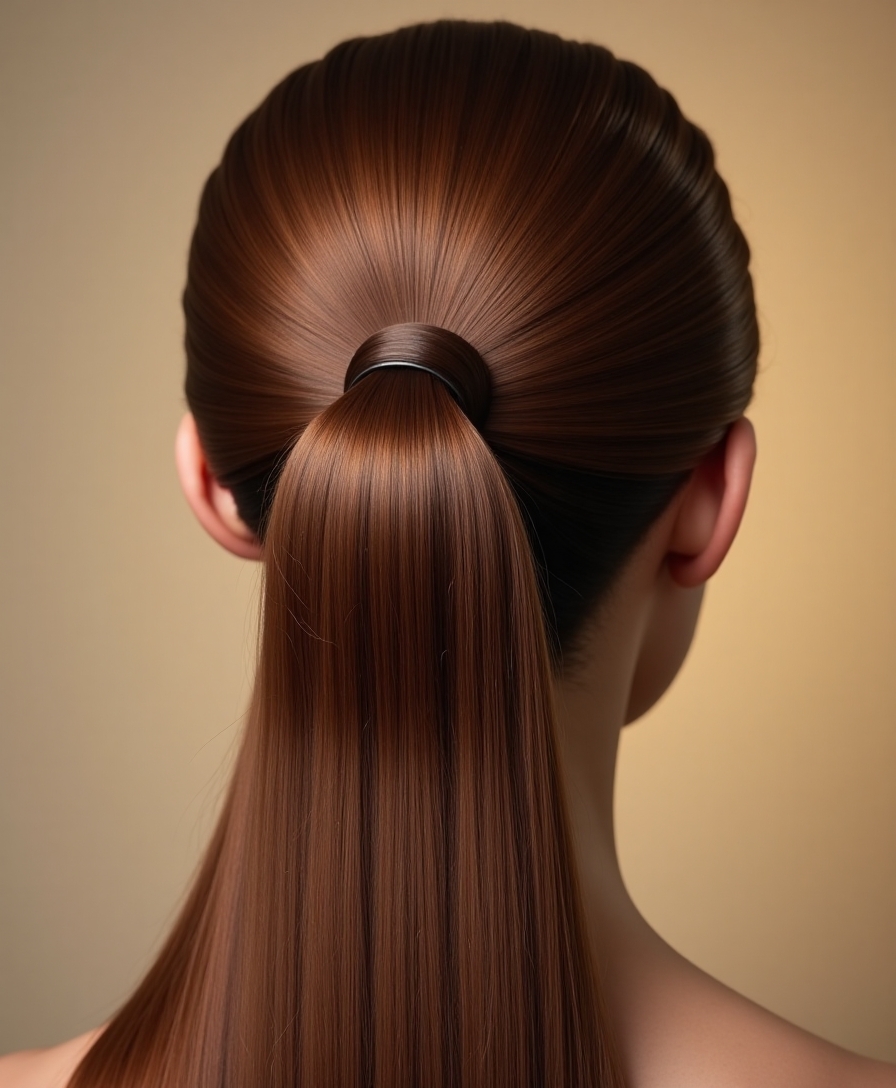
Although it sounds intimidating, creating dramatic height at the crown while keeping everything else pin-straight has become my go-to formal style when I want to look polished yet striking.
- Tease crown section gently with fine-tooth comb for volume foundation
- Smooth top layer over teased hair using boar bristle brush
- Secure with bobby pins hidden underneath the smoothed section
- Apply strong-hold hairspray to maintain architectural structure throughout evening
- Keep sides ultra-sleek with shine serum
Whimsical Flower Crown Braid Arrangement
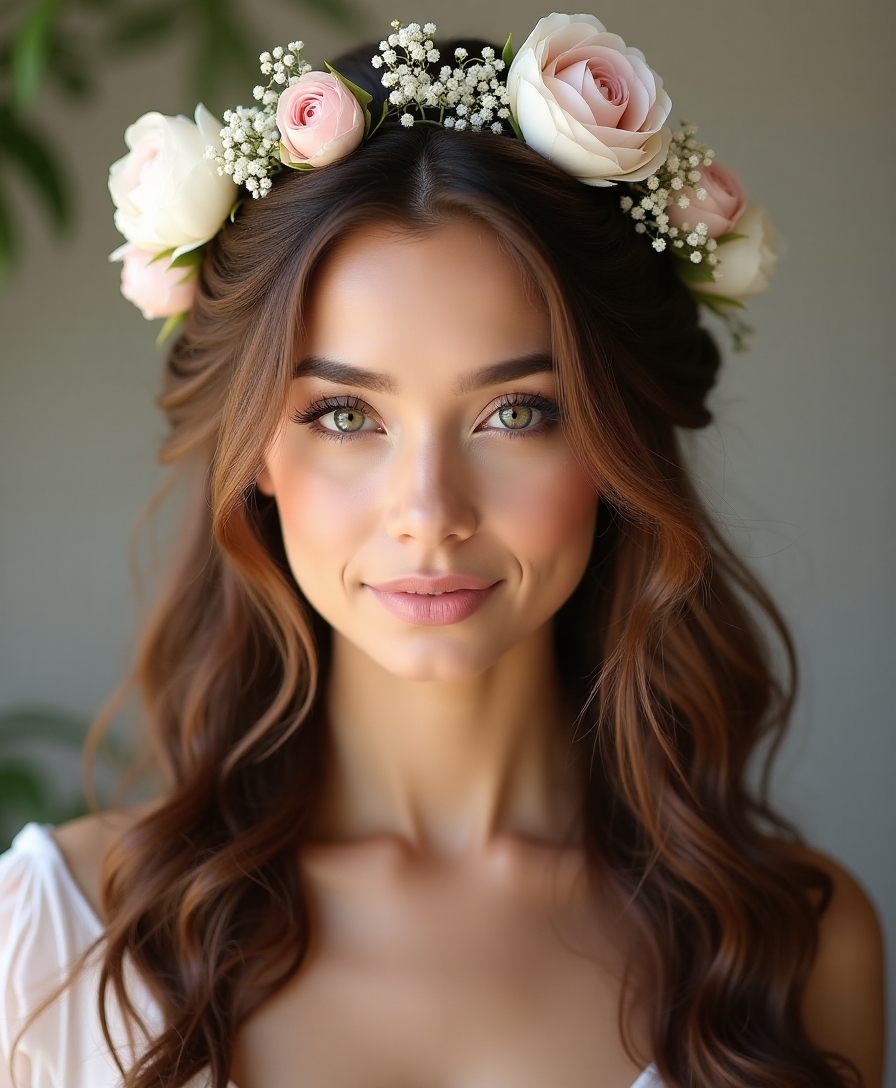
While sleek styles make powerful statements, I’ve discovered that some formal occasions call for softer romance, which is exactly when I reach for my favorite flower crown braid arrangement.
I weave loose Dutch braids around my head, securing fresh baby’s breath or small roses throughout. It’s ethereal yet sophisticated—perfect for garden parties or bohemian weddings. Additionally, this style can easily be augmented with effortless short hair hairstyles for those who prefer a more minimalist approach to floral adornments.
Glamorous Finger Waves for Vintage Appeal
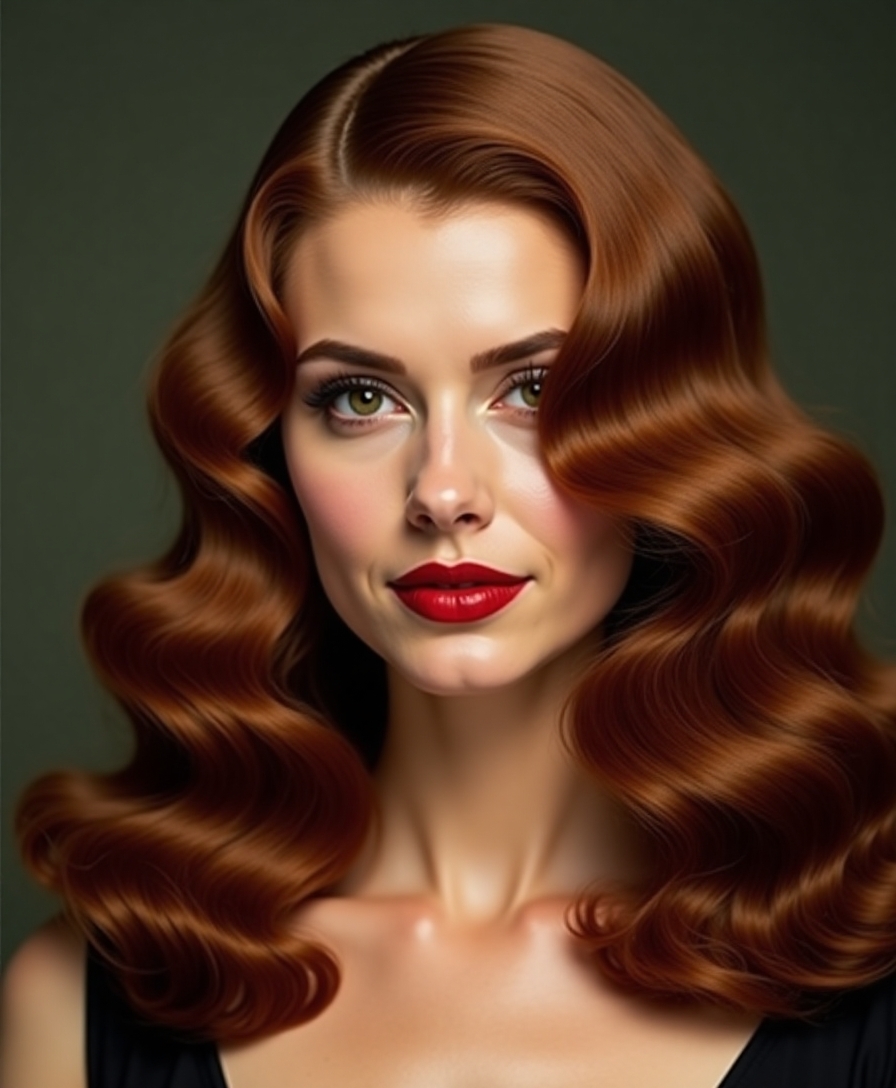
If I’m aiming for old Hollywood glamour, finger waves transform my long hair into a stunning vintage masterpiece that commands attention at any black-tie event.
- Use setting lotion and a fine-tooth comb for crisp waves.
- Work in 2-inch sections from hairline to nape.
- Create S-shaped curves with your fingers while combing.
- Secure with bobby pins until completely dry.
- Finish with hairspray for lasting hold.
Modern Gibson Tuck With Contemporary Flair
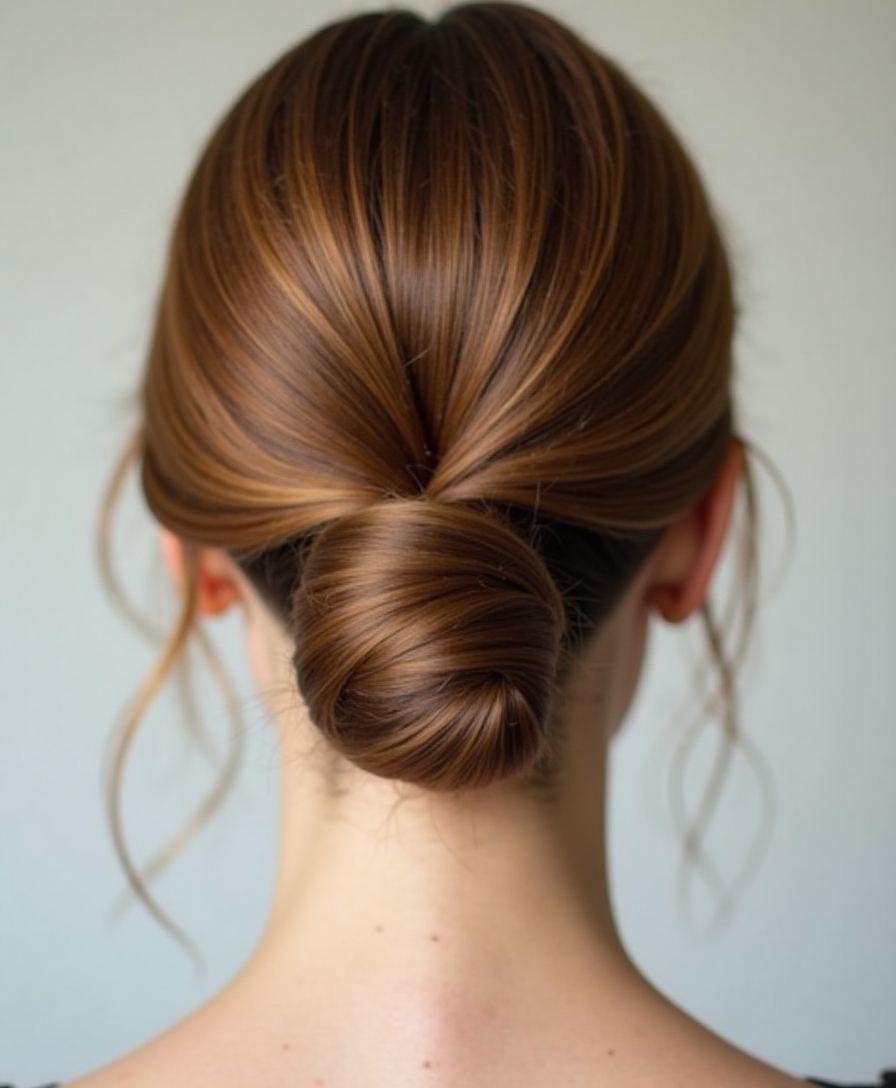
Moving from the structured waves of vintage styling, I’ve found the Gibson tuck offers a rejuvenating alternative that blends timeless elegance with today’s relaxed sophistication.
I loosely gather my hair at the nape, twist it upward, and tuck the ends under, securing with bobby pins. The deliberately imperfect finish creates effortless drama that’s perfect for modern formal events.
I’ve tried every one of these styles for different events, and honestly, they’ve never failed me. My go-to is the braided crown with curls – it’s gotten me more compliments than I can count.
Don’t overthink it; pick what speaks to you and practice once before the big day. Trust me, the right dramatic hairstyle will boost your confidence and make you feel absolutely stunning.