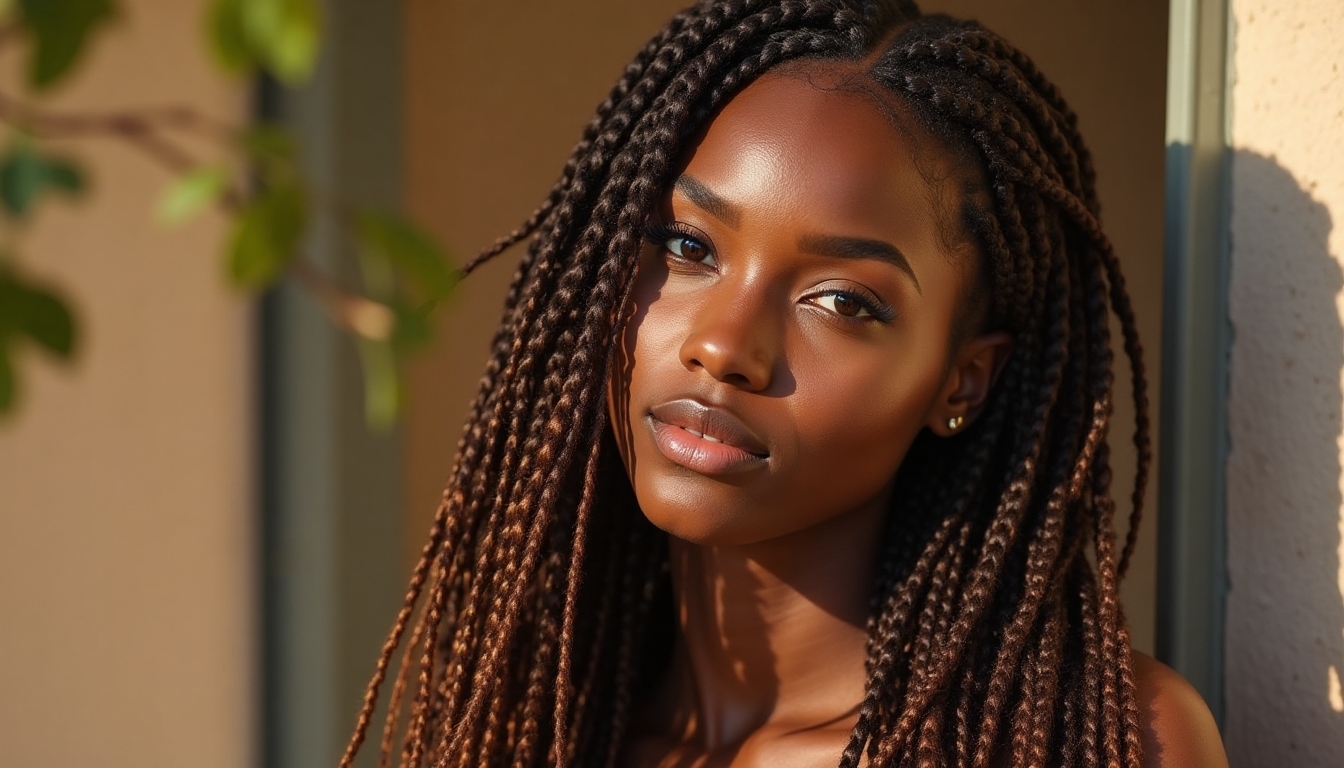
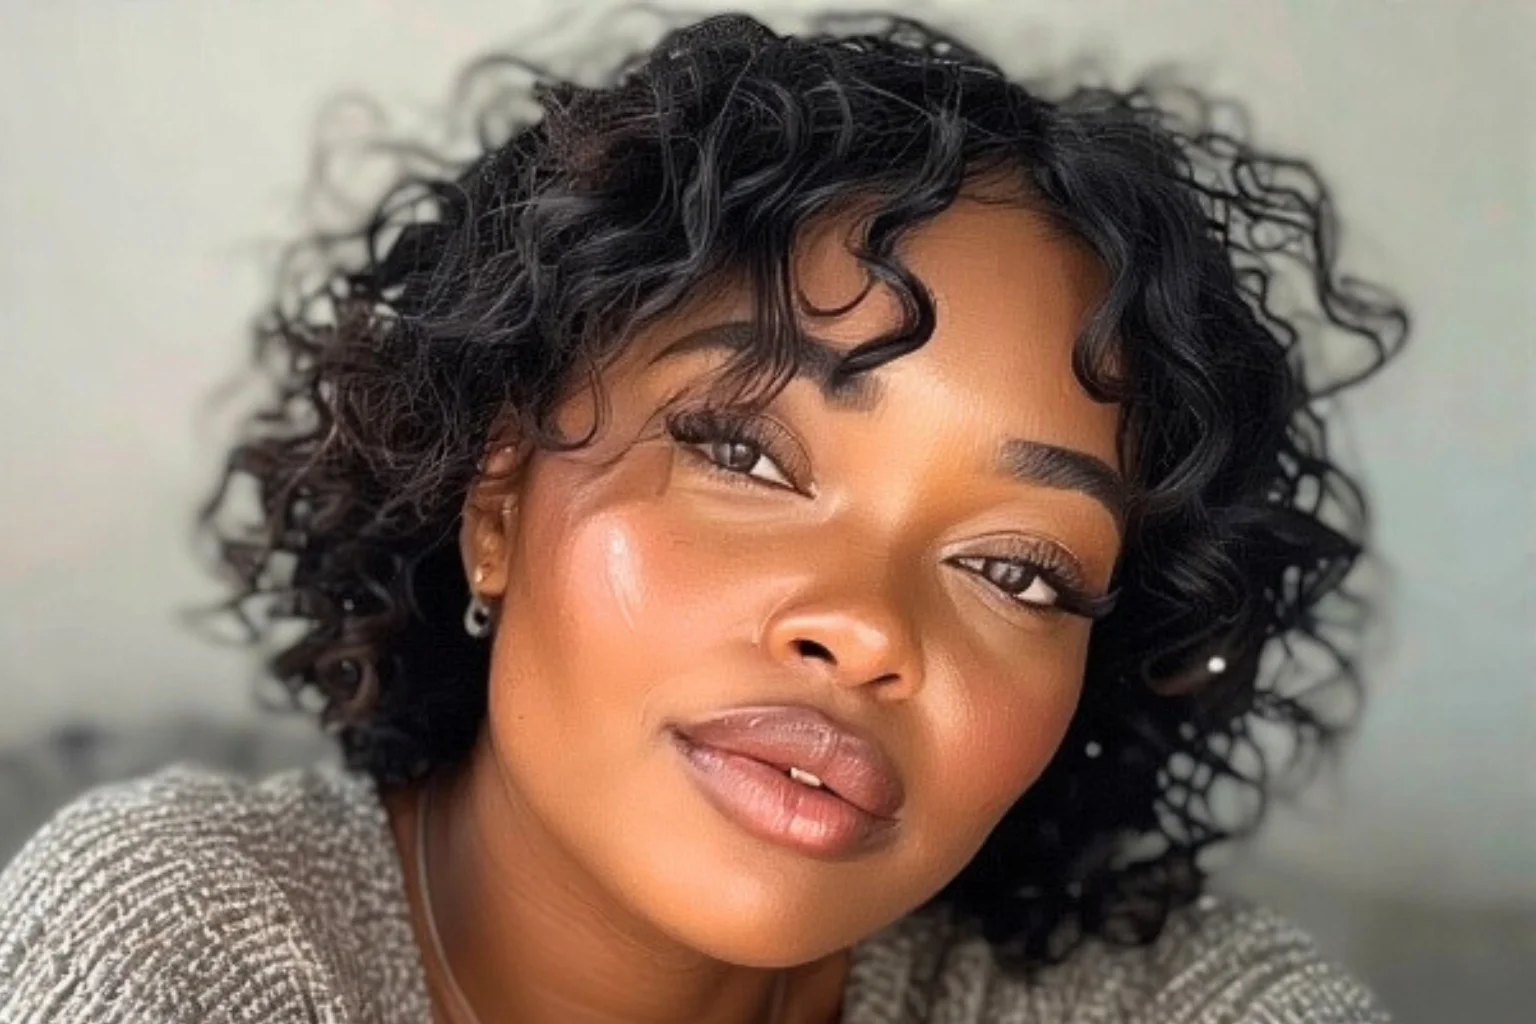
I’ve spent years perfecting my twist braid game, and I’ll tell you – it’s all about finding that sweet spot between style and simplicity. When I’m creating twist braids, I focus on clean patterns that won’t unravel halfway through the day.
Whether you’re new to protective styling or looking to level up your twist game, I’ve got techniques that’ll help you achieve that effortless look while keeping your natural hair healthy and happy.
Essential Tools and Products for Perfect Twist Braids
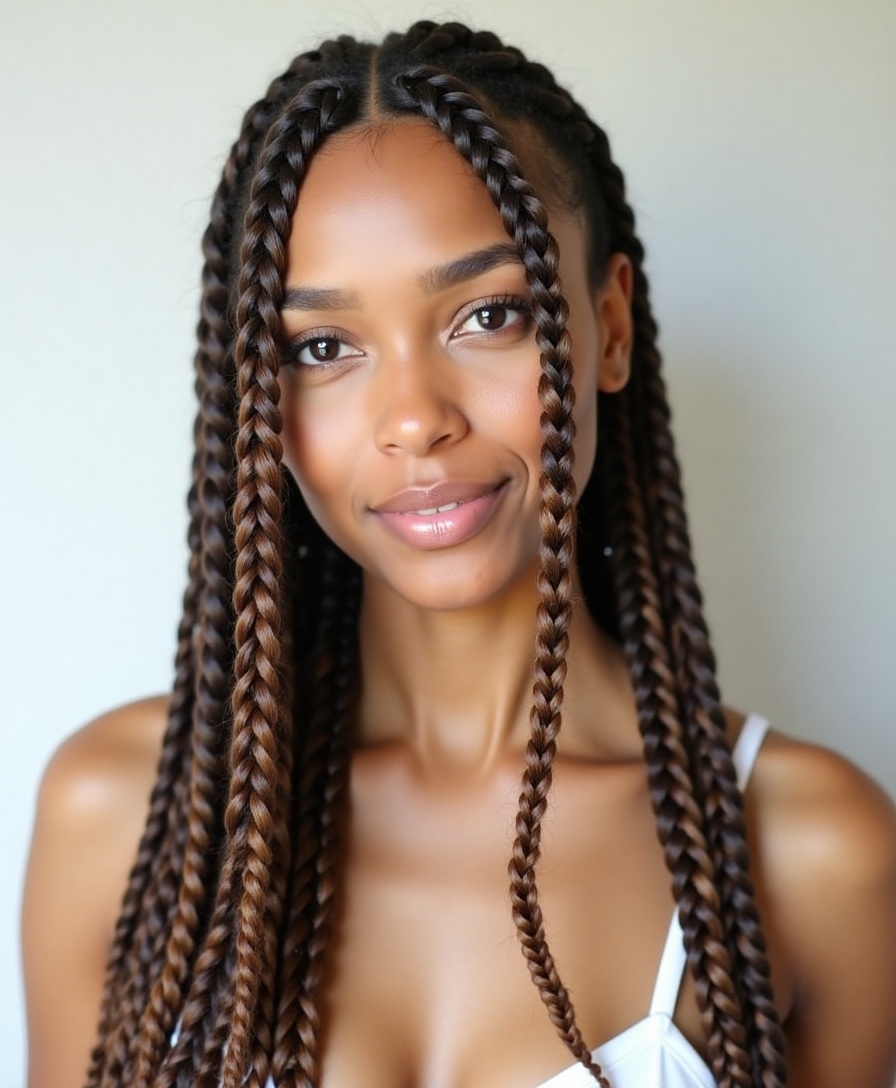
Anyone can create stunning twist braids with the right tools and hair products in their arsenal.
I always recommend starting with a good detangling brush, rat-tail comb, and sectioning clips. You’ll also need edge control gel, moisturizing cream, and hair oil.
For grip and hold, I swear by beeswax or twist-specific styling cream, plus a light finishing spray. Adding stylish braided hairstyles to your repertoire can elevate your look and showcase your creativity.
Prepping Your Natural Hair for Twist Braids

Before I show you how to prep your natural hair for twist braids, let’s make sure you’ve got the basics covered – a wide-tooth comb, moisturizing shampoo, deep conditioner, and leave-in conditioner are must-haves.
I’ll walk you through proper detangling, which starts from the tips and works up to the roots, making sure your hair is damp (not soaking wet) and well-conditioned.
Your prep work will make or break your twist braid style, so don’t rush through these essential first steps.
Tools and Products Needed
To create stunning twist braids, you’ll need several essential tools and products that guarantee a smooth, long-lasting style.
I always start with a rat-tail comb for precise parting, edge control for sleekness, and moisturizing cream to keep hair hydrated. A deep conditioning routine is also crucial for maintaining hair health before styling.
Don’t forget hair ties, clips for sectioning, and a light oil to seal your twists and add shine.
Essential Hair Detangling Steps
When detangling natural hair for twist braids, starting with thoroughly moistened strands makes the process much easier.
I’ll section your hair into four parts, then work through each section with a wide-tooth comb.
Start from the ends and work your way up to prevent breakage. I always use a detangling spray or conditioner for extra slip while gently working out knots.
Classic Two-Strand Twist Technique
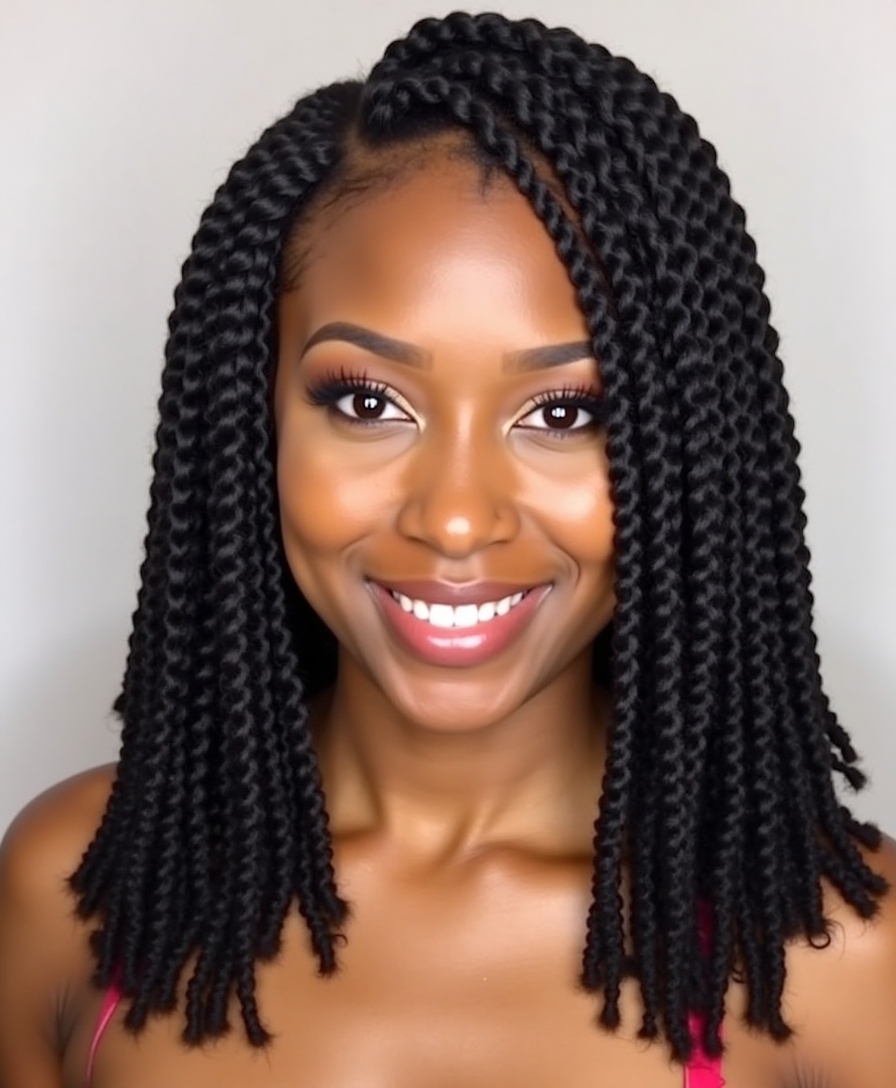
I’ll show you how to master the classic two-strand twist with a simple twisting technique that’ll give you beautiful, defined results.
You’ll need a rat-tail comb, hair clips, and your favorite moisturizing products to keep your twists looking fresh and hydrated throughout the process.
Watch out for twisting too tightly at the roots or using sections that are too large, as these common mistakes can lead to scalp tension and uneven twists.
Basic Twisting Motion Steps
Mastering the classic two-strand twist starts with understanding the simple back-and-forth motion that creates this timeless style.
I’ll walk you through it: Split your chosen section into two equal parts, then twist the right strand over the left.
Keep rotating each piece clockwise while crossing them over each other. The tighter you twist, the longer your style will last.
Products and Tools Needed
Three essential products form the foundation of a successful two-strand twist: a leave-in conditioner, a moisturizing cream, and a holding gel. I always make sure I’ve got my tools ready before I start twisting, since being prepared makes the process smoother.
- Wide-tooth comb for detangling and sectioning
- Hair clips to keep sections separate
- Rat-tail comb for precise parting
- Spray bottle with water for added moisture
Common Mistakes to Avoid
Now that you’ve got your products and tools ready, let’s talk about what not to do when creating two-strand twists.
Avoid starting with damp hair – it’ll shrink and unravel as it dries.
Don’t rush through sectioning; uneven parts lead to messy twists.
I’ve learned not to twist too loosely at the roots or too tightly at the ends, as both can cause breakage. Additionally, using sulfate-free products in your routine will help maintain the integrity of your twists over time.
Maintenance Tips to Keep Your Twists Fresh
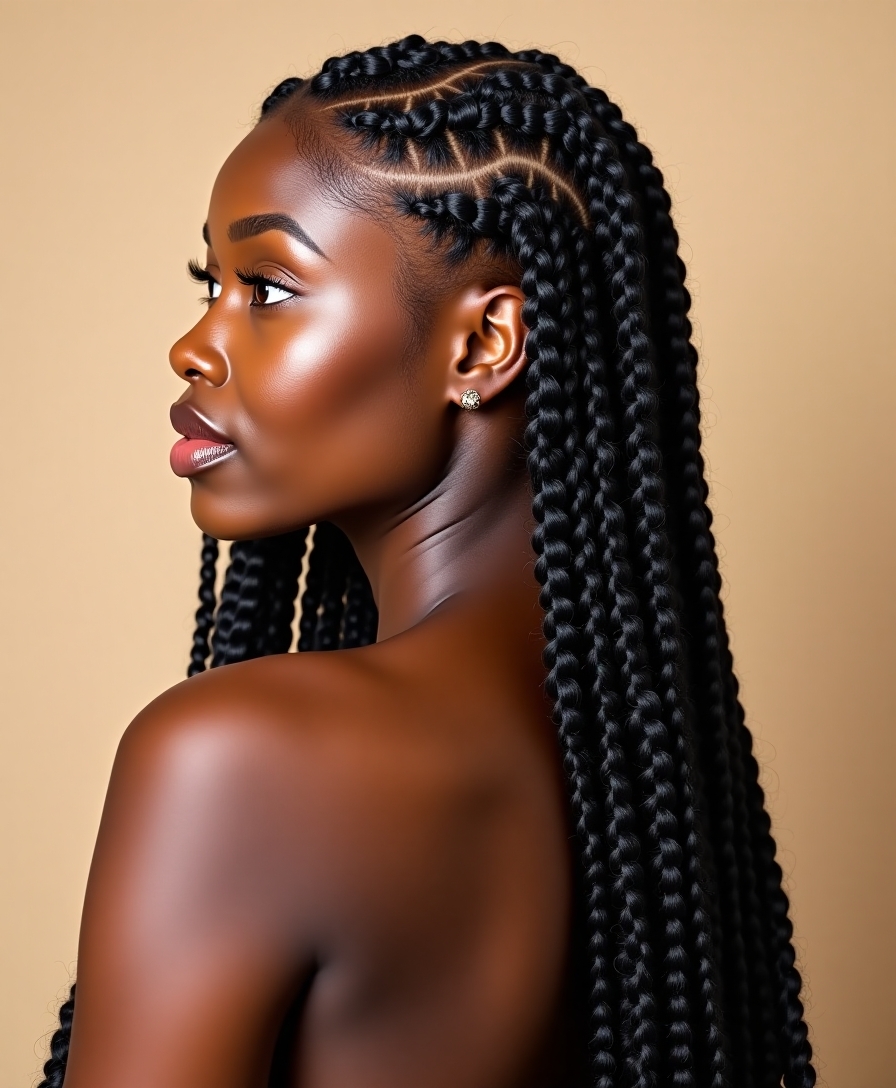
To keep your twist braids looking fresh and fabulous, you’ll need a solid maintenance routine that doesn’t eat up too much of your time.
I’ve learned these game-changing tips through years of experience, and they’ll help your twists stay neat longer.
- Sleep with a silk or satin bonnet to prevent frizz and preserve moisture
- Refresh edges weekly with lightweight oil and edge control
- Mist twists with leave-in conditioner every 2-3 days
- Keep your scalp clean using witch hazel on a cotton swab
Shoulder-Length Twist Styles for Every Occasion
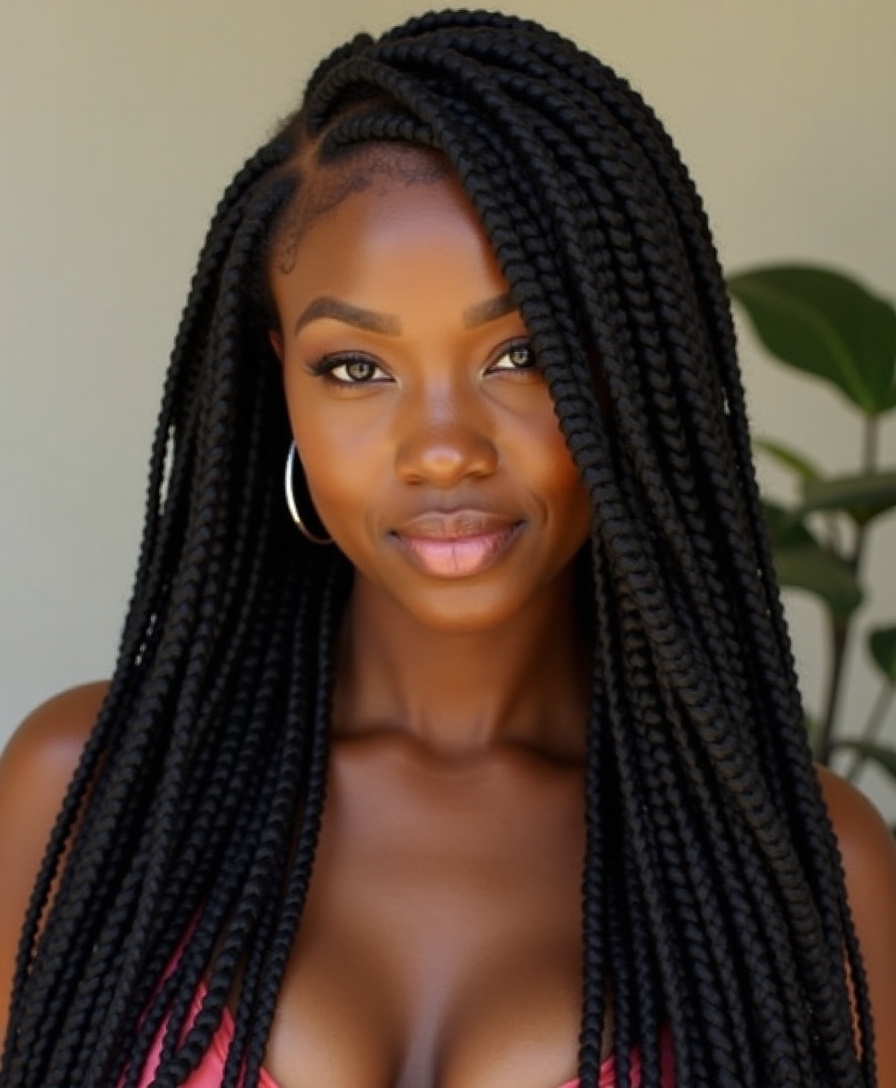
Shoulder-length twist braids strike the perfect balance between manageable length and versatile styling options. I love how you can wear them down for a casual look, pull them into a sleek ponytail for work, or create an elegant updo for special events.
When I’m feeling playful, I’ll pin one side back with decorative clips or wrap them into a trendy half-bun style. These styles can also be enhanced with hydrating products that maintain elasticity and keep the twists looking fresh and vibrant.
Protective Nighttime Routines for Lasting Twists
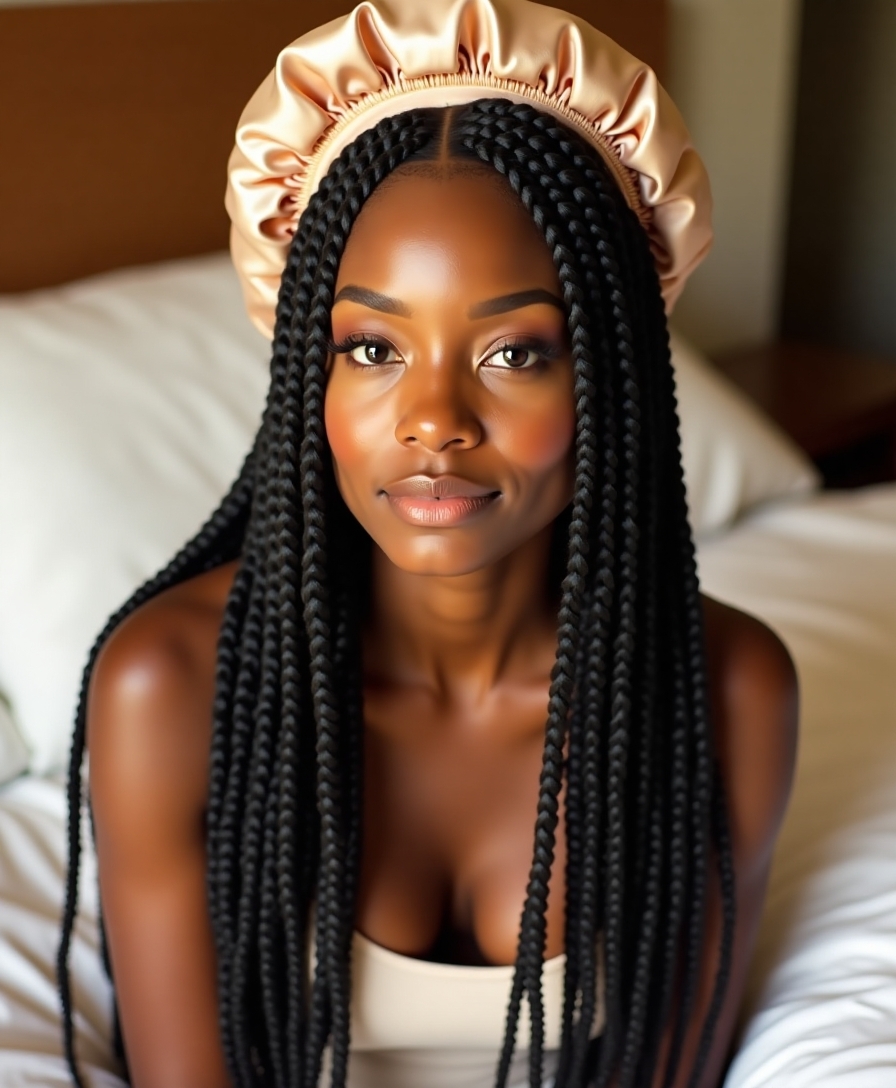
I’ll walk you through my go-to nighttime routine that keeps twist braids looking fresh and protected for weeks.
Each night, I carefully wrap my twists in a silk bonnet or scarf, which prevents friction and moisture loss while I sleep. Additionally, incorporating proper dreadlock care into your routine ensures that your twists remain healthy and vibrant throughout their wear.
You’ll find that this simple daily maintenance, combined with the right protective covering, makes a huge difference in maintaining your twist style’s longevity and appearance.
Wrap Hair Before Bed
Everyone knows that properly protecting your twist braids at night is essential for maintaining their pristine look.
I’ve learned that wrapping your hair before bed is important for keeping those twists fresh and defined. Let me share my go-to bedtime routine that’s never let me down.
- Use a large silk or satin scarf to completely cover your twists.
- Gently gather all twists and wrap them in a spiral pattern.
- Secure edges with a second scarf if needed.
- Make sure all hair is fully covered with no exposed ends.
Best Protective Head Coverings
With so many options available, choosing the right protective head covering for your twist braids can feel overwhelming.
I’m a big fan of silk or satin bonnets because they reduce friction and prevent moisture loss.
For maximum protection, I recommend a double-layered bonnet or a large silk scarf.
Just make sure it’s secure but not too tight around your edges.
Daily Maintenance Made Simple
Since maintaining twist braids requires consistent care, establishing a solid nighttime routine is essential for keeping them fresh and protected.
I’ve found that following these simple steps helps preserve my twists while I sleep:
- Wrap your twists in a silk or satin scarf, making sure all braids are tucked in
- Use a silk or satin pillowcase to reduce friction and frizz
- Apply light oil to your scalp before bed
- Secure longer twists in a loose, high pineapple style
Bohemian-Inspired Twist Braid Variations
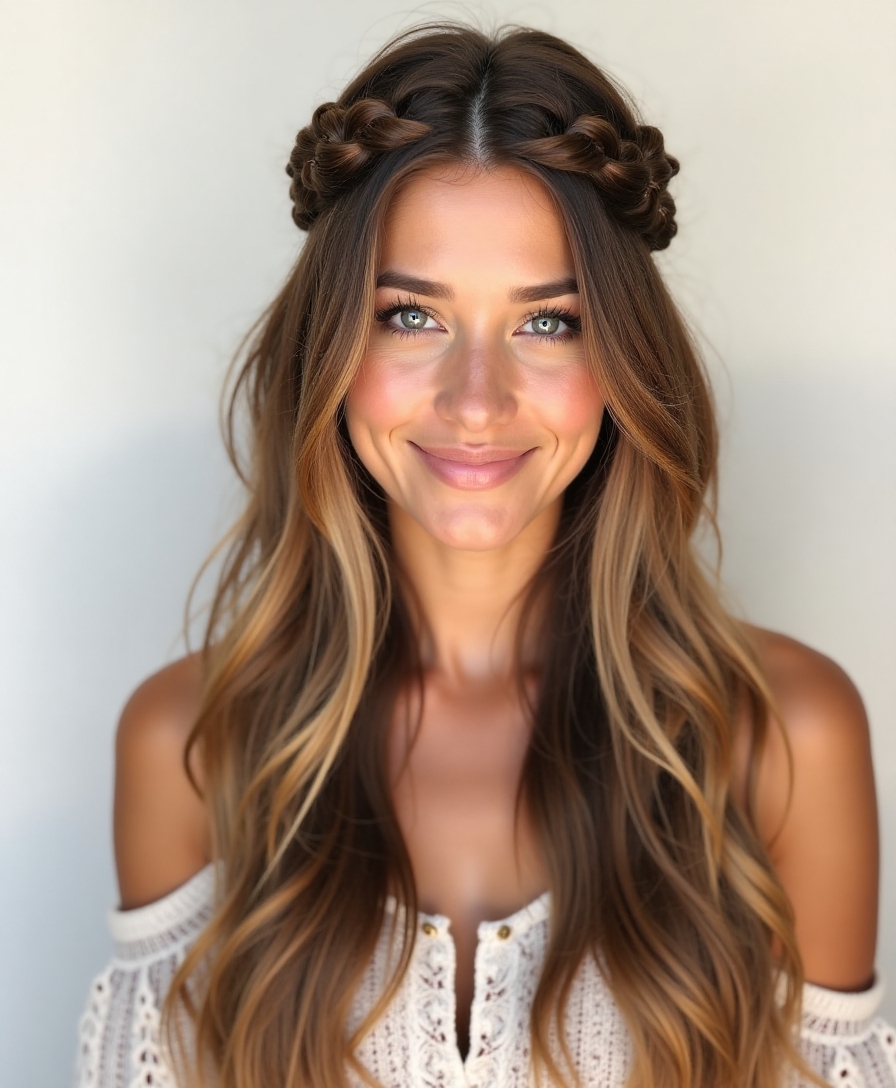
Looking to add a free-spirited flair to your twist braids?
I’ve got some boho variations that’ll transform your look. Try weaving small flowers or wooden beads into your twists, or wrap colorful thread around select sections.
I love creating loose, messy twists near the face while keeping the back neat. You can also add thin metallic cords for subtle shimmer.
Styling Short Hair With Mini Twists
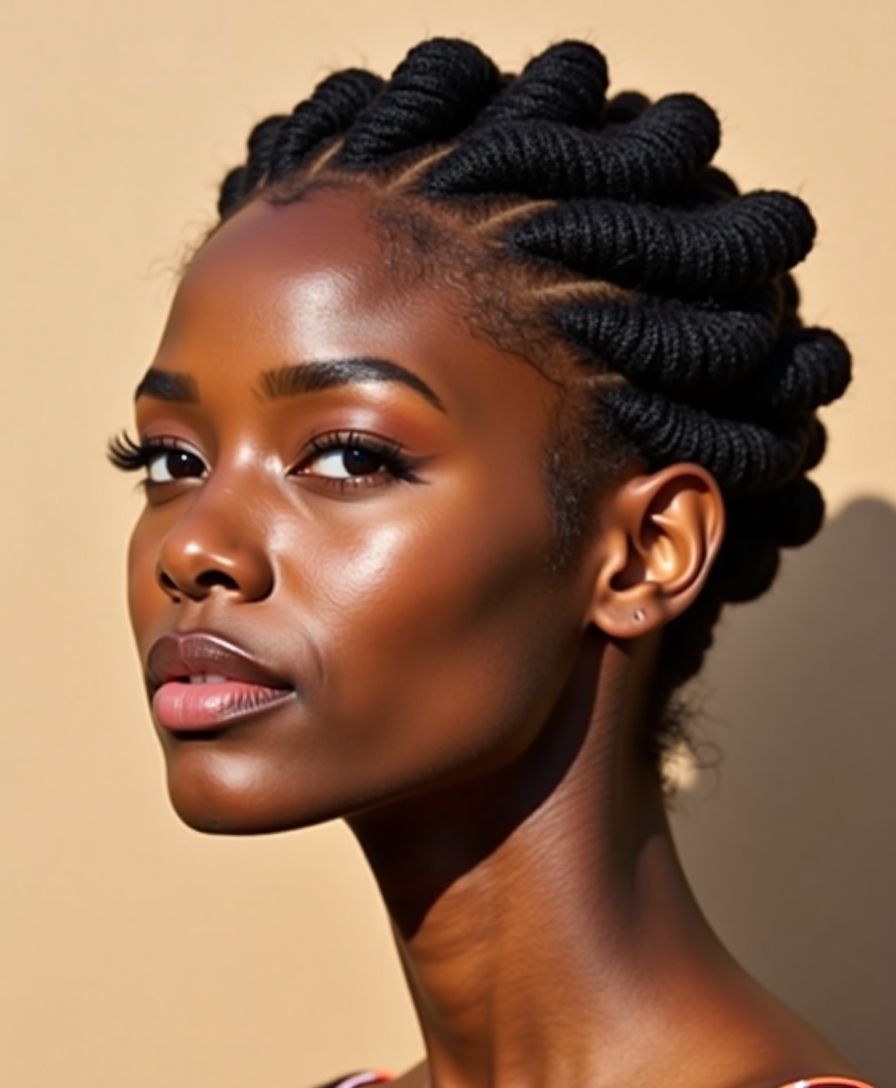
Short hair opens up endless possibilities for mini twists that pack major style impact.
I’ve found that these tiny twists work wonders for shorter lengths, creating texture and dimension while keeping your style manageable.
- Part hair into small sections and twist each from root to tip
- Use a light holding cream to keep twists defined
- Pin loose ends under for a polished updo look
- Mist with water to refresh twists between styling sessions
Long Rope Twist Techniques and Patterns
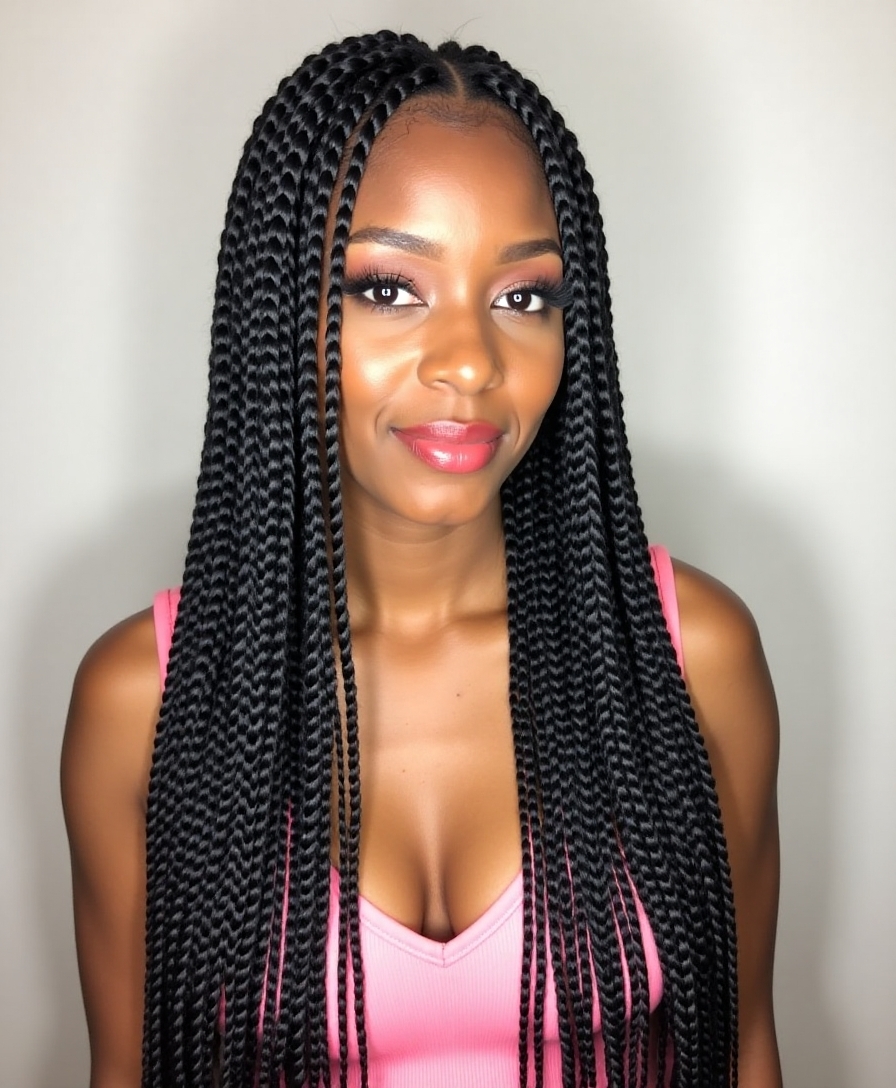
I’ll show you how classic rope twists start with clean, sectioned hair parted precisely into your desired pattern – whether that’s straight rows, diamonds, or zigzags.
Once you’ve mapped out your sections, you’ll twist each segment while gradually incorporating more hair as you move down the length, similar to a French braid technique.
These long rope twists offer endless creative possibilities, from combining multiple twists into larger patterns to adding beads or wrapping sections with metallic thread for extra flair.
Classic Rope Twist Steps
Creating a classic rope twist starts with three essential steps that’ll set you up for success.
I’ll show you how to nail this timeless style that adds texture and dimension to your hair.
- Divide your damp hair into two equal sections and apply a lightweight styling cream.
- Twist each section clockwise while keeping tension consistent.
- Cross the sections over each other counterclockwise.
- Secure the ends with a small elastic band and let air dry.
Adding Creative Pattern Variations
Now that you’ve mastered the basic rope twist, let’s explore some creative patterns that’ll take your style to the next level.
I love adding zigzag partings between twists for geometric appeal, or creating a spiral effect by gradually angling each twist.
You can also try mixing thin and thick sections, or incorporating small accent braids between your twists for extra flair.
Essential Sectioning and Parting
While long rope twists may look complex, proper sectioning is the foundation for achieving those perfect, symmetrical results.
I’ll show you how to create clean, precise parts that’ll make your twist braids look polished and professional.
- Start with damp hair and use a rat-tail comb to create sharp, straight parts
- Secure each section with small elastic bands to prevent mixing
- Work in manageable triangular or square sections, depending on your desired pattern
- Keep tension consistent by using hair clips to hold unused sections away
Color Combinations That Pop in Twist Braids
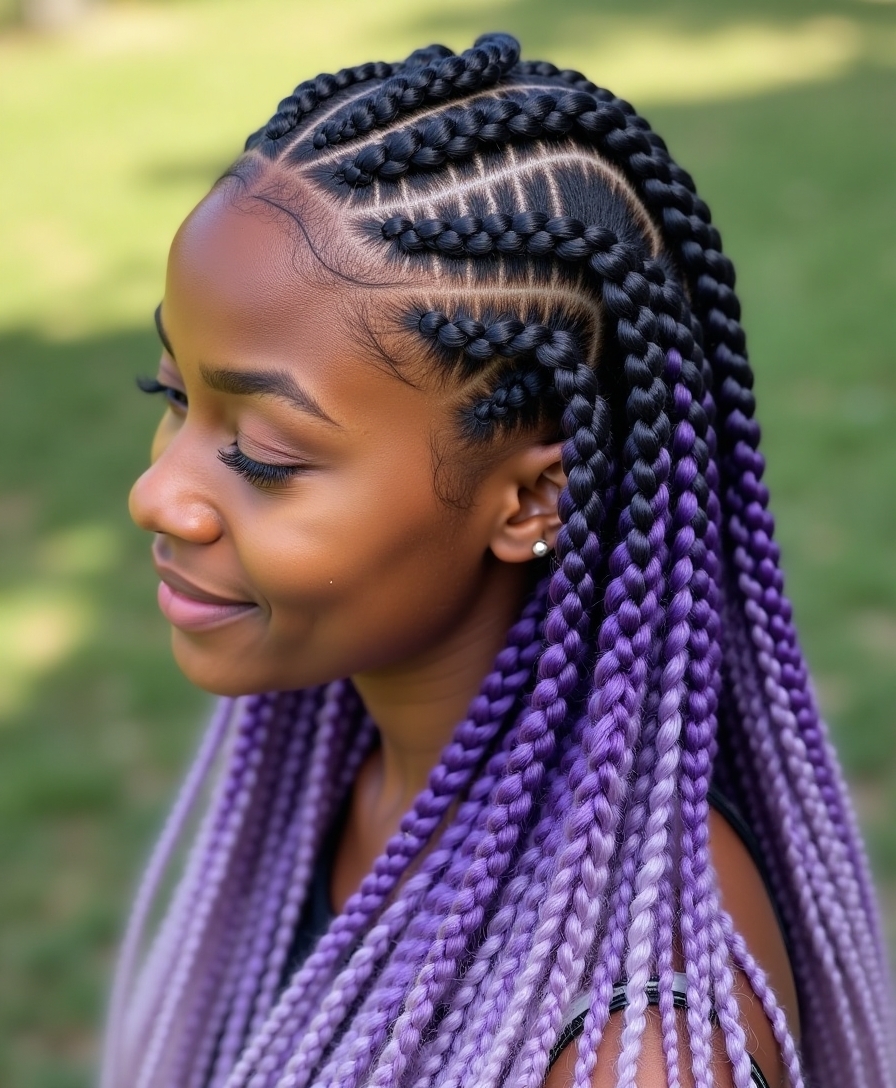
Bold and vibrant color combinations can transform ordinary twist braids into eye-catching masterpieces.
I love mixing burgundy with blonde for a warm, rich look, or trying blue with silver for an ethereal vibe.
You can’t go wrong with classic black and brown ombré, but I’ve found that adding pops of purple or teal really makes heads turn.
Trust me, color is your secret weapon.
Accessorizing Your Twist Braid Style

Adding the right accessories to your twist braids can take your style from basic to breathtaking.
I’ve found that strategic placement makes all the difference when you’re trying to create a look that’s uniquely yours.
- Gold or silver cuffs wrapped around individual braids create an elegant, bohemian vibe.
- Wooden beads add natural, earthy elements to your style.
- Colorful string wraps bring playful pops of personality.
- Hair rings scattered throughout add subtle sparkle and shine.
Common Twist Braid Mistakes to Avoid
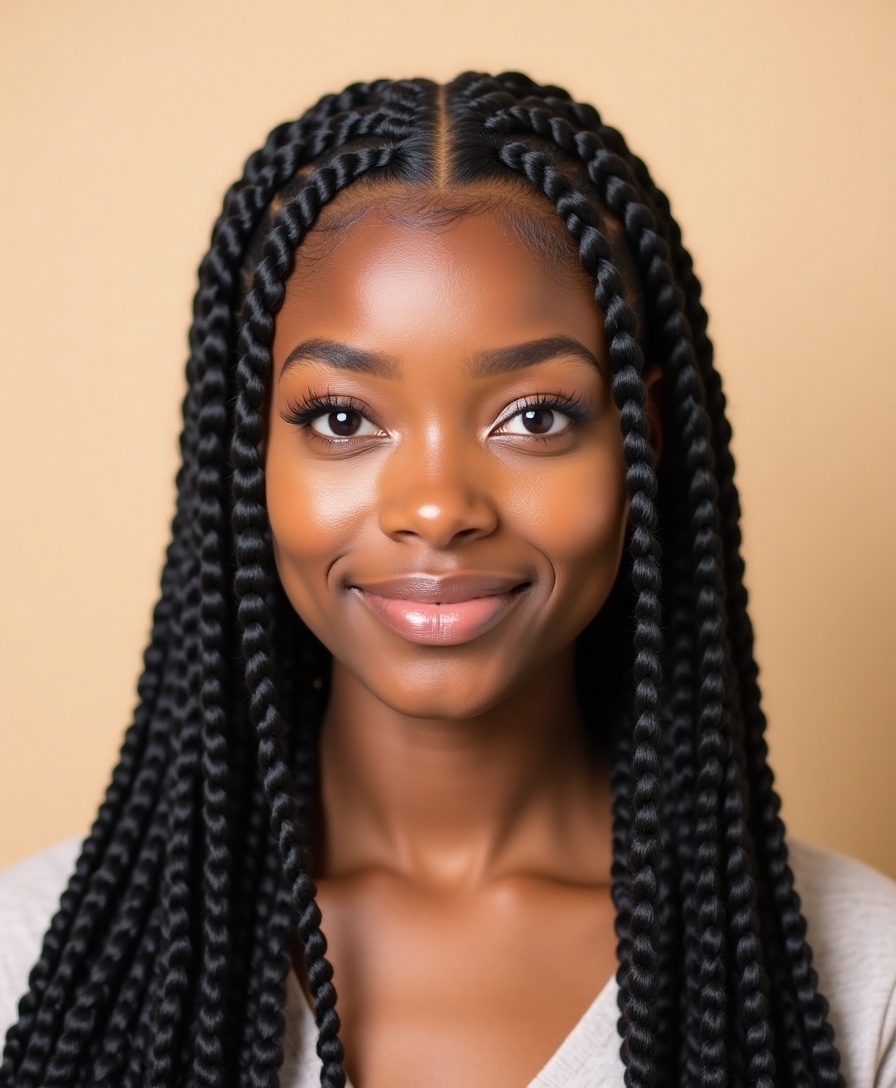
The journey to perfect twist braids often comes with a learning curve, and I’ve seen plenty of common mistakes that can derail even the most promising styles.
Don’t start with wet hair – it’ll shrink as it dries, causing loose braids.
Avoid pulling too tight at the roots, which can cause breakage.
Also, rushing through sections creates uneven patterns that won’t lay flat.
Combining Flat Twists With Other Braid Styles
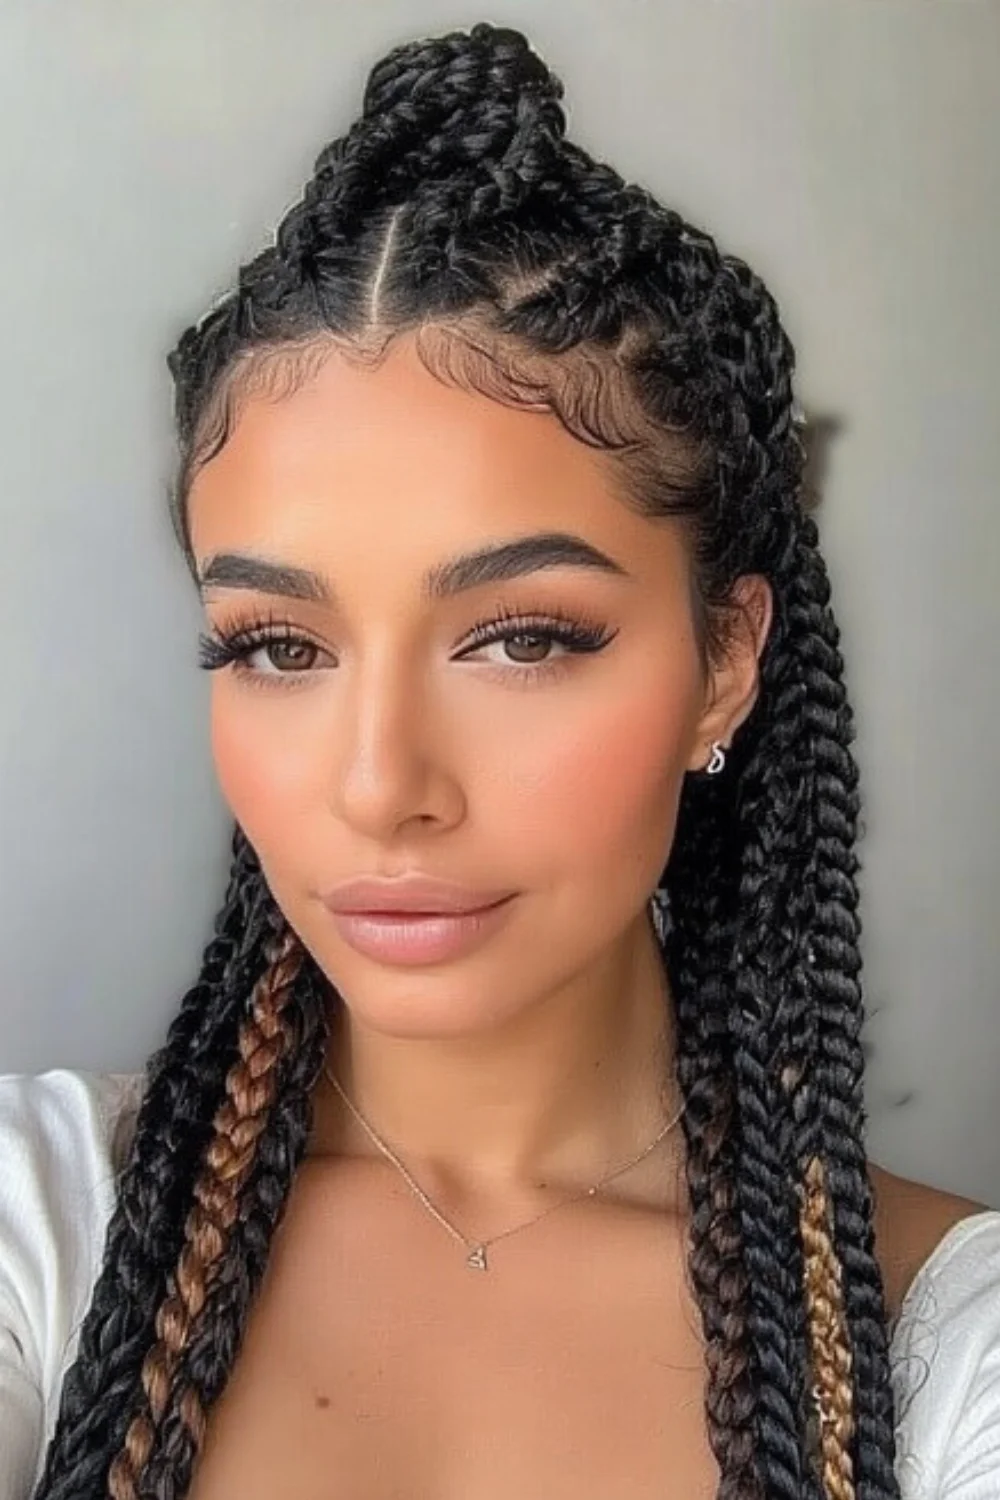
While flat twists look stunning on their own, I’ve found they become even more eye-catching when paired with other braiding techniques.
Let me show you my favorite combinations that’ll make your style stand out:
- Mix flat twists with box braids for an edgy half-up style
- Combine them with cornrows to create unique geometric patterns
- Add Senegalese twists to the back for extra length and drama
- Frame your face with flat twists and let loose braids flow in the back
Additionally, incorporating Fulani braids hairstyles gives a chic twist to traditional flat twists.
Quick Twist Styles for Busy Mornings
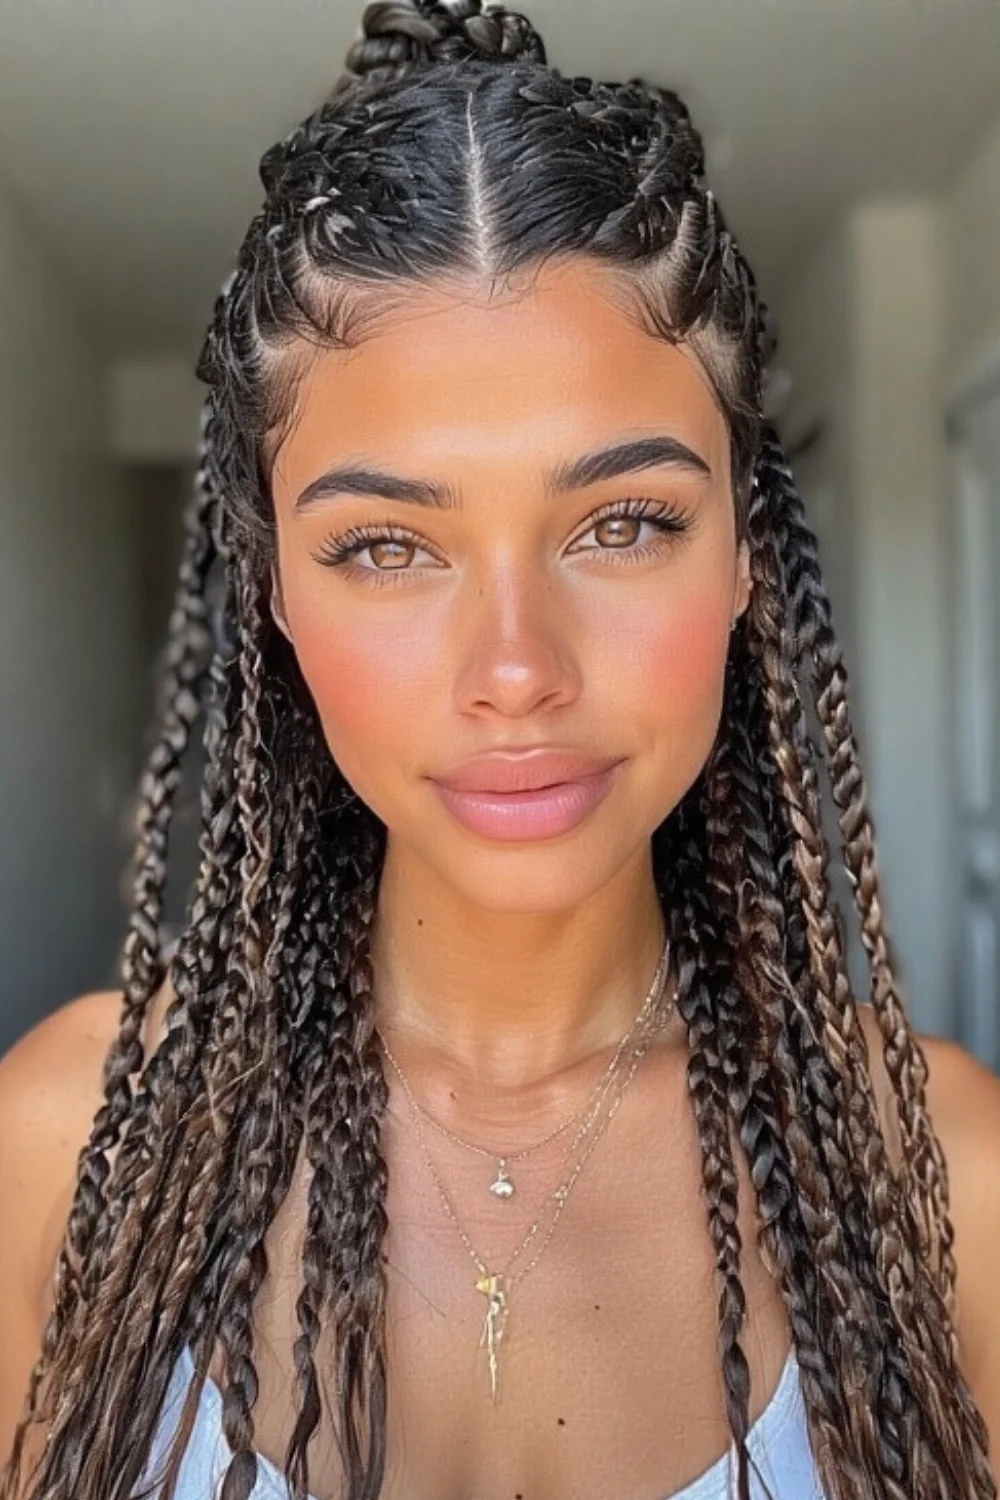
Since mornings can feel impossibly rushed, I’ve perfected several twist styles that’ll get you out the door looking polished in 15 minutes or less.
My go-to quick styles include a simple two-strand twist crown, mini twists pulled into a high bun, and my favorite five-minute solution – loose twists gathered into a low ponytail with a silk scarf wrap.
Moisturizing Methods for Healthy Twist Braids
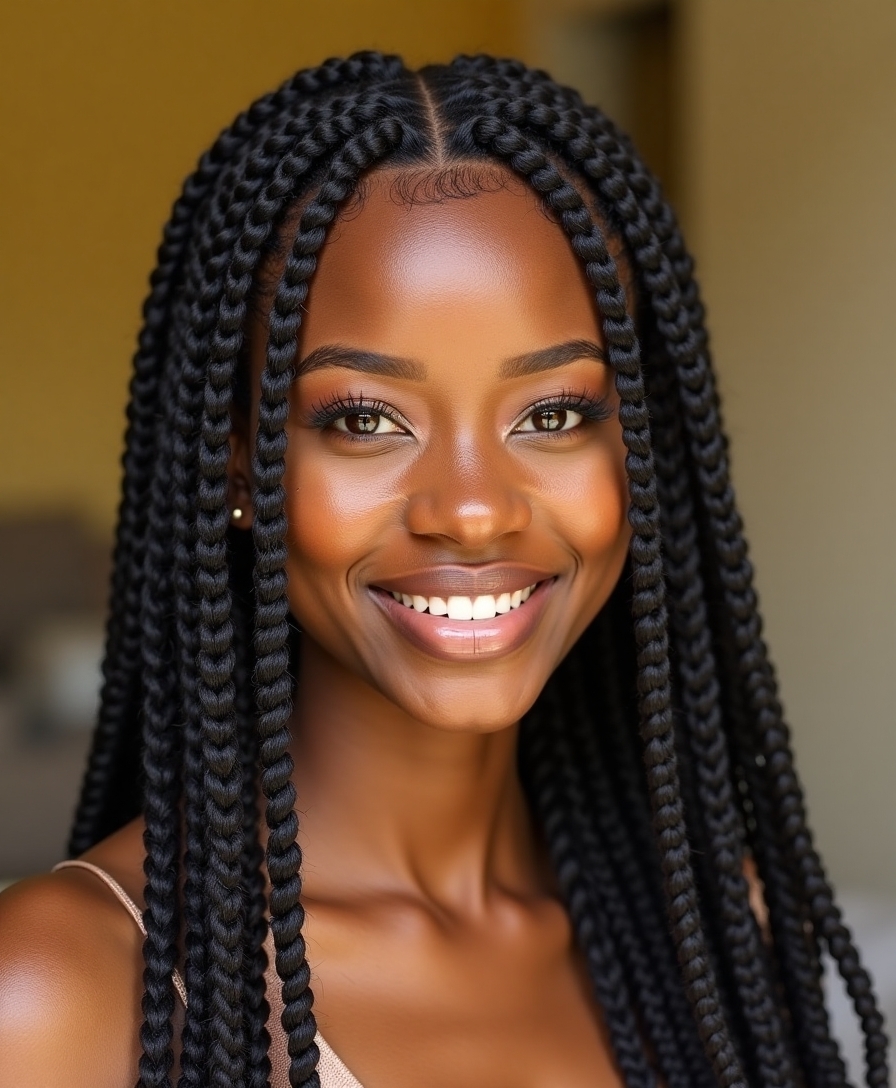
Maintaining proper moisture is critical for keeping twist braids healthy and vibrant.
I’ve learned that regular moisturizing prevents breakage and keeps your style looking fresh longer.
Let me share my favorite methods to lock in that essential hydration:
- Use a light oil spray every other day to keep your scalp and braids nourished
- Apply leave-in conditioner with your fingertips, focusing on the roots
- Mist with water-based moisturizer before bed
- Deep condition before installing twists for ideal results
I’ve found that twist braid hairstyles aren’t just about looking good – they’re about feeling confident while keeping things simple. Whether you’re rocking two-strand twists or experimenting with flat twist combinations, these styles can work for any occasion.
Remember, it’s all about proper prep, gentle maintenance, and showing your hair some love with regular moisturizing. Trust me, your twists will thank you.