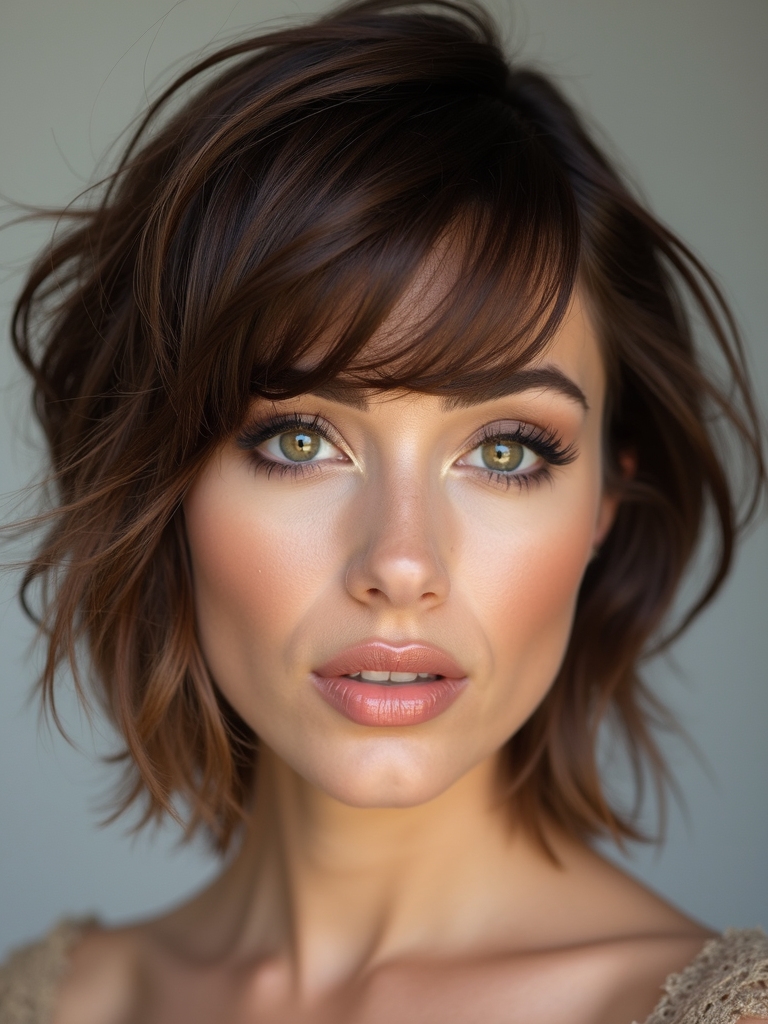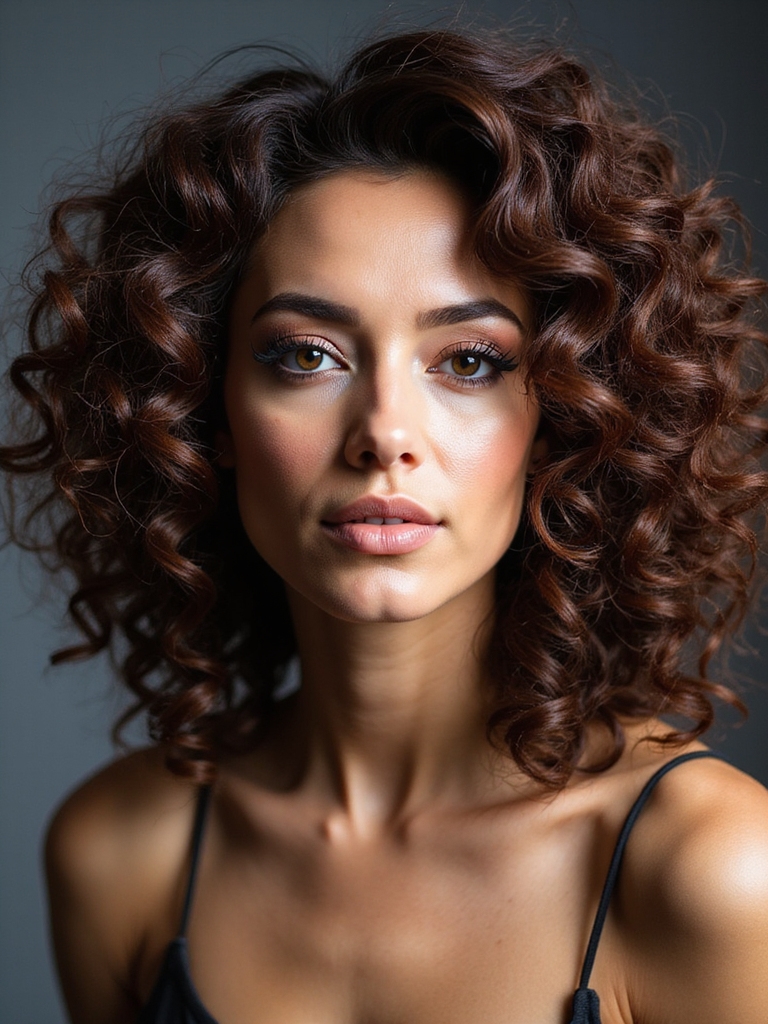
I’ve struggled with curly hair that falls flat and loses shape by midday. Then I discovered how strategic layering completely transformed my routine. Instead of fighting my natural texture, I’m now working with it.
But here’s what surprised me most—it’s not just about cutting shorter pieces randomly. There’s actually a method to it, and I’m excited to show you what I’ve learned.
Understanding Your Curl Pattern and Texture Type
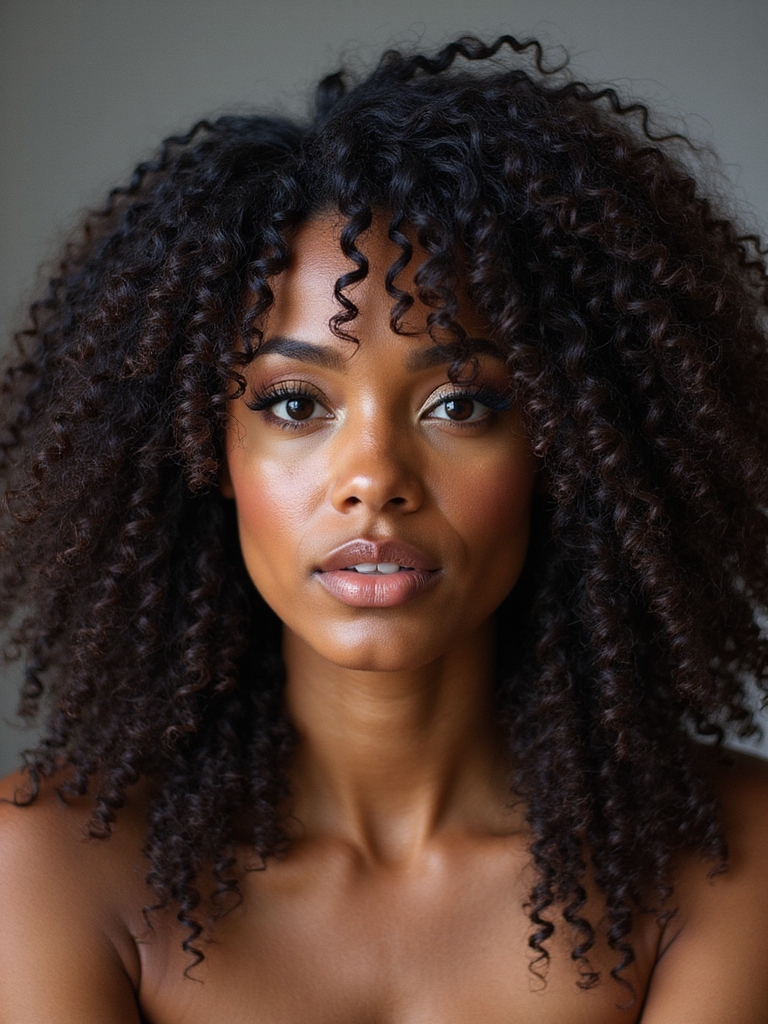
Since you’re considering a layered cut, you’ll want to know your curl pattern first—it’s truly the foundation of everything.
I’m talking about identifying if you’ve got waves, coils, or tight spirals.
Understanding your texture type helps your stylist determine the best layering technique that’ll enhance your natural curl definition rather than fight against it.
Layering is especially effective when tailored to Layered Curly Cuts, which use different lengths to reduce bulk and encourage spring.
Why Layers Work Brilliantly for Curly Hair
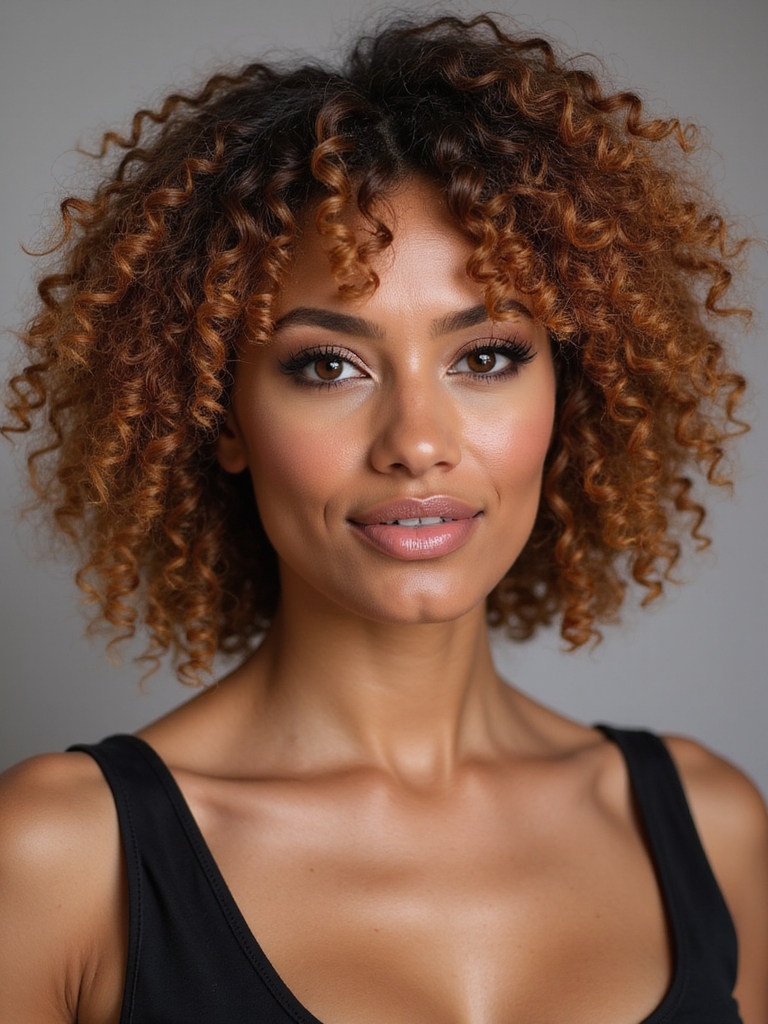
I’ll show you how layers transform your curls by removing the weight that flattens them down and preventing that heavy, shapeless look.
You’ll notice that strategically placed layers allow each curl to spring up and showcase its natural definition, giving you that gorgeous, bouncy texture you’re after.
When we eliminate excess bulk, your curls finally get the freedom to be their best selves.
Shag cuts can inspire similar movement and texture when tailored for straight hair, offering effortless texture and modern shape.
Reducing Bulk and Weight
One of the biggest challenges with curly hair is that it naturally builds up density and weight, which can actually work against your curl pattern by flattening it out or creating frizz. That’s where layers come in handy!
Curly shags are a great example of how layering can create shape and movement while reducing bulk and enhancing natural bounce, especially in a medium-length cut.
Enhanced Curl Definition Pattern
Beyond simply lightening the load, layers do something even more magical for curly hair—they actually enhance your natural curl definition.
When you remove weight, each curl bounces freely without fighting gravity. I’ve seen it transform flat, lifeless waves into springy, vibrant spirals. Your curls develop better shape and hold their pattern beautifully. It’s pure curl magic at work.
Layers also create improved texture and movement throughout the hairstyle, giving curls a more dynamic, effortless look.
The Science Behind Strategic Layering Techniques
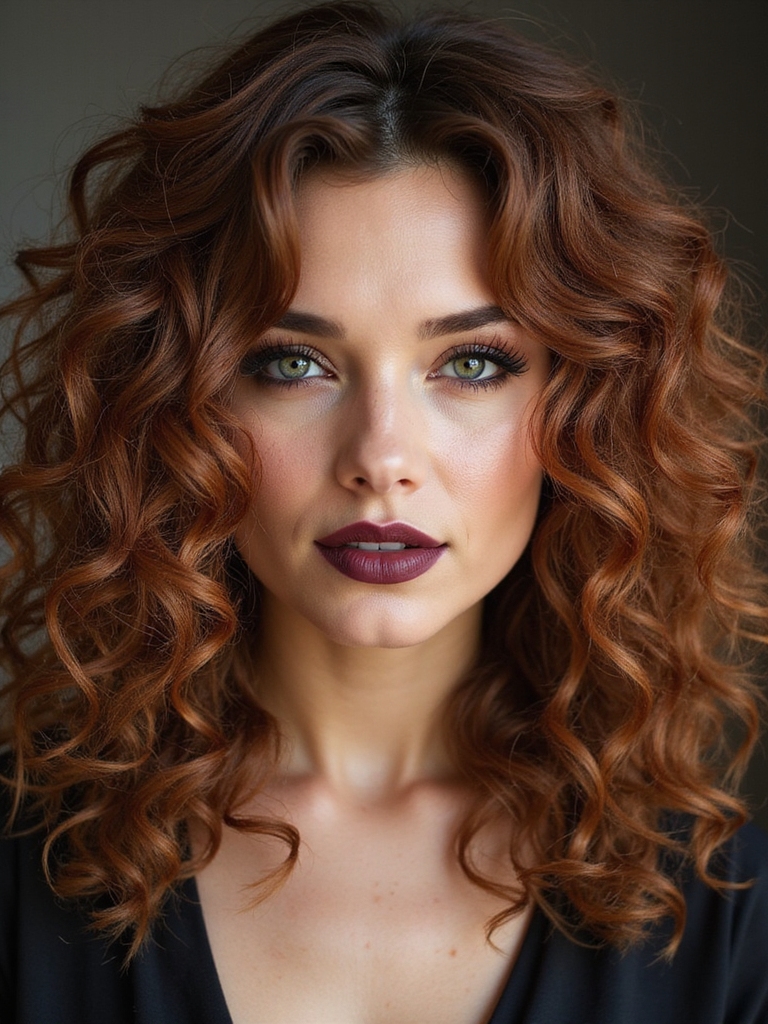
I’ve discovered that strategic layering works because it fundamentally changes how your curls interact with gravity—by removing weight strategically, I can make your curls bounce instead of flatten.
I’ll show you how angle cutting methods determine if layers frame your face beautifully or create frizz, and how texture enhancement dynamics mean the right technique actually amplifies your curl pattern’s natural definition.
This approach is inspired by the principles behind the Curly Shag which prioritizes texture-forward shaping to celebrate natural curl structure.
Weight Distribution Principles
When you’re cutting layers into curly hair, you’re fundamentally playing with physics—and that’s where weight distribution becomes your secret weapon.
I’ll tell you: removing bulk strategically prevents that dreaded triangle effect. By concentrating weight at the crown and tapering toward ends, you’re allowing curls to spring upward rather than collapse outward.
It’s about balance—not hack-happy cutting.
Understanding curl pattern variability helps determine where to place those layers for optimal lift.
Angle Cutting Methods
The angle at which you hold your scissors isn’t arbitrary—it’s the difference between curls that spring to life and ones that frizz into submission.
I’ve found that 45-degree angles work beautifully for curly textures, allowing each layer to move independently.
You’re fundamentally creating pathways for your curls to follow, enhancing their natural movement rather than fighting against it.
Layered cuts like the Effortless Curly Shag help distribute weight and define shape for textured hair, making styling easier and more consistent with natural curl patterns weight distribution.
Texture Enhancement Dynamics
Once you understand how curl patterns respond to different cutting angles, you’re ready to harness texture enhancement—the magic that transforms a good layered cut into an exceptional one.
I’ve discovered that removing weight strategically creates dimension while respecting your natural curl formation. Shorter layers at the crown boost volume; longer pieces frame beautifully.
It’s about working with your curl’s DNA, not against it. A practical approach is to embrace the Curly Bob and tailor layer placement to each curl type for effortless, everyday chic.
Tight Coils: Best Layering Approaches for Type 4 Hair
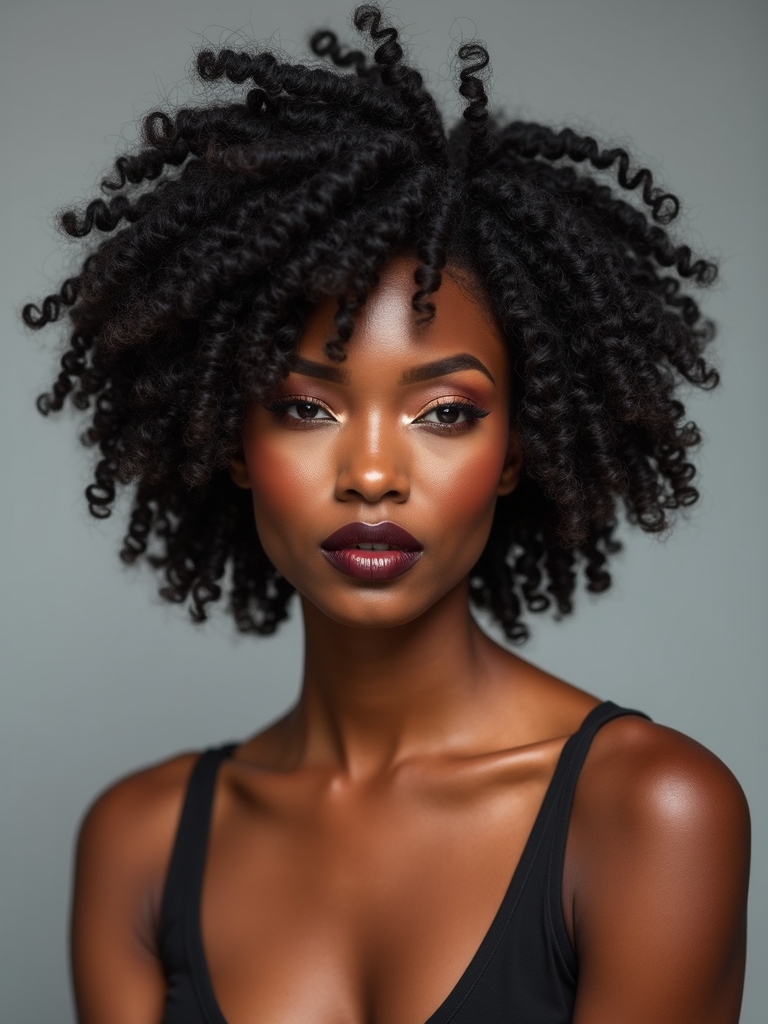
Because Type 4 hair demands a completely different cutting strategy than looser curl patterns, you’ll want to abandon everything you’ve learned about traditional layering.
I recommend working with smaller sections and focusing on removing bulk strategically. You’ll achieve better definition and movement by cutting at precise angles that honor your coils’ natural shrinkage patterns rather than fighting them. Learn more about Shag Curly Hair to adapt these techniques to effortless styles.
Loose Waves: Enhancing Your Type 2 Curl Pattern
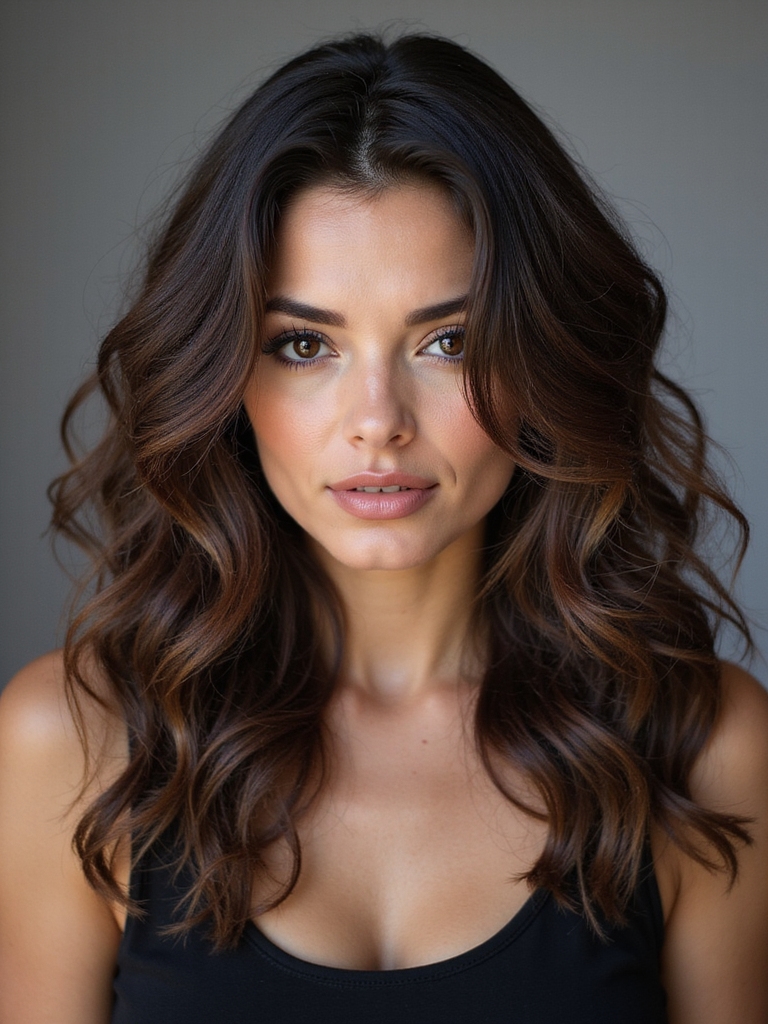
I’ve found that enhancing your Type 2 waves really comes down to two game-changers: the right cutting techniques that bring out definition, and the styling products and methods that’ll actually hold those gorgeous waves all day.
When I cut layers for loose waves, I’m thinking about how to remove bulk strategically while keeping the curl pattern intact—it’s all about working *with* your natural texture, not against it.
Then we’ll tackle how to style and care for those waves so they look intentional and bouncy, not just limp or frizzy.
A trimming approach that creates wavy layered shapes naturally encourages movement and reduces weight for better wave formation.
Cutting Techniques for Definition
Think of your Type 2 curls as dormant potential—they’re ready to spring to life with the right cutting approach. I’ll show you how strategic techniques reveal your waves’ true definition.
- Point-cutting creates texture and movement without bluntness
- Razoring removes weight strategically for better curl formation
- Dry-cutting lets me see your curl pattern’s actual behavior
These methods work together, giving you gorgeous, bouncy waves that you’ll love.
Styling Products and Methods
Now that we’ve shaped your curls with precision cutting, it’s time to bring them to their fullest potential with the right products and techniques.
I’d recommend using lightweight leave-in conditioners and curl-defining creams that won’t weigh down your waves. Apply products to damp hair using the praying hands method, then scrunch upward. Diffuse your hair or air-dry for gorgeous, bouncy results that showcase your natural texture beautifully.
Medium Curls: Maximizing Volume With Type 3 Layers
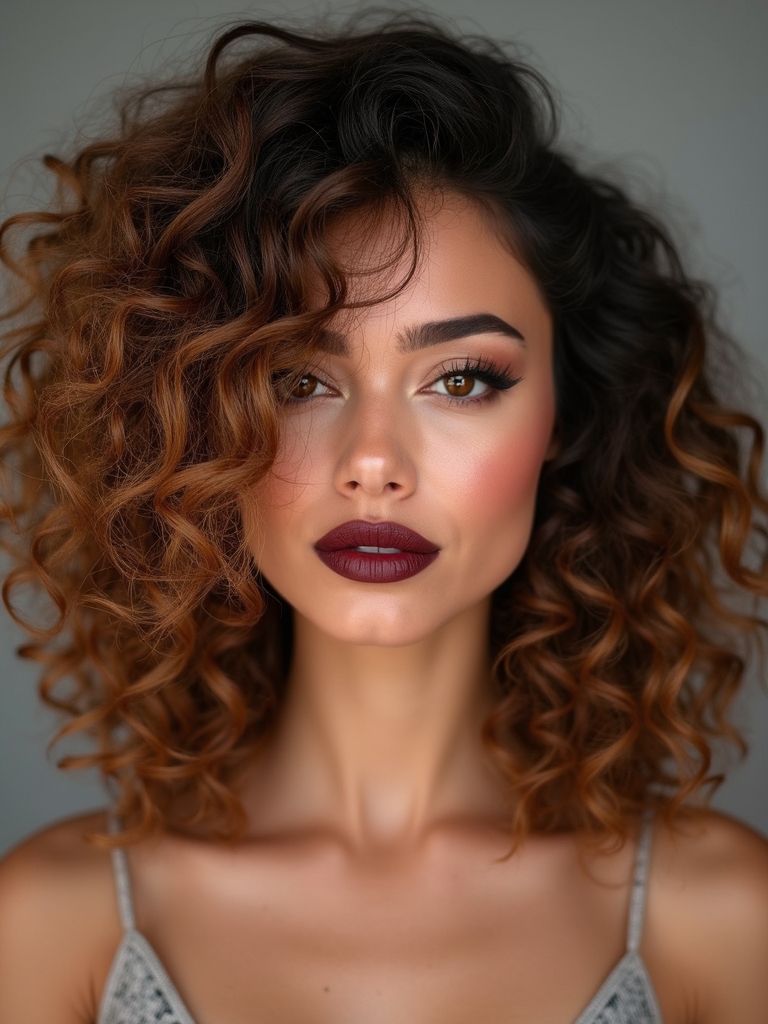
When you’ve got those beautiful medium curls—that sweet spot between loose waves and tight coils—layering is your secret weapon for creating the volume you’re after.
I’ll show you how strategic cuts maximize lift:
- Shorter layers on top bounce and lift
- Longer underneath layers prevent flatness
- Graduated angles enhance natural curl pattern
You’ll love how these layers work with your curls’ natural movement, giving you dimensional, voluminous results that really shine.
How Professional Stylists Assess Your Hair’s Needs
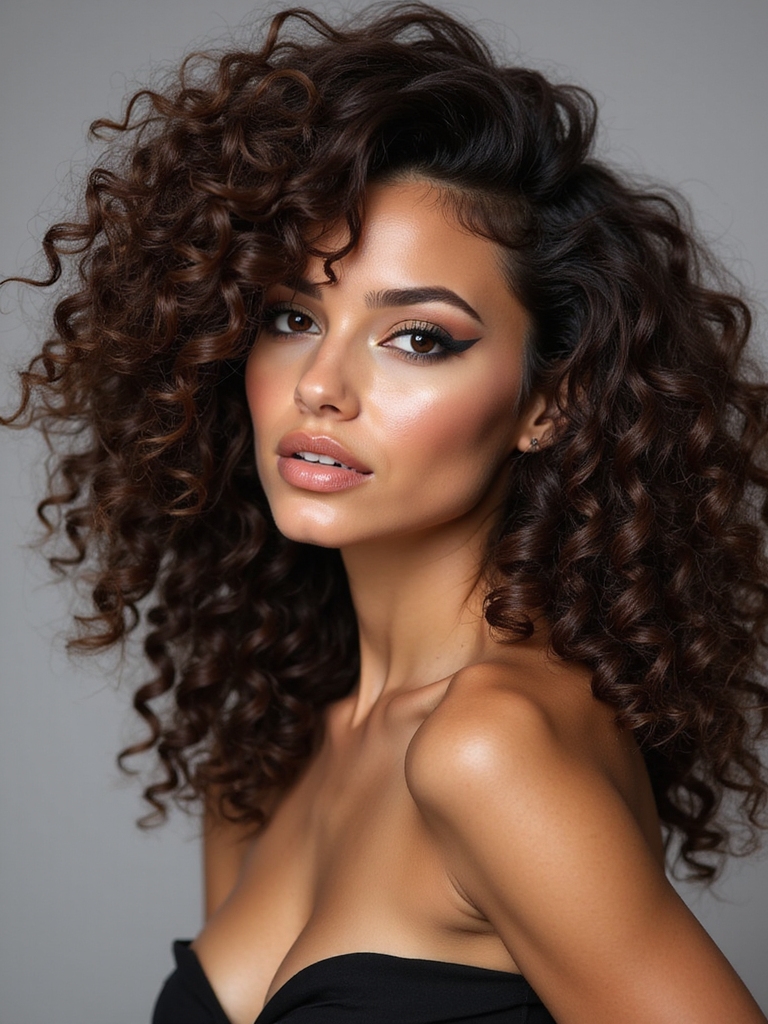
I’ll assess your hair’s unique needs by examining three critical factors that’ll determine your ideal layered cut.
First, I’m checking your porosity and density to understand how your curls hold moisture and their thickness, then I’m identifying your specific curl pattern to see how layers’ll interact with your natural texture.
Finally, I’m evaluating your scalp health because a healthy foundation means your curls’ll thrive once we reshape them.
Analyzing Porosity and Density
Before a stylist can recommend the perfect layered cut for your curls, they’ve got to understand what they’re working with—and that’s where porosity and density come in.
• Porosity determines how well your hair absorbs and retains moisture
- Density reveals how many strands you’ve got per square inch
- Together, they guide cutting angles and layer placement for ideal shape and movement
- Density reveals how many strands you’ve got per square inch
Curl Pattern Recognition Techniques
Identifying your unique curl pattern is where the real magic happens—it’s the foundation that separates a mediocre cut from one that’ll make you fall in love with your curls.
I assess if you’ve got tight coils, loose waves, or spirals by examining your hair’s natural texture when it’s completely dry. This determines exactly how I’ll layer your cut for maximum definition and movement.
Scalp Health Assessment Methods
Evaluating your scalp’s health isn’t something I can skip over if I want to create a cut that’ll actually work for you. I’m checking for:
- Dryness, oiliness, or sensitivity that affects styling
- Buildup or product residue limiting curl definition
- Inflammation or irritation requiring special care
Your scalp’s condition shapes everything—from how I layer your cut to which products I’ll recommend for maintaining those gorgeous curls you’re after.
The Difference Between Blunt and Feathered Layers
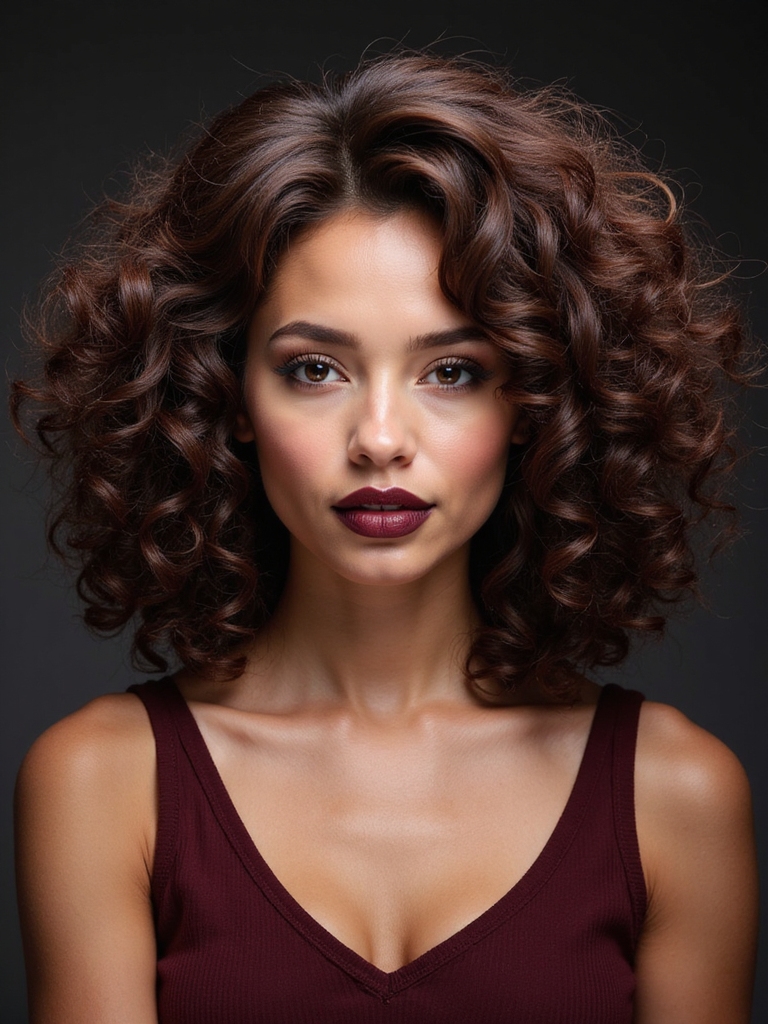
When you’re deciding on a layered curly haircut, the distinction between blunt and feathered layers can make all the difference in how your curls behave and look.
Blunt layers create bold definition and volume, while feathered layers blend seamlessly for a softer, more natural flow. I’d recommend blunt cuts for maximum texture and feathered for understated elegance.
Face-Framing Layers That Enhance Your Features
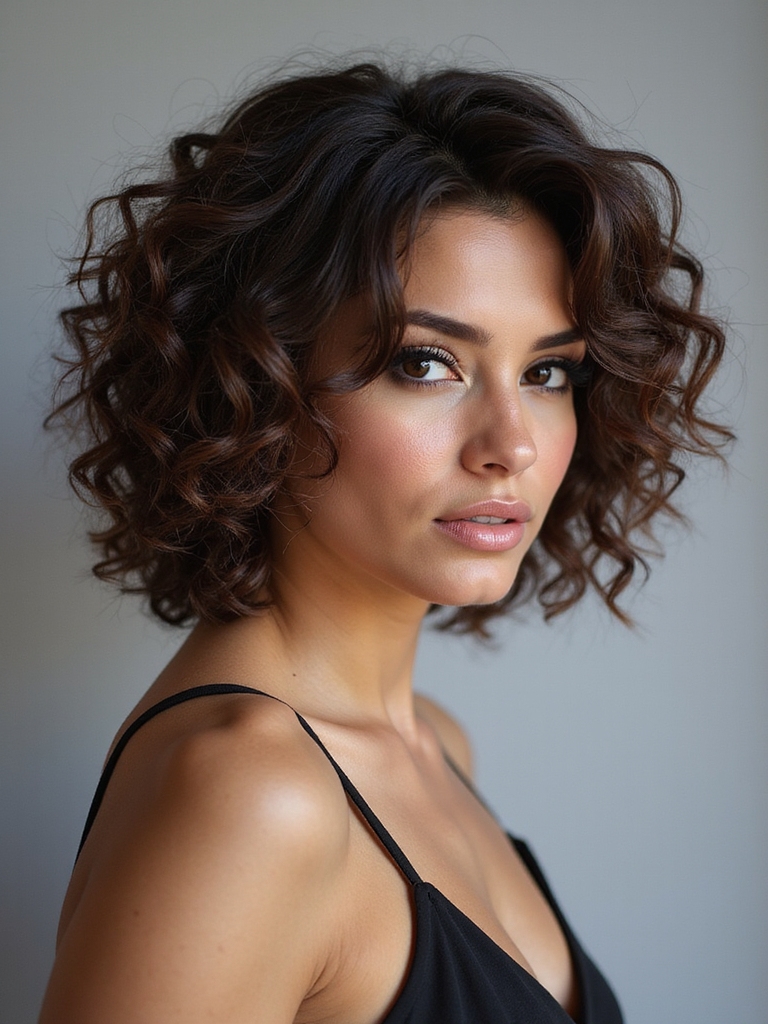
Beyond choosing between blunt and feathered textures, you’ll want to take into account how layers frame your face—because the right placement can genuinely highlight your best features.
- Shorter face-framing pieces draw attention upward, balancing wider jawlines
- Strategic length variations accentuate cheekbones and add dimension
- Angled layers create flattering movement around your face shape
I’ve found that customized placement transforms how your curls work with your features!
Creating Movement Without Sacrificing Length
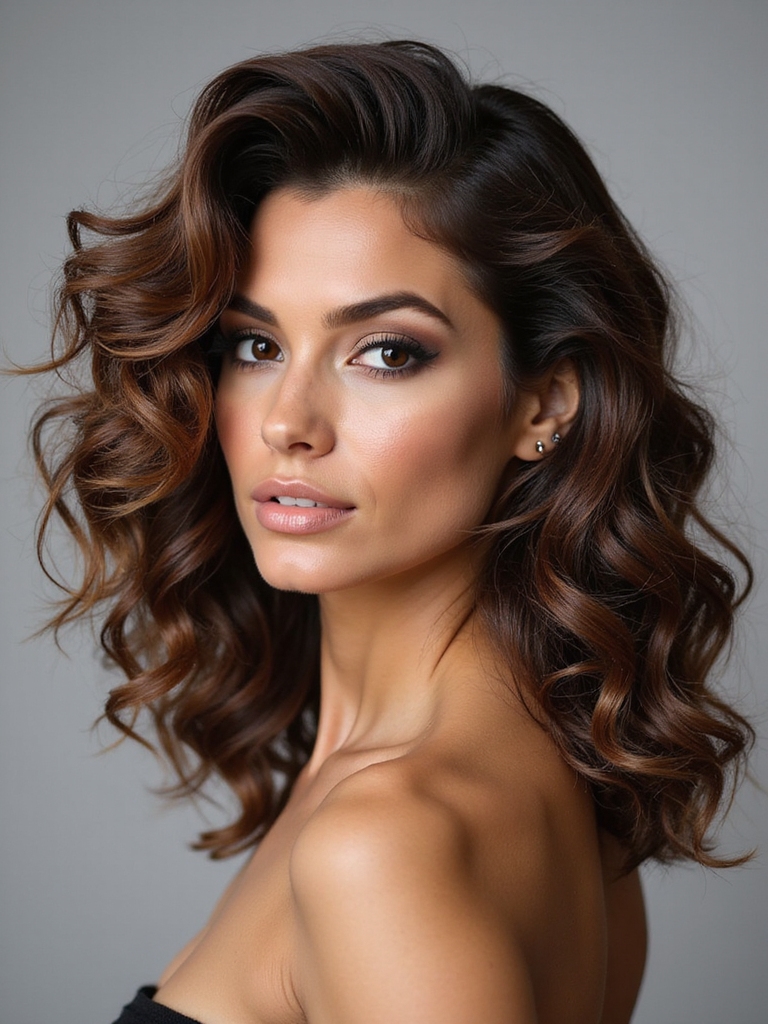
One of the biggest misconceptions I hear about layered curly hair is that you’ve got to chop off significant length to get that bouncy, dynamic movement you’re after.
Here’s the truth: strategic layering creates texture and dimension while preserving your length. I recommend focusing cuts on the crown and mid-lengths, allowing your ends to remain full and lush. You’ll achieve gorgeous movement without sacrificing the length you’ve worked hard to grow.
Maintaining Definition and Bounce Between Salon Visits
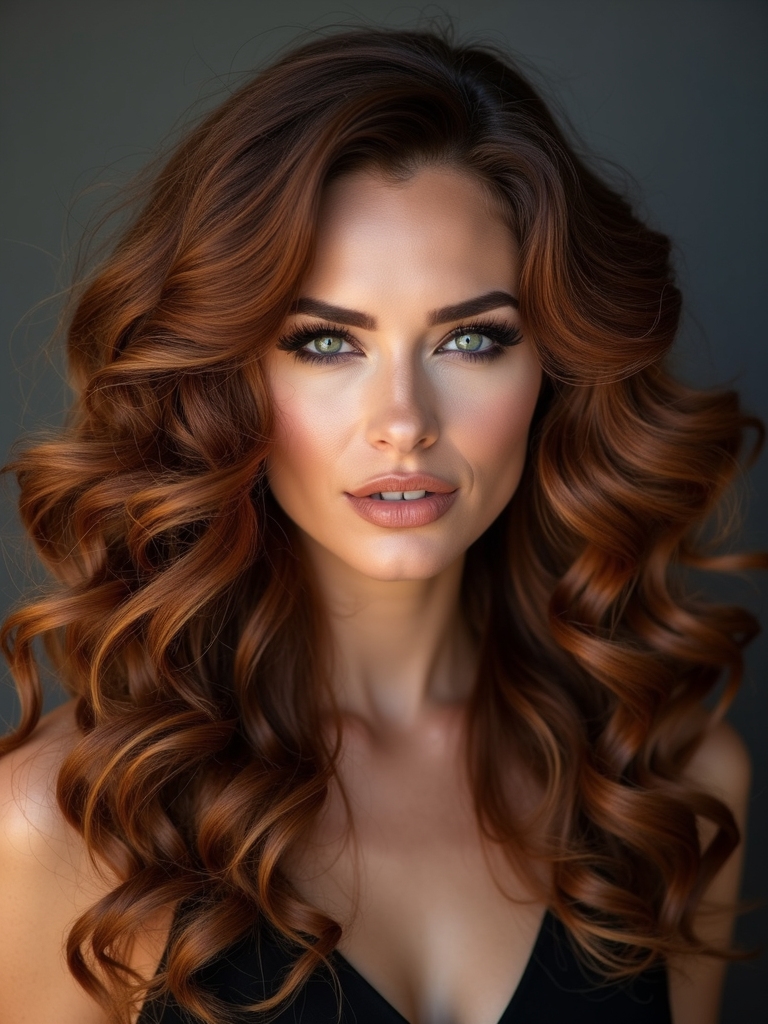
Getting those gorgeous layers cut is just the beginning—what you do at home between appointments determines if your curls stay bouncy and defined or fall flat.
- Use a leave-in conditioner to hydrate and enhance curl pattern
- Apply curl-defining cream to damp hair for lasting shape
- Sleep on a silk pillowcase to prevent frizz and maintain definition
Consistency’s your secret weapon!
Daily Styling Routines for Layered Curly Hair
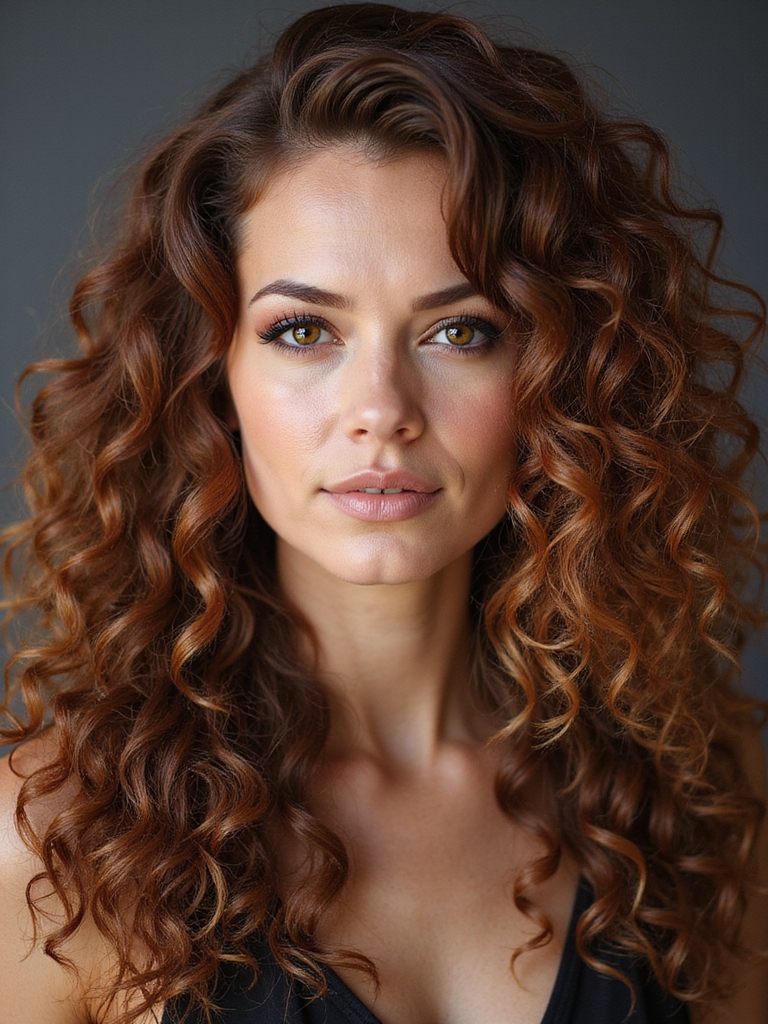
Daily styling routines make all the difference in keeping your layered curls looking their absolute best.
I’ll start by applying a leave-in conditioner to damp hair, then use a curl-defining cream. I scrunch upward to encourage bounce and definition. A diffuser attachment on my blow dryer seals the cuticle, enhancing shine and frizz control throughout your day.
Products and Tools That Enhance Layered Texture
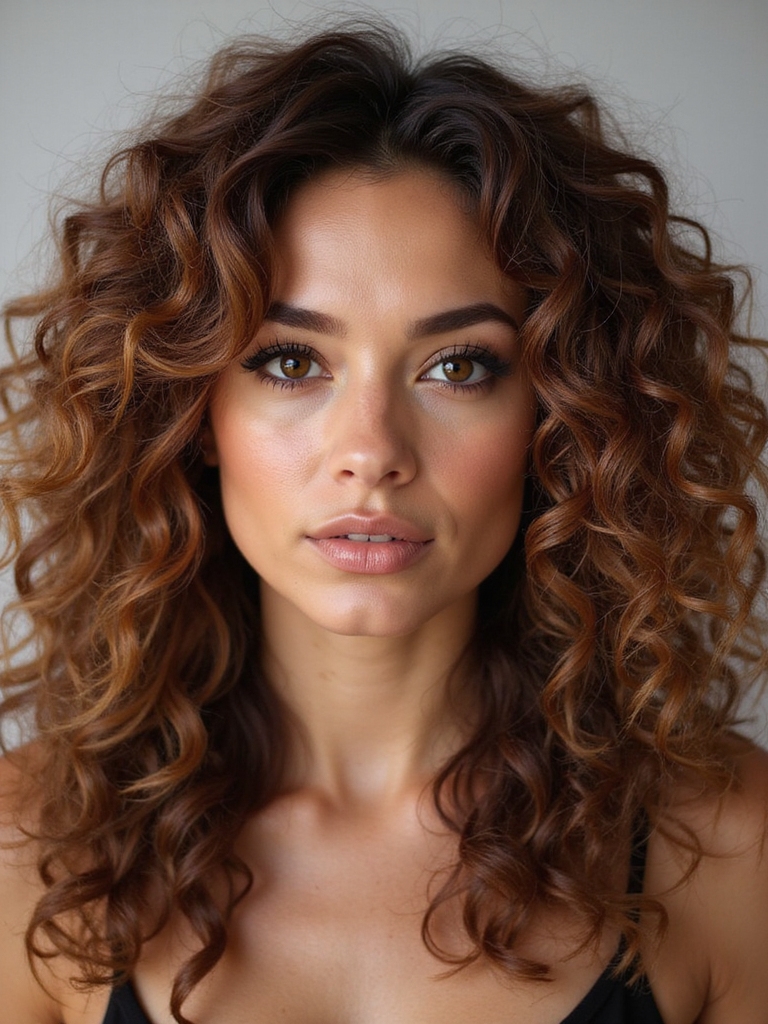
While a solid daily routine gets you halfway there, the right products and tools are what really unlock the potential of your layered curls.
- Curl-defining creams lock in moisture and shape each layer beautifully
- Diffuser attachments distribute heat evenly, preventing frizz and enhancing definition
- Microfiber towels reduce breakage while you’re scrunching products into your curls
You’ll notice dramatic improvements once you’ve got these essentials working together.
Common Mistakes to Avoid When Cutting Curly Hair
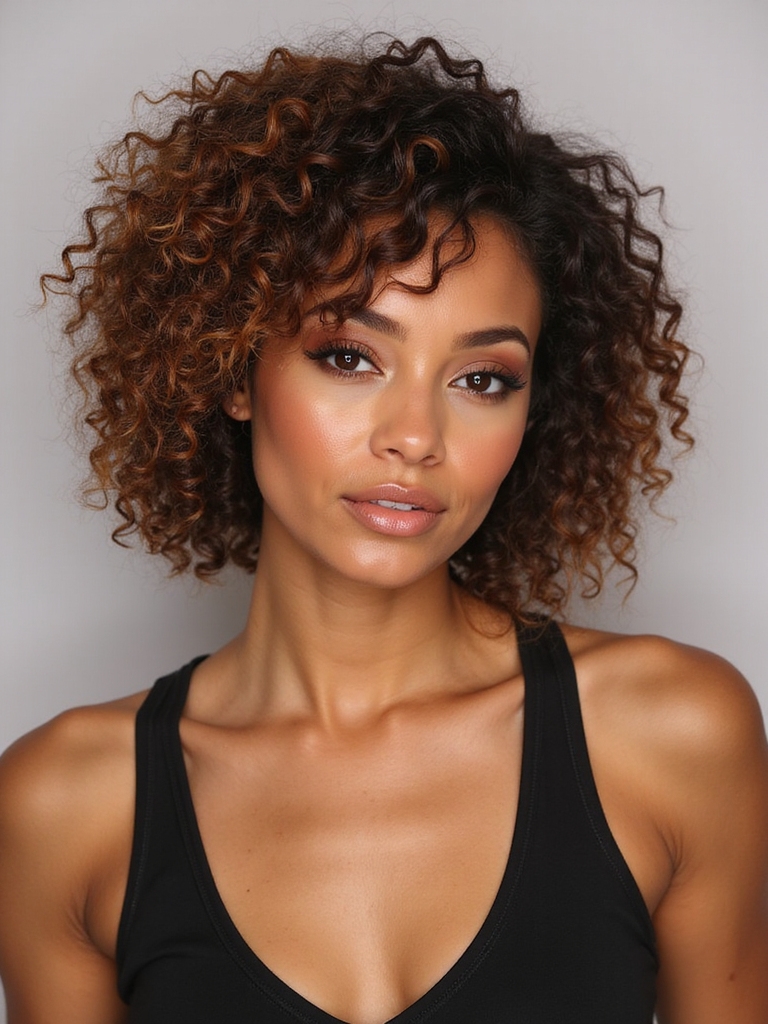
Even though you’ve invested in the right products and tools, one wrong cut can completely derail your curly hair journey.
I’d warn you against cutting too short initially—curls shrink! Don’t use razor techniques on delicate curls; they’ll frizz.
Skip cutting while hair’s wet, and never rush the process.
Believe me, patience and precision matter most here.
Transition Tips: Going From One-Length to Layered Curls
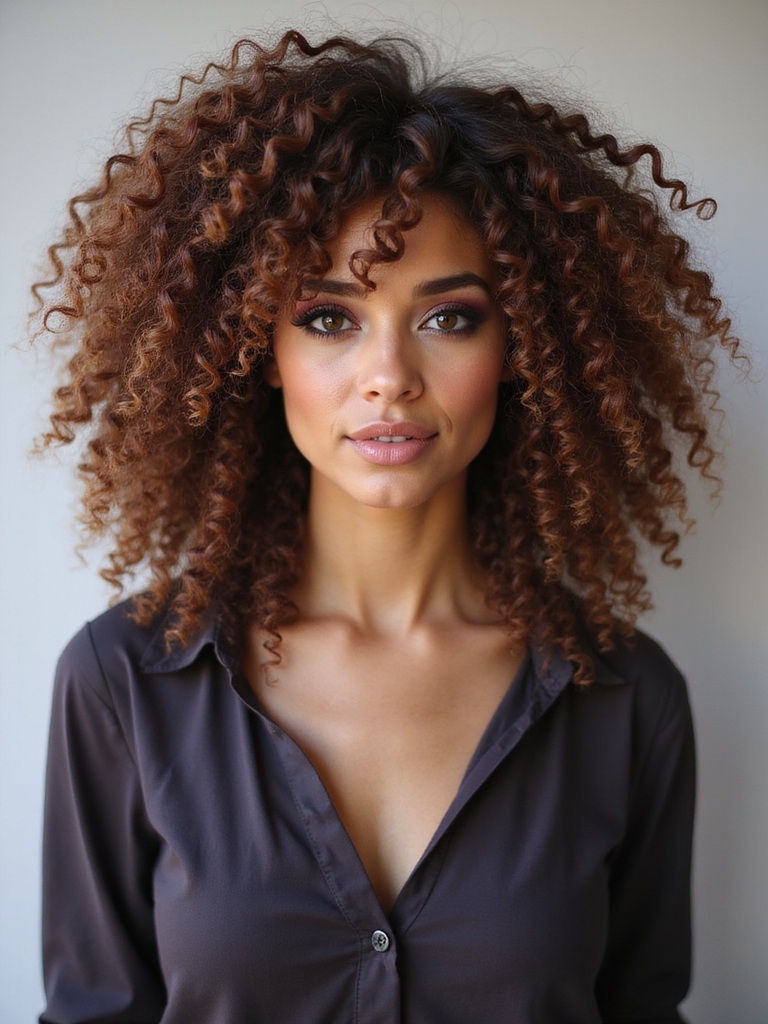
Because moving from one-length to layered curls can feel intimidating, I’m here to walk you through it step by step.
- Start with subtle layers near your face to ease the shift
- Consult your stylist about your curl pattern and texture needs
- Welcome the adjustment period as your curls adapt to their new shape
You’ve got everything you need to rock those layered curls! If you’re working with tight coils or loose waves, the right cut transforms your hair into a bouncy, defined masterpiece.
Remember, it’s all about understanding your unique curl pattern and finding a stylist who celebrates it. Trust the process, invest in lightweight products, and watch your curls spring to life. Your natural texture deserves to shine!