I’ve been watching the 70s shag make a serious comeback, and honestly? It’s nothing like the shags your parents wore. Today’s stylists are crafting textured, face-framing layers that actually work with your hair type—whether it’s fine, thick, or curly.
The secret’s in modern techniques and strategic placement. But here’s what most people don’t realize about pulling off this look effortlessly.
Understanding the Classic 70s Shag Aesthetic

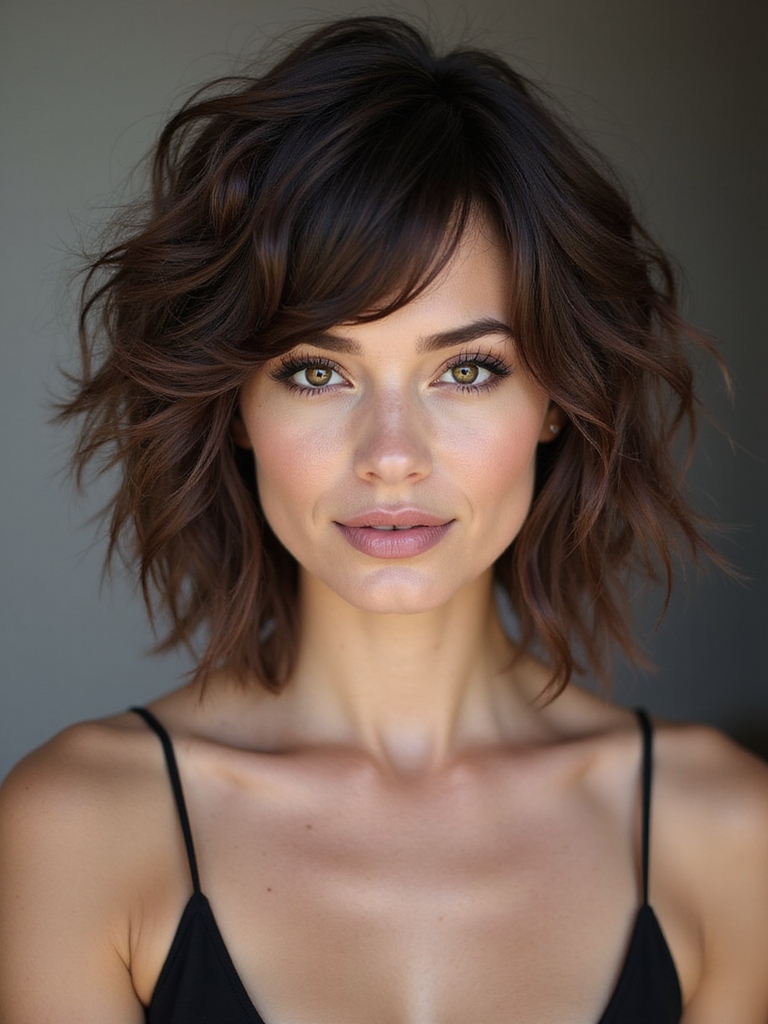
When you picture the 70s shag, you’re probably imagining those textured, layered locks that seemed to defy gravity—and honestly, that’s exactly what made them so iconic.
I’m talking about choppy, face-framing layers that created movement and volume. The shag wasn’t just a haircut; it was a statement.
It blended rock-and-roll rebellion with effortless sophistication, giving everyone that perfectly tousled, “I woke up like this” vibe that we’re still chasing today. The modern revival often draws directly from the 70s shag to recreate that authentic retro texture and shape.
How Modern Stylists Are Reinventing the Shag Cut

Because that classic 70s shag laid such strong groundwork, today’s stylists aren’t trying to replicate it—they’re evolving it.
I’m seeing stylists blend the shag’s signature layers with modern texturing techniques, creating movement that feels fresh and intentional.
They’re customizing length, adding undercuts, and playing with styling products to give clients that effortless vibe without the maintenance hassle.
It’s the best of both worlds.
Modern approaches often incorporate layered texture to enhance natural movement while keeping styling simple.
Shag Haircuts for Different Hair Types
Tailoring the shag to your specific hair texture is where the magic really happens—and I’ve got to say, it’s one of my favorite aspects of this cut’s versatility.
- Thick hair: Welcome choppy layers for movement
- Fine hair: Ask for subtle, blended layers
- Curly hair: Work with your natural texture’s volume
You’ll discover that understanding your hair type transforms the shag from trendy into genuinely flattering for you. Layered shags are particularly effective at creating effortless movement across different hair types.
Finding the Right Shag Style for Your Face Shape

Once you’ve nailed down what works for your hair texture, the next game-changer is considering your face shape—because a shag that flatters your features will make you feel absolutely unstoppable.
Round faces benefit from longer layers that elongate, while angular faces rock shorter, textured shags. Oval faces? You’re lucky—almost any shag works.
Heart-shaped faces shine with side-swept bangs. Believe me, the right cut transforms everything. Try adding a modern shag’s emphasis on texture and movement for effortless, contemporary flair.
The Best Products for Shag Hair Maintenance

Now that you’ve found your perfect shag style, I’ve got to tell you—the right products make all the difference in keeping those layers looking fresh and lived-in.
I’m talking texturizing sprays and mousses that’ll give you that effortless movement, hydrating oils and serums to combat frizz, and styling creams that bring out your cut’s definition without weighing it down.
Let’s break down exactly which ones’ll transform your shag maintenance routine.
The modern takes on Shag Haircuts For Women blend vintage texture with contemporary manageability, so choose products that enhance layered movement while keeping hair healthy.
Texturizing Sprays and Mousses
You’ll quickly discover that maintaining that coveted shag texture isn’t just about the cut—it’s about what you put in your hair afterward.
I’ve found these essentials transform my shag:
- Texturizing sprays add grip and definition
- Volumizing mousses create that signature piece-y look
- Sea salt sprays enhance natural movement
These products work together, giving me that effortless 70s vibe I’m after without daily styling stress. The shag’s layered, lived-in finish is all about embraceable modern texture and minimal fuss.
Hydrating Oils and Serums
Balancing texture with moisture is where shag maintenance gets tricky—all those layers and movement can leave your hair feeling dry and brittle if you’re not careful.
I’ve found that lightweight hydrating oils and serums are game-changers. They’ll nourish each layer without weighing down your shag’s signature bounce. Apply them to damp ends, and you’ll keep that vintage movement intact while restoring shine and softness.
Long shags benefit from techniques that emphasize texture and movement to maintain effortless flow.
Styling Creams for Definition
When I’m looking to enhance my shag‘s texture and piece out those layers, styling creams become my go-to tool. I’ve discovered they’re essential for maintaining that effortless 70s vibe:
- Lightweight creams won’t weigh down delicate layers
- They define separation between each strand beautifully
- Work best applied to damp hair for peak hold
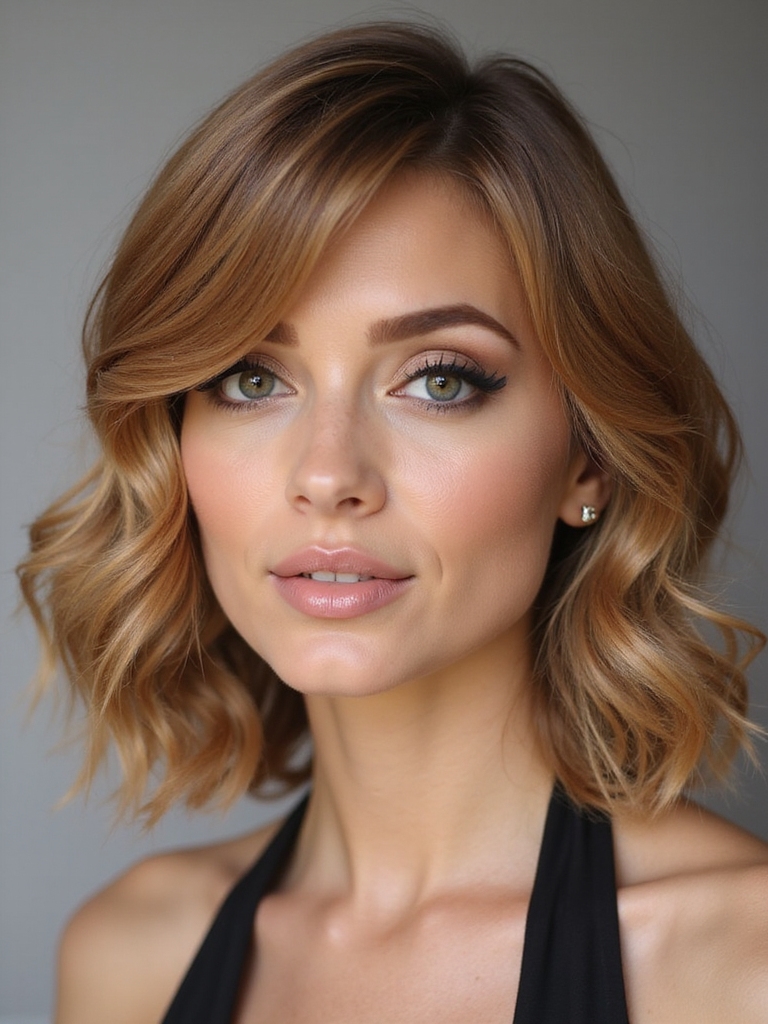
Trust me, the right cream transforms your shag from flat to fabulous instantly. The effortless shag bob is a great example of how texture and modern layering can update vintage styles for today’s look, especially when you use edgy texture to accentuate the layers.
Styling Techniques to Achieve That Effortless Tousled Look

I’ve found that the secret to nailing that signature shag look isn’t about perfection—it’s all about texture and volume, which you’ll create using the right products and blow-drying methods.
You’ll want to incorporate texturizing sprays and sea salt products that break up your layers and add grip, giving your hair that lived-in, undone vibe that makes the cut really shine.
Then, mastering your blow-dry technique with a diffuser attachment or even your fingers will amp up that natural movement and keep your locks looking effortlessly cool all day long.
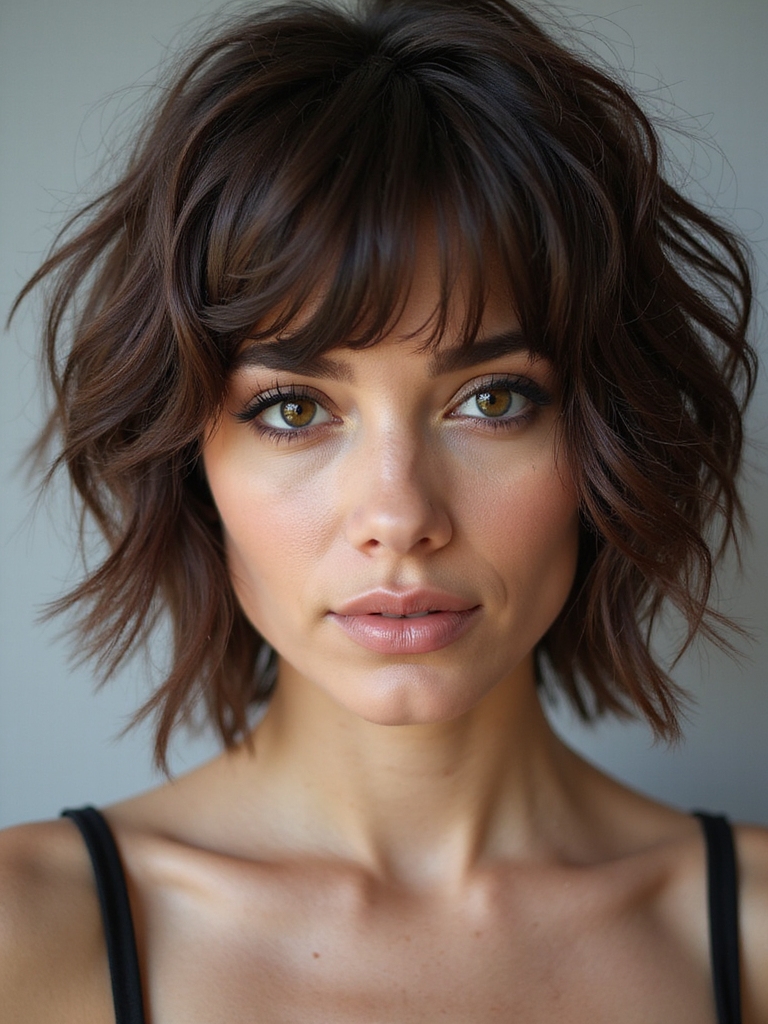
The classic shag cut with bangs adds instant vintage flair while emphasizing layers and face-framing movement.
Texturizing Products and Techniques
Achieving that signature 70s shag look doesn’t require hours of styling—you just need the right products and techniques working together.
I’ve found these essentials transform your texture:
- Sea salt spray creates natural-looking waves and grip
- Texturizing paste defines layers without heaviness
- Blow-dry with a diffuser amplifies movement
You’ll love how these work together to give you that effortlessly tousled vibe that defines vintage glamour. The Medium Shag Cut emphasizes choppy layers and feathered ends to enhance movement and volume (choppy layers).
Blow-Drying for Maximum Volume
Mastering the blow-dry technique is what separates a flat, lifeless shag from one that’s got serious dimension and movement.
I’ve found that roughing up your hair with your fingers while directing heat at the roots creates that coveted volume. Use a medium heat setting and flip your head upside down—it’s a game-changer. Finish with a cool shot to lock everything in place.
Celebrity Inspiration: Iconic Shag Wearers Then and Now

When you’re hunting for the perfect shag inspiration, you’ve got to look where the style’s always thrived—on the heads of celebrities who’ve rocked it across decades.
- Farrah Fawcett’s feathered layers defined the ’70s look
- Meg Ryan brought shags back in the ’90s
- Modern stars like Zendaya keep it current
I’ve noticed these icons prove shags never truly fade—they evolve.
Layering Strategies That Define the Modern Shag

I’ve found that what truly separates today’s shag from its 70s predecessor is how strategists place layers to create movement rather than just bulk—you’ll notice they’re concentrating cuts around the face and crown while keeping longer lengths underneath.
The real magic happens when you blend those textures together, mixing choppy shorter pieces with smoother longer strands so your hair flows naturally instead of looking choppy and disconnected.
It’s all about creating that effortless, piecey vibe that makes people think you just woke up looking cool, not like you spent hours styling.
Strategic Layer Placement Techniques
The magic of today’s shag isn’t just about length—it’s all about where you place those layers.
I’ve discovered that strategic placement transforms your entire look:
- Crown layers create volume where you need lift
- Face-framing pieces soften features beautifully
- Longer bottom layers maintain movement and flow
You’ll find that precision placement makes all the difference between a choppy mess and genuine vintage-inspired glamour.
Texture Blending for Movement
While precision placement sets your foundation, texture blending‘s what truly brings a shag to life—it’s where the cut becomes a living, breathing style.
I strategically vary lengths throughout, creating dimension that catches light beautifully. You’ll notice how shorter pieces on top contrast with longer sections underneath, generating natural movement. This interplay of lengths gives your shag that effortless, tousled energy that defines modern vintage glamour.
Color Options That Complement the Shag Aesthetic

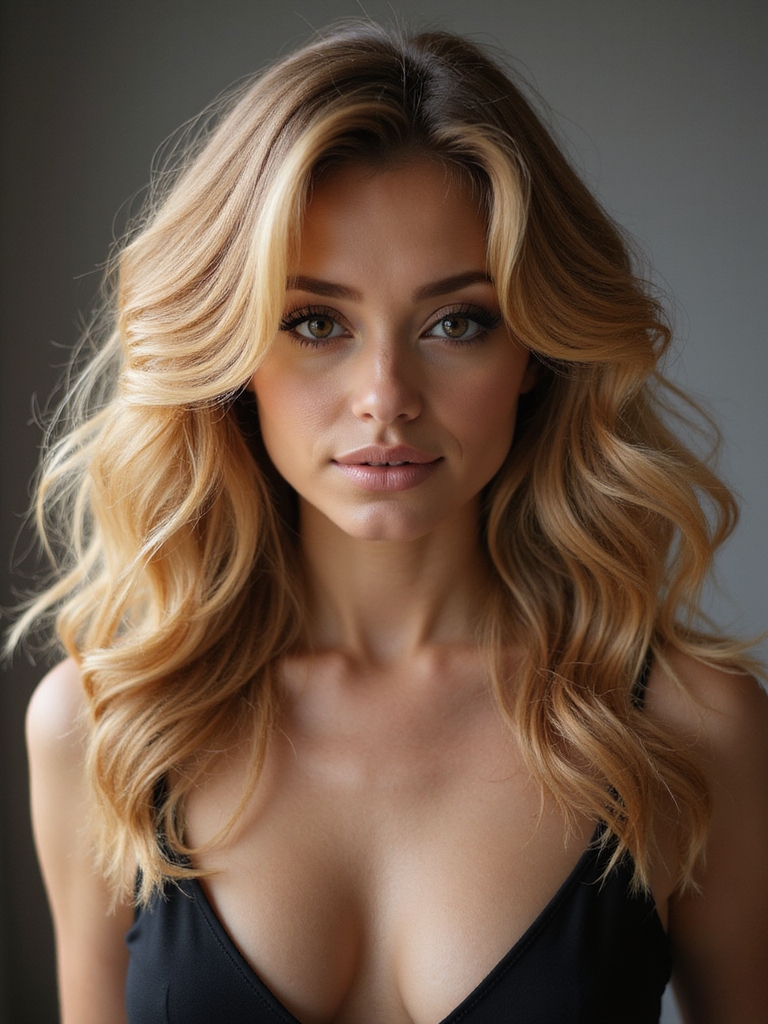
Since you’re reviving this iconic cut, you’ve gotta nail the color to make it really sing. Here’s what works beautifully:
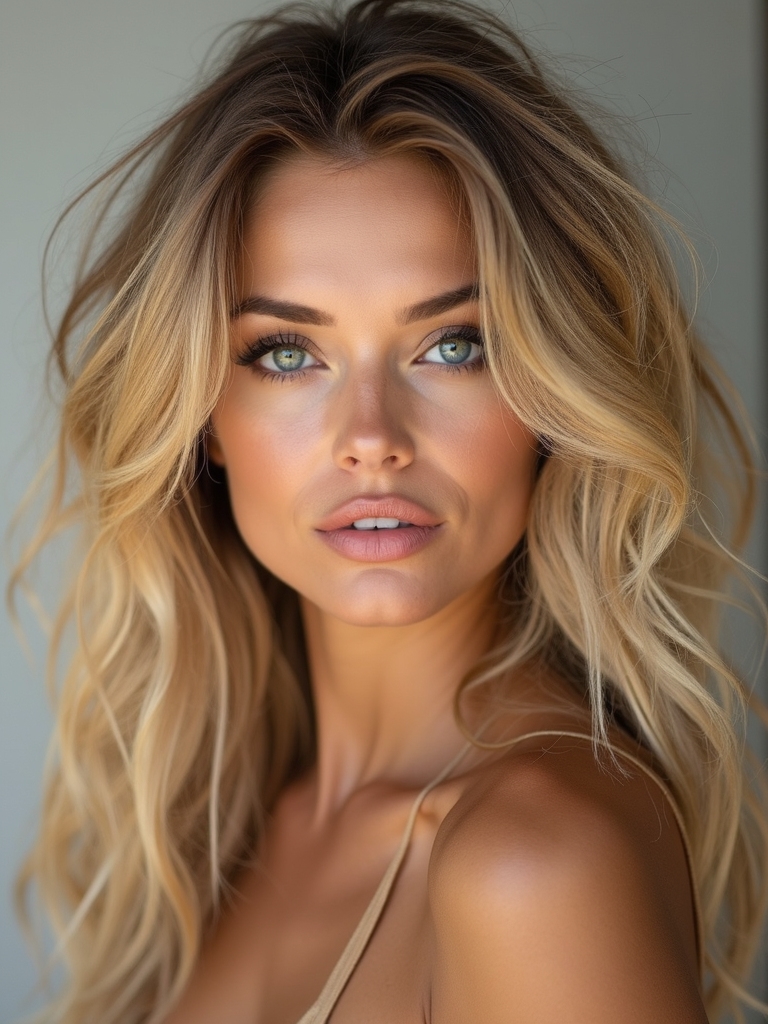
- Warm honey and caramel create that sun-kissed, lived-in vibe
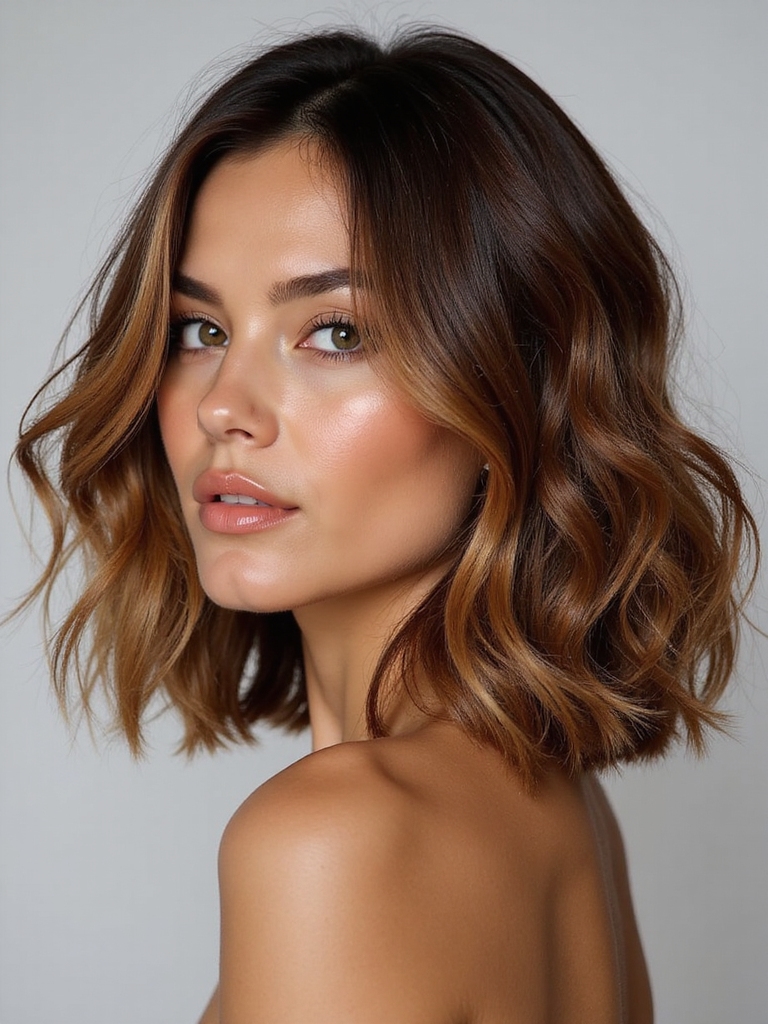
- Rich brunette with subtle highlights adds dimension and movement
- Blonde balayage captures authentic 70s glamour
These shades enhance your shag’s texture and give you that effortless, retro-cool aesthetic you’re after.
How Often to Schedule Trims for Optimal Shag Health

Once you’ve got your color dialed in, keeping that shag looking fresh is where the real magic happens. I’m telling you, aim for trims every four to six weeks.
Your stylist’ll keep those layers sharp and prevent that shaggy look from sliding into scraggly territory. Believe me, consistent maintenance keeps your vintage vibes absolutely on point.
Texturizing and Texture Spray: Your Shag’s Best Friends

If you’re serious about keeping your shag looking effortlessly cool, I’ve got to tell you that texturizing spray is absolutely game-changing—it’ll transform your hair’s movement and give you that perfect tousled vibe without the fuss.
I’m going to show you how to layer products strategically so you’re building volume exactly where you need it, plus share the spray application techniques that actually work.
Once you master these daily maintenance tricks, you’ll understand why texture spray is basically the secret weapon every shag lover keeps in their arsenal.
Texturizing Spray Application Techniques
Mastering texturizing spray application is what’ll take your shag from flat to fabulous in seconds.
I’ve found these techniques work best:
- Mist from 6 inches away for even, lightweight coverage
- Focus on mid-lengths and ends where texture matters most
- Scrunch upward while the spray dries for maximum volume
You’ll notice instant dimension and that coveted 70s tousled vibe.
Believe me, it’s game-changing.
Layering Products for Volume
Building on those texturizing spray tricks, you’ll want to layer your products strategically if you’re serious about achieving that full, voluminous shag that’ll turn heads.
I’m talking mousse first, then your texturizing spray, and finally a light hairspray to lock everything in place.
This trio creates dimension and keeps your shag looking effortlessly tousled all day long.
Maintaining Shag Movement Daily
The secret to keeping your shag looking fresh between salon visits? Texturizing sprays and texture products are your absolute game-changers. I’m obsessed with how they revive movement instantly:
- Dry texture spray adds grip and definition
- Sea salt spray creates that effortless, lived-in vibe
- Texturizing powder volumizes without weighing hair down
You’ll notice your shag bounces back to life with minimal effort.
Blow-Drying Methods for Maximum Volume and Movement

Getting that signature 70s shag to really come alive? I’ve found that blow-drying from underneath creates instant lift at the roots.
Work section by section, using a round brush to curl the ends outward. Flip your head upside down for extra oomph, then finish with cool air to set everything in place.
You’ll get that effortless, voluminous movement that defines the shag.
Nighttime Hair Care Tips to Preserve Your Shag Between Washes

I’ve discovered that how you treat your shag at night makes all the difference in keeping those gorgeous layers looking fresh between washes.
- Sleep on a silk pillowcase to reduce friction and frizz
- Use a loose braid or pineapple method to protect volume
- Apply lightweight leave-in conditioner before bed for texture maintenance
You’ll wake up with effortless movement that lasts all week!
Transitioning From Other Cuts: What to Expect During the Grow-Out Phase

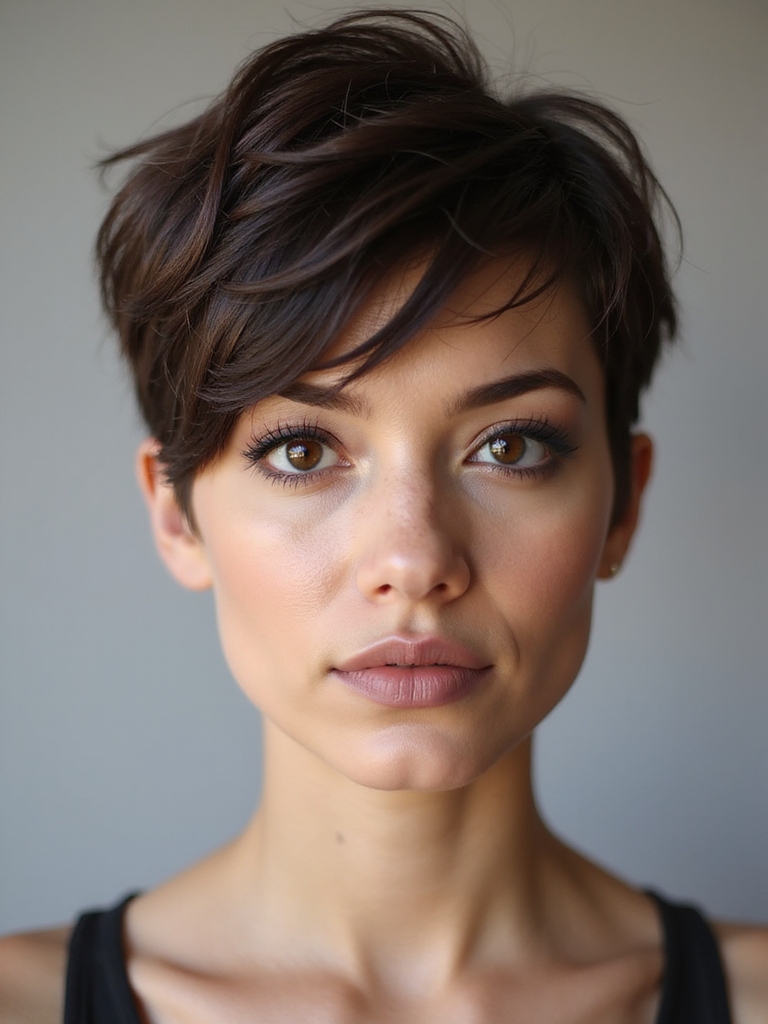
If you’re coming from a blunt bob, a pixie cut, or layers that didn’t quite work out, growing into a shag requires patience and the right game plan.
I’ll be honest—you’ll hit awkward phases where length feels in-between.
Strategic trims every six weeks keep things intentional, preventing that scraggly look while your hair reaches shag-ready length.
You’ve got this!
Customizing Your Shag: Personalizing the Cut to Match Your Style

Once you’ve got the length sorted and those awkward phases behind you, here’s where the real fun starts—making the shag uniquely yours.
- Add texture with layers at different angles for movement that suits your face shape
- Incorporate face-framing pieces to highlight your best features and personal aesthetic
- Experiment with styling products like texturizing sprays and pomades to achieve your vibe
Your shag becomes a canvas for your personality.
Your shag revival journey doesn’t end here—it’s just getting started! You’ve got the tools, techniques, and inspiration to rock this timeless cut with total confidence.
If you’re welcoming your natural texture or going for that perfectly tousled vibe, remember that your shag’s all about expressing yourself. So go ahead, book that appointment, and get ready to turn heads. Your vintage glam moment’s waiting!