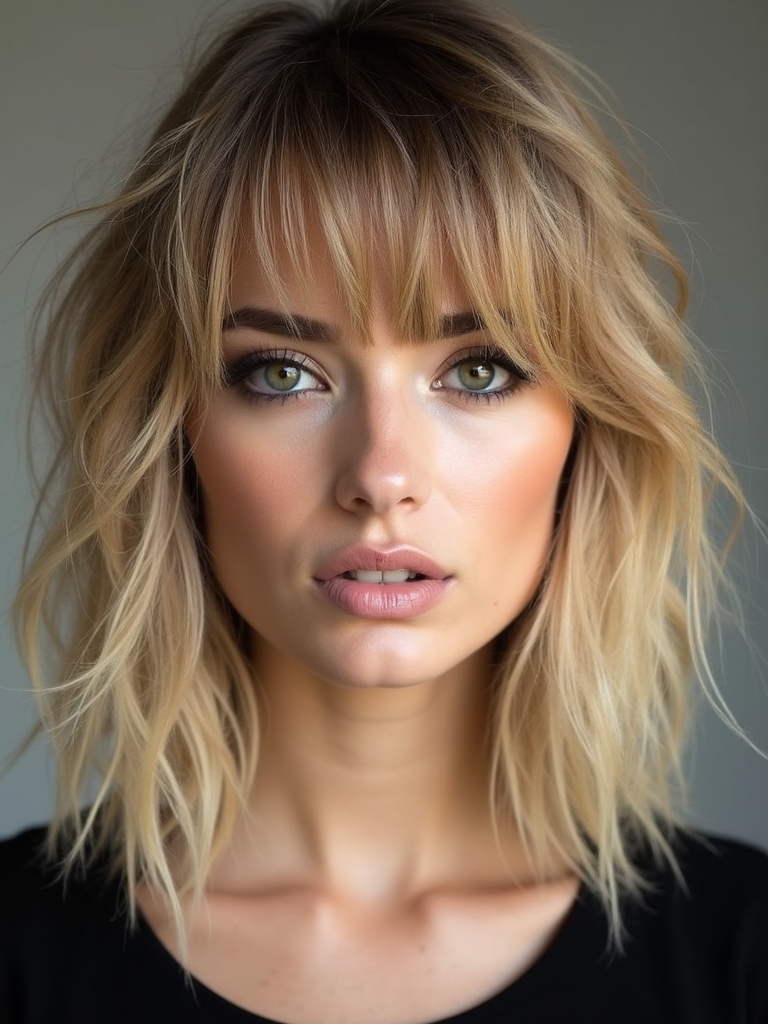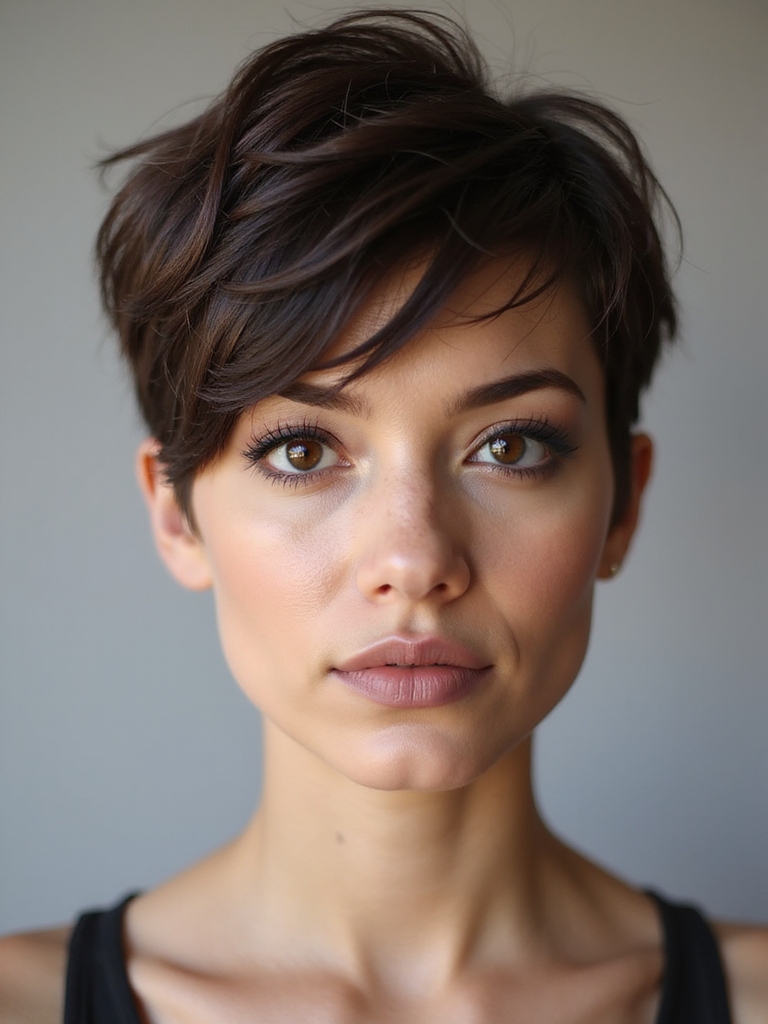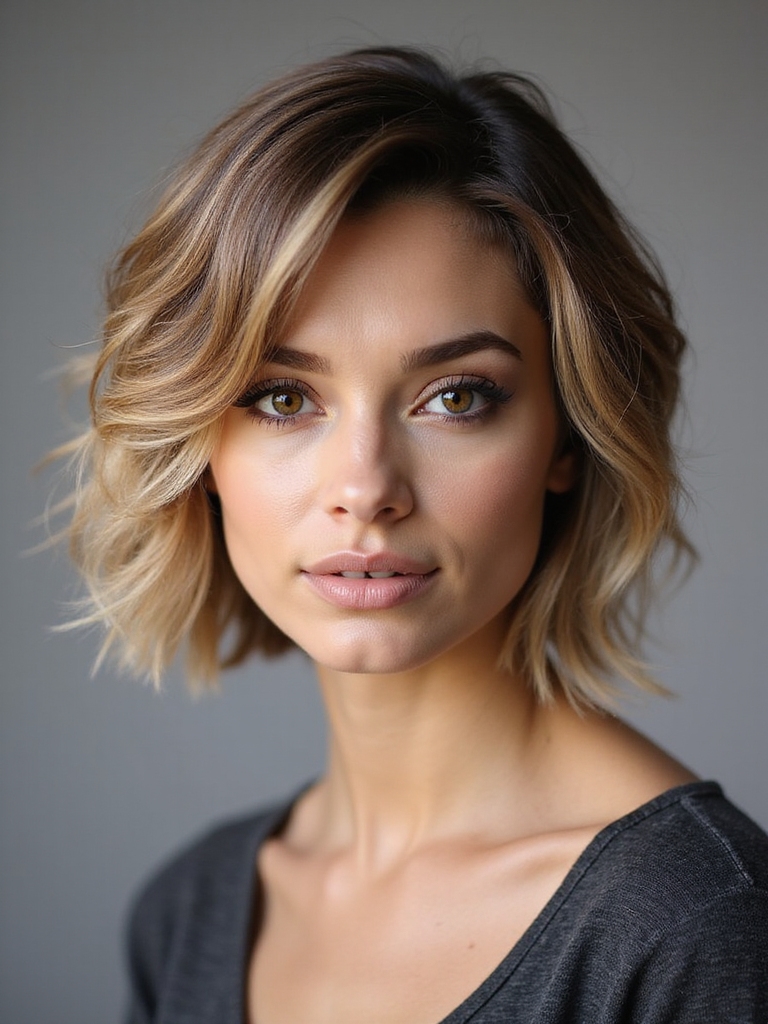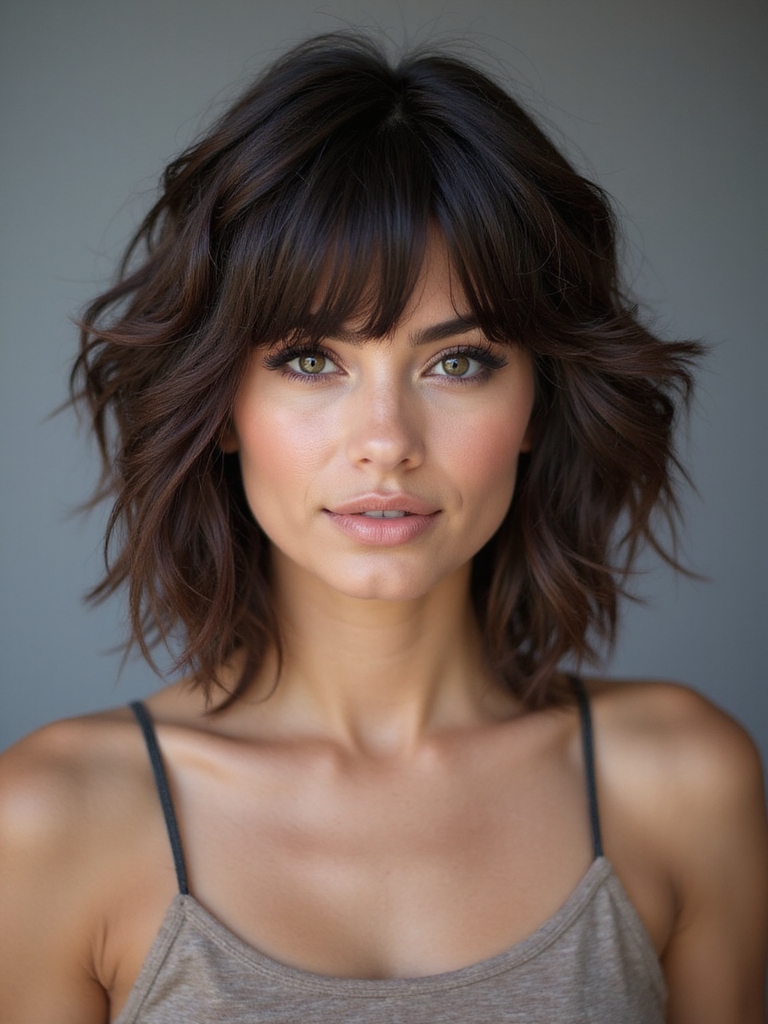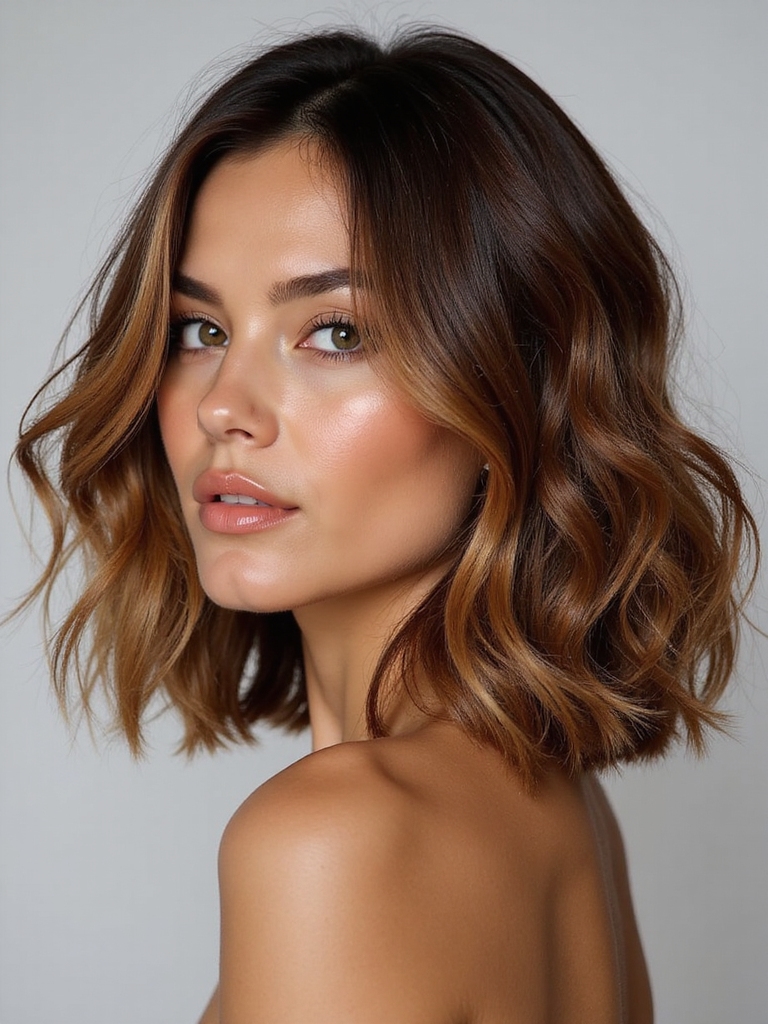
I’ve noticed you’re drawn to that effortless, textured vibe—the kind of haircut that looks like you didn’t try too hard, yet somehow always catches the light perfectly. If you’re considering a long shaggy cut, you’re probably wondering how to nail that dramatic length without sacrificing movement or volume.
The secret isn’t just about length; it’s understanding how layers work together to create that coveted cascading effect.
The Evolution of Shaggy Layers: From 70s Icon to Modern Trend

When you think about iconic hairstyles, the shaggy layers of the 1970s probably come to mind—and for good reason.
That era’s effortless, textured look is making a serious comeback today. I’ve noticed how modern stylists are reimagining those classic choppy layers with contemporary twists, blending vintage charm with today’s trends.
It’s fascinating how this timeless cut evolves while maintaining its rebellious spirit and undeniable appeal. The resurgence often points back to the original 70s Shag as a defining inspiration for modern variants.
Understanding the Anatomy of a Long Shaggy Cut

To truly appreciate why the shaggy cut works so well, you’ve got to understand what makes it tick.
It’s all about strategic layering that creates movement and texture throughout. The shorter layers sit on top, building volume, while longer pieces underneath provide length and flow.
This combination gives you that effortless, lived-in vibe that’s absolutely enthralling. Long layered shags are a versatile look that suits many face shapes and hair types, emphasizing Long Layered Shag for dramatic effect.
Shaggy Styles for Straight Hair Types

I’ve found that layering’s your best friend when you’re rocking straight hair with a shaggy cut, since it creates the movement and texture that straight strands don’t naturally give you.
You’ll want to master techniques that break up that sleekness—think choppy layers and point-cutting—so you’re not stuck with a flat, one-dimensional look.
The trick is keeping enough length through those layers so your cut doesn’t shrink up on you or lose its shaggy vibe over time.
Shaggy cuts work especially well when you incorporate choppy layers to enhance texture and movement.
Layering for Straight Hair
Beyond the myth that straight hair can’t pull off shaggy cuts, layering actually works beautifully on straight strands when done right. I’m telling you, strategic layers create movement and texture without compromising your hair’s natural sleekness.
You’ll get that effortless, tousled vibe while maintaining shine and structure. The key’s finding a stylist who understands how layers interact with straight hair’s weight. Shag haircuts also emphasize modern texture and movement when layers are tailored to long, straight lengths.
Texture and Movement Techniques
Layering’s just the beginning—what really transforms straight hair into a shaggy masterpiece is how you work texture and movement into the cut.
- Point-cutting techniques create choppy, piece-y ends
- Razoring adds dimension and natural texture
- Tousled styling enhances the effortless vibe
- Strategic breakage points catch light beautifully
Effortless long shags rely on texture and movement to achieve that lived-in, casually undone finish.
Maintaining Length With Layers
The trick to rocking a shaggy cut without losing the length you’ve worked hard to grow is understanding how layers actually work with straight hair.
I’ll tell you—strategic layering removes weight, not length. Your stylist should focus on choppy texture at the ends while keeping your base intact.
This approach gives you movement and dimension without sacrificing those hard-earned inches. Long shag cuts often combine face-framing layers with textured ends to maintain length while adding shape and volume, a hallmark of the Long Shag Haircut style.
Creating Movement: Shaggy Cuts for Wavy Hair

If you’ve got wavy hair, I’m telling you—a shaggy cut is your best friend because the right layering techniques’ll amplify your natural texture and create that effortless, lived-in movement everyone wants.
I’ll show you how strategic layers work with your wave pattern instead of against it, giving you dimension and flow without frizz or heavy styling.
Once you nail these layering fundamentals, styling your wavy shag becomes simple, and you’ll actually look forward to wash day.
A long shag works on every texture, including Shag Long Hair, to create movement and volume.
Layering Techniques for Movement
When you’re working with wavy hair, I’ve found that strategic layering is what transforms a basic shag into a head-turning style that moves beautifully.
- Shorter layers around your face create dimension and frame your features
- Longer underneath sections maintain length while adding subtle texture
- Choppy ends encourage natural wave patterns
- Graduated angles direct movement toward your shoulders
Shags often use long shaggy layers to achieve effortless, tousled movement.
Styling Wavy Hair Shag
Beyond the cut itself, styling’s where your wavy shag truly comes alive. I’ve found that enhancing your natural texture is key—try scrunching sea salt spray through damp hair, then air-drying or diffusing. You’ll get that effortless, piece-y definition.
On second-day hair, a light texturizing spray refreshes everything. Honestly, the shag works with your waves, not against them, giving you that coveted undone, voluminous look. The modern shag particularly flatters wavy shaggy hair, creating movement while maintaining dramatic length.
Embracing Texture: Shaggy Layers for Curly Hair

- Layers reduce bulk while enhancing your curl’s natural bounce
- Shorter pieces frame your face beautifully
- You’ll notice increased movement and dimension
- Styling becomes easier with strategic layering
This approach transforms your curls into a gorgeous, effortless style that celebrates who you are. Adding a textured cutting method can further define curl shape and reduce frizz with precision cutting.
Face Shape Considerations for Your Shaggy Transformation

Since your face shape plays a major role in how a shaggy cut’ll look on you, it’s worth taking a moment to figure out yours before you commit to the scissors.
Round faces benefit from longer layers that elongate, while square faces rock shorter, textured pieces.
Oval faces? You’re golden—basically anything works.
Heart-shaped faces need volume at the chin.
Get this right, and you’ll absolutely nail your transformation.
The Role of Texture and Thinning Techniques

I’m thrilled to show you how texture and thinning techniques transform a shaggy haircut from flat to fabulous!
When I layer your hair strategically, I’m creating that effortless movement and flow that makes shags so irresistible, while thinning prevents that heavy, bulky look that can weigh you down.
These techniques work together to bring out the shag’s signature definition, giving you that lived-in, textured vibe you’re after.
Layering Creates Movement Flow
Creating dimension through strategic layering is what transforms a shaggy haircut from flat to fabulous.
- Shorter layers on top create lift and movement
- Longer underlayers maintain your desired length
- Point-cutting techniques add texture without bulk
- Staggered lengths catch light beautifully as you move
I’ve found that when you layer strategically, your hair flows naturally, giving you that effortless, lived-in look that everyone wants.
Thinning Prevents Bulky Appearance
While layering gives your shag movement, thinning techniques are what keep it from looking heavy and overdone. I’ve found that strategic texturizing removes bulk without sacrificing length.
Your stylist can use point-cutting or razor techniques to create airiness throughout. This prevents that matted, shapeless mess and lets your hair’s natural texture shine through beautifully.
Texture Enhances Shag Definition
Beyond just removing bulk, texture‘s what truly sets a shag apart and gives it that coveted definition we’re all after.
Here’s how I achieve that signature shag look:
- Point-cutting creates choppy, textured ends
- Razoring adds movement and dimension
- Layering enhances natural wave patterns
- Strategic thinning defines individual sections
You’ll notice how these techniques work together, transforming your hair into something with real personality and flow.
Color and Highlights That Enhance Shaggy Layers

Through strategic color choices, you’ll discover that highlights can totally transform your shaggy layers into a multidimensional masterpiece. I’m talking about adding dimension through balayage or babylights that catch light beautifully.
Darker roots with lighter ends create incredible depth and movement. Consider warm tones for richness or cool tones for sophistication.
The right color combination makes those layers pop and gives your shag serious visual interest.
Styling Your Shaggy Cut: Tousled and Undone Looks

I’m going to show you how to get that effortlessly cool, lived-in vibe that makes shaggy cuts so irresistible.
You’ll want to grab a texturizing paste to amp up the movement and separation in your layers—it’s honestly the secret weapon for that undone texture.
Once you’ve got the paste in, I’ll walk you through the beachy waves technique that’ll have your shaggy layers looking like you just stepped off the coast.
Texturizing Paste for Movement
Transform your shaggy cut from flat to fabulous with texturizing paste—it’s the secret weapon that’ll give you that effortlessly tousled, undone look you’re after.
- Work a dime-sized amount through damp hair
- Focus on mid-lengths and ends for definition
- Scrunch upward to enhance natural texture
- Air-dry or use a diffuser for maximum movement
You’ll love how this product transforms your shag instantly.
Beachy Waves Technique
You’ll constantly see beachy waves as the go-to style for shaggy cuts, and honestly, they’re the perfect match for this haircut’s natural movement.
I like using a curling iron on random sections, then finger-combing everything out for that undone vibe.
Salt spray works wonders too—it gives you that effortless, just-came-from-the-beach texture without looking overdone.
Sleek and Polished: Dressing Up Your Shaggy Layers

While shaggy layers naturally exude a relaxed, effortless vibe, they’re incredibly versatile—I’ve found they’re equally stunning when you dress them up for more formal occasions.
- Sleek blow-dry with a round brush
- Smoothing serum for polished shine
- Loose waves pinned elegantly back
- Statement accessories to elevate the look
You’ll be amazed how sophisticated your shaggy cut becomes!
Daily Maintenance and Care for Long Shaggy Hair

Keeping your shaggy layers looking fresh doesn’t require a complicated routine—just a few smart daily habits that protect your investment and keep that textured movement alive.
I’d recommend using a lightweight leave-in conditioner on damp ends, scrunching gently to enhance your waves.
Avoid heavy brushing when dry; instead, use your fingers or a wide-tooth comb.
Sleep on silk pillowcases to minimize frizz and breakage overnight.
Product Recommendations for Optimal Texture and Movement

The right products can make all the difference in keeping those shaggy layers bouncy and defined. I’ve found these essentials transform my texture:
- Lightweight mousse for volume without weighing down layers
- Sea salt spray for that effortless, textured feel
- Smoothing serum to tame frizz between washes
- Dry shampoo to refresh movement on day two
You’ll notice the difference immediately!
Growing Out Your Hair: Timeline and Transition Tips

Growing out your hair to achieve that perfect shaggy length takes patience, but I’m here to walk you through it so you’ll know exactly what to expect.
Expect six to twelve months for substantial length.
Get strategic trims every eight weeks to maintain shape and remove damaged ends.
This keeps your growing-out phase looking intentional rather than scraggly.
Stay consistent, and you’ll rock those gorgeous layers.
Celebrity Inspiration: Iconic Shaggy Long Hair Moments

When you’re dreaming up your shaggy long hair goals, celebrities often serve as the ultimate style blueprint.
I’ve spotted some seriously inspiring looks that’ll transform your vision:
- Timothée Chalamet’s tousled, layered waves
- Zendaya’s voluminous shag with texture
- Harry Styles’ effortless, choppy length
- Florence Pugh’s modern, face-framing layers
These icons prove shaggy hair works beautifully at any length.
You’ll find your perfect inspo here!
Customizing Your Shaggy Cut: Working With Your Stylist

Bringing those celebrity-inspired shag dreams to life requires more than just showing up to your appointment with a Pinterest board—you’ve got to communicate what you actually want. Tell your stylist about your hair texture, daily styling commitment, and lifestyle.
Discuss length, layering depth, and face-framing specifics. Ask about maintenance between appointments. A great conversation now prevents regrettable results later.
You’ve got everything you need to rock a flowing long shaggy cut that’s totally you. If your hair’s straight, wavy, or curly, there’s a shaggy style waiting to transform your look. Don’t stress about the grow-out phase—it’s part of the journey.
Talk to your stylist about what’ll work best for your face and lifestyle, grab those products, and welcome the effortless, textured vibes. You’re gonna love it.