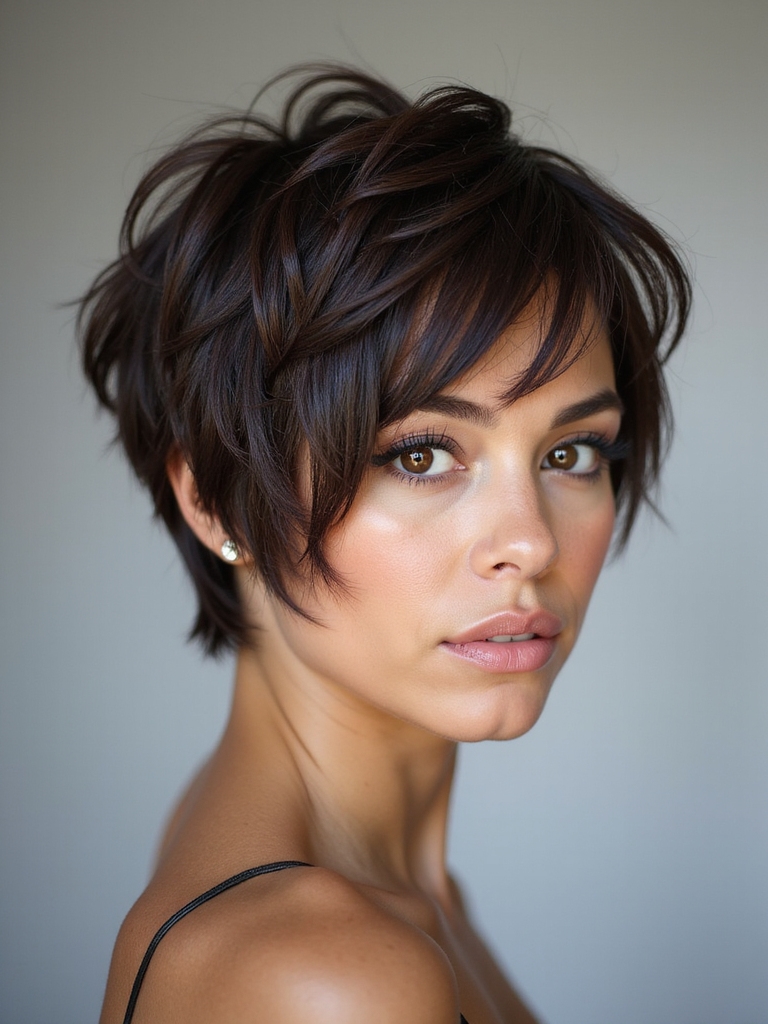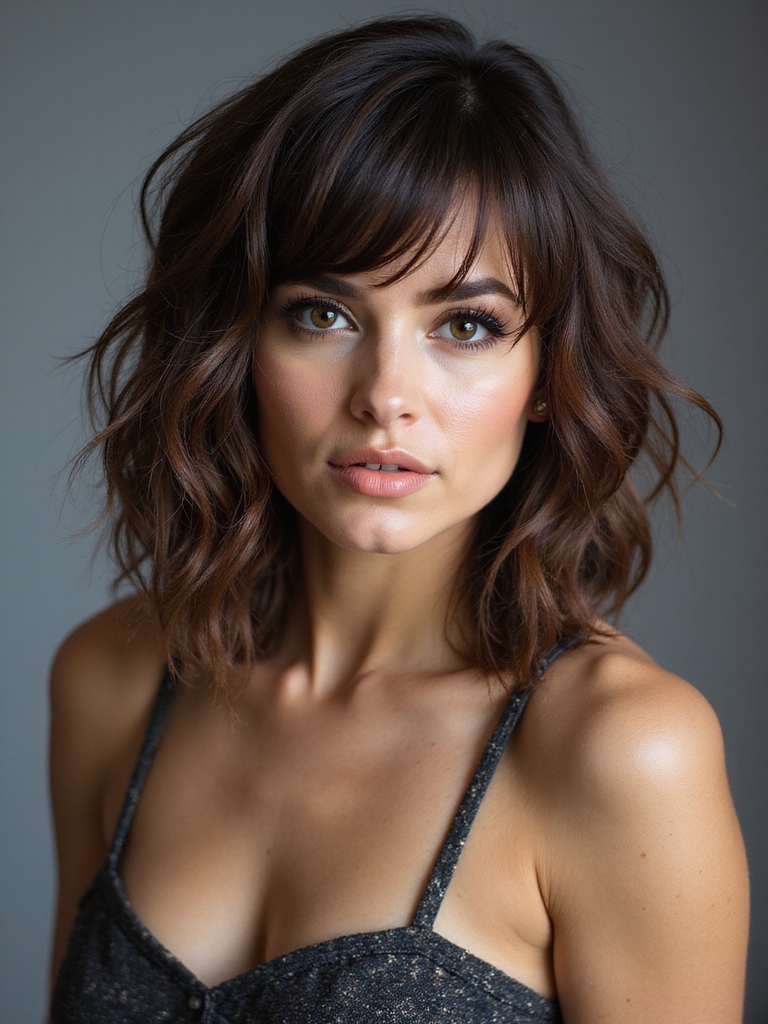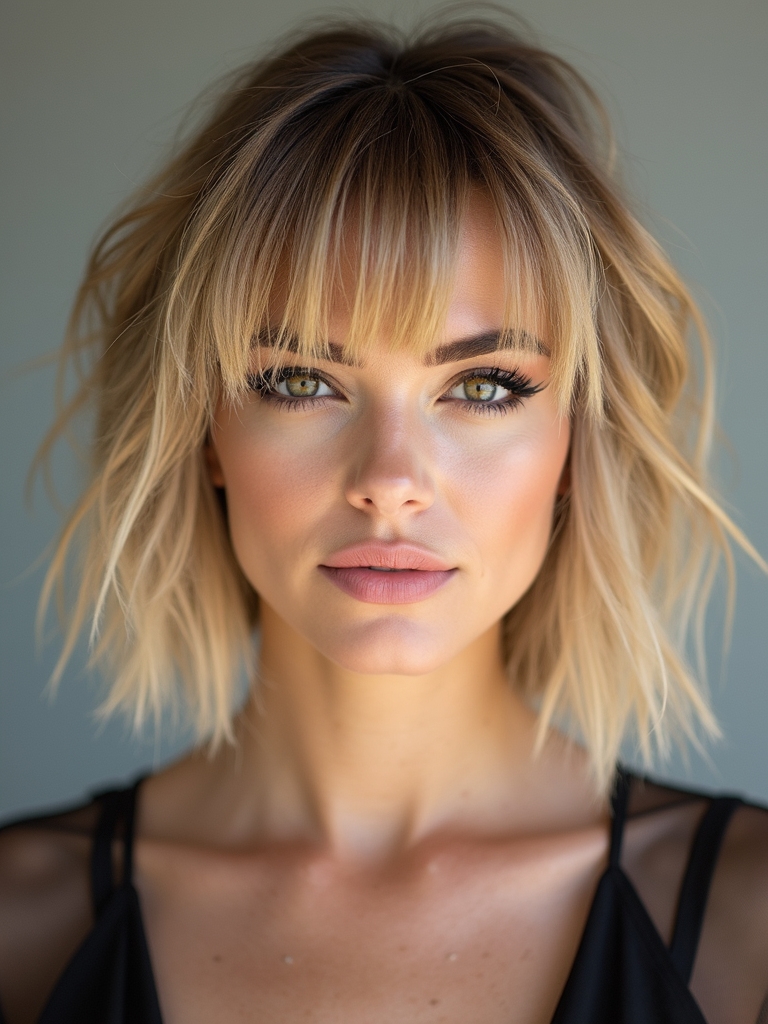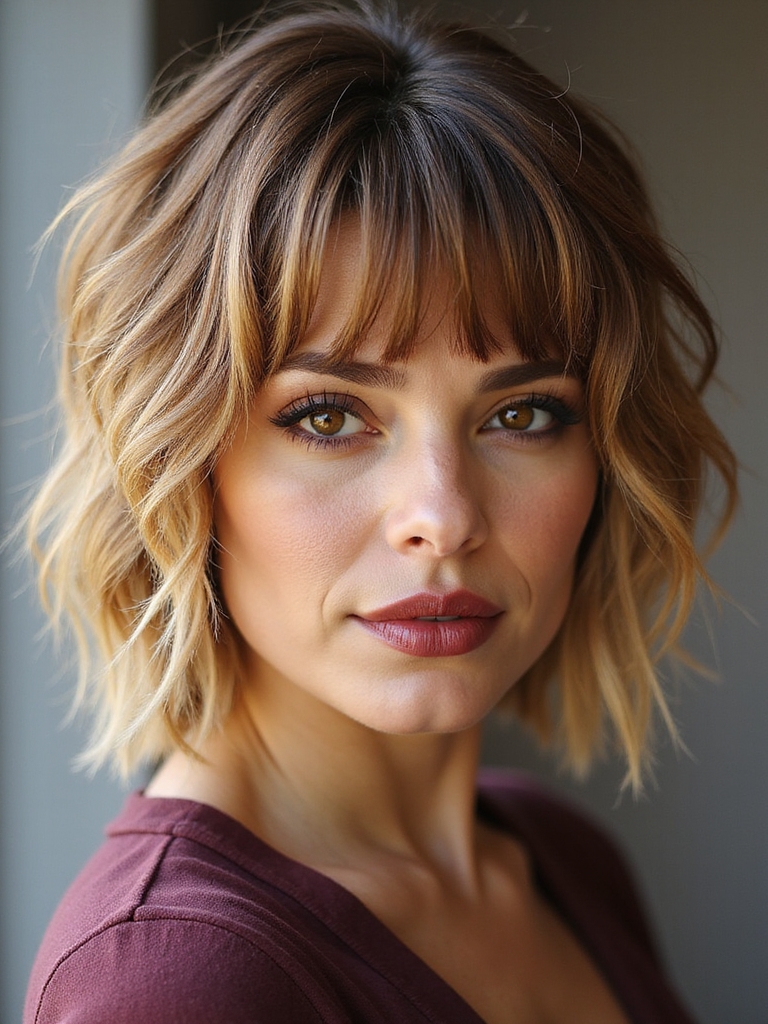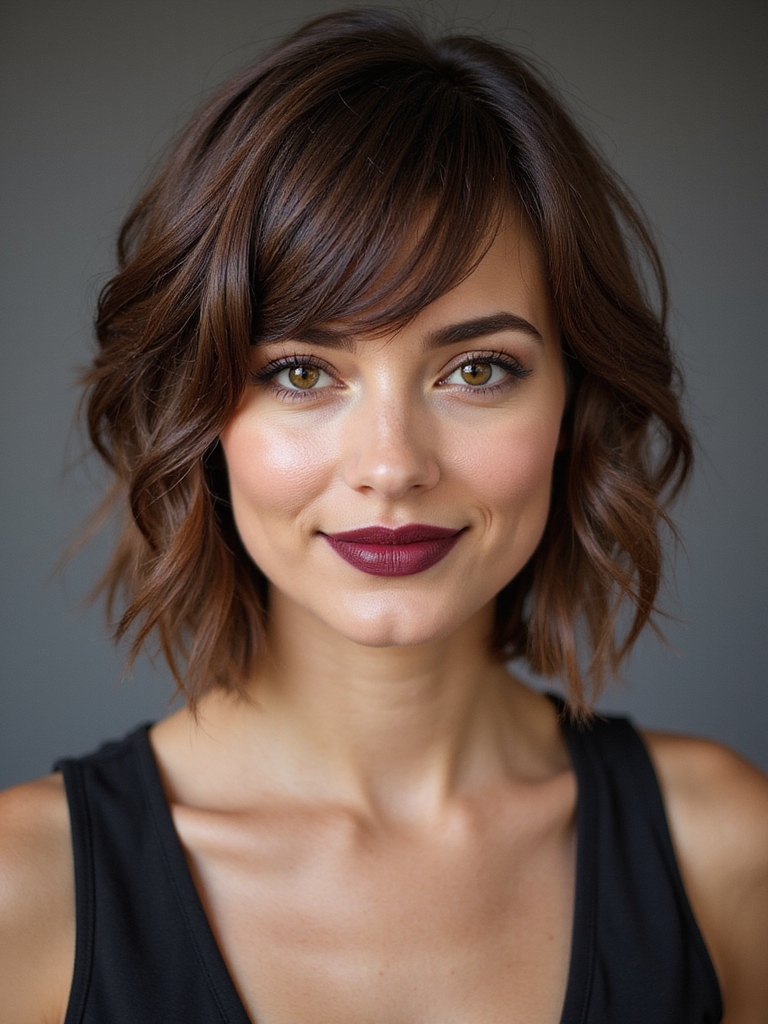
I love a shag pixie because it’s low-fuss and high-drama — tousled layers give instant volume and that lived-in edge without daily effort. I’ll help you pick the right length for your face, craft wispy bangs to frame your eyes, and use simple products for piecey texture and shine.
With smart trims and a couple pro styling tricks you’ll turn heads from day to night, and if you keep going I’ll show how to perfect each detail.
Why a Shag Pixie Is the Ultimate Low-Maintenance Statement Cut

When I wanted a bold change that wouldn’t eat my mornings, the shag pixie was the obvious answer — it gives me edge and texture without demanding constant fuss.
I love its effortless shape: tousled layers, lived-in volume, and a chic silhouette that wakes up beautifully.
I style it in minutes, skip heavy products, and still turn heads with minimal upkeep and maximum glamour.
The cut’s signature tousled layers create lived-in volume that looks stylish with little styling effort.
How to Choose the Right Shag Pixie for Your Face Shape

I’ll help you match a shag pixie to your face shape so the cut flatters your best features. We’ll cover simple face-shape basics and quick tailoring tips—where to add volume, tuck length, or soften angles.
With a few smart tweaks, your pixie can feel effortless and utterly glamorous. Shag pixies blend textured layers and choppy ends to create that lived-in, modern look—perfect if you want a low-maintenance style with textured layers.
Face Shape Basics
Let’s cut to the chase: I want you to choose a shag pixie that flatters your face, not fights it.
I size up jawlines, cheekbones, and forehead balance, then suggest lengths and layers that soften or define.
Round faces get height and texture, oval can play with anything, square benefits from wispy sides, heart shapes love volume near the crown.
Trust your features.
The Pixie Shag blends chic short hair with textured layers for effortless style.
Pixie Tailoring Tips
You’ve got the face basics down, so now I’ll show you how to tailor a shag pixie to highlight your best angles.
I’ll recommend length, volume, and fringe for oval, round, square, heart, and long faces—soft layers for roundness, choppy texture to soften squares, side-swept bangs for hearts, and height for long faces.
We’ll refine cuts to flatter your unique bone structure. The shag pixie’s signature textured layers create movement that makes styling effortless.
Textures and Layers: The Anatomy of a Modern Shag Pixie

When you look closely at a modern shag pixie, you’ll see how deliberate textures and graduated layers create that effortless, lived-in glamour I love to wear and style; each cut-back, feathered fringe and choppy crown layer works together to boost volume, movement, and personality without feeling fussy.
I sculpt pieces to frame the face, add tactile contrast, and make sure the silhouette reads chic from every angle.
This approach channels the signature Shag Pixie blend of texture and edge that defines the haircut.
Styling Wispy Bangs to Frame Your Eyes

Those textured layers set the stage for wispy bangs to really sing, so I focus on shaping them to highlight the eyes without overwhelming the face.
I trim feathered edges, keep length just grazing brows, and use a light cream to separate strands. I sweep bangs slightly to one side for softness, blending them into layers so your gaze becomes the star.
I also recommend trying one of the effortless shag pixie looks to complement the bangs and add movement, like a modern textured crop with choppy ends and face-framing pieces effortless shag.
Short Shag Pixie Variations for Tiny Features

I love tailoring short shag pixies for tiny features because small faces get a big style payoff when proportions are right.
I suggest cropped layers that add volume at the crown, soft micro-bangs to highlight the eyes, and tapered nape lines to elongate the neck.
I’ll help you choose bold texture, subtle piece-y framing, and a luxe finish that feels effortlessly chic.
Shaggy pixie variations often borrow from classic Shaggy Pixie Cuts to create movement and edge while remaining low-maintenance.
Long Shag Pixie Looks for Added Movement

Because longer layers let movement take center stage, I love crafting long shag pixies that feel airy and glamorous without losing edge.
I guide you toward face-framing lengths, soft curtain bangs, and feathered texture so each turn of your head reads like motion.
We keep it polished yet playful, using lightweight products to enhance flow and maintain that effortless, high-fashion vibe.
Rock-And-Roll Shag Pixie With Choppy Ends

Crank up the attitude with a rock-and-roll shag pixie that celebrates choppy ends and unapologetic texture.
I adore how it feels bold, effortless, and wildly chic.
Try these quick touches:
- Tousled top for height
- Razored ends for edge
- Matte paste for separation
- Slicked back sides for contrast
I’ll help you own every room with this fierce, glamorous cut.
Soft and Feminine Shag Pixie With Face-Framing Layers

A soft and feminine shag pixie with face-framing layers gives you chic movement and flattering shape without sacrificing ease, and I love how it instantly brightens your features.
I suggest soft, graduated layers around the face to accentuate cheekbones and soften the jaw.
It feels elegant yet playful, waking up your expression and making styling effortless for day or night.
Curly and Wavy Shag Pixie Styling Tips

I always start by working with your natural texture rather than against it, so for curly or wavy shag pixies I recommend products and techniques that enhance bounce and definition without weighing hair down.
I guide you through simple steps to keep shape, movement, and shine:
- Use lightweight curl cream.
- Diffuse on low.
- Clip roots for lift.
- Finish with flexible hold.
Color Ideas to Elevate Your Shag Pixie

I love showing you how color can transform a shag pixie, from punchy contrasts to soft, sun-kissed dimension.
Try a bold root-to-tip contrast for instant edge, or warm, natural highlights to soften your face and catch the light. Either way, a smart color choice makes that textured cut feel even more glamorous.
Bold Color Contrasts
One striking way I boost a shag pixie’s attitude is by pairing unexpected hues—think soot-black roots with molten copper tips or pastel lilac slices against a deep espresso base—to create instant dimension and movement.
- Contrast textures with gloss and matte.
- Place color where hair naturally flips.
- Use face-framing pops for impact.
- Keep maintenance chic and manageable.
Natural Sun-Kissed Tones
Usually I reach for sun-kissed tones when I want a shag pixie to feel effortless and luminous, because warm, natural hues catch light and lift the whole style.
I love soft caramel highlights, buttery blondes, and honey lowlights that add dimension without drama.
They brighten your face, soften edges, and make tousled texture look polished — subtly glamorous and utterly wearable.
Product Picks for Texture, Volume, and Hold
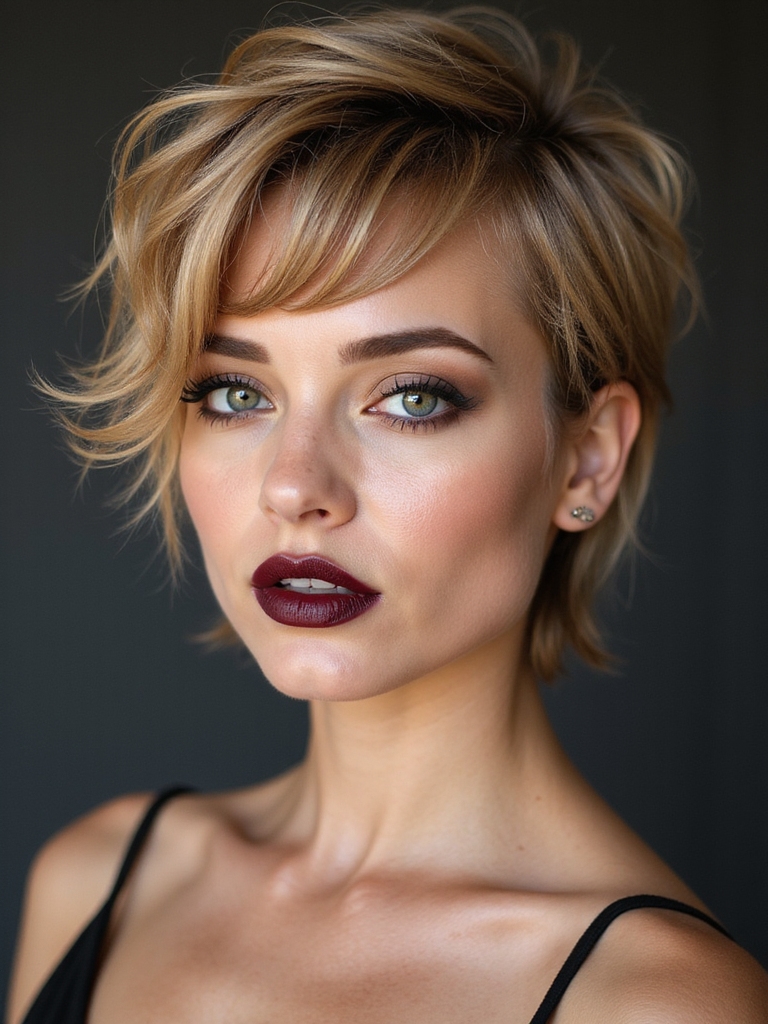
Start by thinking of your product kit as the secret couture behind a shag pixie — I’ll walk you through the essentials that give texture, volume, and hold without weighing the cut down.
I recommend:
- Sea salt spray for grit and movement.
- Lightweight mousse to lift roots.
- Matte pomade for piecey definition.
- Flexible hairspray to lock style while staying touchable.
How to Maintain Your Shag Pixie Between Salon Visits

I’ll walk you through a simple daily styling routine that keeps your shag pixie looking fresh without a trip to the salon every week.
I’ll share quick at-home trimming tips to tame bangs and clean up the nape, plus a concise product guide for texture, volume, and hold.
Let’s make maintenance easy, glamorous, and totally doable.
Daily Styling Routine
Often I touch up my shag pixie in just minutes each morning so it looks salon-fresh between visits. I keep products minimal, movements intentional, and confidence high.
- Spray texturizer for volume.
- Warm wax to define pieces.
- Quick blow-dry with fingers.
- Finish with lightweight shine mist.
This routine feels chic, effortless, and utterly glam every day.
At-Home Trimming Tips
Keeping my shag pixie looking sharp between salon visits is totally doable at home with the right tools and a little confidence; I trim strategically, not massively, so the shape stays fresh without risking the cut.
I snip split ends, tidy layers, and soften bangs with precise, small cuts.
I work slowly, use good scissors, mirror angles, and celebrate every polished result.
Product Choices Guide
When I’m choosing products to keep my shag pixie photo-ready between salon visits, I focus on multipurpose items that save time and add polish—think texture cream that tames frizz and defines layers, a lightweight paste for piecey separation, and a heat protectant that won’t weigh hair down.
- Texture cream
- Lightweight paste
- Dry shampoo
- Heat protectant
Celeb-Inspired Shag Pixie Transformations

I love how celebrities make the shag pixie feel endlessly fresh—one twist here, a choppy fringe there, and suddenly a familiar cut looks runway-ready.
I adore studying red carpet photos, noting how texture, bold color, and polished tousle translate to everyday glam.
I’ll point out iconic tweaks you can ask your stylist for, so your pixie mirrors that star-quality confidence.
Transitioning From Long Hair to a Shag Pixie: What to Expect

If you’re thinking about cutting long locks into a shag pixie, I’ll walk you through the growing-out phase and the styling tricks that keep things chic.
Expect awkward lengths at first, so I’ll show you quick trims, layering strategies, and product picks that smooth the shift.
With a few styling routines and patience, you’ll keep a glamorous, intentional look every step of the way.
Growing-Out Phase Tips
Maneuvering the growing-out phase can feel like a thrilling detour rather than a setback, and I’ll walk you through what to expect so you’re not caught off guard.
I stay glamorous and practical with simple tips:
- Trim strategically to shape growth.
- Embrace texture as layers form.
- Care for ends to avoid split damage.
- Communicate with your stylist regularly.
Styling During Transition
When you’re ready to chop long lengths into a shag pixie, expect a shift that’s equal parts liberating and practical—I’ll guide you through styling shifts so you feel polished from day one.
I’ll show quick texturizing sprays, finger-styling, and mini blowouts to sculpt layers.
Embrace bold parting, subtle pomade for definition, and simple maintenance routines that keep the look chic and effortless.
Accessorizing Your Shag Pixie for Day-to-Night Looks
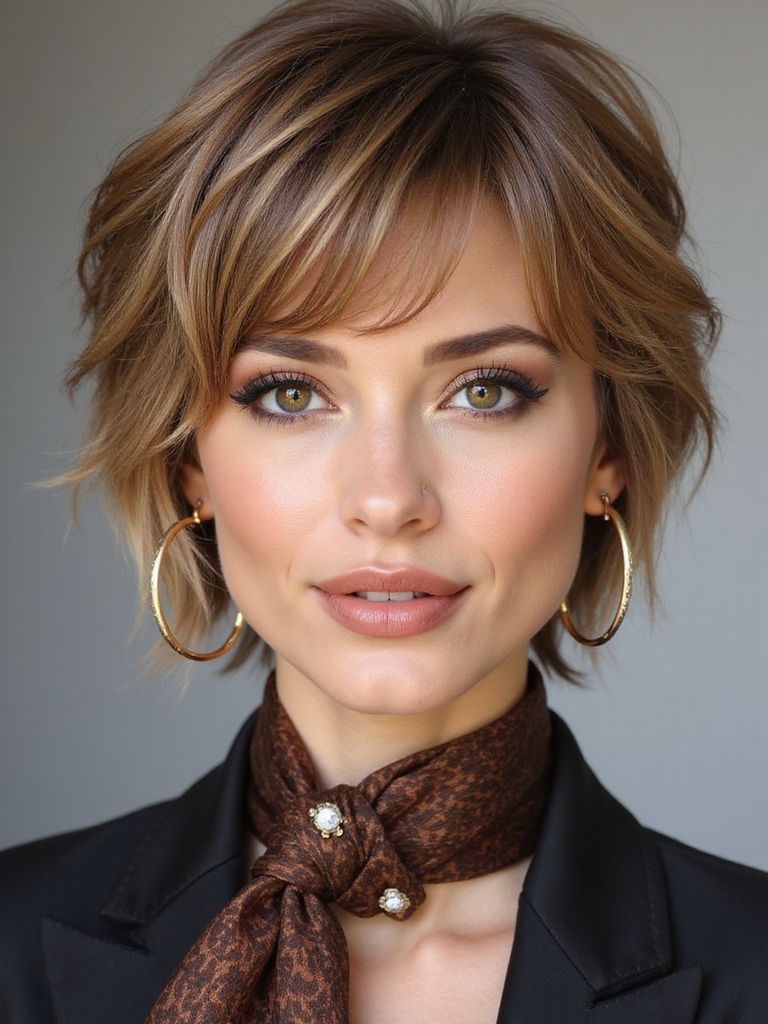
With a few smart pieces, I can turn my shag pixie from relaxed daytime chic to a sultry evening statement in minutes. I love mixing simple accents to shift mood:
- Sleek metallic bobby pins for instant polish.
- A silk scarf tied at the forehead for boho glamour.
- Bold earrings to frame my face.
- Texturizing spray for tousled, after-dark allure.
So you’ll go shag pixie and suddenly everyone expects you to wake up effortlessly flawless—ironic, since we both know the secret is a little product, a few playful fingers, and a bold haircut that does most of the drama for you.
I love how it feels equal parts rebellious and polished, tiny yet mighty, low-fuss yet utterly statement-making. Try one, tweak it, own it; you’ll be surprised how much attention a few smart layers can demand.