I’ll let you in on a secret: you don’t need hours styling your hair to look effortlessly chic. Pixie shags combine short practicality with shaggy texture that practically styles itself—and honestly, they’re way cuter than they sound.
If you’ve got thick curls or fine strands, there’s a version that’ll work for you. Want to know which cut suits your hair type best?
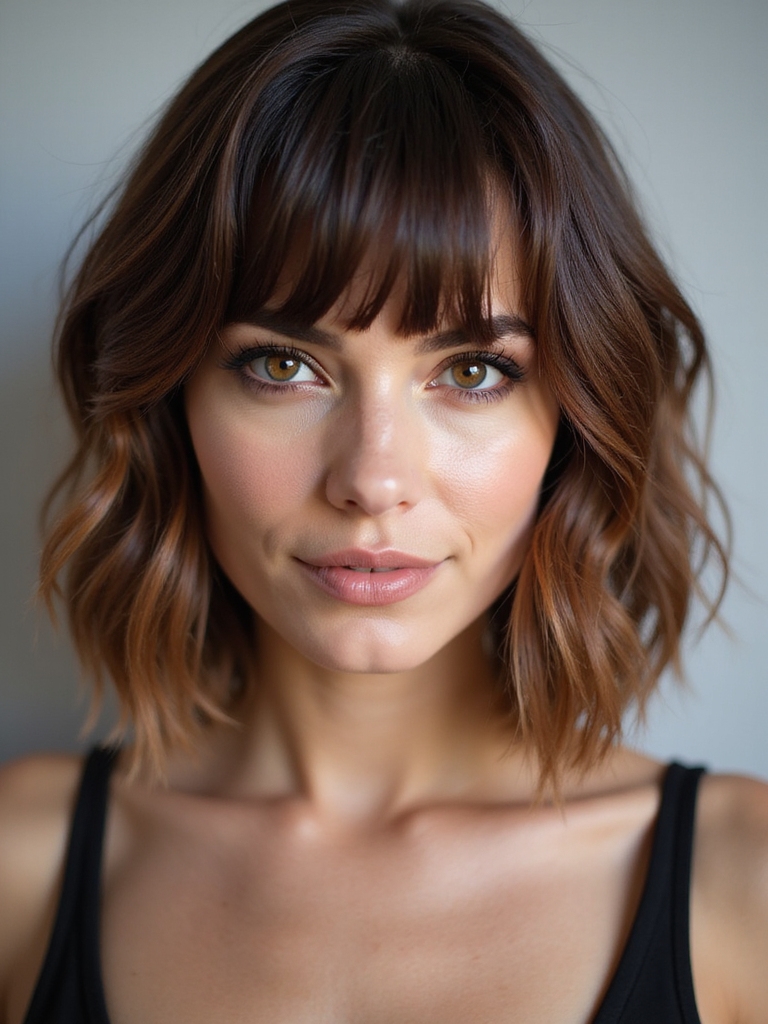
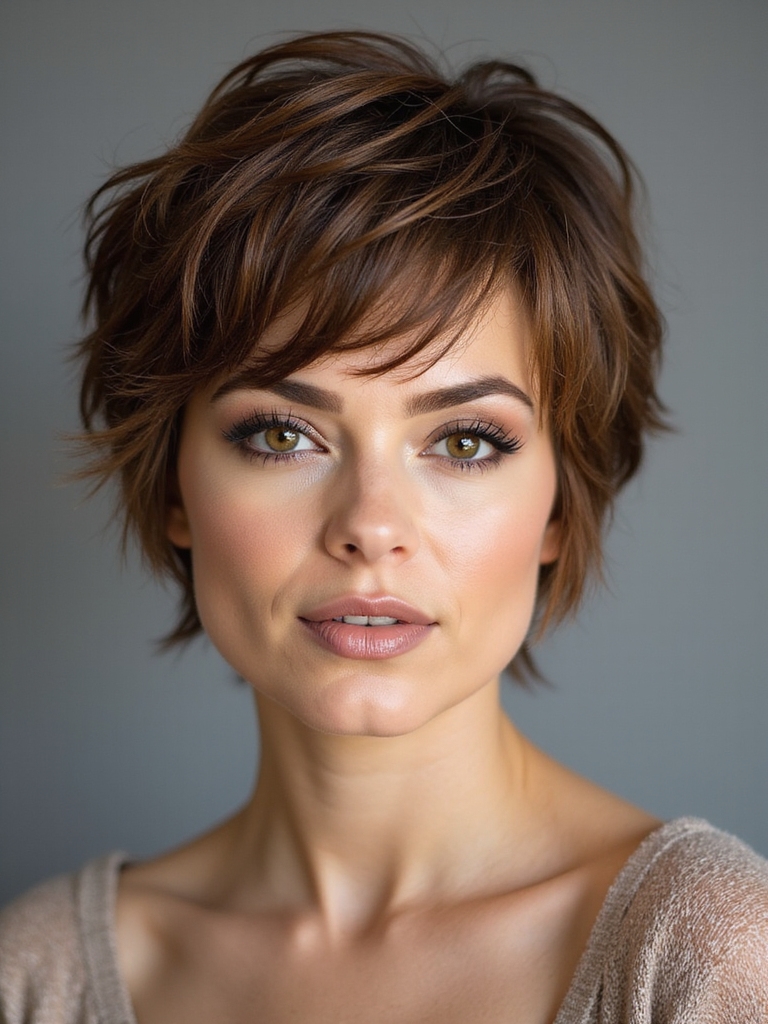
The Classic Pixie Shag

Blending the boldness of a pixie cut with the textured movement of a shag, the classic pixie shag is where edgy meets effortless.
I love how this style works for everyone because you can customize the length and layers to suit your face shape.
It’s genuinely low-maintenance—just run your fingers through it, and you’re done.
You’ll get compliments constantly.
The cut pairs perfectly with textured layers to enhance natural movement.
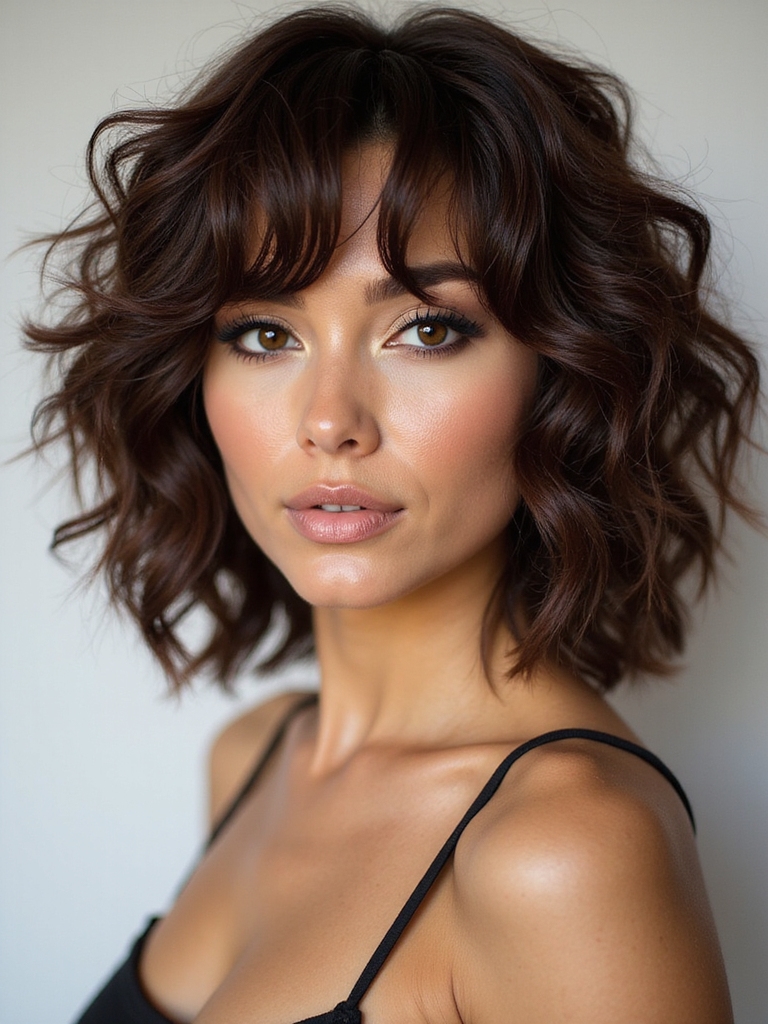
Textured Layers for Volume and Movement

If you’re craving that head-turning dimension, textured layers are your secret weapon. I’ve found that choppy, strategically-placed layers instantly give my pixie shag incredible volume and movement.
They catch light beautifully and create dynamic texture without demanding constant styling. Your stylist can customize layer placement based on your hair type and face shape, making this approach incredibly versatile and genuinely low-maintenance.
The style is especially flattering when combined with an Effortless Shag Pixie for added texture and edge.
Pixie Shag for Thick Hair

If you’ve got thick hair, I’m telling you—a pixie shag is your secret weapon for looking effortlessly cool without fighting against your natural texture.
You’ll want to master how much texture to keep versus how much to thin out, because the wrong balance can leave you with a poofy mess instead of that chic, piece-y vibe we’re after.
Let me show you the styling tricks that’ll keep your thickness working for you instead of against you.
A great short shag can also give you that modern, edgy silhouette while preserving layered movement to prevent bulk.
Texture and Volume Control
Managing thick hair with a pixie shag requires strategic styling techniques that work with your natural density rather than against it.
I’ve found that texturizing products and thinning shears create movement without bulk. Ask your stylist for choppy layers that enhance volume naturally. Adopt your hair’s thickness—it’s your superpower for achieving that effortless, textured pixie shag look you’re after.
Modern short shags often emphasize short shag elements to keep the cut chic and low-maintenance.
Styling Tips for Thickness
Now that you’ve got those gorgeous choppy layers in place, let’s talk about how to actually style thick hair so it looks intentional rather than just, well, thick.
I’d recommend using a texturizing spray to enhance those layers and add definition.
Blow-dry with a diffuser attachment for volume without frizz, then scrunch in some lightweight pomade.
This way, your thickness becomes your superpower.
Short shags often feature choppy layers that create movement and an edgy silhouette.
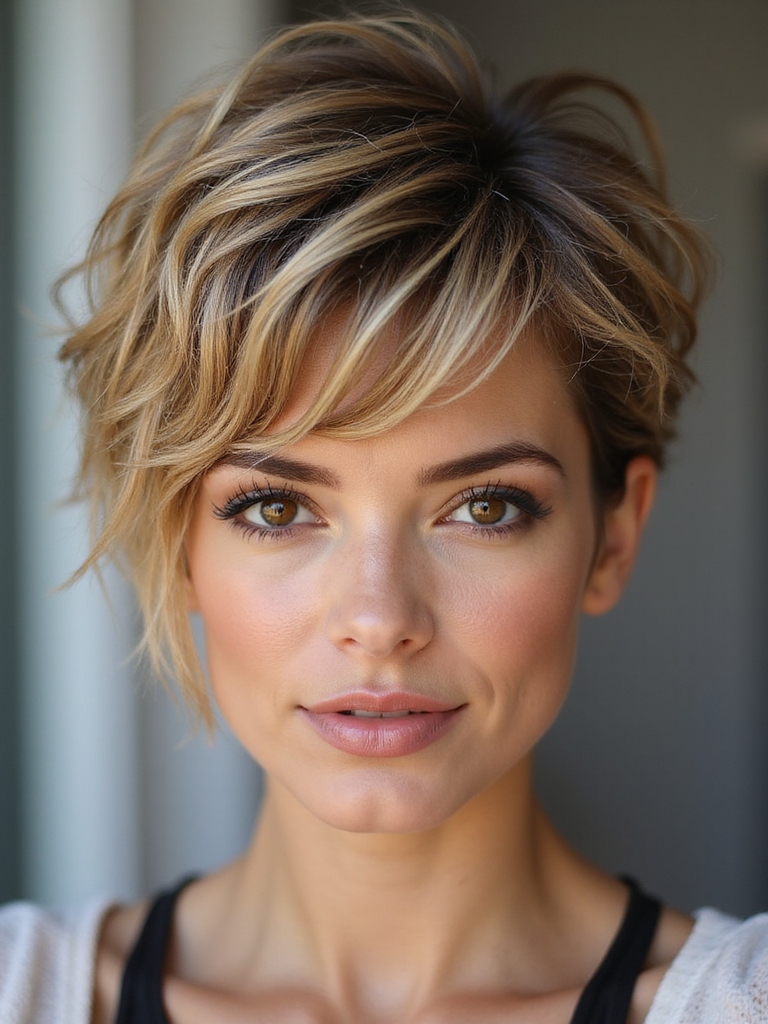
Pixie Shag for Fine and Thin Hair

Choosing the right cut when you’re working with fine or thin hair can totally transform your look, and that’s where the pixie shag really shines.
Here’s what makes it perfect for you:
- Layering creates the illusion of volume without bulk
- Shorter lengths prevent your hair from looking weighed down
- Texturizing techniques add movement and dimension effortlessly
Curly Hair Pixie Shag Styles

If you’ve got curly hair and you’re considering a pixie shag, I’ve got to tell you—your natural texture is going to be your secret weapon for making this cut absolutely shine.
You’ll want to focus on how to enhance those curls and keep them defined, which means finding the right styling products that’ll work with your hair type rather than against it.
The good news is that with the proper techniques and formulas, you can rock a pixie shag that looks effortlessly textured and super voluminous.
Texture Enhancement and Definition
Curly hair transforms a pixie shag into something absolutely magical—the natural texture does half the work for you.
I’ve found that welcoming your curls creates instant definition without extra styling effort.
- Use a curl-defining cream to enhance natural waves
- Try scrunching damp hair for maximum texture
- Apply lightweight oils for shine and separation
You’ll love how effortlessly chic this style becomes!
Styling Products for Curls
The right products can completely transform how your curls behave in a pixie shag—I’m talking about bounce, definition, and that coveted “I woke up like this” vibe.
I swear by curl creams and lightweight mousses that won’t weigh you down.
A good leave-in conditioner‘s your secret weapon for keeping those curls hydrated and frizz-free all day long.
Straight Hair Pixie Shag Variations

When you’ve got naturally straight hair, you’re actually in a fantastic position to rock a pixie shag that’s crisp, clean, and undeniably chic.
Here’s what makes straight-haired pixie shags stand out:
- Sharp, defined layers that catch light beautifully
- Minimal styling time—just shake and go
- Perfect canvas for experimenting with texture spray or matte products
You’ll love how effortless this cut feels!
The Grown-Out Pixie Shag

Patience is actually your secret weapon here. I’ve found that letting your pixie shag grow out creates this effortlessly tousled, undone vibe that’s incredibly chic.
You’ll notice the layers start working together, giving you more texture and styling options. Minimal upkeep required—just a quick tousle with your fingers and you’re golden.
It’s the best of both worlds: edgy length without abandoning that carefree pixie energy.
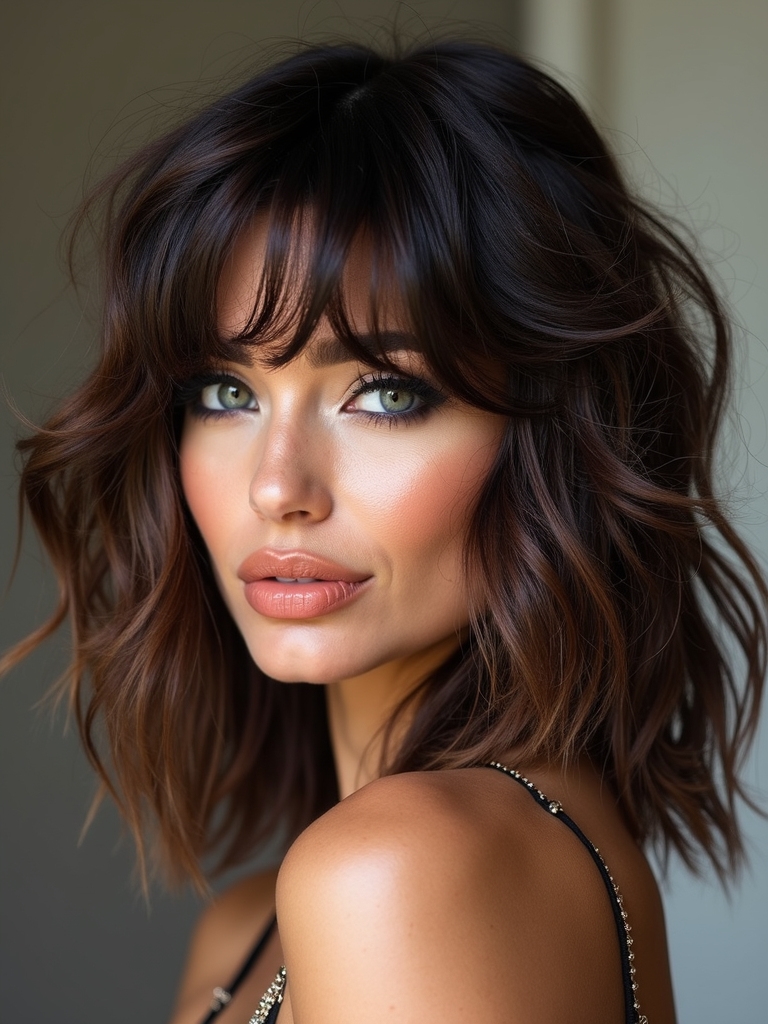
Choppy and Edgy Pixie Shag

If you’re craving that bold, statement-making look, choppy layers are your answer. I love how this style catches light and adds serious texture.
- Choppy layers create movement and dimension throughout
- You’ll rock an edgy, modern vibe instantly
- Styling takes minimal effort—just tousle and go
This pixie shag screams confidence and attitude without demanding hours of upkeep.
Pixie Shag With Bangs
Want to elevate your pixie shag game? I’m obsessed with adding bangs to this cut. They instantly frame your face and amp up the edgy vibe.
If you go wispy, blunt, or side-swept, bangs create dimension that’s seriously effortless to maintain. You’ll love how they soften sharp angles while keeping that carefree pixie shag energy alive.
Side-Swept Pixie Shag

Among all the bang styles I’ve mentioned, side-swept bangs are my absolute favorite for pixie shags because they nail that perfect balance between bold and wearable.
Here’s why I’m obsessed:
- They frame your face beautifully without demanding constant styling
- You can sweep them back on lazy days
- They add movement and dimension effortlessly
This cut’s honestly your low-maintenance dream.
Pixie Shag With Undercut Details

I’m going to show you how to style a pixie shag with undercut details so it looks sharp and intentional every single time.
You’ll learn the best techniques to work with those shorter undercut sections while keeping the longer layers on top looking effortlessly cool.
Plus, I’ll share what you need to know about maintaining this style as your hair grows out, so you can keep that edgy vibe intact between salon visits.
Styling Techniques and Tips
To really make your pixie shag with undercut pop, you’ve got to master a few key styling moves that’ll transform this cut from bed-head to intentionally edgy.
- Texturize with pomade – Work product through layers for dimension
- Tousle the top – Piece out sections for that effortless vibe
- Define the undercut – Keep sides sharp with regular maintenance
This style’s magic lies in adopting controlled messiness while keeping edges crisp.
Maintenance and Growth Management
Keeping your pixie shag with undercut looking sharp requires more commitment than just nailing those styling techniques—you’ve got to stay on top of maintenance if you want to rock this cut long-term.
I’d recommend salon visits every 3-4 weeks to keep your undercut defined and layers fresh.
Regular trims prevent that awkward growing-out phase, and you’ll love how manageable your cut stays.
Styling Tips for Effortless Texture

One of my favorite things about pixie shags is how they’re naturally primed for texture—you’ve barely got to lift a finger to make them look intentional and cool.
- Scrunch in sea salt spray while hair’s damp
- Finger-comb sections upward for volume
- Let it air-dry for that effortless, undone vibe
Product Recommendations for Easy Maintenance

Since pixie shags thrive on texture and movement, you’ll want products that enhance rather than weigh down your cut. I’m obsessed with lightweight texturizing sprays and volumizing mousses—they’re game-changers.
Grab a good dry shampoo for between washes and a flexible-hold styling cream. Skip heavy pomades; they’ll flatten your gorgeous layers.
These products keep your pixie shag looking fresh and effortlessly cool without daily styling stress.
How Often You’ll Need Trims

I’ll be honest—you’ll want to schedule trims every six weeks to keep your pixie shag looking sharp and textured.
I’ve learned that understanding your hair’s growth pattern really helps you stay ahead of that awkward in-between phase where everything starts to flatten out.
Between appointments, I’ve found that a few simple styling tricks can actually help you maintain that tousled texture and stretch out the time between cuts.
Trim Schedule Every Six Weeks
You’ll want to schedule trims every six weeks if you’re serious about keeping your pixie shag looking sharp and intentional.
Here’s why regular maintenance matters:
- Prevents overgrown layers from losing definition
- Keeps edges clean and purposeful
- Maintains the style’s effortless vibe
I promise—staying consistent with trims transforms your pixie shag from flat to fabulous!
Growth Pattern Management Tips
Different hair grows at different rates, and understanding your unique growth pattern is key to nailing the pixie shag maintenance game.
I’ve found that tracking how quickly your hair grows helps you schedule trims strategically. Some folks need cuts every four weeks, while others stretch to eight. Pay attention to when your layers start looking shaggy versus intentionally textured. That’s your sweet spot.
Maintaining Texture Between Appointments
Once you’ve nailed down your growth pattern, keeping that perfect shag texture between salon visits becomes the real challenge. I’ve found these tricks work wonders:
- Tousle your hair with texturizing spray every other day
- Scrunch while air-drying to enhance natural movement
- Schedule trims every 4-6 weeks to maintain layers
You’ll notice your shag stays fresher longer when you adopt its lived-in vibe!
Transitioning to a Pixie Shag Cut

Making the leap from longer hair to a pixie shag can feel intimidating, but I’m here to tell you it’s totally worth the plunge.
Start by consulting with a stylist who understands the cut’s layered structure. Discuss your hair texture and styling preferences. A gradual trim approach helps you adjust psychologically while achieving that effortless, textured look you’re after.
You’ve got everything you need to rock a pixie shag that’ll make you feel confident and fabulous. If you’re working with thick, fine, or curly hair, there’s a version that’ll work perfectly for you. With just a little texturizing spray and regular trims, you’ll have an effortless style that requires minimal effort but delivers maximum personality.
Go ahead—take the plunge and adopt the shag!