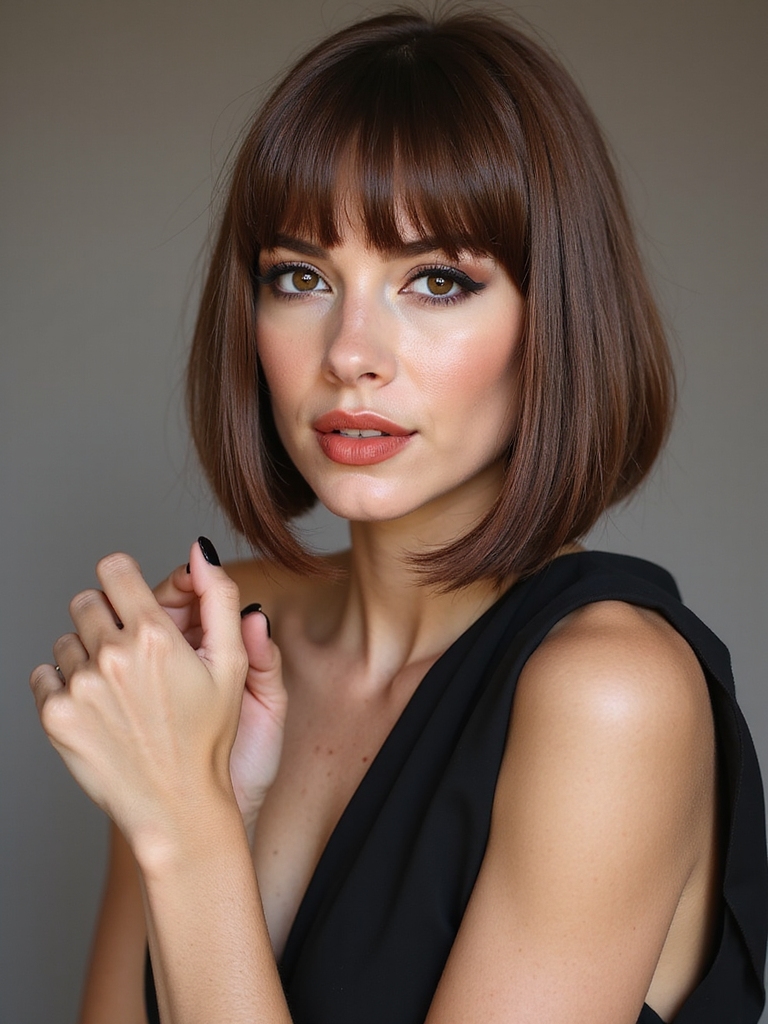
I love choppy inverted bobs because they balance sharp stacked backs with playful, uneven layers that give instant lift and movement. I’ll cut shorter textured layers at the nape, keep longer face-framing lengths, and slice the ends for airy, edgy swing.
It works on straight or wavy hair, and I’ll tweak layering for fine or thick textures. I’ll show you styling, texturizing tricks, and upkeep so you can wear the look confidently.
What Defines a Choppy Inverted Bob
Think of a choppy inverted bob as a sassy twist on the classic stacked cut—I slice into weight at the back, leave longer pieces in front, and add uneven, textured ends to give it attitude.
I favor sharp graduation, deliberate razoring, and strategic layering to create movement, edge, and lift. It’s low-maintenance chic that reads modern, playful, and decidedly bold on anyone who wants punch.
This look takes inspiration from Choppy Layered Bob styles to amplify texture and contrast.
Choosing the Right Length for Your Face Shape

I love how a choppy inverted bob brings attitude—now let’s make sure that attitude flatters your face.
I’ll help you pick length that highlights your best angles, balances proportions, and feels wearable.
- Oval: almost any length works
- Round: longer front pieces slim
- Square: soften jaw with chin-grazing
- Heart: add volume at jawline
- Long: shorter back, face-framing front
A layered cut adds movement and texture, which works especially well with layered bob techniques to enhance shape and reduce bulk.
Layering Techniques That Create Movement

I love showing how a few smart cuts can make an inverted bob sing, so let’s look at three go-to moves: graduated interior layers for body, razor-cut feathering for airy ends, and uneven long layers for playful swing.
Each technique adds a different kind of motion—structure, softness, or cheeky asymmetry—so you can pick what suits your vibe. Ready to see which one will give your bob that perfect, just-moved look?
For added volume and shape, consider incorporating short layered bob ideas to enhance lift at the crown and create a chic silhouette.
Graduated Interior Layers
Because movement makes an inverted bob sing, I love using graduated interior layers to give hair lift and flow from the inside out.
They sculpt shape without bulk, frame the nape, and energize texture. Try these quick hacks:
- Shorter inner layers for natural lift
- Longer outer lengths for weight
- Soft graduation at the crown
- Blend for seamless movement
- Texturize sparingly for control
Razor-Cut Feathering
Let’s get feathery: I love using a razor to feather layers because it slices weight and adds airy movement without obvious choppiness.
I’ll sculpt soft fringes around the face, taper ends for lightness, and texturize mid-lengths so hair sways naturally.
It feels modern, edgy, and effortless—perfect for inverted bobs that need motion without harsh steps or blunt heaviness.
Razor-cut layering can create effortless choppy layers that enhance modern hairstyles by removing bulk and adding texture.
Uneven Long Layers
Try uneven long layers when you want movement that reads natural, not forced—I love cutting them to make hair breathe. I use staggered lengths to frame faces, add swing, and keep edges choppy but wearable.
Bold, easy-to-style texture wins. Try these tweaks:
- face-framing slices
- long internal layers
- subtle razoring
- asymmetric ends
- weight-removed nape
Short layered cuts offer versatile movement benefits suitable for many face shapes and styling routines.
Texturizing Methods for Effortless Edge

I dig into texture like it’s the secret spice that turns an inverted bob from neat to notorious; when I thin, raze, or point-cut, I’m not destroying shape — I’m carving movement.
I favor slice-thinning for airy ends, razoring for raw fringe, and point-cutting to soften bulk.
Each technique adds effortless edge, letting hair swing, catch light, and read intentionally undone without fuss.
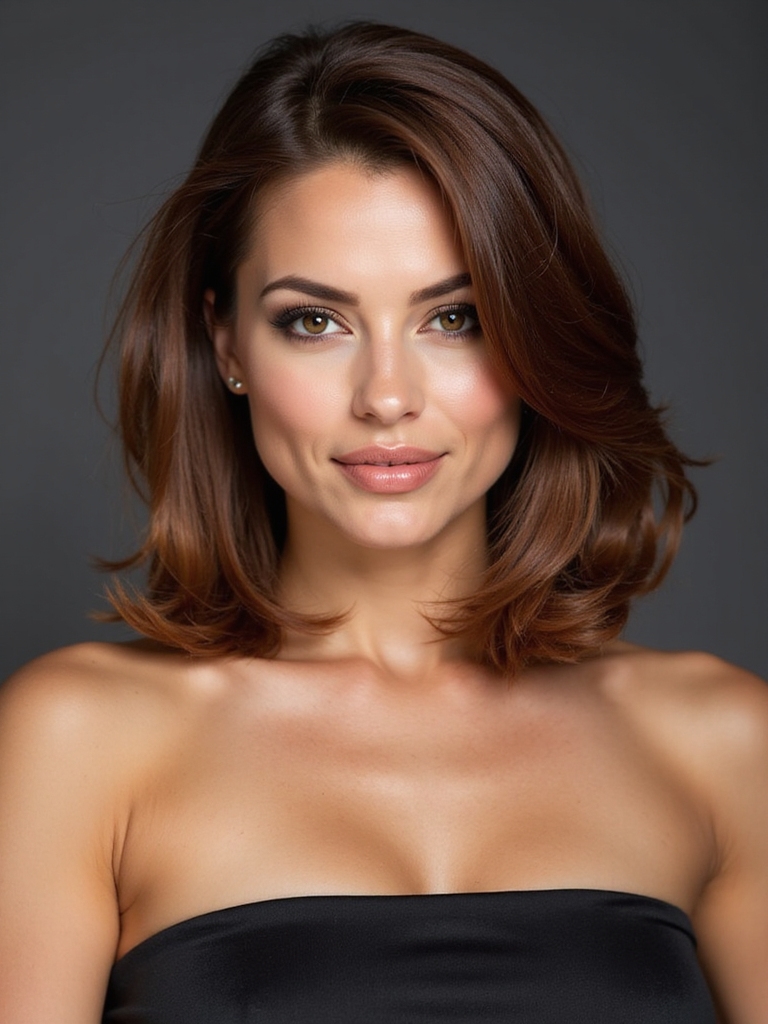
Styling Straight Hair for a Sleek Inverted Bob

Usually I start by mapping the shape — for a sleek inverted bob, precision beats product overload — and I’m honest: straight hair gives you the clean lines and mirror-ready shine this cut craves.
- Blow-dry with a round brush for curve control
- Use a flat iron for crisp ends
- Light serum for shine, not weight
- Clean parting for geometric impact
- Regular trims keep the angle sharp
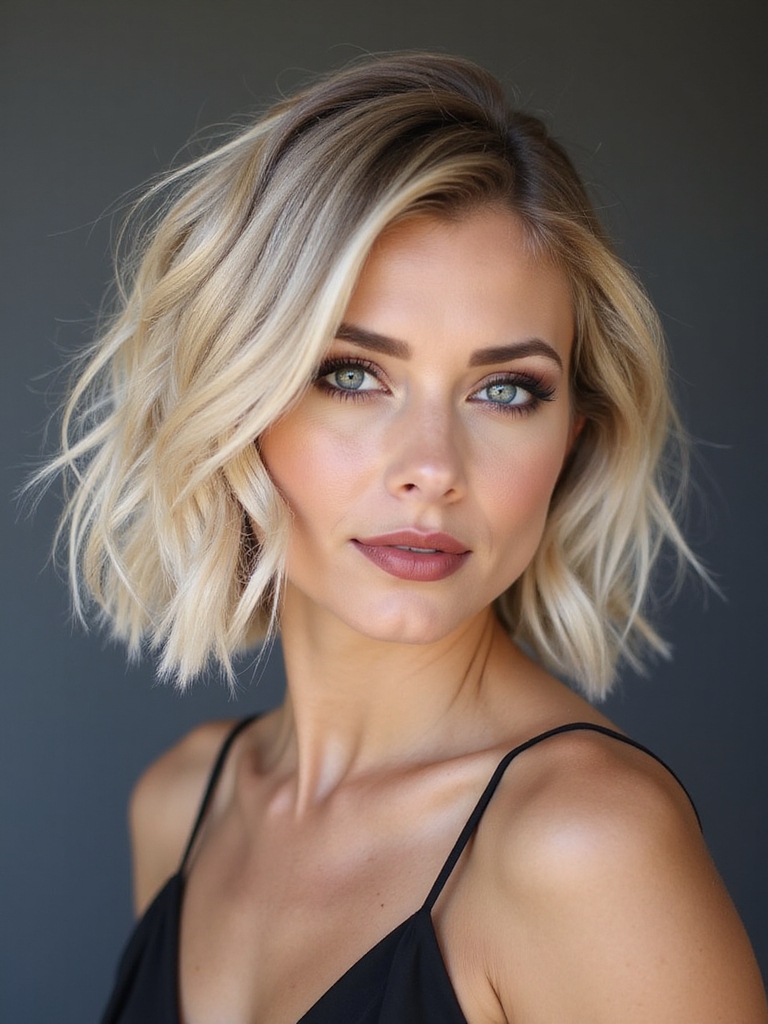
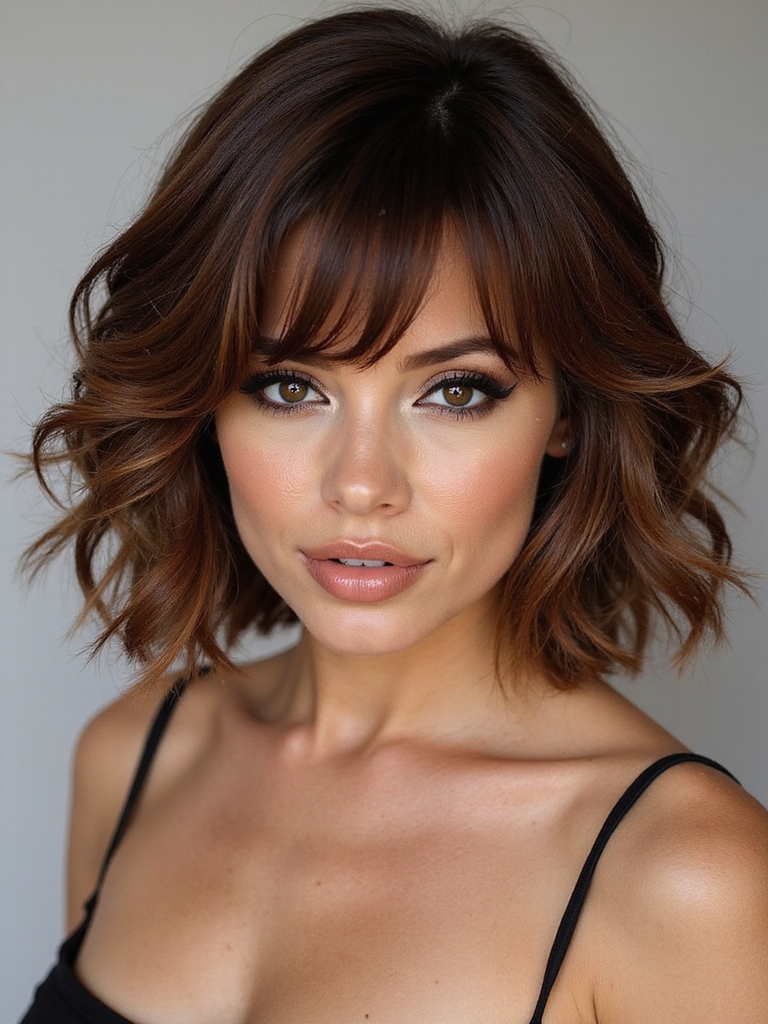
Enhancing Waves and Curls With a Choppy Cut

I love how choppy, curl-friendly layers can give waves real life and movement without the bulk. I’ll show you how to shape those layers to enhance your natural curl pattern and keep the ends playful.
Then we’ll cover quick styling tricks for soft, loose waves that last all day.
Define Curl-Friendly Layers
When you want your waves or curls to look intentionally messy instead of weighed down, I cut curl-friendly layers that add movement and definition without sacrificing bounce.
I tailor length, remove bulk strategically, and respect curl clumping so each ringlet sings. Try these targeted choices:
- Shorter layers around the face
- Longer layers in back
- Point-cut ends
- Minimal thinning
- Layered graduation for lift
Styling for Loose Waves
Shaping loose waves with a choppy cut is my favorite fast way to add texture and effortless movement — think lived-in beachiness with actual shape.
I use a salt spray, scrunch at the roots, then twist random sections while blow-drying on low.
A flat iron flick refines ends. Finger-comb, never brush. Finish with light hairspray for hold and flexible bounce.
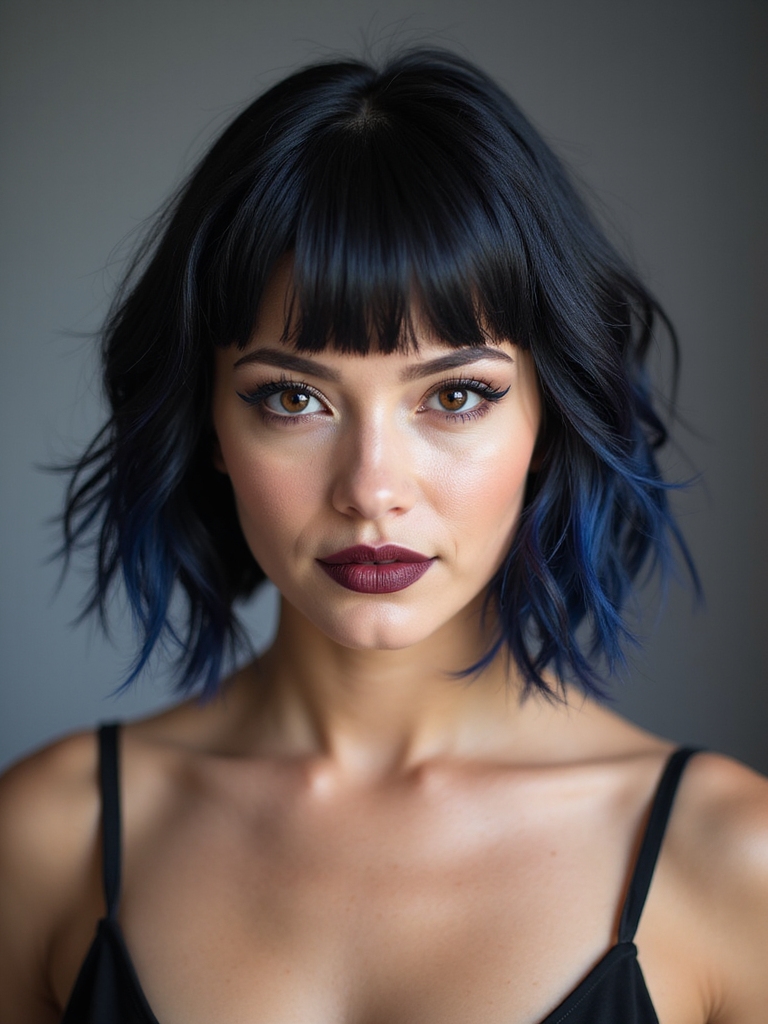
Color Ideas to Amplify the Choppy Texture

With a few bold color moves, I’ll show you how to make those choppy layers sing—think punchy contrasts, sun-kissed dimension, and streaks that catch every head turn.
I love pairing color with texture; here are ideas to amplify that edge:
- Chunky face-framing highlights
- Subtle balayage depth
- Soft pastel tips
- High-contrast roots
- Peekaboo undercolor for pop
Maintaining Volume at the Nape

I’m all about that lifted nape—small root-lifting tricks and the right product can make your inverted bob pop.
I’ll show where to place shorter layers so your crown stays buoyant without looking chunky.
Ready to tweak your cut and your styling for instant, lasting lift?
Root-Lifting Techniques
Lift at the roots and your inverted bob instantly snaps to life — trust me, the nape is where the whole shape either sings or slumps.
I boost that area daily with quick, targeted moves that won’t flatten. Try these:
- Blow-dry up and back at the nape
- Use a small round brush
- Apply root-lift spray
- Tease lightly at the crown
- Finish with flexible-hold spray
Layer Placement Strategies
Think about where your stylist snips: strategic layer placement at the nape decides whether your inverted bob stays full or falls flat.
I love carving short, textured layers low at the neck to boost lift and movement without bulk.
Ask for graduated stacking, precise point cutting, and minimal weight removal; this keeps the silhouette angled, playful, and impossibly modern while holding shape all day.
Face‑Framing Pieces: Placement and Impact

Although I love the clean lines of an inverted bob, adding face‑framing pieces can totally change the vibe — softening angles, highlighting cheekbones, or drawing attention to your eyes.
I’ll show you quick placement choices that pack a punch:
- Short wisps at temples for softness
- Longer strands to elongate
- Curved pieces to accent cheekbones
- Side-swept layers for mystery
- Micro bangs for edge
Tools and Products for Daily Styling

When I’m prepping an inverted bob for the day, I rely on a short kit of tools and products that make styling fast and foolproof.
I grab a paddle brush, small round brush for lift, a lightweight texturizing spray, heat protectant, and a matte pomade for piecey ends.
A flat iron with rounded plates finishes sleek curves — quick, bold, and totally manageable.
How to Transition From a Long Cut to an Inverted Bob

I’m excited to help you move from long locks to a sharp inverted bob, but first we’ll set clear goals so the cut matches your face and lifestyle.
We’ll remove length gradually to keep shape and confidence intact, with strategic trims that build the inverted angle.
Along the way I’ll show you styling tricks to bridge the grow-out so you always look polished.
Prep With Clear Goals
Before I pick up the scissors, I set clear goals so the cut actually fits my life — not just a picture on Instagram.
I tell you what I need, then we plan smartly:
- Face shape to flatter
- Daily styling time
- Maintenance willingness
- Desired edge (soft vs sharp)
- Product tolerance
This keeps the inversion bold, wearable, and totally me.
Gradual Length Removal
Once we’ve agreed on the vibe, I ease the length off in stages so your hair adjusts without drama. I chop progressively shorter layers, checking balance and face shape as we go.
You’ll watch the silhouette form, keeping movement and edge. We pause, refine the graduation, and only commit when the inverted angle flatters you—confident, sharp, and totally wearable.
Styling During Grow-Out
While your lengths soften and layers find their rhythm, I’ll show you simple styling moves that keep the cut looking intentional—not messy—in every stage.
I take you through quick tweaks that disguise awkward lengths and celebrate texture:
- Blowout with root lift
- Tousled waves with salt spray
- Tucked-under ends for polish
- Deep side part to hide unevenness
- Mini braids for control and flair
Adapting the Cut for Fine or Thick Hair

If your hair’s on the finer side, I’ll suggest soft layering and a slightly longer front to create the illusion of thickness; for thick hair, I’ll recommend heavier internal thinning and a sharper angle to prevent bulk and keep the shape sleek.
I’ll cut with weight distribution top-to-bottom, choose texturizing techniques smartly, and tailor length so your bob reads bold, light, or sculpted as needed.
Styling Ideas for Professional vs. Night Out Looks

Because your inverted bob can be as versatile as your calendar, I’ll show you how small tweaks make it boardroom-ready or electric for a night out.
I switch textures, parting, and accessories to match mood.
Try these quick moves:
- Sleek low side part for polish
- Soft waves for approachable flair
- Deep gloss for impact
- Tousled lift for edge
- Statement clip for drama
Trimming and Upkeep: When to Visit the Salon

I usually recommend getting your inverted bob trimmed every 6–8 weeks to keep that sharp stacked shape and weight distribution crisp.
I tell clients to schedule trims, refresh choppy ends, and tidy layers before the shape softens. Bring photos, mention texture, and book a quick mid-cycle tidy if styling feels sluggish.
Regular upkeep keeps the cut fierce and effortless.
Celebrities and Street Style Inspiration

Celebrities make trends feel doable, and I love watching how they tweak the inverted bob — from ultra-sleek red carpet versions to lived-in, messy street styles.
- Model-off-duty tousle for cool effortlessness
- Actress-sleek polish for glam nights
- Color pops that scream personality
- Curtain-bang combos for frame and edge
- Textured ends for movement and attitude
I borrow looks, adapt them, and dare you to experiment.
I hope this guide’s helped you see how a choppy inverted bob can totally transform your look — it’s like a tiny haircut with HUGE attitude! Pick lengths and layers that flatter your face, texturize smart for effortless edge, and tweak styling for work or wild nights.
Keep trims regular so the shape stays sharp, and don’t be afraid to bring photos to your stylist. Go bold—your hair should feel as fearless as you are.