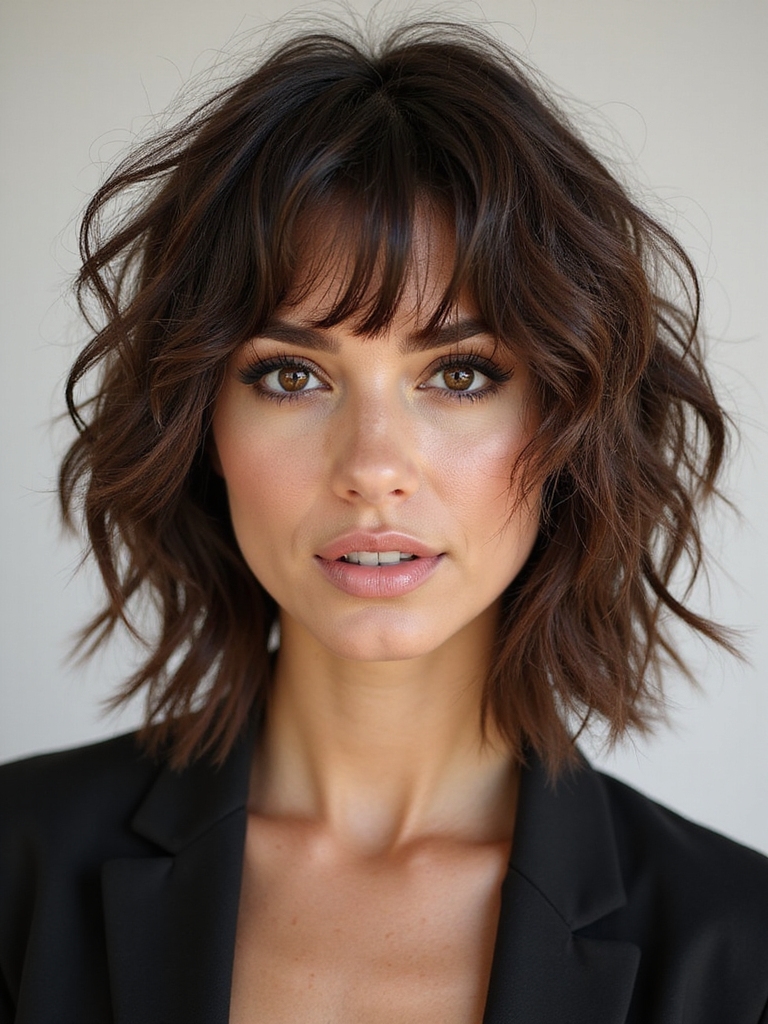
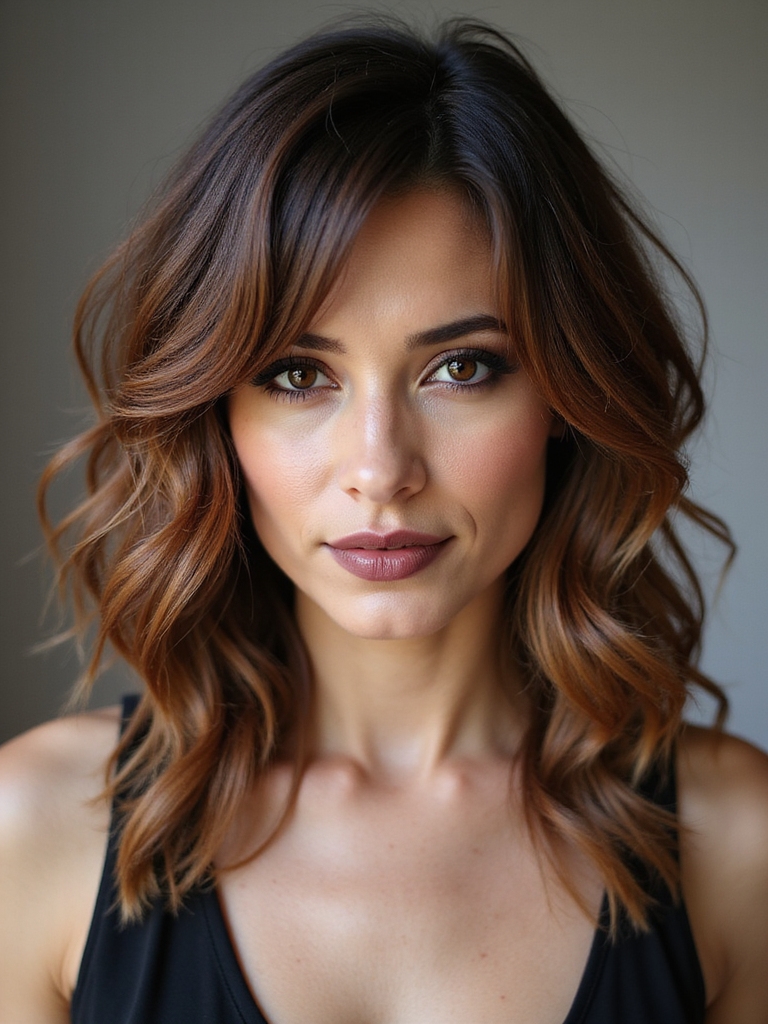
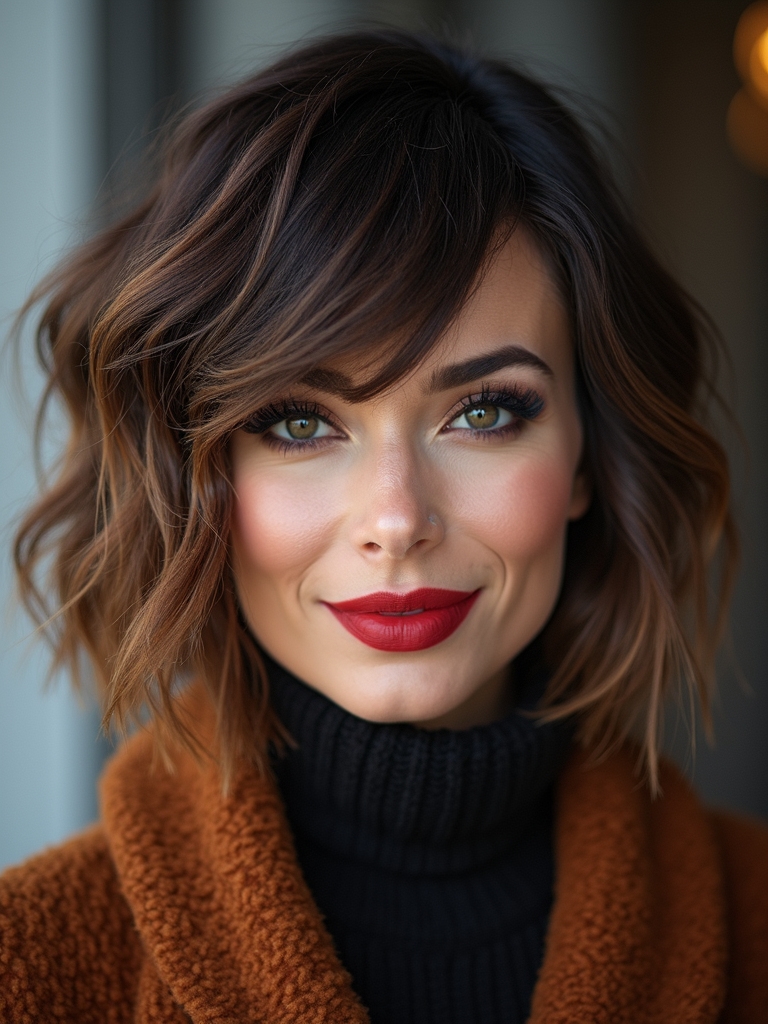
I love the shag because it feels lived-in and light in summer, yet cozy and layered in winter; breezy chopped ends let air flow at the neck while longer face-framing pieces trap warmth and movement.
I’d pick feathered layers for fine hair, chunkier steps for curls, and longer shags to soften thick hair. I use sea-salt sprays, a heat protector, and silk at night to keep texture and shine—keep going and you’ll get styling, cutting, and color tips.
Why the Shag Works Year-Round
Because the shag balances texture and ease so well, I find it feels right in every season: cool, airy layers keep you comfortable in summer, while chopped ends and body add warmth and style in colder months.
I love how wind teases the layers, sun brings shine, and cozy scarves tuck without bulk. It’s effortless, tactile, and always looks intentionally lived-in.
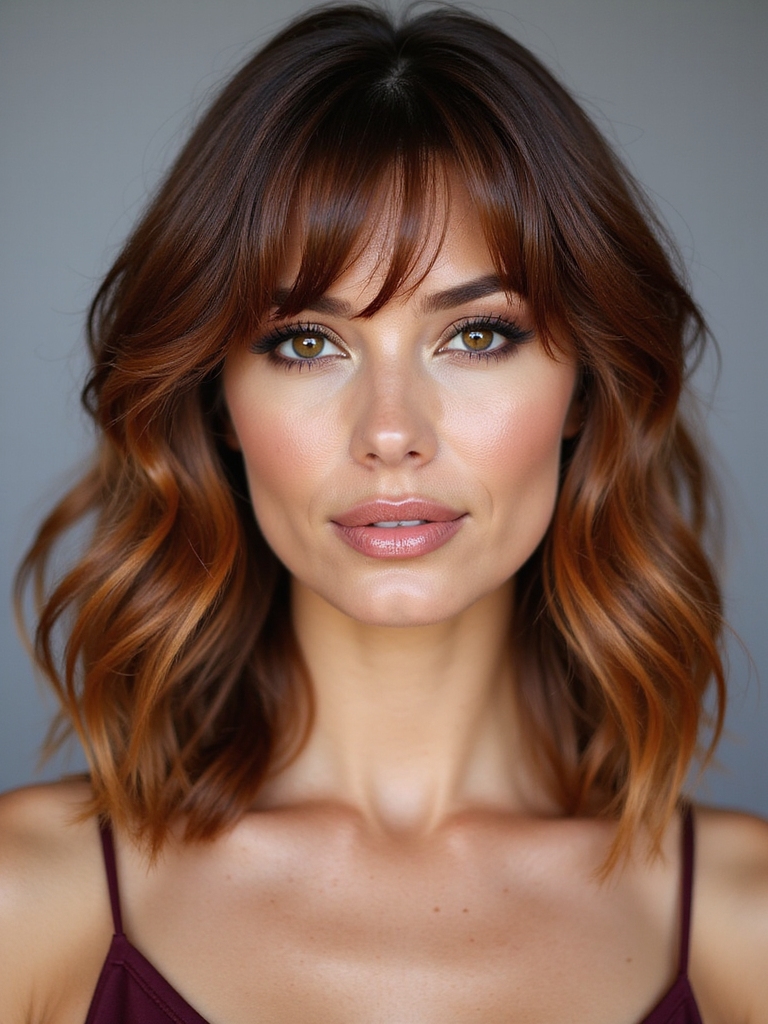
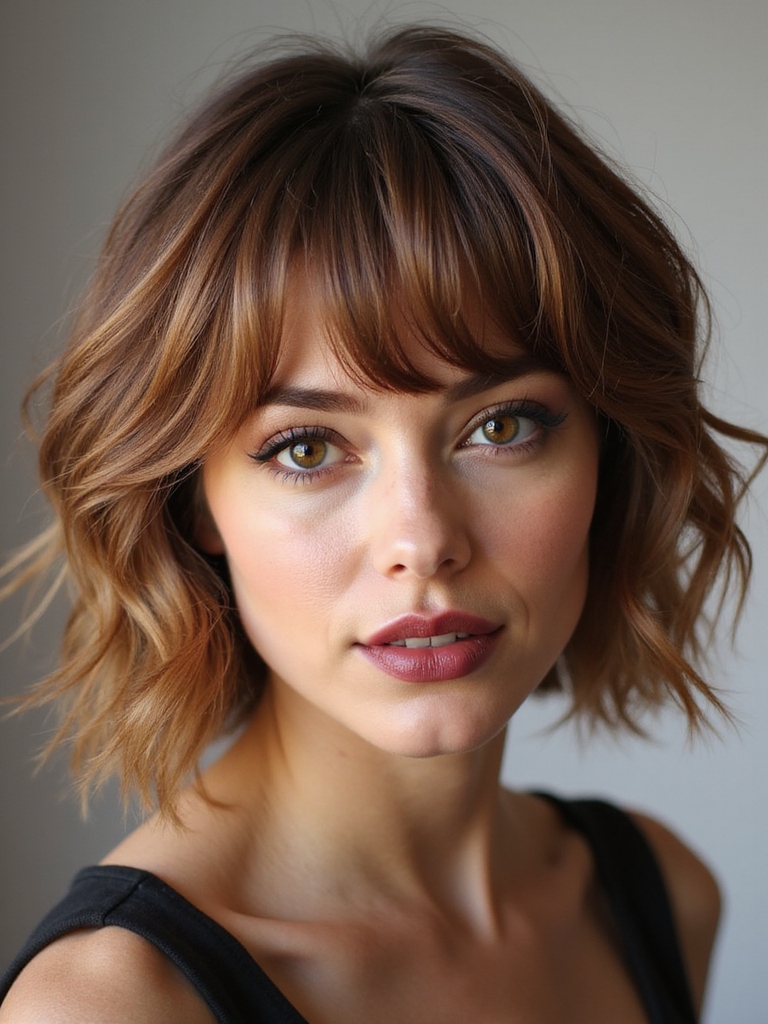
Shags are especially versatile when paired with stylish bangs, which add frame and movement to the overall look.
Choosing the Right Shag for Your Hair Type
While everyone can pull off a shag, the best version for you depends on your hair’s natural weight, texture, and how much daily styling you want to do; I’ll walk you through the tweaks that make a shag feel custom.
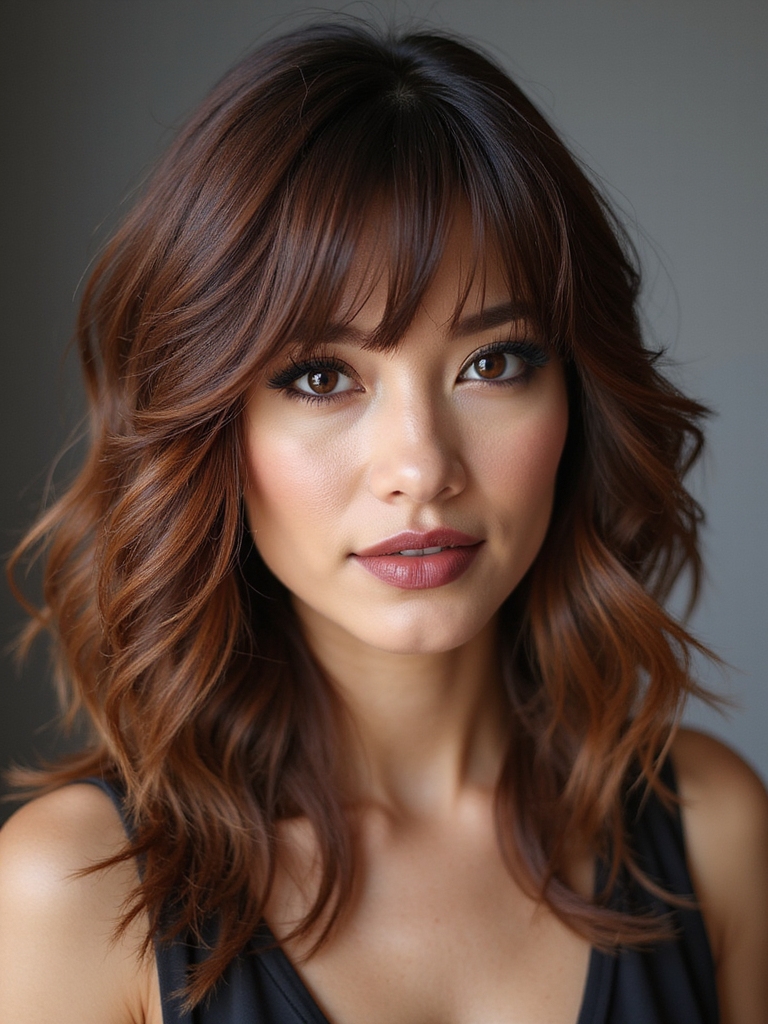
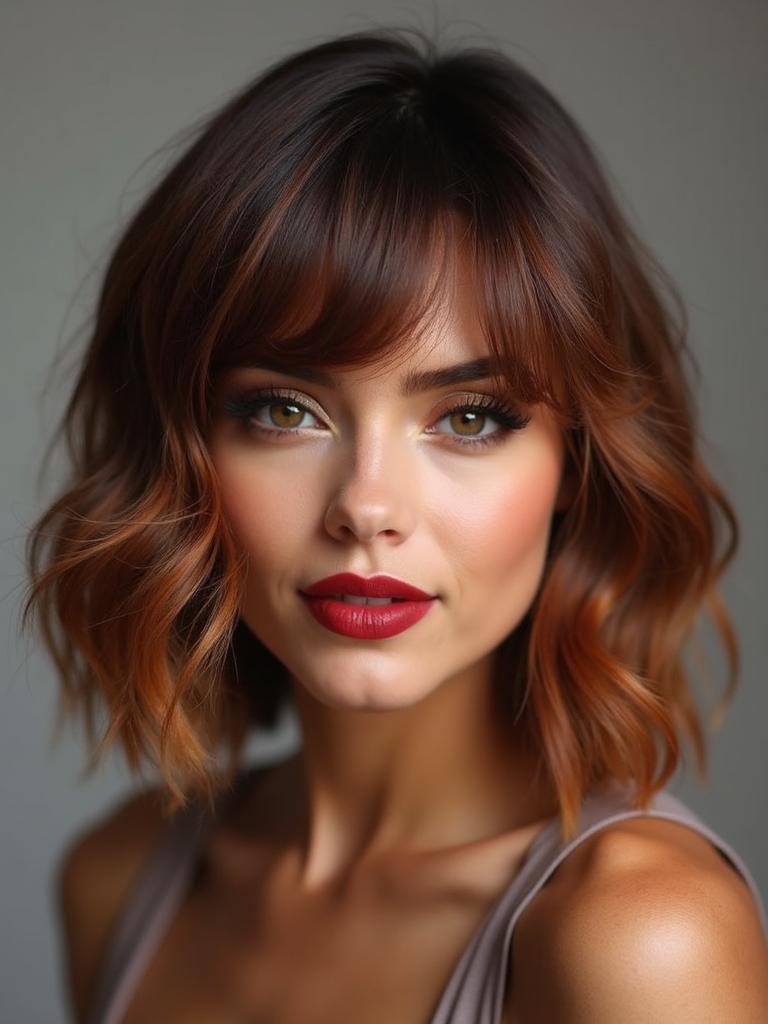
If you have fine hair, I suggest shorter, feathered layers for lift; thick hair needs longer layers to avoid bulk.
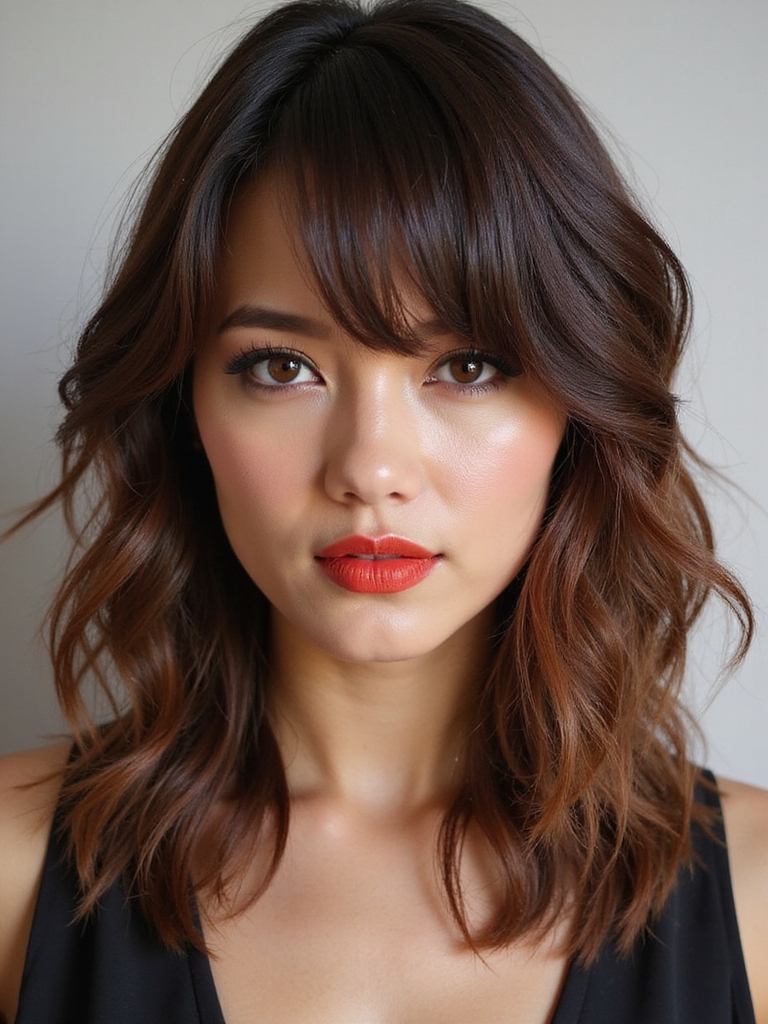
Curly textures welcome chunkier, defined layers. For an effortless, lived-in look, consider effortless shaggy long hair with flowy bangs layer placement to frame the face and soften features.
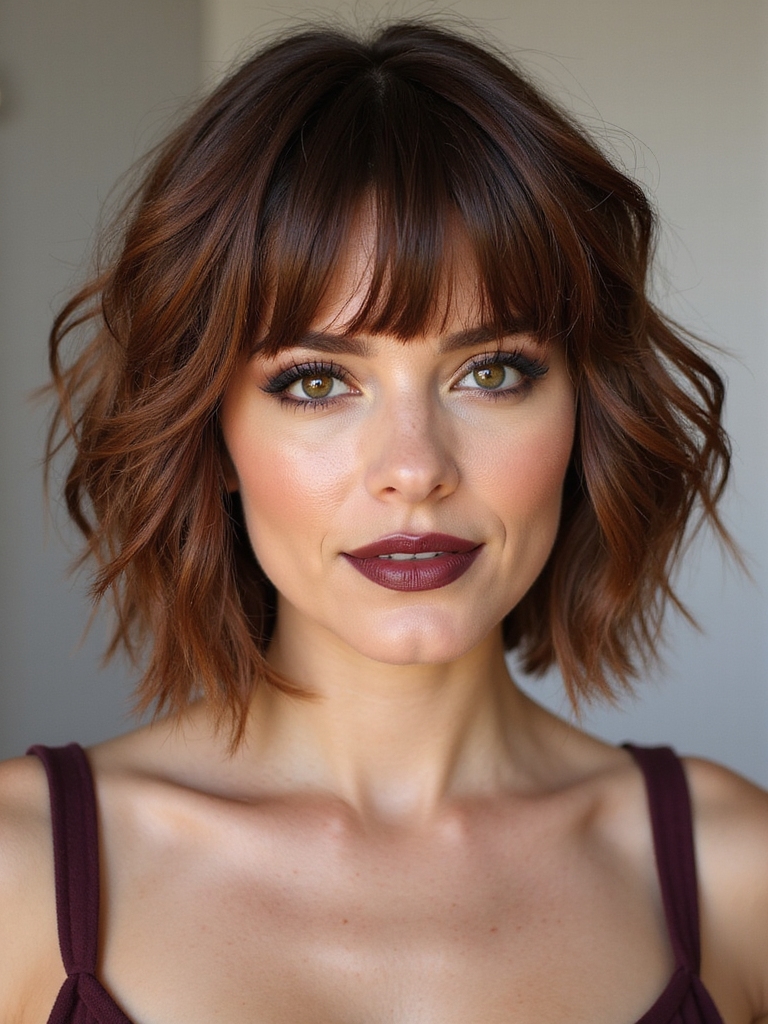
Short Shag Ideas for Warm Weather
If you want a shag that keeps you cool as temperatures climb, I’ll show you how shorter cuts beat the heat without losing that lived-in, effortless vibe.
I love the lightness, sun-kissed movement, and breeze on my neck. Try textures that breathe:
- cropped layers for volume without weight
- choppy bangs to shade and frame
- razor-cut ends for airy finish
- sea-spray waves for effortless cool
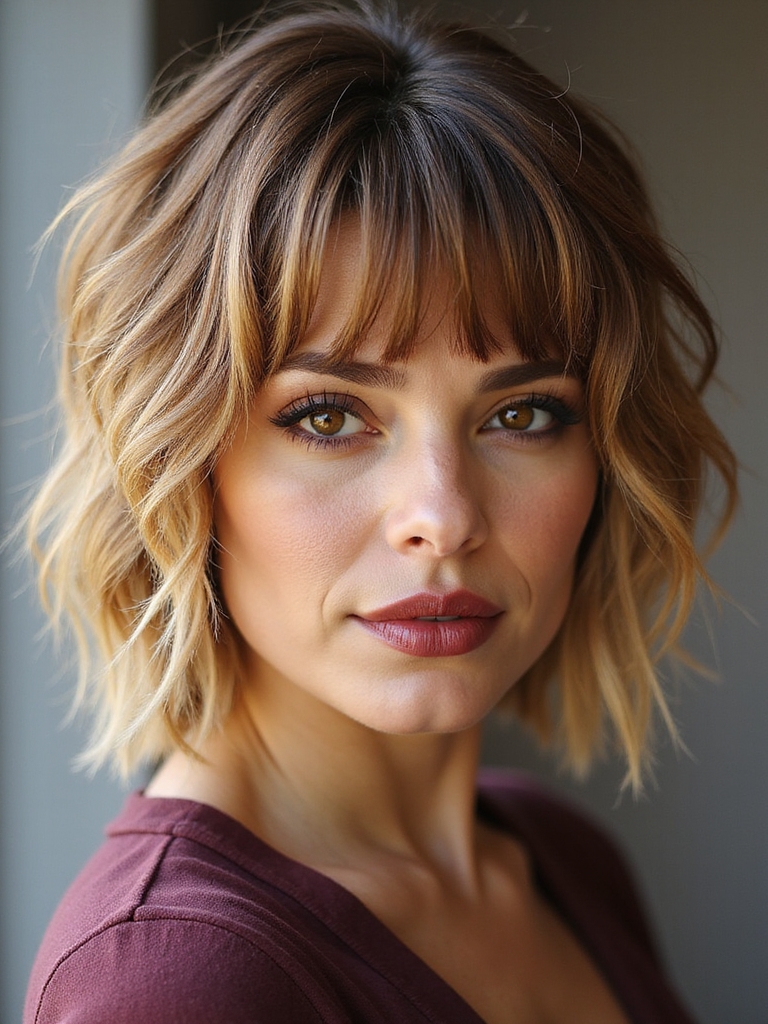
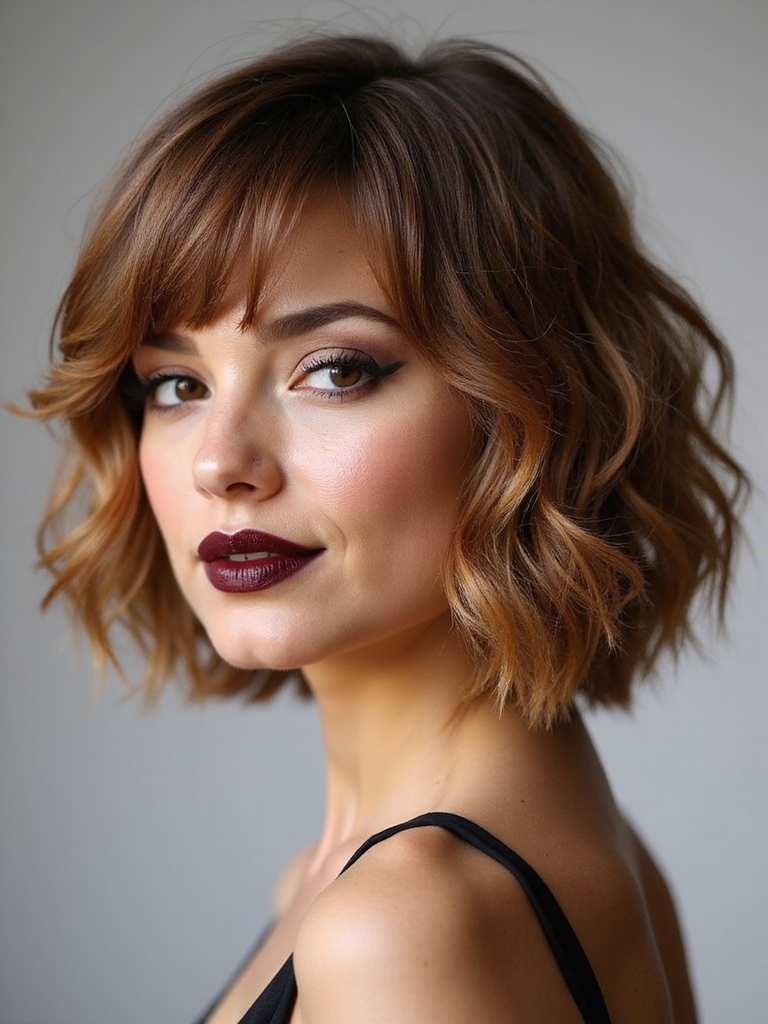
Short shags often rely on tousled texture and edge to create that lived-in look with minimal styling.
Long Shags That Keep You Cozy in Cooler Months
On crisp mornings I reach for a long shag because it feels like wrapping yourself in a favorite sweater—textured layers and soft fringe keep my neck warm while still moving with every step.
I love how the weight drapes, how cool air teases ends, and how the cut frames my face.
It’s cozy, effortless, and lively, perfect for brisk days when I want style and comfort.
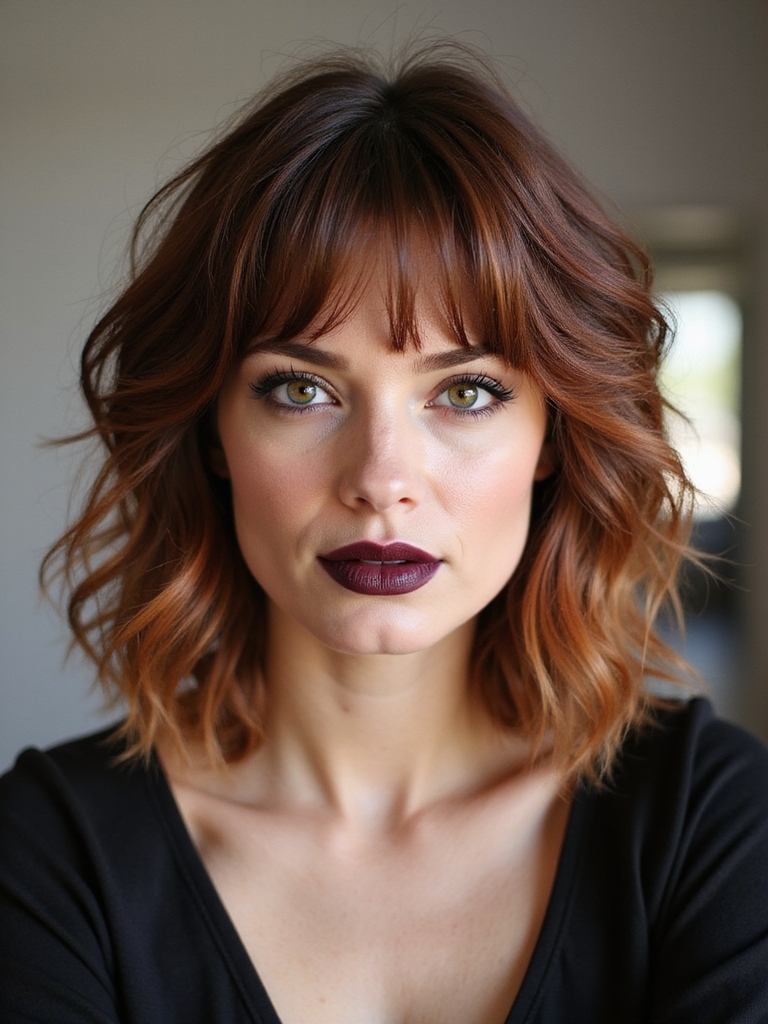
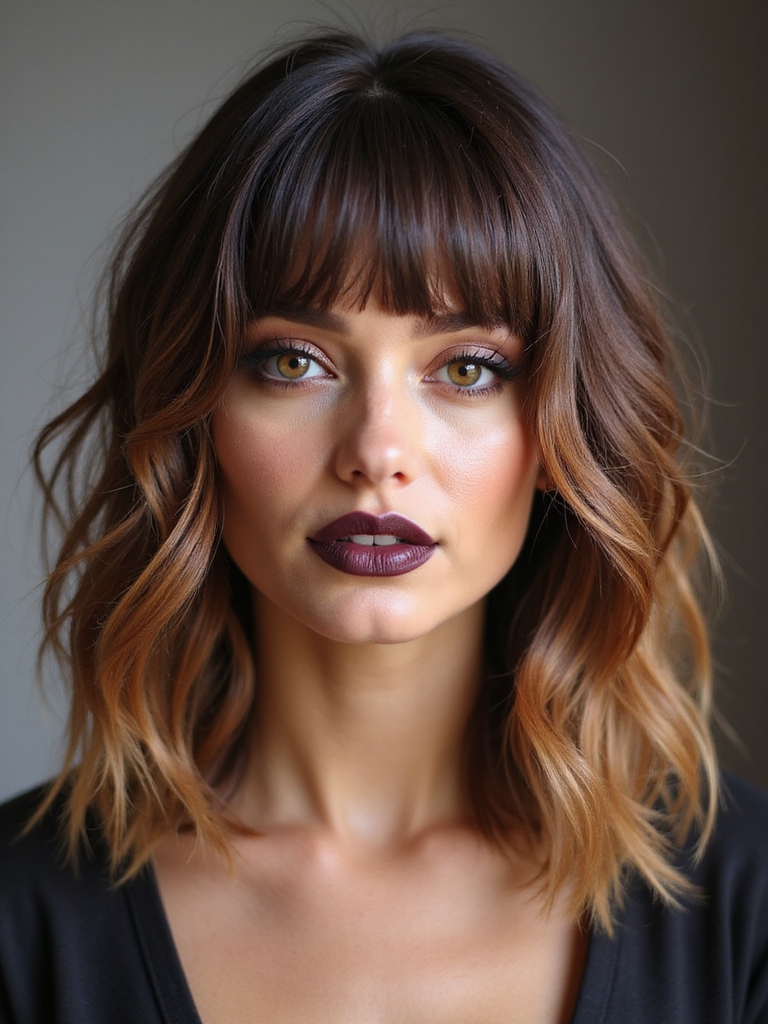
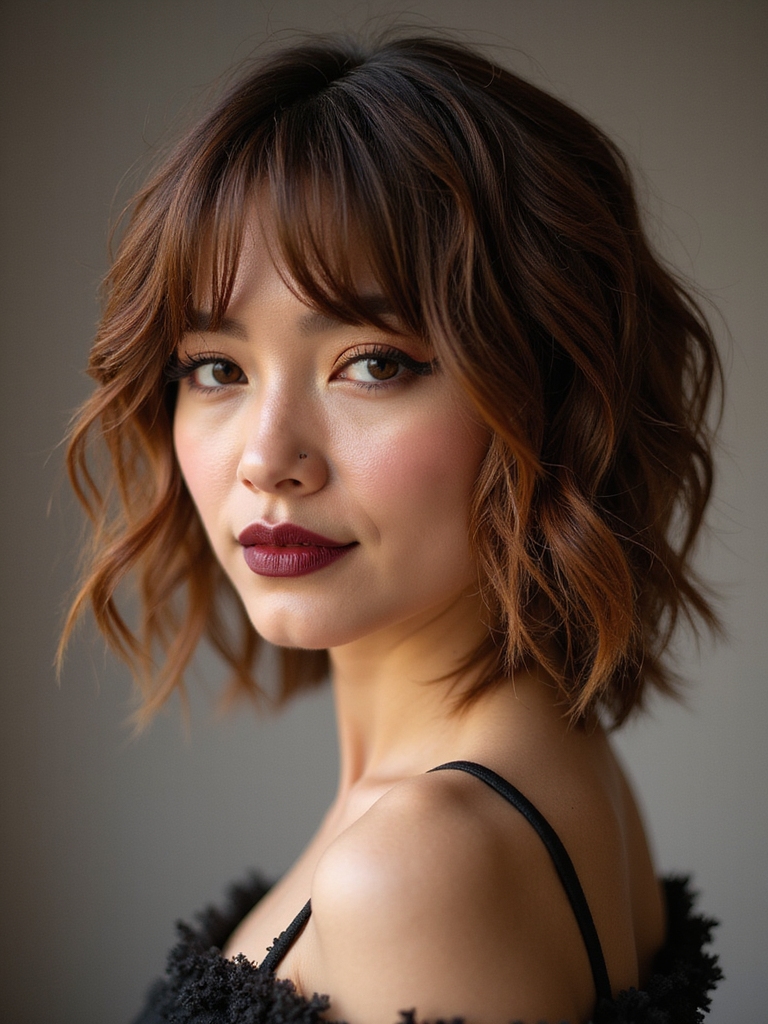
The long shag’s layered construction creates textured layers that add movement and warmth to the hairstyle.
Layering Techniques for Volume and Movement
I love using face-framing layers to wake up the cheekbones and let hair kiss your jaw with soft movement.
When I feather the ends, each strand feels lighter and sings with airy texture that catches the light.
Strategic layer placement at the crown and around the face gives instant lift and playful volume without bulk.
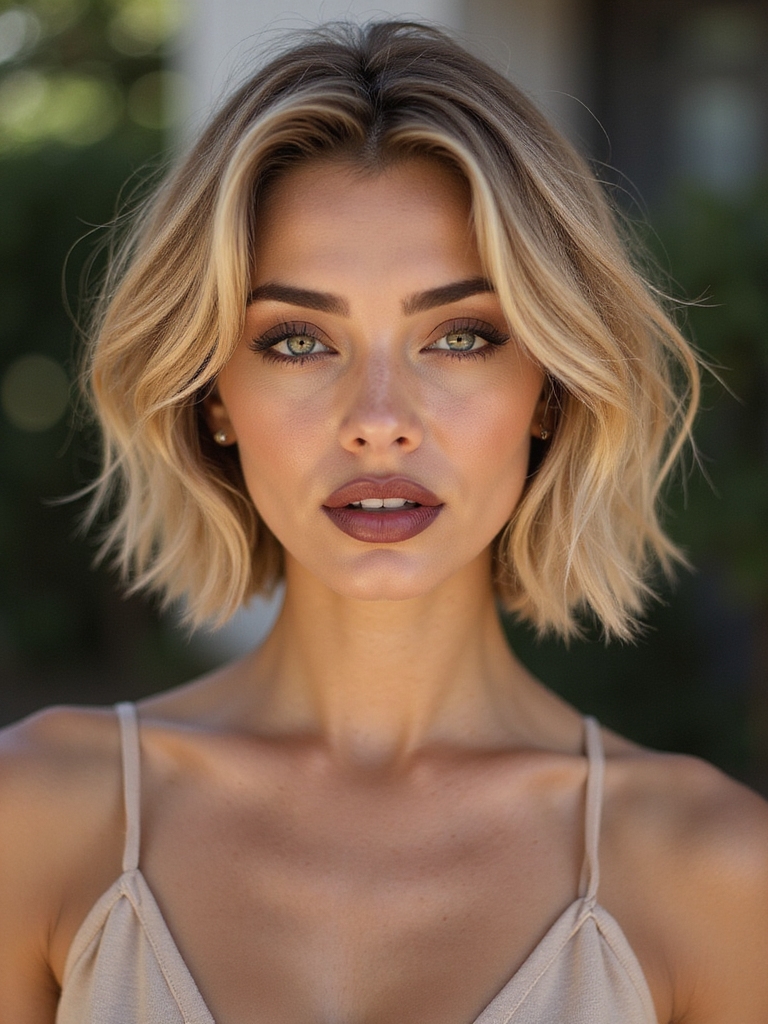
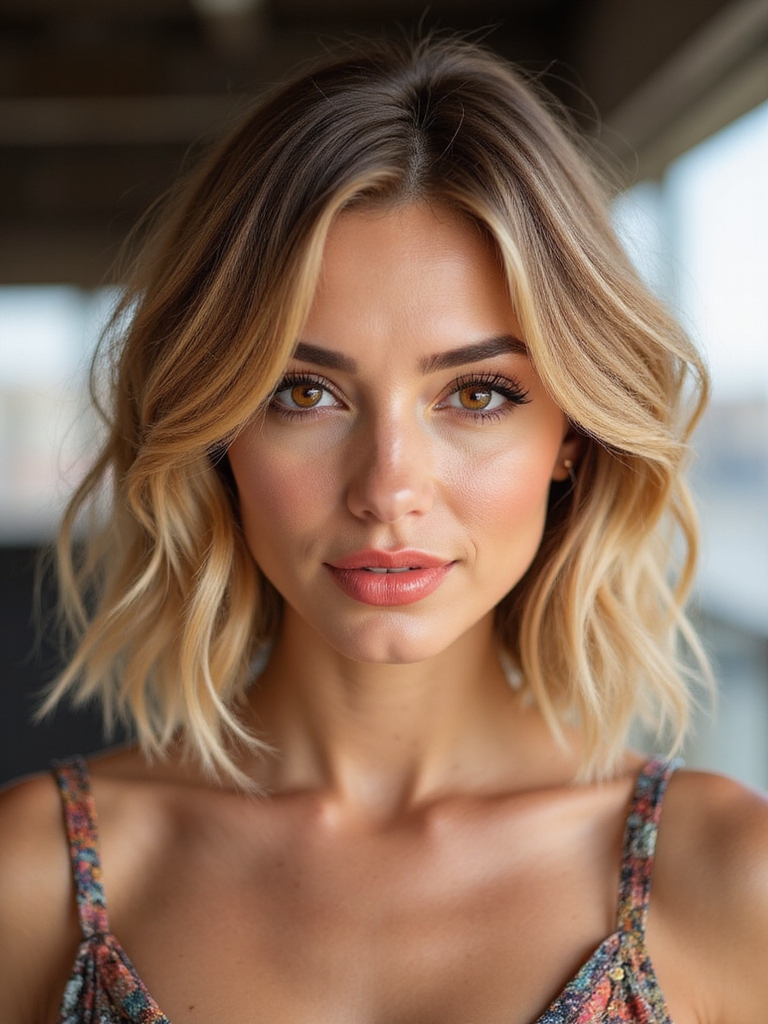
A textured finish can be enhanced on a blond bob to showcase dimension and reflect light.
Face-Framing Layers
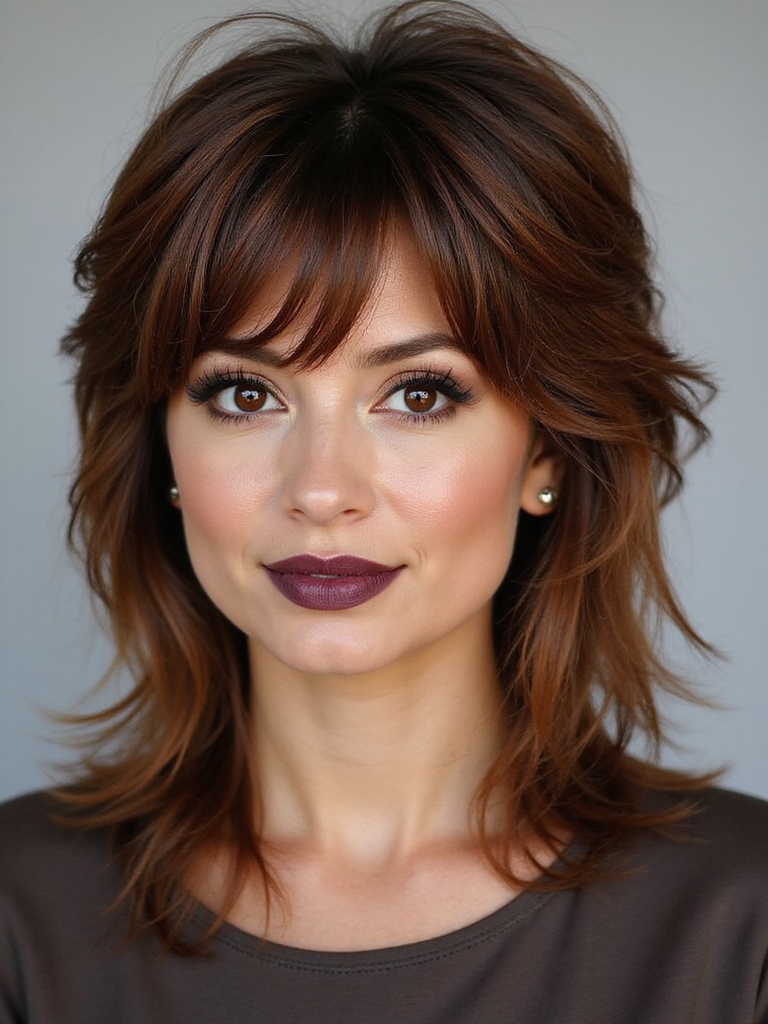
Framing the face with carefully placed layers transforms a shag from merely textured to instantly flattering — I love how a few strategic cuts can lift your cheekbones, soften your jawline, and give movement every time you turn.
I watch strands catch light, brush skin, and frame expression.
- Soft angles near temples
- Shorter pieces around the brow
- Longer, tapered lengths below
- Natural, finger-cut texture
A medium-length shag often benefits from layering techniques that add volume and effortless shape.
Feathered Ends Technique
After shaping the face with those cut-and-shear moves, I turn my attention to feathered ends to amplify lift and fluidity — this is where each strand gets its own tiny bit of life.
I lightly point-cut and slide the scissors, feeling hair soften under my hands. The result is airy texture, whispery movement, and a lived-in edge that bounces with every turn.
This technique pairs especially well with an Effortless Medium Shag to maintain volume and movement.
Layer Placement for Lift
By lifting sections at precise angles and trusting the grain of the hair, I build layers that actually breathe — giving you airy height at the crown and soft movement through the lengths.
I sculpt lightness with intent, feeling each strand. My approach:
- Elevate shorter crown pieces for lift
- Blend mid-lengths to avoid bulk
- Soften ends for sway
- Angle face-framing layers
Face-Framing Cuts to Flatter Your Features
I love using soft layers around the face to let hair brush your cheekbones and soften angles while still feeling light and touchable.
Adding an angled fringe can carve out your bone structure, giving lift and definition where you want it.
Let me show you how small tweaks create a flattering frame that feels effortless and modern.
Soft Layers Around Face
Often I find that a few soft layers around the face can completely change how you feel in the mirror — they catch light, skim the cheekbones, and whisper movement with every turn.
I love how they:
- Frame features without heaviness
- Add motion when you move
- Soften angles gently
- Let styling feel effortless and bright
Trust the subtle lift; it feels like sunshine.
Angled Fringe for Bone Structure
When you angle a fringe to follow your cheekbones, it sculpts the face like a beam of light—lifting, defining, and drawing attention to your best angles.
I love how a sharp diagonal fringe catches sunlight, brushes the skin, and balances jawlines. It feels deliberate but effortless; I nudge it for softness or edge, tailoring the cut so your bone structure shines with confident ease.
Curtain Bangs and Fringe Options for Every Season
How do curtain bangs change with the seasons? I love how they shift — soft and airy in summer, cozy and textured in fall.
I’ll describe options that feel tactile and effortless:
- Light, wispy layers for warm breezes
- Heavier, face-framing pieces for cooler days
- Shiny, sun-kissed highlights in bright months
- Subtle, muted tones for winter calm
Styling Tools and Products to Simplify Your Routine
I reach for a quick-dry styling aid when I’m short on time, feeling the cool mist speed-dry sections of my shag while I breathe easier.
A lightweight texturizing spray adds that lived-in grit and airy lift without weighing hair down, so my layers move and whisper.
I always finish with a silky heat-protectant serum to shield strands and keep shine vivid after a warm styling session.
Quick-Dry Styling Aids
I reach for quick-dry styling aids when I’m short on time and want my shag to look lived-in, textured, and dry to the touch within minutes.
They smell bright, feel weightless, and give grit without crunch. I use:
- Sea-salt spray for instant grip
- Dry foam for soft volume
- Fast-evap hair lotion for smoothness
- Blow-dry paste for hold and separation
Lightweight Texturizing Sprays
If you’re already grabbing quick-dry aids to get grit and shape fast, lightweight texturizing sprays are the effortless next step for the same lived-in look with even less fuss.
I mist through mid-lengths, feel the airy grit, tousle with my fingers, and watch layers spring to life.
They add soft grip and matte shimmer without weight, drying fast so my shag keeps bounce and movement all day.
Heat Protectant Serums
Protecting my strands from hot tools feels as important as brushing them into shape—so I reach for a lightweight heat protectant serum that slips through hair like silk.
I smooth a dime-sized drop, inhale a warm, citrusy scent, and style confidently, knowing my shag stays lively and glossy.
- Shields up to 450°F
- Lightweight, non-greasy finish
- Adds subtle shine
- Detangles instantly
Quick Summer Styling Tricks to Beat the Heat
Usually I reach for lightweight products and quick techniques that keep my shag looking lively without frying my scalp in the summer heat.
I mist sea-salt spray for texture, finger-scrunch damp ends, and pin back layers with bobby pins to lift roots.
Cold-water rinses close cuticles, and a wide-brim hat protects color while letting breezy movement shine.
Winter Styling Tips for Frizz Control and Warmth
When temperatures drop, I swap lightweight sprays for richer creams and oils that seal moisture and tame flyaways, so my shag stays soft without looking greasy.
I cozy up to heat-friendly routines that cut static and add shine.
- Microfiber towel to blot, not rub
- Leave-in cream on damp ends
- Silk scarf at night
- Humidifier in the room
Color Ideas That Complement Shag Textures
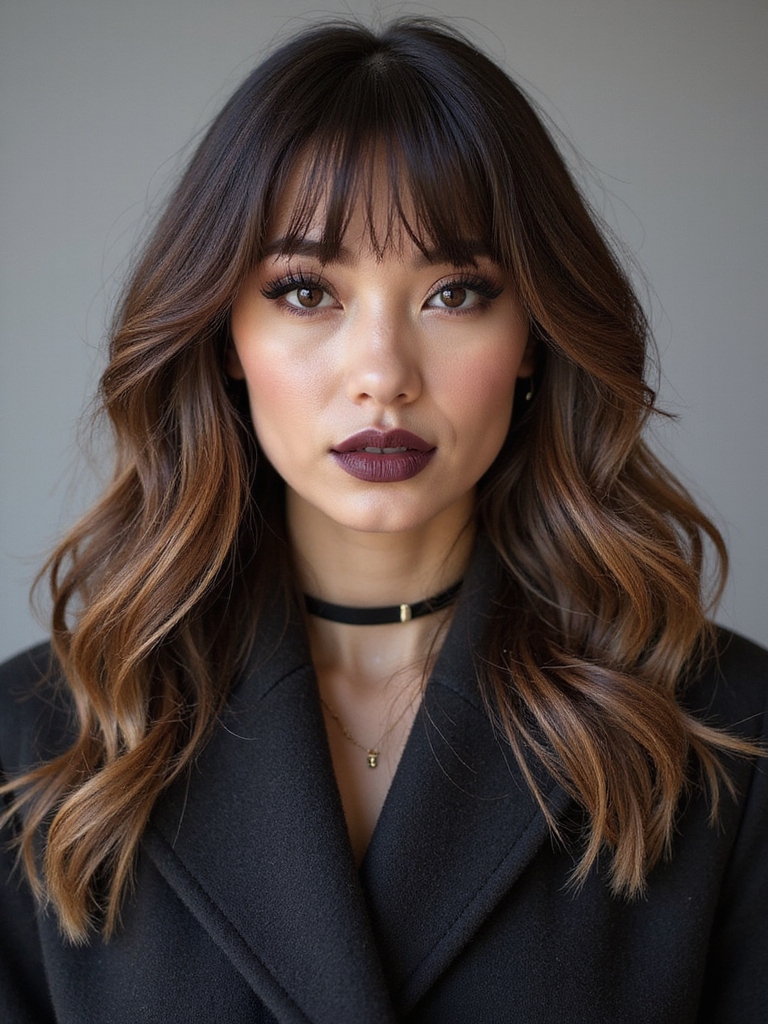
I love how face-framing highlights wake up a shag’s movement, picking out the layers around your eyes and cheekbones like sunlight.
A root-smudged balayage keeps things soft and lived-in, so your texture reads effortless instead of overly polished.
Tell me which vibe you want—bright and bold or warm and low-maintenance—and I’ll map the best color plan.
Face-Framing Highlights
Light catches the layers around your face like a halo, so I love using face-framing highlights to amplify a shag’s movement and personality.
I pick tones that brighten skin and pop with texture, keeping contrast soft. Choices I recommend:
- Warm honey for sunlit warmth
- Cool ash for edge
- Caramel lowlights for depth
- Soft butter blonde for lift
Root-Smudged Balayage
Face-framing highlights brighten the edges; now let me show you how root-smudged balayage plays with depth to make a shag look lived-in and dynamic.
I love the soft, smoky roots melting into sun-kissed ends — it adds movement, contrast, and a touch of mystery.
Run your fingers through it and feel warmth and texture; it’s effortlessly chic, low-maintenance, and endlessly flattering.
Maintaining Your Shag Between Salon Visits
Usually I give my shag a little at-home pep between salon visits so it never looks neglected; I’ll dampen the layers, scrunch in a light salt spray, and blow-dry with my fingers to revive that lived-in texture.
I also:
- Refresh bangs with small snips and point-cutting.
- Use a cream for soft hold and scent.
- Sleep on a silk pillow to reduce frizz.
- Tame ends with occasional oil.
Transitioning Your Shag Between Seasons
After those quick at-home fixes, I start thinking about how my shag should feel and behave as the seasons shift.
I swap lightweight texturizers for richer creams in cold months, welcome airy sprays in heat, and tweak length at the nape for warmth or breeze.
I listen to hair’s texture, adjust moisture, and enjoy that tactile seasonal rhythm.
Celebrity Inspiration and Real-Life Examples
I love pulling inspiration from celebrities because their shags show how a single cut can feel playful, polished, or punk depending on styling and texture.
I watch glossy photos, notice movement, and imagine the tang of sea salt or soft salon blowouts on my hands.
- Feathered layers that frame the face
- Choppy bangs for edge
- Sleek, textured lengths
- Tousled, lived-in volume
How to Communicate Your Ideal Shag to Your Stylist
With a few clear details and a bit of sensory shorthand, I can help my stylist nail the exact shag I want—whether that’s air-dried, sea-salty messiness or a glossy, razor-cut silhouette.
I describe texture, face-framing length, and where I want movement.
I show photos, touch my hair to demonstrate thickness, and ask for layering and finish options so we leave aligned and confident.
I’ve seen a single shag transform a look—think 70% more movement, like hair suddenly catching breeze and sunlight together—and that’s the kind of lively change you can count on year-round.
Whether your strands are whisper-thin or courageously thick, the right layers, length and styling give texture, warmth and freedom. Trust your instincts, bring photos, and let your stylist tailor a shag that feels like you: bold, effortless, and ready for every season.