I’ll be honest—if you’ve got straight hair and you’re tired of it falling flat, a shaggy cut might be exactly what you’re missing. I’ve seen this transformation work for countless people, and it’s not just about luck.
There’s real strategy behind why choppy layers and shorter crowns create that effortless fullness you’re after. Let’s explore what makes this cut tick.
Understanding Why Shaggy Cuts Work for Straight Hair
While you might think straight hair needs blunt lines to look polished, shaggy cuts actually work beautifully with your texture. The layering creates movement and dimension that straight hair naturally lacks.
I’ve found that strategic layers catch light differently, making your hair appear fuller. The key’s understanding how angles and length work together to transform flat strands into voluminous, textured styles.
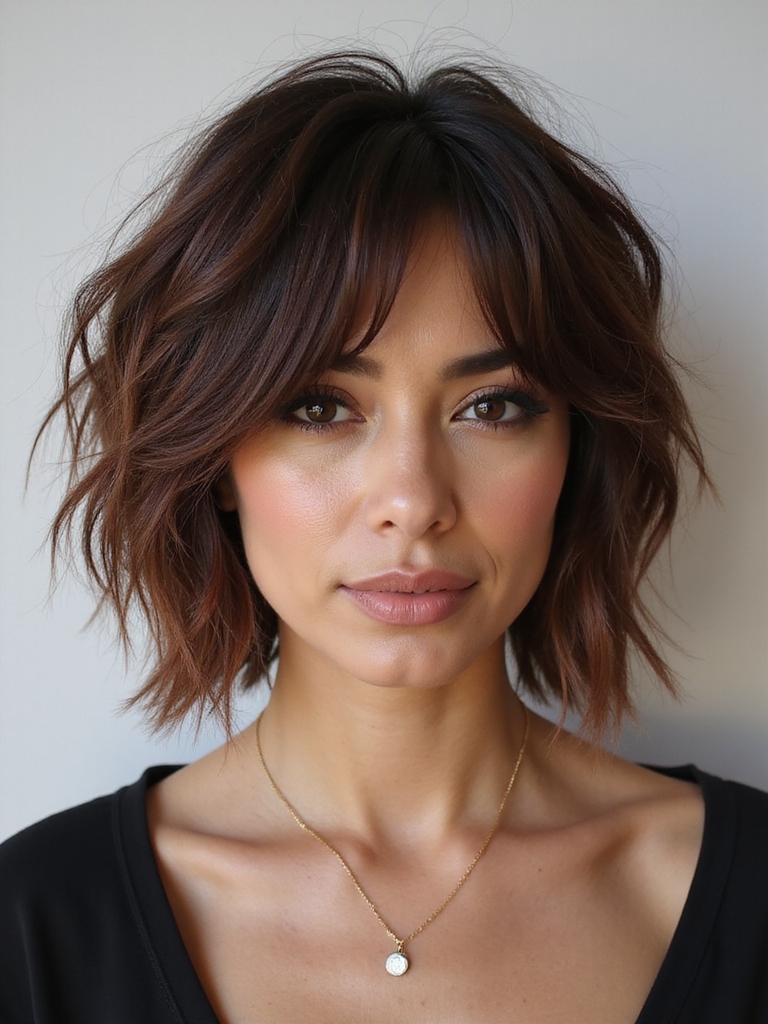
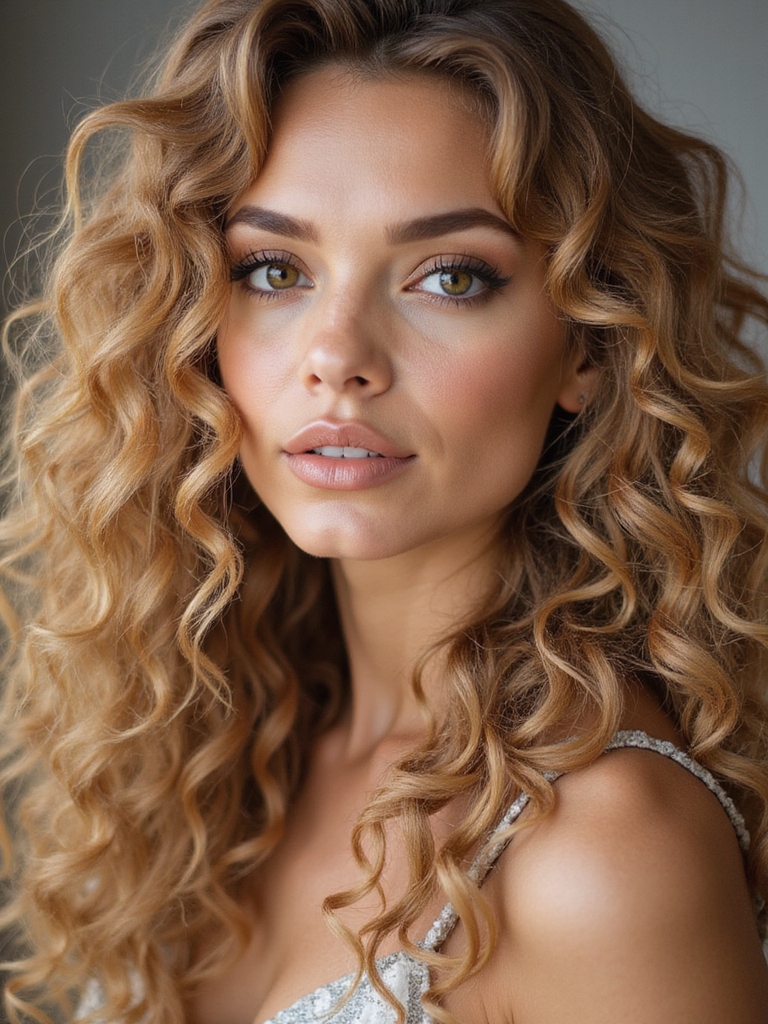
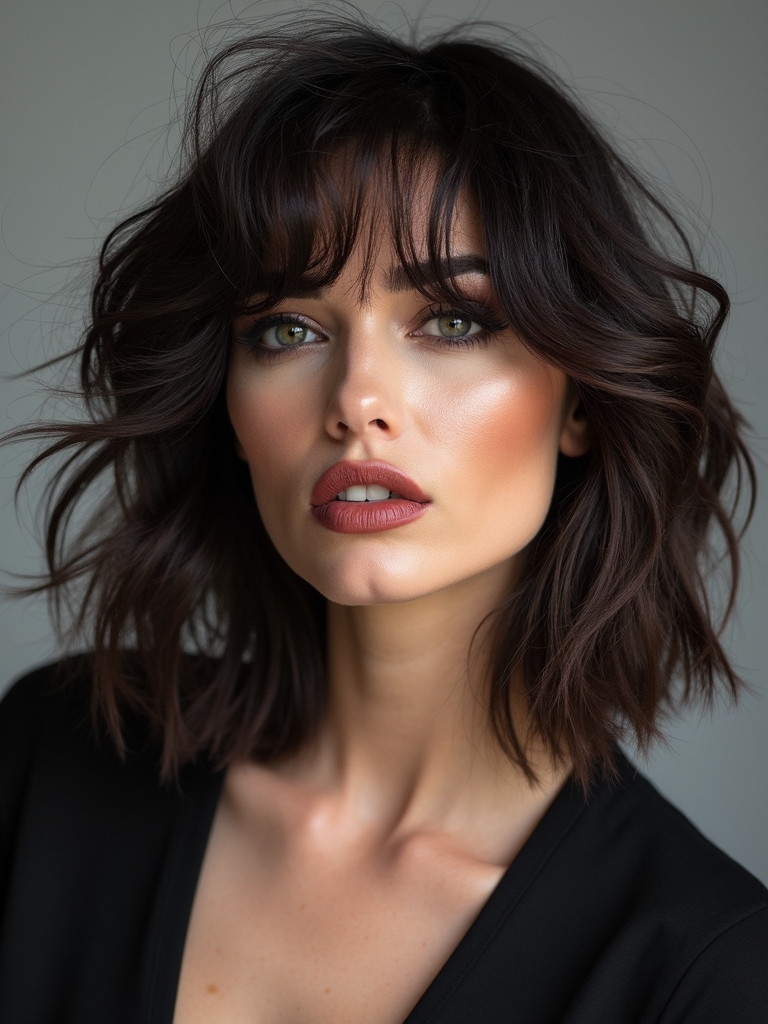
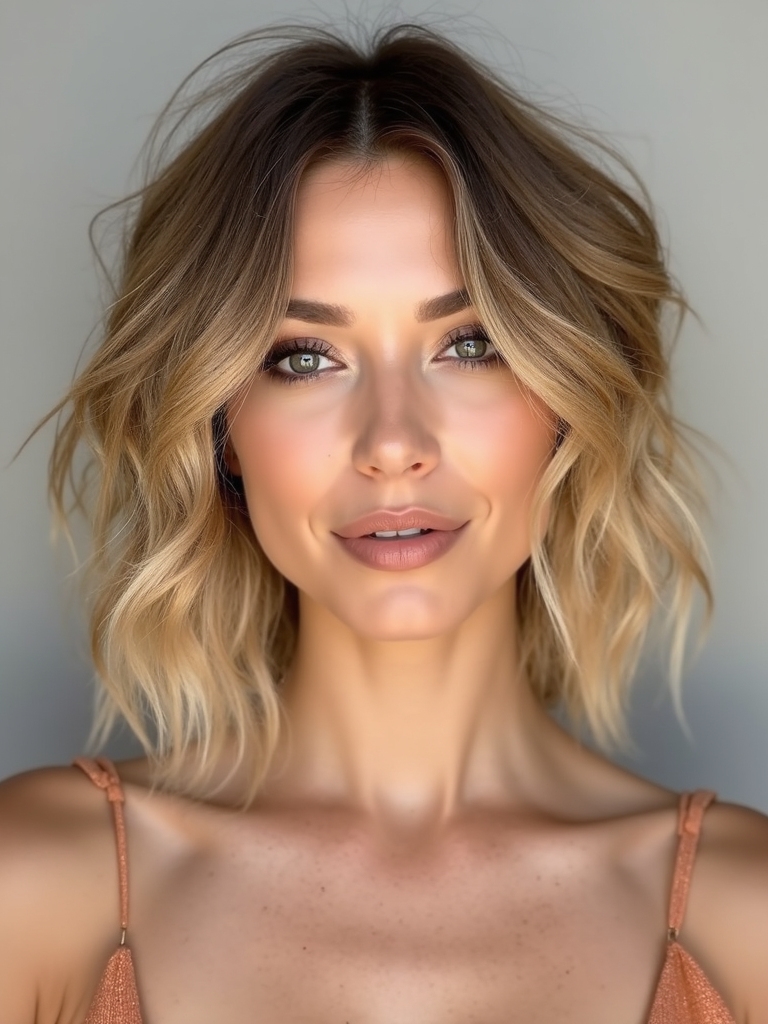
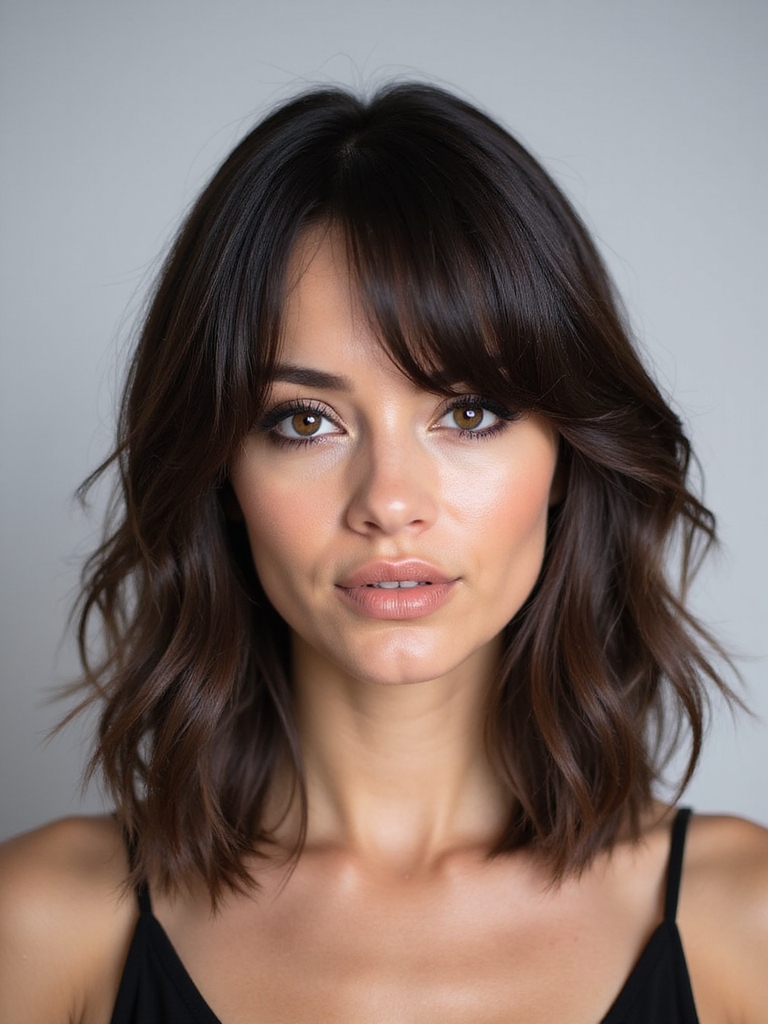
Effortless Medium Shag: The Chic Layered Look brings relaxed layers and face-framing pieces that enhance body without heavy styling.
The Classic ’70s Shag Revival

Now that you understand the science behind why layers transform straight hair, let’s look at one of the most iconic shaggy styles that’s made a serious comeback: the classic ’70s shag.
- Choppy, textured layers throughout
- Feathered sides framing your face
- Shorter crown for volume
- Longer length at the nape
This style’s resurgence isn’t coincidental—it’s perfect for straight hair because those deliberate layers create movement and dimension you can’t achieve otherwise. Many modern stylists borrow techniques from feathered shags that originally emphasized volume and movement.
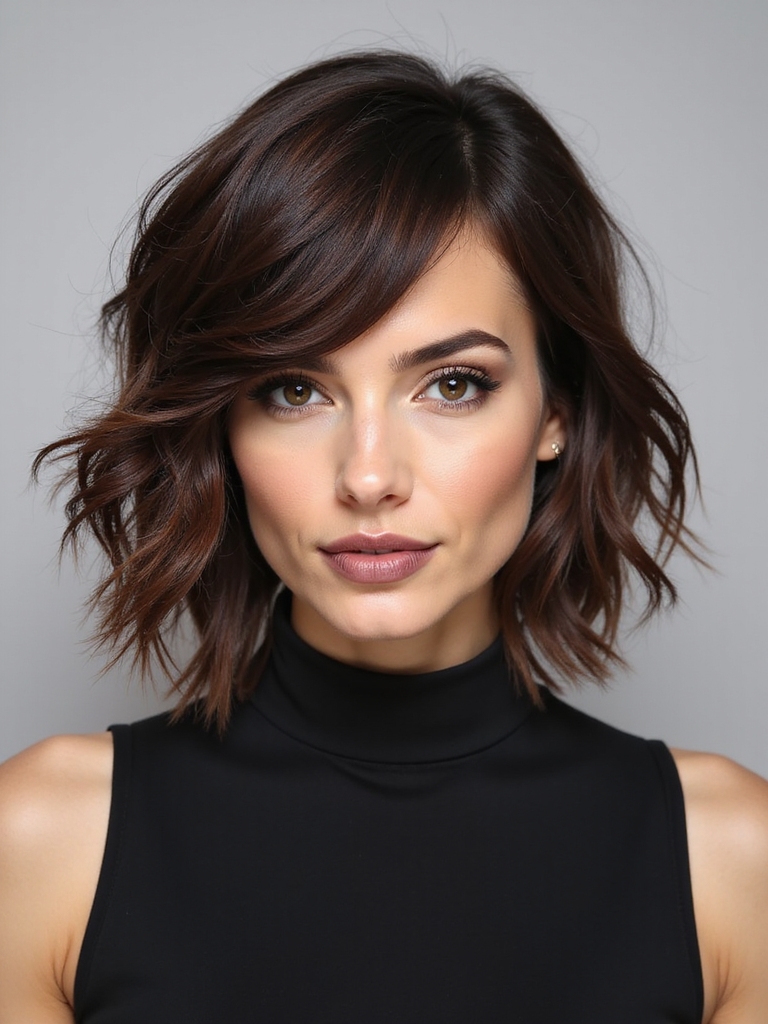
Modern Choppy Layers for Maximum Volume
If you’re craving volume that doesn’t rely on curls or waves, I’ve found that strategically placed choppy layers are your secret weapon for transforming straight hair.
I’ll walk you through the layering techniques that create movement and dimension, plus the styling tips that’ll keep your hair looking effortlessly textured throughout the day.
You’ll discover how the right cut and a few simple tricks can give you that coveted shag look without needing heat tools or complicated routines.
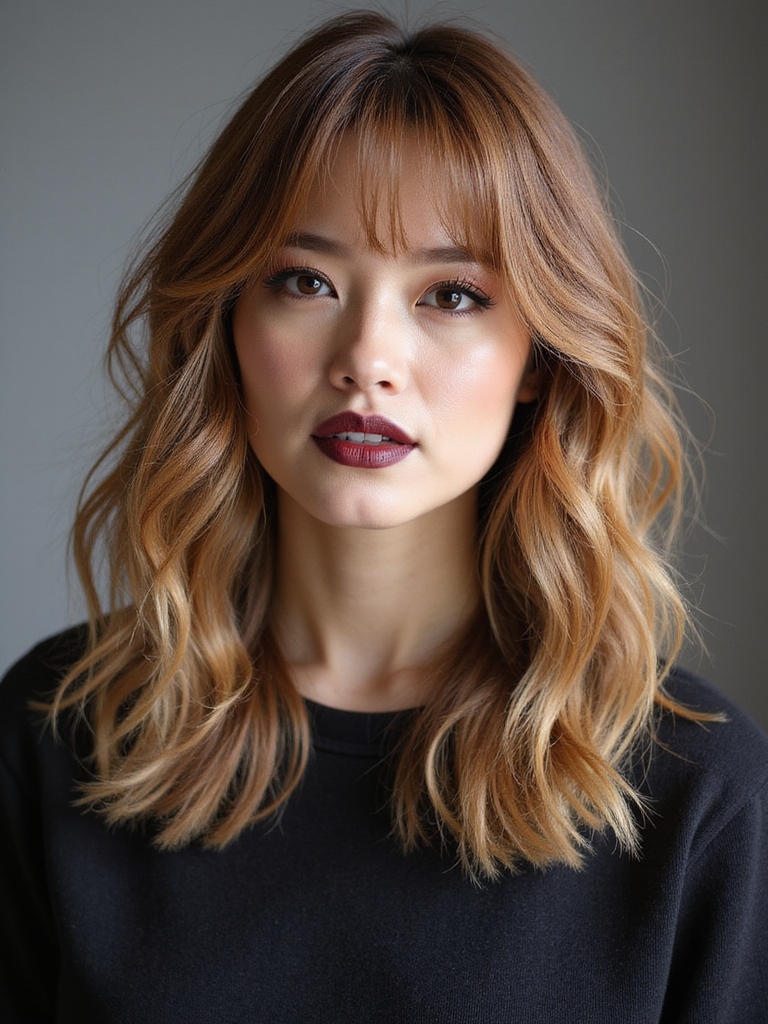
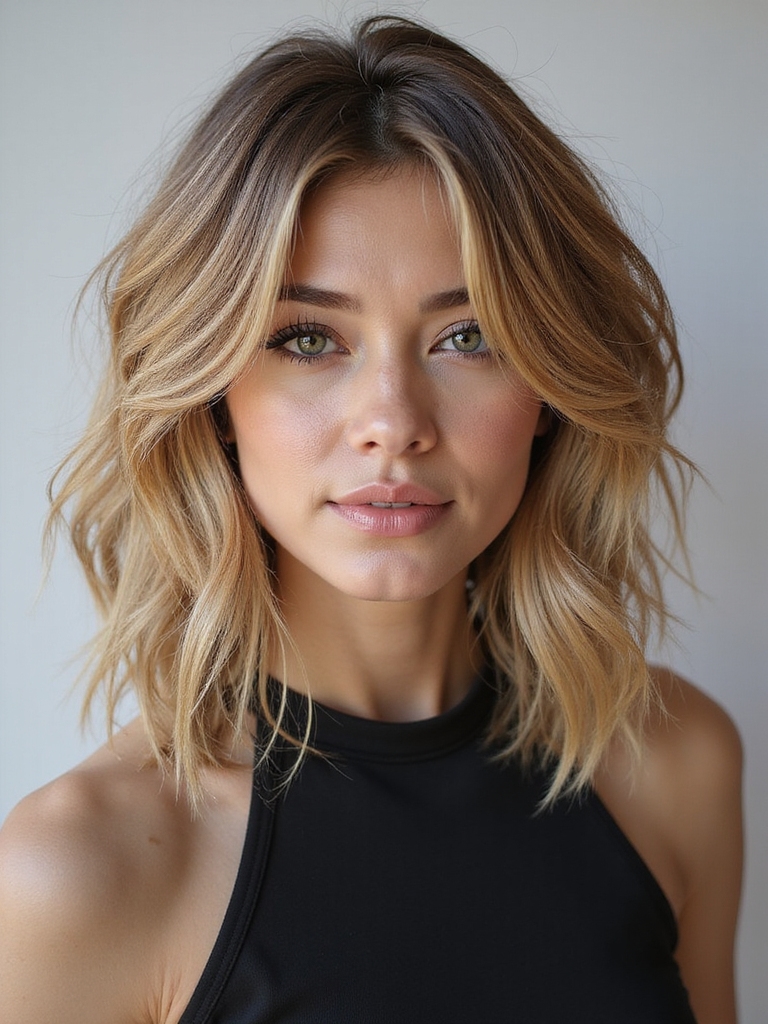
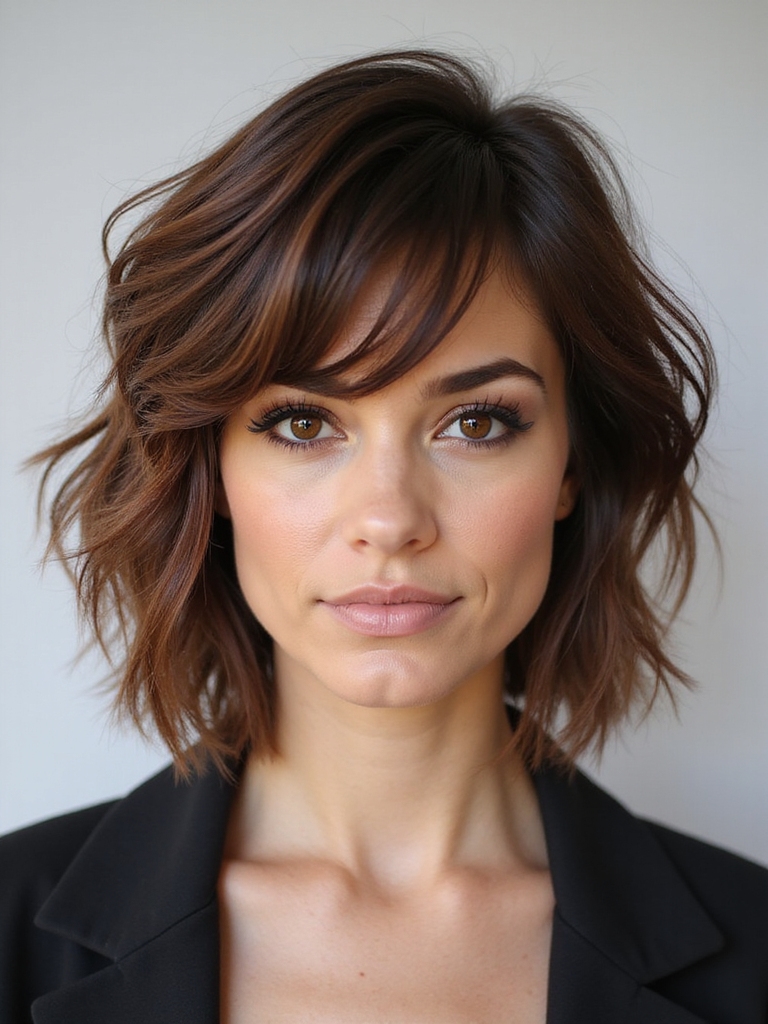
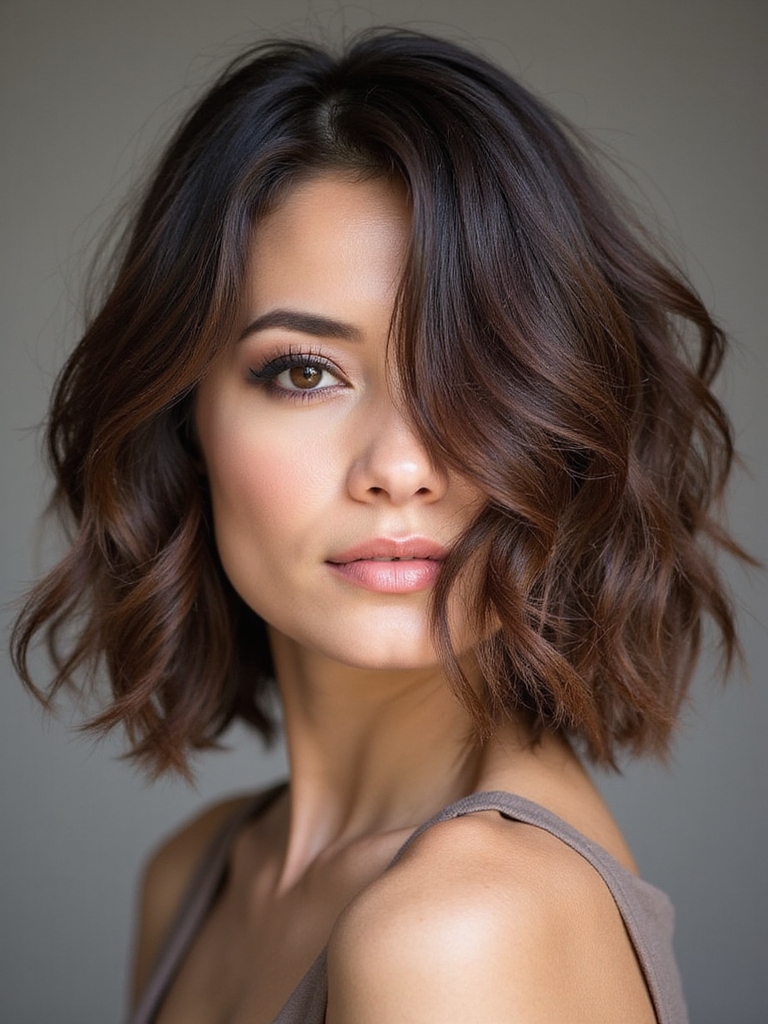
The effortless shag bob adds a relaxed, tousled finish that works well on many face shapes and hair lengths, especially when enhanced with shaggy bob styling.
Layering Techniques for Volume
Through strategic layering, you’ll unlock the volume potential that straight hair often struggles to achieve naturally.
- Shorter layers on top create lift and movement
- Longer underneath sections provide structure and foundation
- Point-cutting techniques add texture without bulk
- Varying depths prevent a flat, one-dimensional appearance
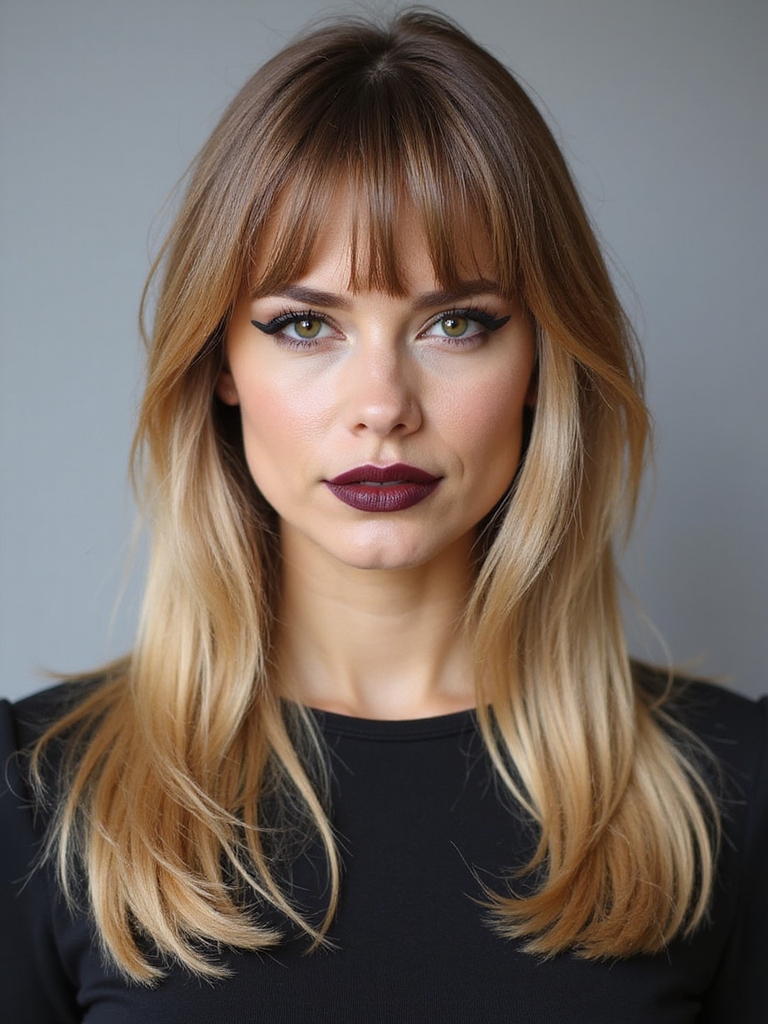
The Effortless Shag Bob shows how edgy texture can be introduced with modern choppy layers for a contemporary, tousled finish.
Styling Tips for Movement
Once you’ve got those choppy layers cut in place, here’s where the real magic happens—styling them properly will make all the difference between a lackluster cut and one that turns heads.
I’d recommend using a texturizing spray and a round brush to create movement at the roots. Blow-dry sections upward, then flip your head to lock in that gorgeous volume and dimension.
Consider finishing with a light mist of sea-salt spray to enhance the Effortless Shag’s piecey texture and hold.
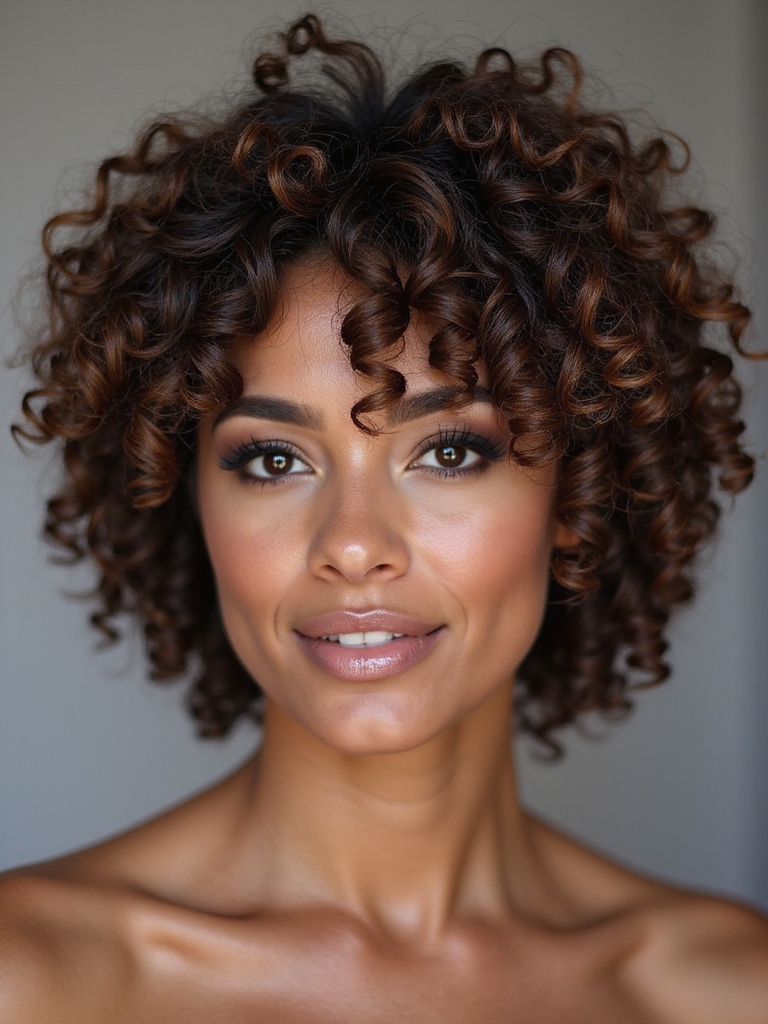
Short Shaggy Cuts for Fine, Straight Hair
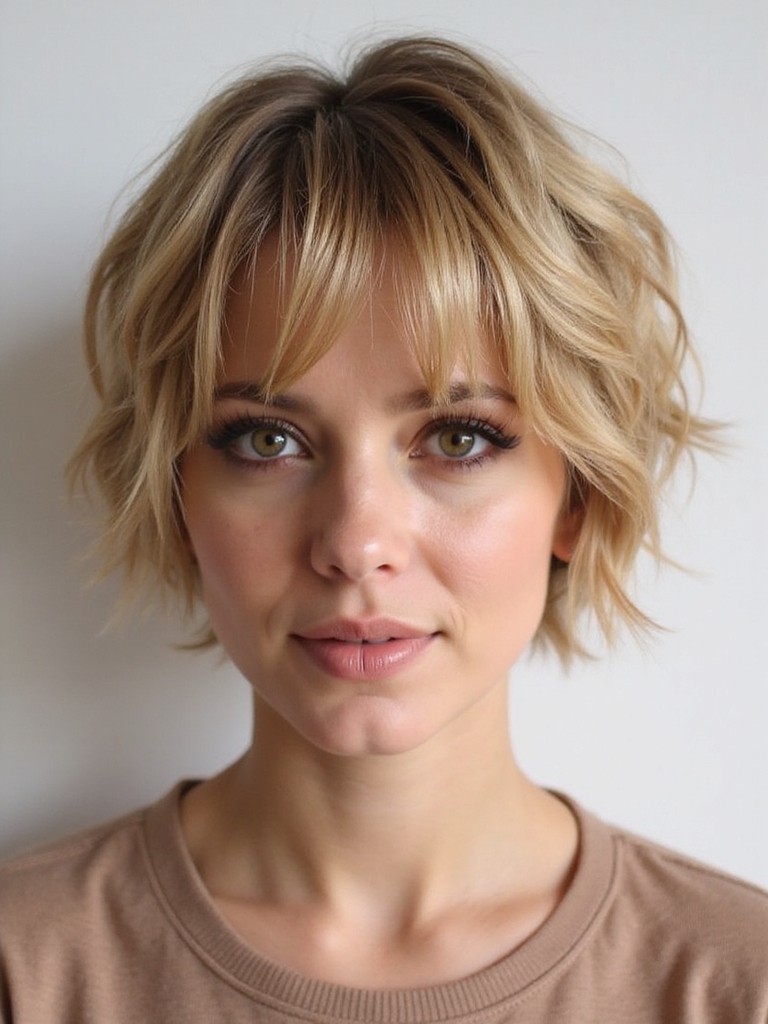
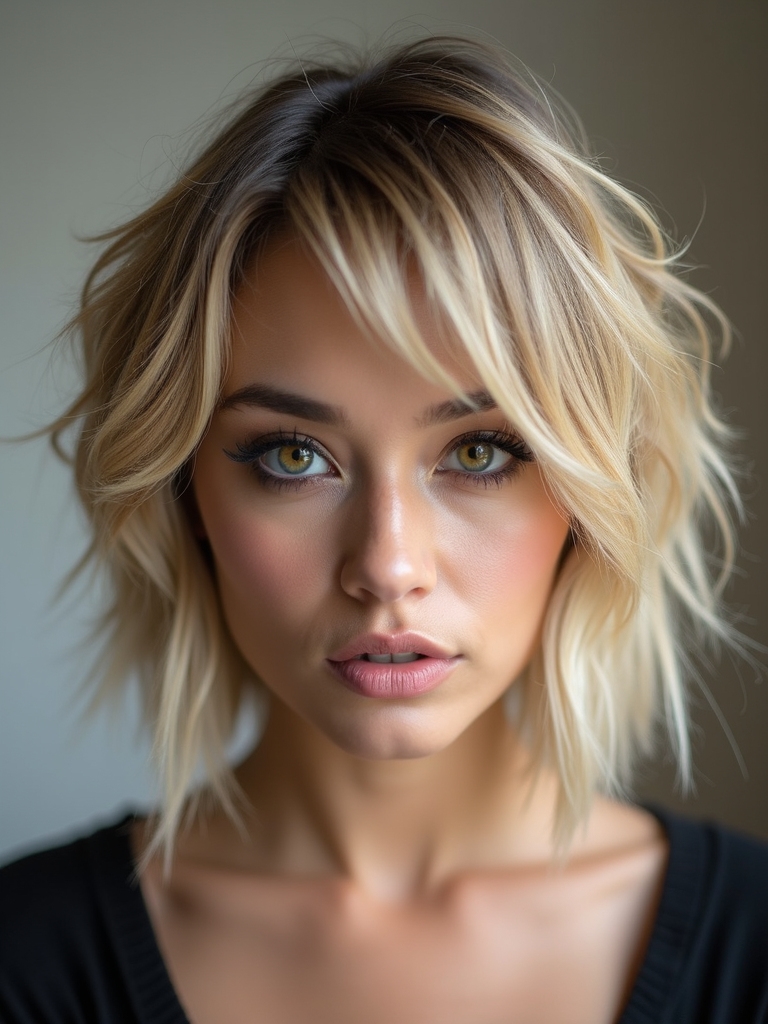
Short shaggy cuts can genuinely transform fine, straight hair by adding texture and movement where it’s needed most.
- Choppy layers create instant dimension and fullness
- Tousled styling reduces flatness without heat damage
- Shorter lengths prevent weighing down delicate strands
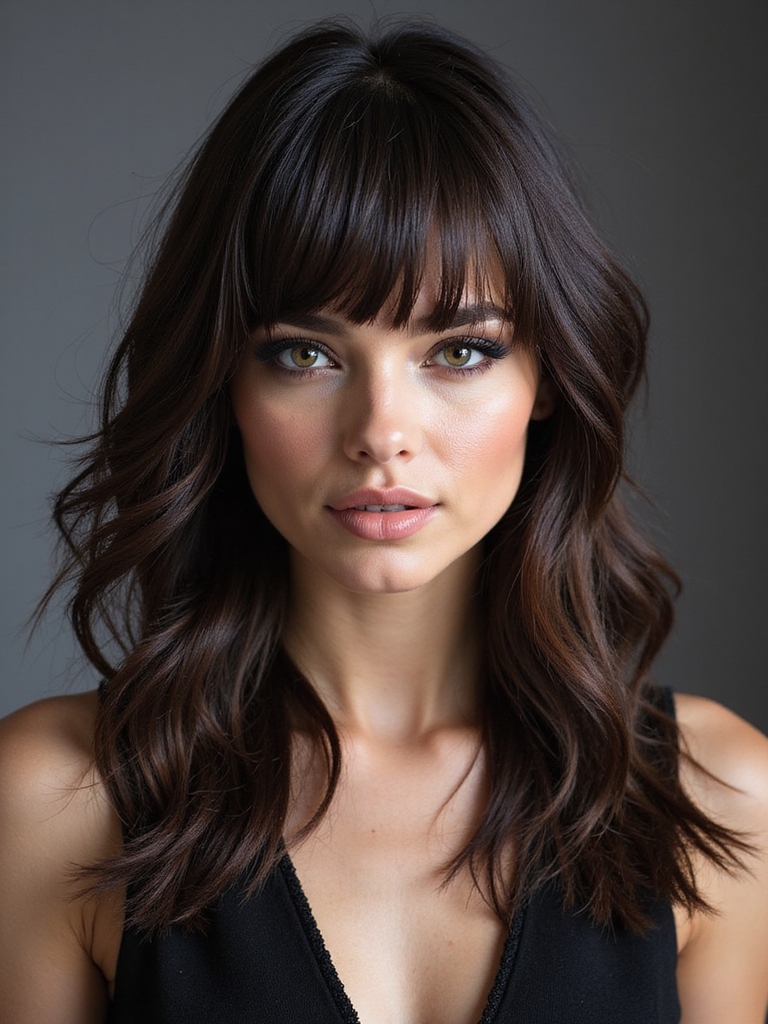
- Textured bangs frame your face beautifully
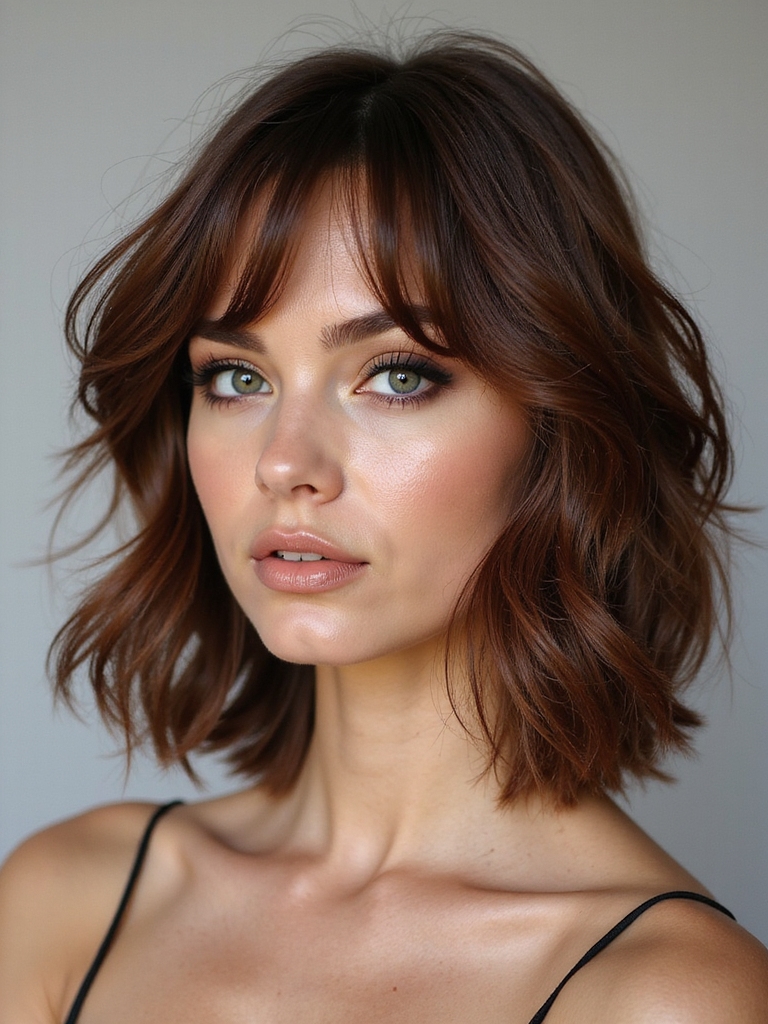
You’ll love how effortlessly you can style these cuts daily. Shaggy bobs and other shaggy bob variations offer modern, low-maintenance options that enhance natural movement.
Medium-Length Shag Styles With Movement
If you’re ready to welcome more length without sacrificing that effortless, textured vibe, medium-length shags are your answer.
I’ve found they’re perfect for adding movement to straight hair without requiring constant styling. Layering creates natural bounce, while the added length gives you versatility.
You can wear it tousled or sleek, depending on your mood and lifestyle. They work exceptionally well as an effortless shag that flatters medium-length hair.
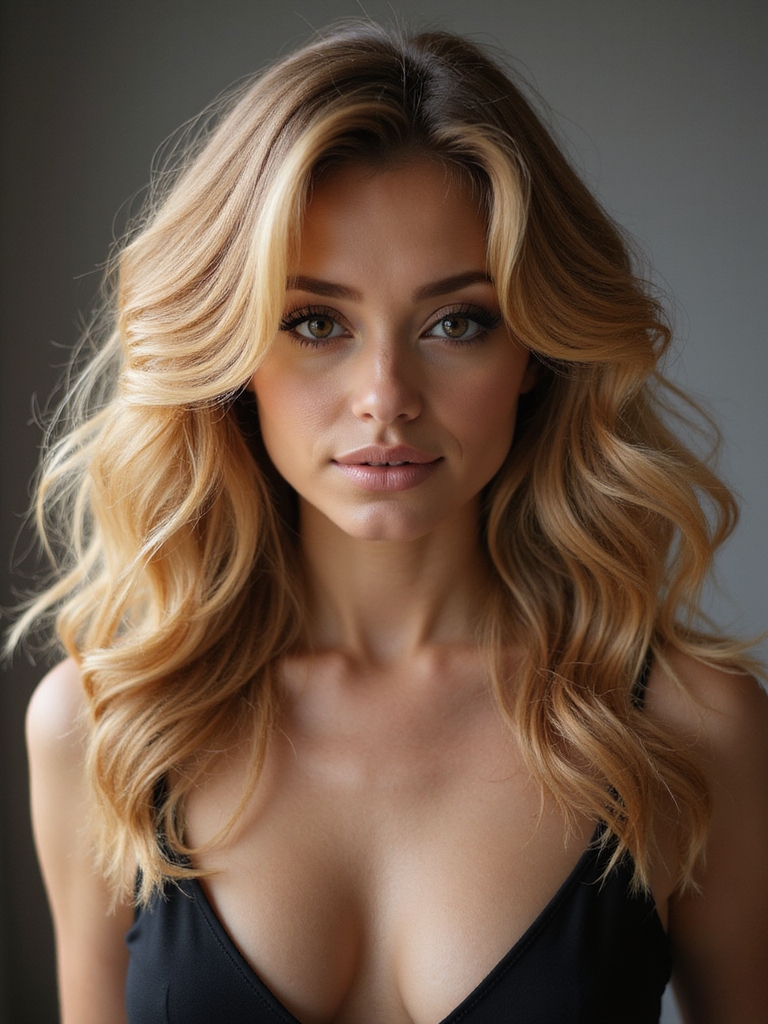
Long Shaggy Haircuts for Straight Hair
If you’re ready to adopt longer lengths, I’ll show you how strategic layering creates movement even in straight hair, while face-framing techniques add dimension that flatters your features.
You’ll discover which styling products actually deliver results and how simple maintenance routines keep your shag looking fresh between salon visits.
Let’s explore how to make long shaggy cuts work specifically for your straight hair texture.
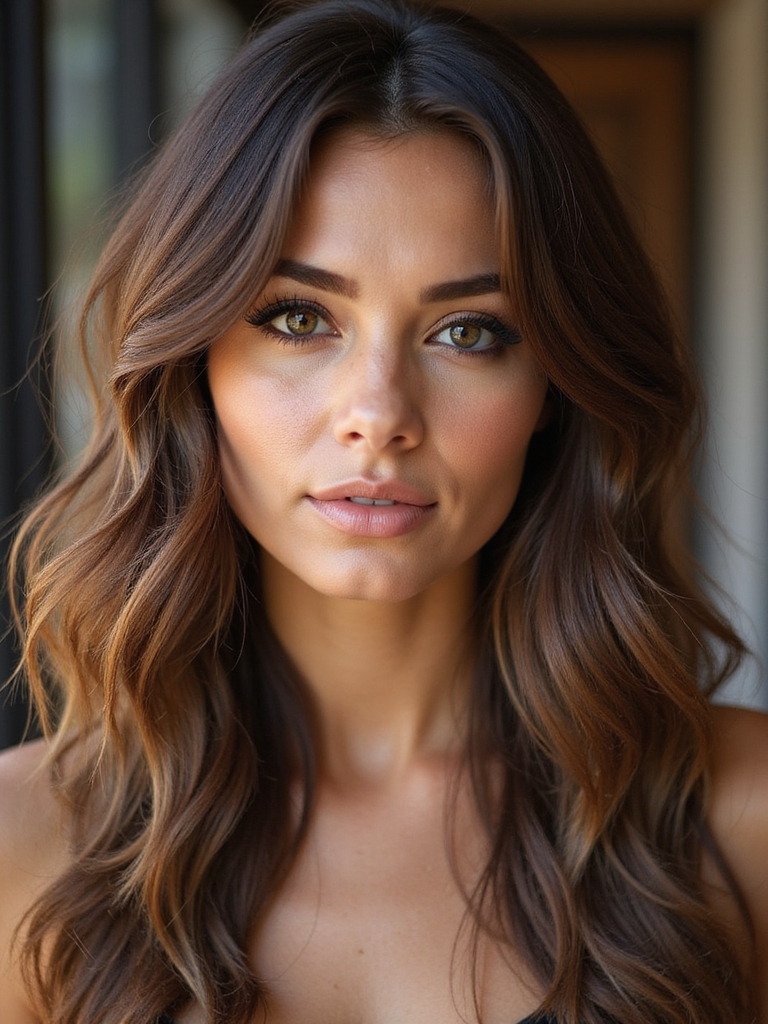
The long layered shag is a versatile cut that adds texture without sacrificing length, and understanding layering techniques helps achieve that effortless movement.
Layers for Movement and Flow
When you’re working with straight hair, you’ll find that strategically placed layers are your secret weapon for creating that coveted shaggy texture without sacrificing the sleekness you love.
- Face-framing layers that catch light beautifully
- Longer pieces underneath for subtle movement
- Choppy angles that break up flatness
- Textured ends that flow naturally
These layers work together, transforming your straight hair into something dynamic and effortlessly cool. Shaggy styles often rely on long shaggy layers to create that tousled, chic look without adding bulk.
Length and Face-Framing Techniques
The layers we’ve discussed work best when you’ve got the right length and face-framing to anchor them.
I’d recommend keeping longer pieces around your face to soften features and add dimension.
Aim for lengths between chin and shoulders—this sweet spot gives you versatility.
Shorter face-frame pieces draw attention upward, creating flattering angles that really showcase movement in straight hair.
Consider modern variations inspired by classic Bob Cut techniques to balance structure with texture.
Styling Products and Maintenance Tips
You’ll need to bring out the right products to keep your shaggy layers looking intentional rather than unkempt.
Here’s what I recommend:
- Texturizing spray for definition and movement
- Lightweight mousse to enhance natural volume
- Sea salt spray for effortless, piecey texture
- Leave-in conditioner to prevent frizz and dryness
Trim every six weeks to maintain those crisp layers and keep everything fresh.
Adding Texture Through Strategic Layering
Since straight hair can sometimes fall flat without dimension, layering’s where the magic happens.
I’ll cut shorter pieces throughout to create movement and break up heavy sections.
You’ll notice how strategically placed layers catch light differently, making your hair appear fuller.
This technique transforms limp strands into textured, voluminous locks that actually hold shape between styling sessions.
Face Shapes and Shaggy Haircut Selection
Finding your ideal shaggy haircut isn’t just about picking what looks cool—it’s about understanding how your face shape interacts with length, layers, and movement.
- Round faces: Longer layers create vertical lines that elongate
- Square faces: Soft, wispy layers soften angular features
- Oval faces: You’re lucky—most shaggy styles work beautifully
- Heart-shaped faces: Fuller layers near the chin balance proportions
I’ve discovered that matching your face shape transforms a trendy cut into your signature look.
Maintaining Your Shaggy Cut at Home
Getting a shaggy haircut is only half the battle—keeping it looking fresh between salon visits is where the real magic happens. I’ll help you master simple maintenance routines.
You’ll need quality texturizing products and a blow dryer. Regular trims every six weeks preserve those layers.
Light styling with sea salt spray enhances your shag’s natural movement and dimension effortlessly.
Styling Products That Enhance Body and Texture
The right products can completely transform how your shaggy cut performs, bringing out the texture and movement you’ve worked to achieve with your stylist.
- Sea salt sprays for effortless texture and grip
- Lightweight volumizing mousses that won’t weigh you down
- Texturizing powders to add instant dimension
- Matte finish products for a natural, undone look
How Often to Trim Your Shaggy Haircut
I’ve found that keeping your shaggy cut looking fresh really comes down to understanding how often you’ll need to trim based on your specific hair type and growth rate.
You’ll want to watch for telltale signs like loss of texture, uneven layers, or when your ends start feeling thin and scraggly—that’s your cue it’s time to head back to the salon.
I typically recommend every six to eight weeks for most straight hair types, but you might discover your own sweet spot by paying attention to how your cut performs between appointments.
Maintenance Schedule for Shaggy
Keeping your shaggy haircut looking sharp requires regular trims every 4-6 weeks, and I’d argue this is one of the most important investments you’ll make in maintaining that effortlessly cool aesthetic.
- Schedule trims before layers lose definition
- Prevent split ends from ruining texture
- Keep weight distributed for movement
- Maintain that intentional, lived-in vibe you’re after
Trimming Frequency by Hair Type
While that 4-6 week trim schedule works as a general rule, your hair’s unique texture demands a more personalized approach.
Fine, straight hair needs trimming every four weeks to maintain shape and prevent breakage. Thicker strands can stretch to six weeks.
I’ve found that paying attention to how your layers feel—not just how they look—helps you nail your ideal timing.
Signs Your Cut Needs Refreshing
Rather than rigidly sticking to a calendar date, you’ll want to watch for visual and tactile cues that tell you it’s time for a refresh.
- Layers feel heavy and collapse rather than bounce
- Split ends creep up the hair shaft
- Texture becomes limp and shapeless
- Styling takes noticeably longer to achieve volume
When you spot these signs, book that appointment.
Your shaggy cut deserves maintenance to keep looking fresh and intentional.
Shaggy Cuts for Thick, Straight Hair
If you’ve got thick, straight hair, you’re working with one of the best canvases for a shaggy cut. I’d recommend asking your stylist for choppy layers that’ll enhance your natural texture without sacrificing volume.
The weight in your hair means you won’t need much work to achieve that effortless, lived-in look that makes shaggy cuts so appealing.
Creating Dimension With Highlights and Color

Once you’ve nailed your shaggy cut, strategic highlights and color can really make those layers pop.
- Balayage adds natural-looking depth without harsh lines
- Face-framing highlights brighten your complexion instantly
- Rich lowlights create contrast and definition
- Subtle babylights give dimension while keeping maintenance low
I’ve found that the right color transforms your cut from good to absolutely stunning.
You’ll love how dimension makes those layers work harder for you.
Blow-Drying Techniques for Shaggy Straight Hair
I’ve found that mastering blow-drying is what transforms a shaggy cut from flat to fabulous, and it all starts with how you section your hair for maximum volume.
You’ll want to decide between a diffuser, which gives you that tousled texture we’re after, and a round brush, which creates more polished movement depending on your styling goals.
Once you’ve got your technique down, applying product strategically—think roots for lift and mid-lengths for definition—makes all the difference in how your layers fall.
Sectioning for Maximum Volume
To get that enviable lift and movement in your shaggy straight hair, you’ll want to master the art of sectioning before you even turn on your blow dryer.
- Divide your hair into four quadrants using clips
- Start with the bottom layers first
- Work upward, releasing one section at a time
- Angle your dryer toward the roots for maximum lift
Diffuser vs. Round Brush
When you’re styling shaggy straight hair, your choice of blow-dry tool can make all the difference between a limp result and that textured, dimensional look you’re after.
I’d recommend a diffuser for creating volume and movement throughout. It disperses heat evenly, enhancing your layers’ natural texture.
A round brush works better for smoothing specific sections and defining shape. I typically use both—diffuser first, then round brush for finishing touches.
Styling Product Application Tips
Once you’ve got your tools down, the real magic happens when you apply the right products at the right time. I’ve found that timing transforms everything:
- Apply volumizing mousse to damp roots before blow-drying
- Use lightweight sprays on mid-lengths for texture without weighing down
- Finish with texturizing paste for definition and movement
- Scrunch products upward to enhance your shag’s natural layers
Transitioning to a Shaggy Cut From Your Current Style
Making the leap from your current hairstyle to a shaggy cut doesn’t have to feel like jumping off a cliff.
I’d recommend growing out your hair gradually, letting your stylist work with what you’ve got. Request subtle layers first, then build up to fuller texture. This gradual approach lets you adjust to the change while maintaining your confidence throughout the shift.
You’ve got everything you need to rock a shaggy cut that transforms your straight hair into something with real movement and personality. If you’re going short and sassy or adopting those longer layers, this style works because it actually works with your hair, not against it.
Commit to regular trims, invest in a good texturizing product, and watch how this effortless-looking cut becomes your new confidence boost.