If you’re tired of flat, lifeless hair that won’t hold volume no matter what you do, a textured pixie cut might be exactly what you’ve been searching for.
I’m going to show you how strategic layering and precise techniques can transform thin strands into a full, dimensional style. But here’s the thing—it’s not just about the cut itself.
The Science Behind Textured Layers and Volume

When you’ve got a pixie cut, texture isn’t just about looking good—it’s about understanding how your hair actually works.
Layering creates movement by reducing weight and allowing strands to move independently. Strategic cutting angles enhance natural texture, while shorter layers catch light differently, creating dimension.
I’ve found that welcoming your hair’s natural pattern—whether wavy, straight, or curly—amplifies volume instantly without extra styling effort. Cutting layers at deliberate angles also helps create movement and lift that make the style appear fuller.
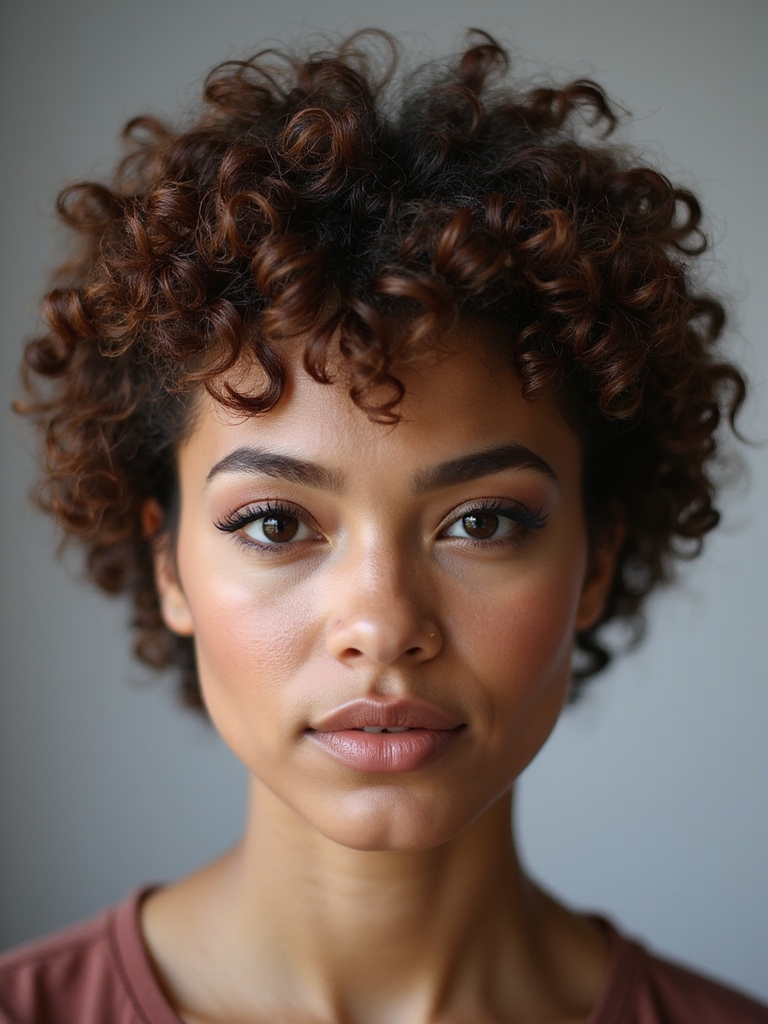
Classic Choppy Pixie With Wispy Bangs

The classic choppy pixie with wispy bangs is where textured layers really shine—it’s the perfect bridge between edgy and approachable.
You’ll love how this cut works:
- Creates instant dimension without styling effort
- Softens facial features with wispy front pieces
- Requires minimal maintenance between trims
- Flatters most face shapes beautifully
I’m telling you, this style delivers confidence and versatility that’ll transform your look completely. This haircut emphasizes textured layers to add movement and volume without heavy styling.
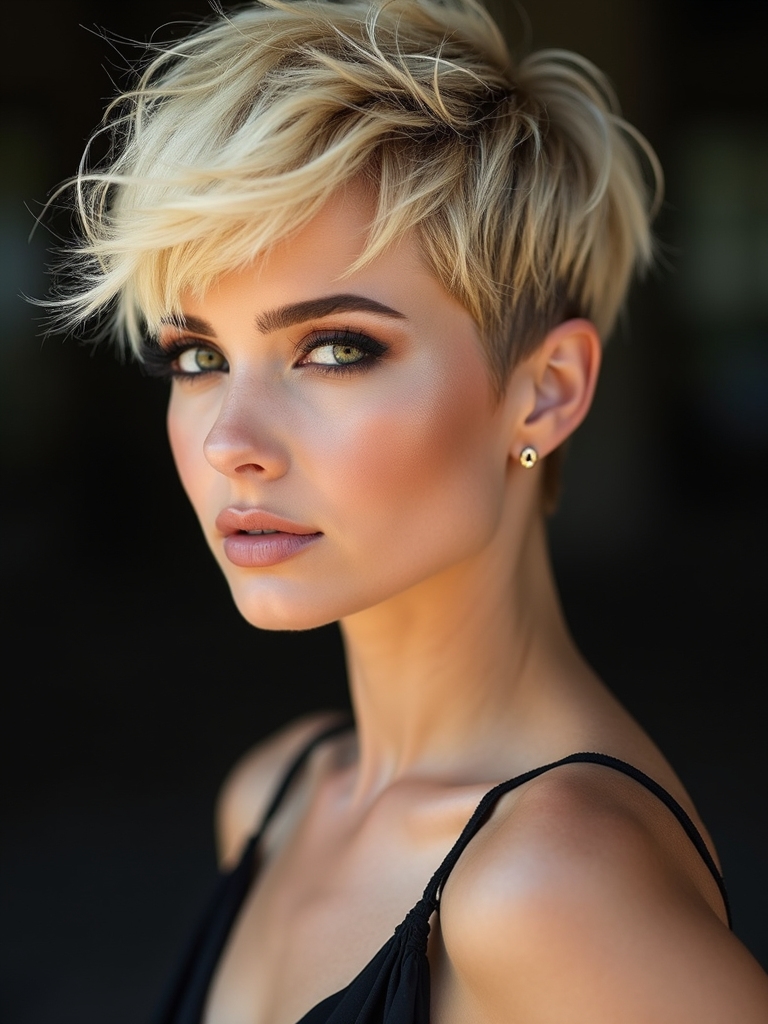
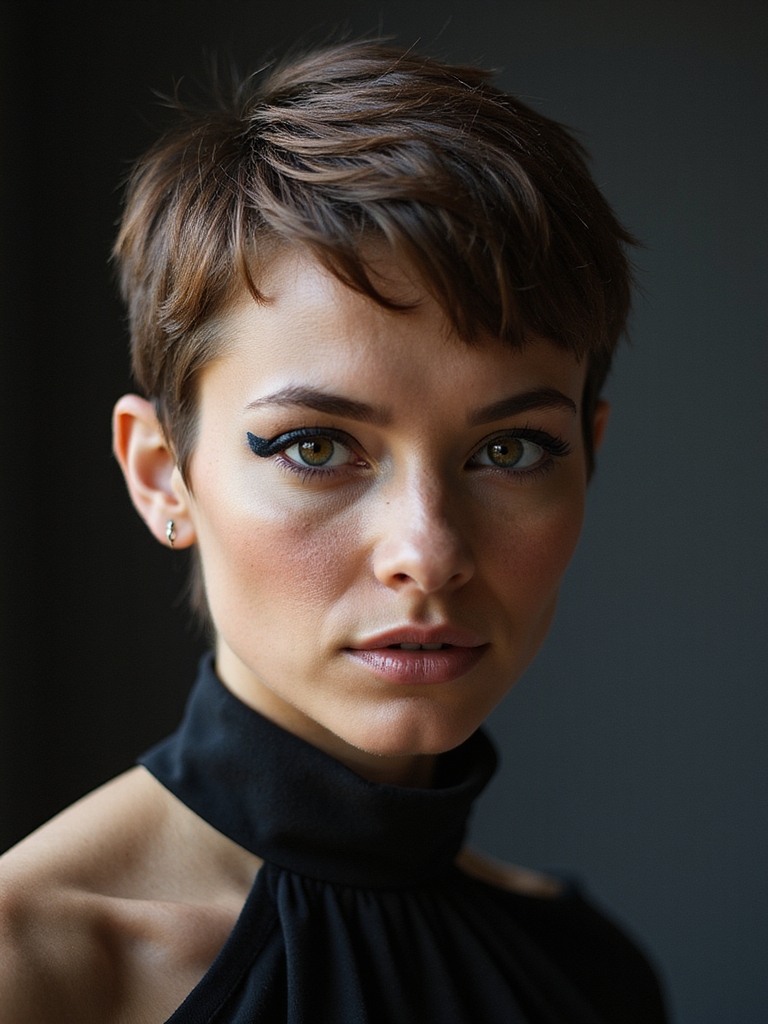
Textured Pixie for Fine Hair: Making Thin Strands Look Fuller

If you’ve got fine hair, I won’t sugarcoat it—a pixie cut can feel risky, but strategic layering, the right products, and smart styling tools will transform those thin strands into a fuller-looking style that actually works for you.
I’ll show you how specific cutting techniques create the illusion of density, which products won’t weigh down your delicate hair, and which tools’ll give you maximum volume without damage.
You’re going to discover that fine hair and a textured pixie aren’t mutually exclusive—they’re just a different approach to looking your absolute best.
Short Pixie cuts often use short layers to enhance movement and volume.
Layering Techniques for Density
Strategic layering transforms fine hair from limp to lively, and I’ve watched it work magic on countless clients who thought a pixie cut wasn’t in their future.
- Shorter layers on top create instant lift
- Longer underneath sections provide anchoring weight
- Choppy texturing breaks up thin areas
- Angle cuts toward the face for dimension
You’ll notice fullness you’ve never experienced before. Long layers with a center part can inspire techniques to maximize volume and movement, like using volumizing mousse and lightweight products to hold shape.
Product Selection and Application
Once you’ve got that perfect layered cut in place, what you put on your hair matters just as much as the scissors that shaped it.
I’d recommend lightweight texturizing sprays and volumizing mousses—they won’t weigh down fine strands.
Apply products to damp roots, then blow-dry upward.
This technique gives you that fuller appearance you’re after without sacrificing movement.
Layering creates natural lift and dimension, making a pixie hairstyle look effortlessly chic.
Styling Tools for Fuller Appearance
The right tools can absolutely transform how your textured pixie reads on camera and in person. I’ve found these essentials game-changing:
- Round brush for lifting roots
- Volumizing mousse applied to damp hair
- Lightweight texturizing spray
- Blow dryer with concentrator nozzle
These tools work together, creating dimension that makes fine hair appear thicker and fuller instantly. A shag with curtain bangs is another styling option that adds layered movement and framing for a fuller look.
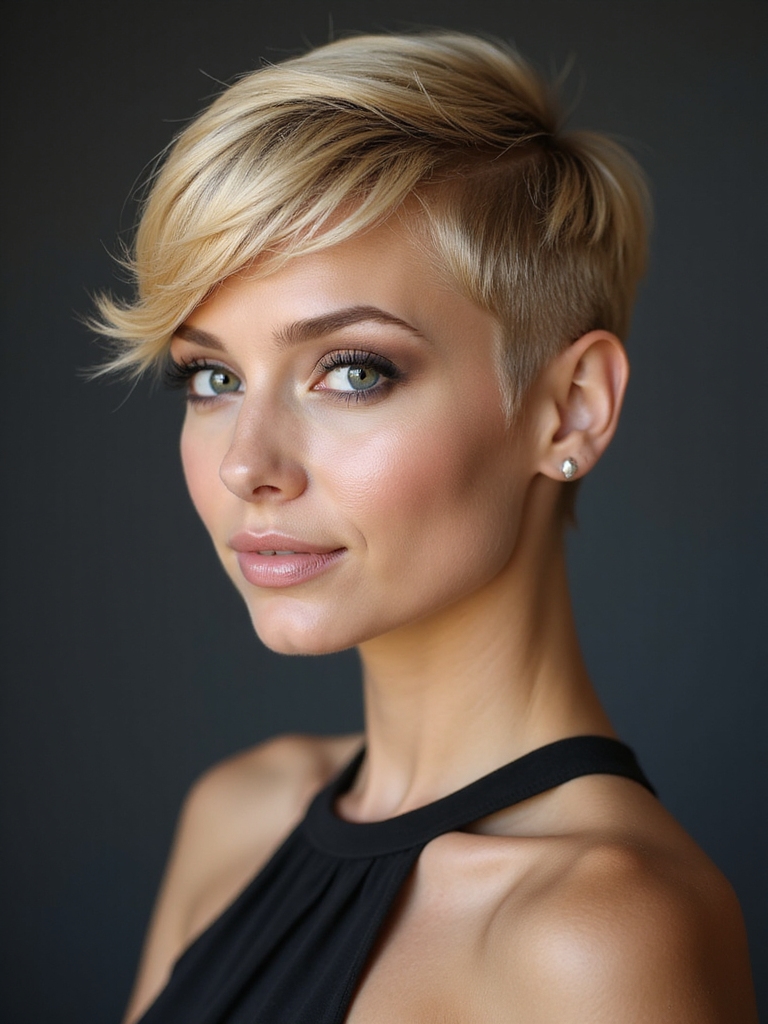
The Undercut Pixie: Bold, Edgy, and Volumizing

Shaving away the sides or back of your pixie cut completely transforms how you’ll feel wearing it. You’ll instantly gain incredible volume on top while the exposed undercut creates serious edge.
I’ve found this style demands confidence—it’s bold, unapologetic, and undeniably striking. The contrast between cropped sides and textured length delivers maximum impact with minimal styling effort.
You can amplify the look further by pairing it with an undercut pixie that emphasizes height and texture.
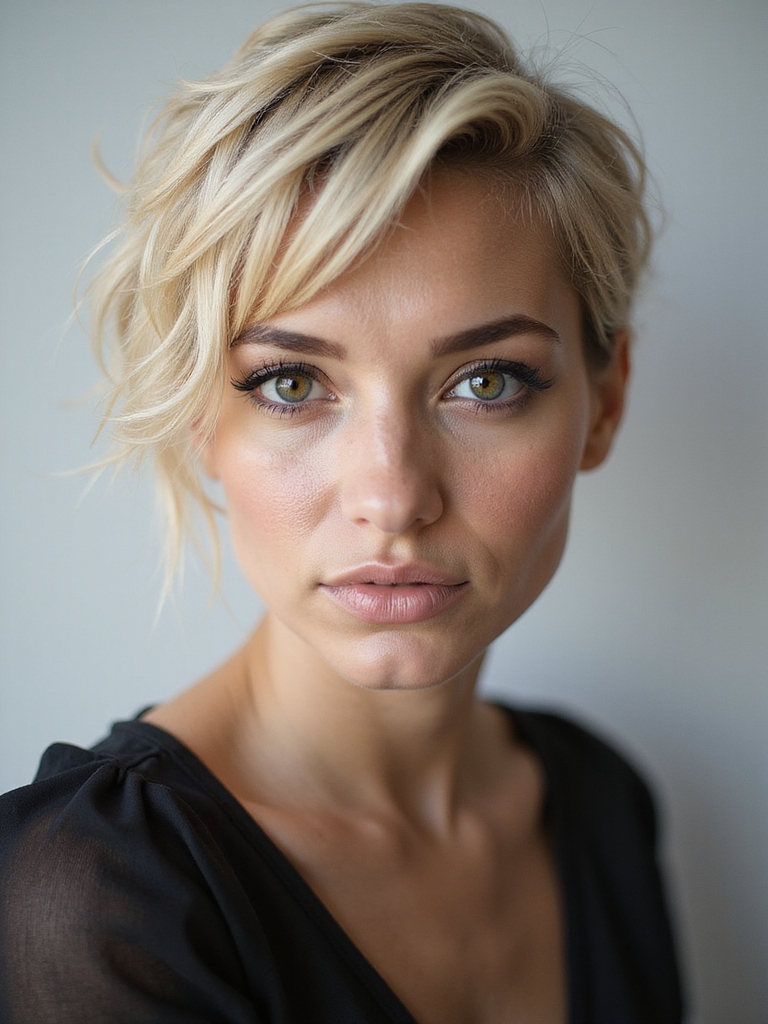
Tousled and Undone: The Effortless Pixie Look

While the undercut pixie commands attention through sheer boldness, there’s another approach that whispers confidence instead of shouting it—the tousled and undone pixie.
This style celebrates imperfection:
- Deliberately messy texture
- Piece-y, separated strands
- Minimal styling effort
- Effortless sophistication
You’ll love how it works with your natural hair movement, creating volume without pretense.
It’s liberating—you’re embracing your authentic self while looking intentionally cool.
The pixie cut is a timeless short hairstyle that can be tailored to suit many face shapes and textures, often enhanced by textured layers to boost movement and volume.
Textured Pixie With Face-Framing Layers

If you’re ready to add dimension that actually frames your face, textured layers are your answer.
I’ve seen how strategically placed shorter pieces around the cheekbones instantly brighten your features and create movement. You’ll love how this style works with your natural texture while keeping styling minimal.
It’s the perfect balance between polished and effortlessly cool. A shag pixie also adds textured movement that enhances volume and edge.
Short and Spiky: Maximum Texture, Maximum Impact

Take your pixie to the boldest level with a short and spiky cut that demands attention. I’m talking serious texture that’ll transform your look instantly.
Here’s what makes it work:
- Razor-sharp layers throughout
- Strategic product placement
- Tousled, piece-y styling
- Confidence as your best accessory
You’ll love how effortlessly edgy you’ll feel. Bold Pixie With Shaved Sides is a striking variation that pairs well with shaved sides to amplify contrast and edge.
The Grown-Out Pixie: Transitioning With Style

As your pixie grows out, you’re not stuck between styles—you’re entering one of the most versatile phases of the cut.
You can experiment with side-swept bangs, tuck longer pieces behind your ears, or add texture through layering.
This in-between stage lets you discover what works for your face shape before committing to your next look. Welcome the freedom it offers.
Textured Pixie for Thick Hair: Taming and Shaping

I know that thick hair can feel overwhelming with a pixie cut, but I’ve found that strategic layering transforms volume into dimension rather than bulk.
You’ll want to master texture definition methods—think point-cutting and texturizing shears—that break up weight while keeping your cut structured and intentional.
When you blend these techniques together, you’re not fighting your hair’s natural thickness; you’re channeling it into a sharp, controlled style that actually works with what you’ve got.
Strategic Layering Techniques
When you’ve got thick hair and you’re rocking a pixie, layering isn’t just a styling choice—it’s your secret weapon for maintaining shape and movement.
I’ll show you how:
- Create shorter layers on top for lift
- Blend longer sections at the sides
- Angle cuts toward your face
- Use texturizing shears for separation
You’ll transform dense hair into a sculpted, dynamic cut that breathes and moves beautifully.
Texture Definition Methods
Defining texture in your thick hair takes precision—you’ll want to use techniques that enhance rather than flatten your pixie.
I recommend point-cutting to create movement and choppy layers that work with your hair’s natural density.
Texturizing shears also work beautifully, removing bulk strategically while maintaining shape and definition.
These methods give you that effortless, tousled look you’re after.
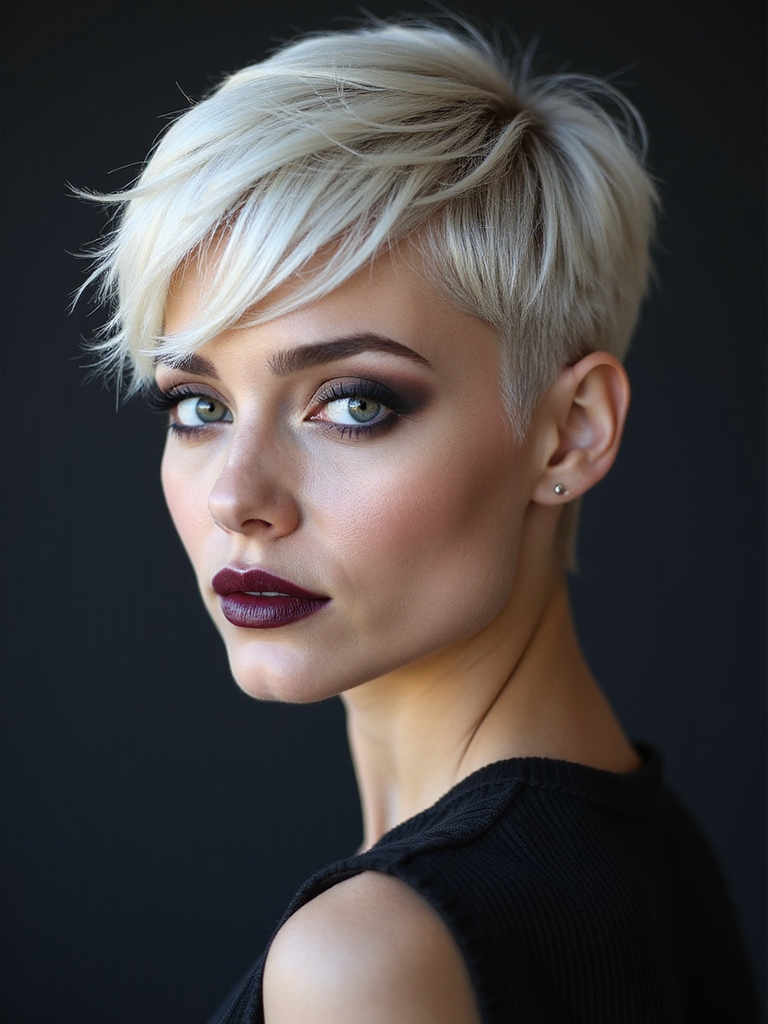
Platinum and Textured: Color Meets Dimension

Combining platinum blonde with textured layers creates a striking visual impact that’s honestly hard to ignore. I’ve found this combination elevates your entire look:
- Light reflects beautifully off each textured section
- Dimension appears naturally enhanced through contrasting tones
- Movement flows more dynamically throughout shorter lengths
- Maintenance requires regular toning to keep that platinum fresh
You’ll turn heads instantly.
The Messy Pixie Crop: Intentional Imperfection

I love how the messy pixie crop flips the script on perfection—it’s all about welcoming texture and movement rather than fighting them.
You’ll find that strategic styling techniques, like using a texturizing spray or scrunching products through damp hair, transform your cut from polished to playfully undone.
The best part is that this effortless bedhead look actually requires intention, making it the perfect style for anyone who wants to look put-together while barely trying.
Styling Techniques for Texture
With the messy pixie crop, you’re adopting what many of us have fought against our entire lives—the beautiful chaos of imperfection.
I’ve discovered that texture thrives when you:
- Apply sea salt spray to damp roots
- Finger-comb rather than brush
- welcome natural bedhead waves
- Layer texturizing products sparingly
You’re not fighting your hair anymore—you’re celebrating it.
Achieving Effortless Bedhead Look
Once you’ve adopted these texturizing fundamentals, you’re ready to lean into the magic that happens when you stop trying so hard—that’s where the messy pixie crop truly shines.
I’ve learned that welcoming imperfection is liberating. Simply run your fingers through damp hair, tousle the layers, and let them fall naturally. That intentional undone vibe? It’s effortlessly chic and authentically you.
Textured Pixie With Longer Top: Styling Versatility

The textured pixie with a longer top gives you the freedom to transform your look without committing to a completely different cut.
You’ll discover styling possibilities that work for your lifestyle:
- Sleek and polished for professional settings
- Tousled and textured for casual vibes
- Side-swept for added dimension
- Voluminous and playful for bold confidence
Shaved Sides and Textured Crown: The Modern Edge

I’m going to show you how clipper fade techniques create that sharp contrast between your shaved sides and textured crown, giving you an undeniably modern edge.
You’ll discover the best ways to style and texture your crown so it stands out, plus I’ll walk you through the maintenance schedule and growth timeline you’ll need to keep this look fresh.
Understanding these three elements together will help you decide if this bold style is right for you.
Clipper Fade Techniques
Mastering clipper fade techniques transforms your pixie cut from basic to boldly contemporary. I’ll guide you through creating that sharp, dimensional look you’re craving.
- Start with longer lengths on top
- Gradually decrease guard sizes moving down
- Blend seamlessly at the sides
- Use steady, confident strokes for precision
You’ve got this—that modern edge is within reach.
Crown Styling & Texture
Once you’ve nailed those clipper fades, it’s time to build on that foundation with crown styling that’ll really set your pixie apart.
I’m talking textured layers that catch light beautifully. You’ll want to work with your natural hair growth patterns, using point-cutting techniques to create movement.
This contrast between shaved sides and a voluminous crown? That’s your modern edge right there.
Maintenance & Growth Timeline
Since you’ve invested time perfecting those fades and crafting that textured crown, you’ll want to nail the maintenance schedule that keeps this look sharp.
- Trim every 3-4 weeks to maintain crisp lines
- Refresh fades weekly with clippers
- Use texturizing products for volume
- Schedule growth phases strategically between cuts
You’re building a signature style that demands consistency—commit to these intervals, and you’ll own that modern edge effortlessly.
Creating Texture: Best Products and Styling Techniques

To really nail that effortless, textured pixie cut look you’re after, you’ll want to arm yourself with the right products and techniques—because texture doesn’t just happen on its own.
I’d recommend a lightweight texturizing spray or sea salt mist as your foundation. Apply it to damp hair, then use your fingers to scrunch and piece out sections.
A matte pomade adds definition without weighing you down. Blow-dry with your fingers for natural movement.
Maintaining Your Textured Pixie: Cutting and Care Tips

Getting the styling right is half the battle, but here’s what I’ve learned: you can’t maintain that gorgeous textured look without proper cutting and regular upkeep.
- Schedule trims every 4-6 weeks to preserve shape
- Use texturizing shears, not blunt cuts
- Invest in sulfate-free shampoo and conditioning treatments
- Apply leave-in conditioner to damp hair daily
You’ll notice how these habits transform your pixie from flat to fabulous.
You’ve got everything you need to rock a textured pixie that’ll transform how you feel about your hair. If you’re embracing choppy layers or going bold with an undercut, remember that the magic’s in the maintenance and the products you choose.
Commit to those regular trims, find your styling routine, and you’ll discover a confidence boost that goes way beyond volume. Your pixie’s waiting to shine.