I’ve always believed that the right haircut can completely transform how you feel. If you’re tired of styles that demand constant styling or look limp by noon, you’re going to want to stick around.
We’re talking about wavy shags—that perfect blend of effortless texture and intentional movement that actually works with your hair, not against it.
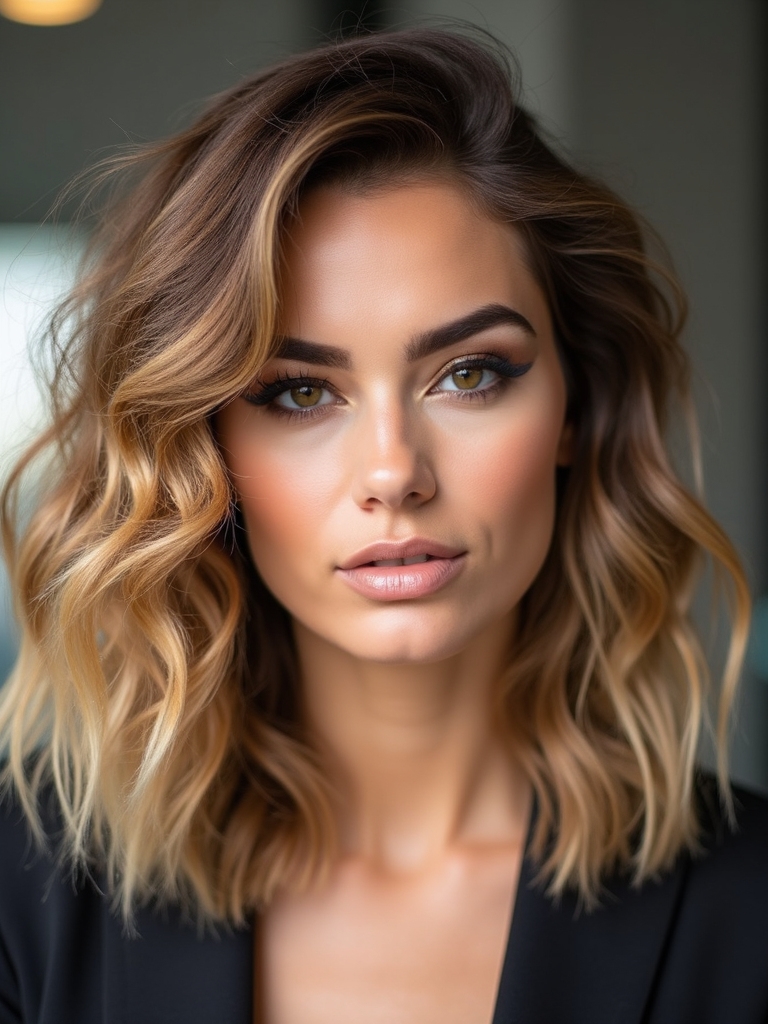
The Modern Shag: A Fresh Take on a Classic Cut
While the shag might remind you of the ’70s disco era, today’s versions are nothing like what your parents wore.
I’m talking about modern shags that blend textured layers with contemporary styling. They’re softer, more refined, and work beautifully with wavy hair. You’ll get movement and dimension without the heavy, choppy look. It’s the perfect bridge between edgy and elegant.
Many stylists now incorporate Edgy Pixie Shag techniques to add versatile short-layered texture.
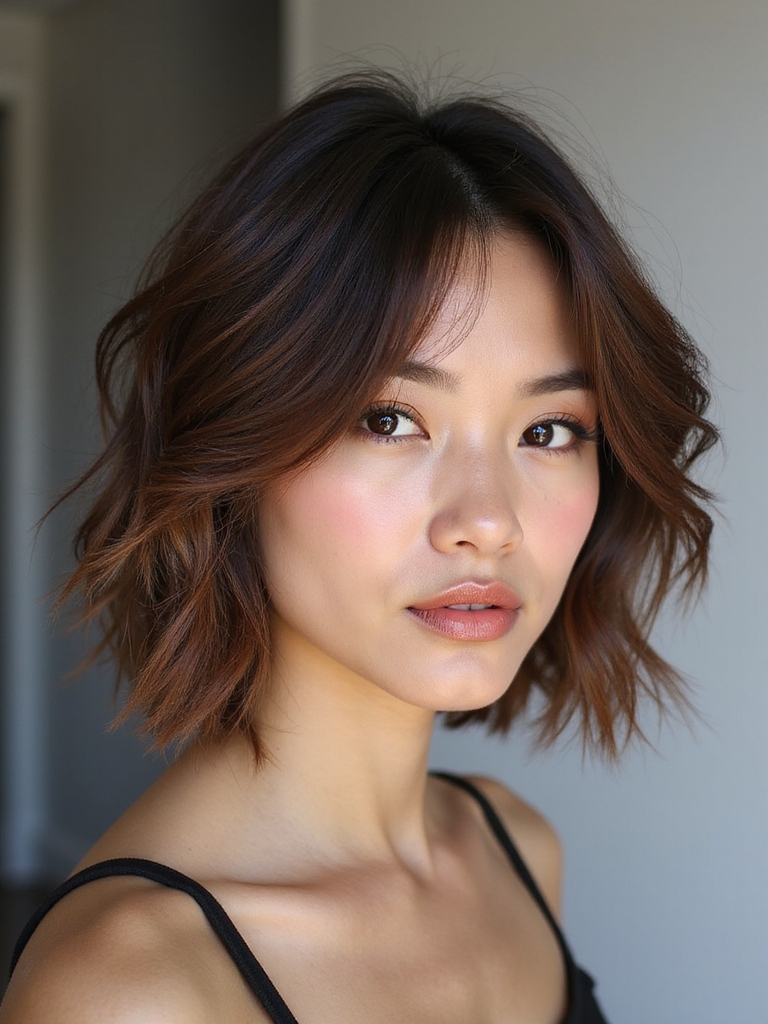
Short and Choppy: Edgy Layers for Maximum Texture
If you’re craving serious texture and don’t mind a bold statement, short and choppy layers are your answer.
I’m talking razor-sharp cuts that practically beg your waves to shine.
You’ll get maximum movement with minimal effort—your stylist’ll create staggered lengths that catch light beautifully.
It’s edgy, it’s modern, and it’s absolutely worth trying if you want impact.
Short shag cuts are a fresh take on the classic Shag Haircut Short, delivering modern, edgy results.
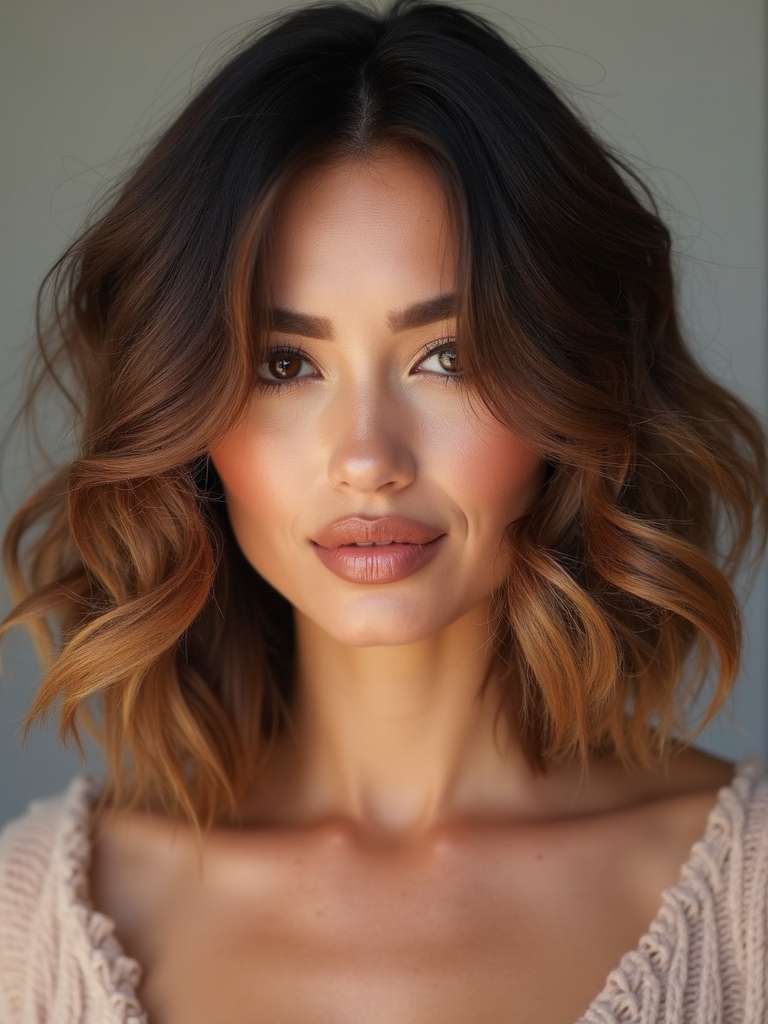
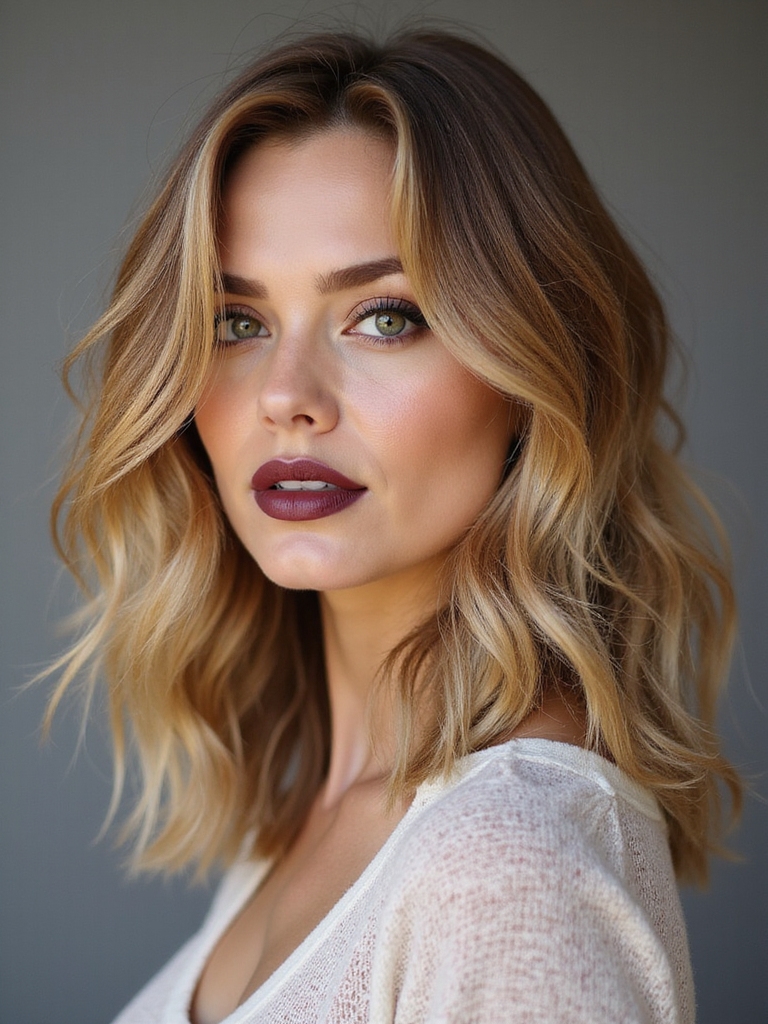
Long Wavy Shag: Flowing Locks With Dimension

For those seeking the ultimate in romantic, effortless elegance, the long wavy shag delivers everything the choppy version can’t.
You’ll get flowing movement that frames your face beautifully while maintaining incredible dimension throughout. The layers work together harmoniously, creating that coveted tousled texture without sacrificing length.
It’s genuinely the perfect balance between wild and refined. This look is an evolution of the classic Long Layered Shag, offering modern softness with lived-in waves.
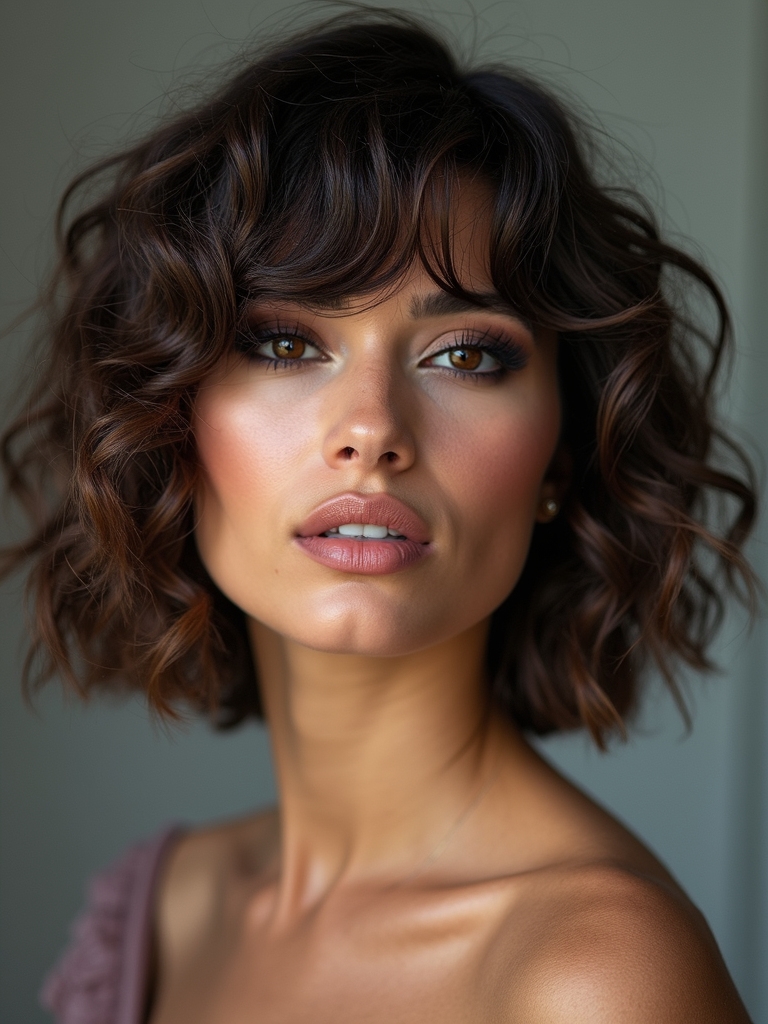
The ’70s-Inspired Shag: Nostalgic Waves and Retro Vibes

Take a step back in time, and you’ll discover that the ’70s shag isn’t just a nostalgic throwback—it’s a bold statement that’s making a serious comeback.
I love how this cut combines choppy layers with soft waves, creating that effortlessly cool vibe. You’ll rock a carefree, textured look that screams vintage charm while feeling completely modern and wearable today.
The classic 70s Shag often features choppy layers and curtain bangs that enhance movement and texture.
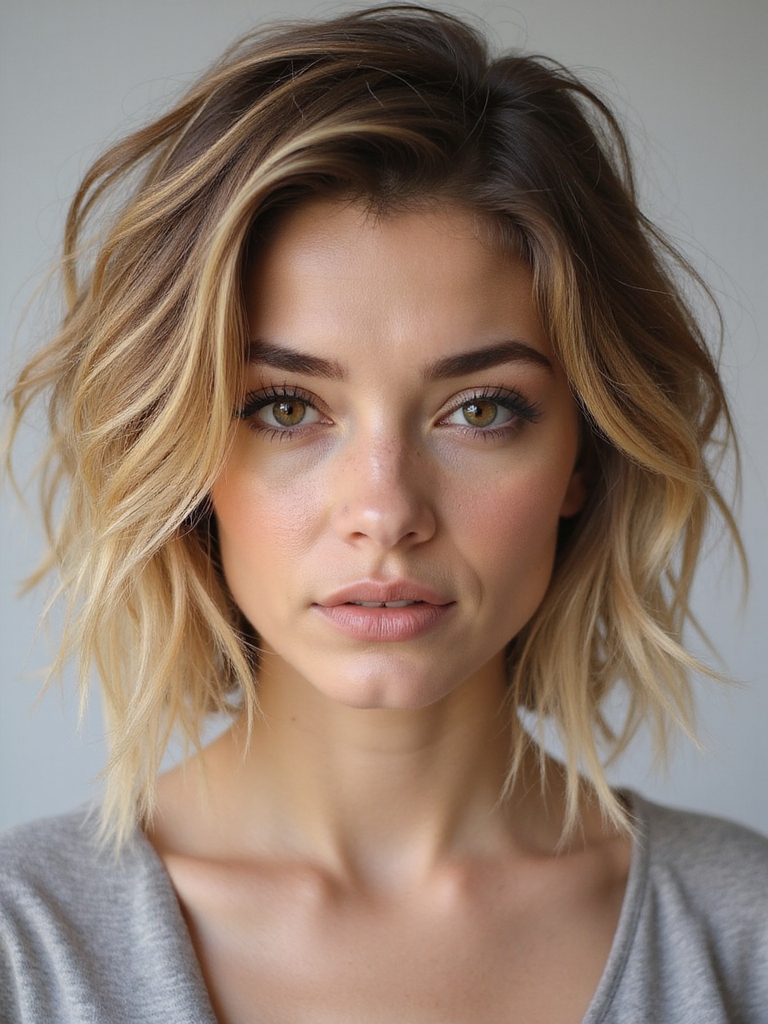
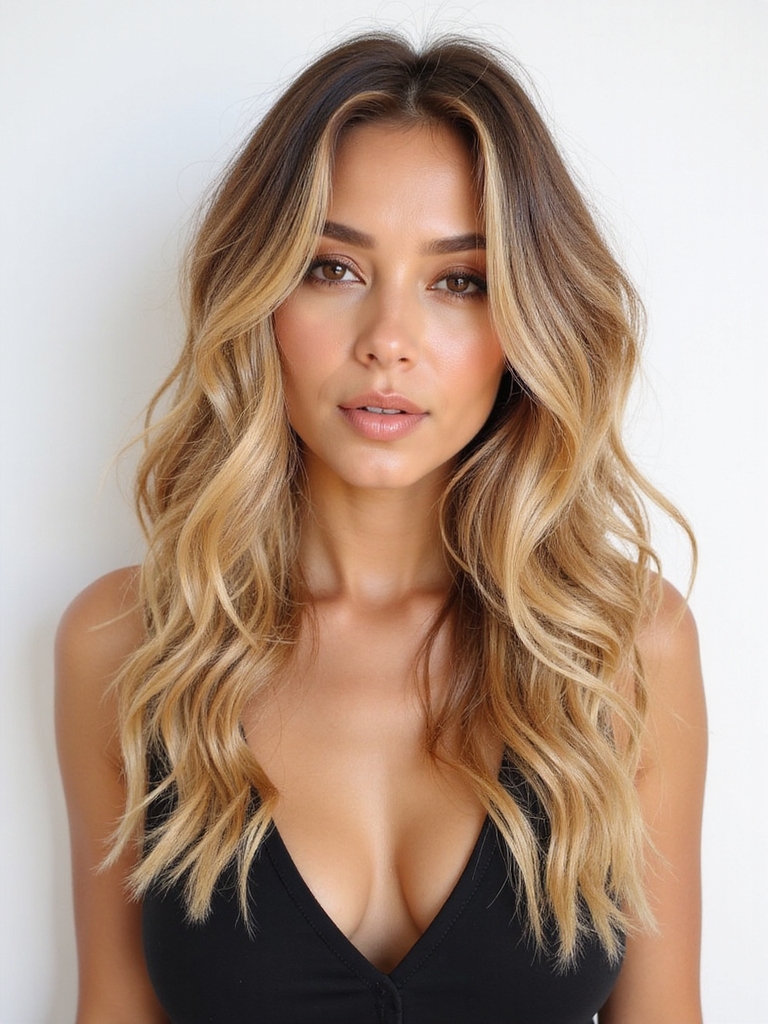
Beach Wave Shag: Effortless, Sun-Kissed Movement

Nothing quite captures that carefree beach vacation feeling like a beach wave shag, and I’m obsessed with how effortlessly this style works year-round.
You’ll get those tousled, sun-kissed waves that look like you’ve just returned from the ocean.
The beauty? It requires minimal styling effort while delivering maximum texture and movement.
Your hair’ll look naturally undone and perfectly lived-in every single day.
This look is inspired by the Blonde Shag and emphasizes effortless texture and movement.
Shag With Bangs: Framing Your Face With Layers
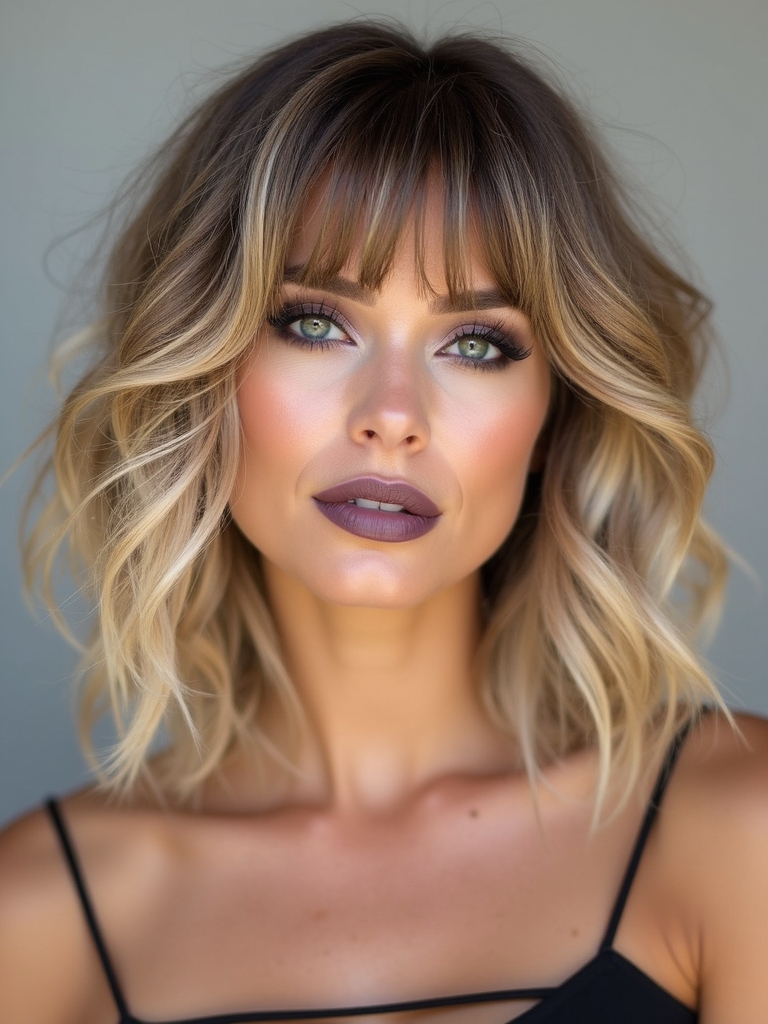
I’m excited to show you how adding bangs to your shag transforms your whole look by framing your face with strategic layers.
You’ll discover different bang styles and lengths—from wispy curtain bangs to blunt fringes—that work with your specific face shape to enhance your best features.
The key is understanding how layering techniques create that signature movement while keeping your bangs integrated seamlessly into your shag’s overall flow.
Bangs Styles and Lengths
How do you take a shag from stunning to absolutely show-stopping? I’ll tell you—it’s all about your bangs.
You’ve got options: wispy curtain bangs that float softly across your forehead, blunt styles for drama, or longer pieces that blend seamlessly into your layers.
Short bangs create edgy sophistication, while extended lengths offer versatility.
The right bang length frames your face beautifully and elevates your entire shag instantly.
Layering Techniques for Movement
Creating movement through strategic layering is what transforms a shag with bangs from flat to fabulous. I’ll show you how to ask your stylist for shorter layers around your face that’ll catch light beautifully.
Longer layers underneath add volume and texture, while choppy bangs create dimension. This combination gives you that effortless, windswept vibe you’re after.
Face Shape Considerations
While layering’s the magic ingredient, your face shape is what determines which shag with bangs’ll look absolutely stunning on you.
I’m here to help you navigate this! Round faces benefit from longer layers that elongate, while square jawlines rock shorter, textured bangs. Oval faces? You’re lucky—basically everything works.
Oblong faces need volume at the sides.
Textured Shag for Fine Hair: Adding Volume Where You Need It

If you’ve got fine hair, you know that achieving volume can feel like an uphill battle—but a textured shag is your secret weapon.
- Choppy layers create the illusion of thickness
- Piece-y texture breaks up flat sections
- Shorter layers at crown boost lift
- Strategic layering removes weight strategically
- Tousled styling multiplies dimension instantly
Thick Hair Shag: Managing Layers for the Perfect Balance
If you’ve got thick hair, I’ve got great news—a shag can be your best friend when we nail the layer placement and texture work.
I’ll show you how strategic cuts prevent bulk while definition techniques keep those layers from looking flat or shapeless.
We’ll also explore the volume control methods that’ll help you rock movement without sacrificing that polished balance you’re after.
Strategic Layer Placement
Because thick hair can easily look heavy and shapeless without intentional cutting, strategic layer placement becomes your secret weapon for creating movement and dimension.
I’ve found that targeting specific zones makes all the difference:
- Layers around your face that frame cheekbones
- Shorter pieces at the crown for lift
- Longer underneath sections for weight distribution
- Choppy texture throughout mid-lengths
- Tapered ends that encourage natural waves
You’ll notice immediate transformation!
Texture Definition Techniques
Once you’ve nailed your layer placement, defining texture becomes the game-changer that transforms a basic shag into a stunning, multidimensional cut. I’m talking about using texturizing shears and point-cutting techniques to enhance your waves naturally.
You’ll create separation between layers, making each strand pop individually. This approach works beautifully on thick hair, preventing that dense, heavy feeling while maximizing movement and dimension throughout.
Volume Control Methods
Through strategic layering, you’ll open the secret to controlling volume without sacrificing the textured movement that makes a shag so versatile.
- Point-cut ends to reduce bulk
- Shorter layers at the crown for lift
- Longer underneath sections for weight distribution
- Razored techniques instead of blunt cuts
- Texturizing sprays for manageable fullness
Curly Hair Shag: Embracing Natural Texture and Definition
Working with your curls rather than against them—that’s the magic of a curly hair shag. I’ve found that adopting your natural texture means ditching the flat iron and letting those waves shine.
The layered cut actually enhances your curl pattern, creating dimension that’s effortlessly gorgeous. You’ll notice your hair’s got serious bounce and movement without any fighting.
Straight Hair Shag: Creating Waves and Movement With Styling
If you’ve got naturally straight hair, you might think a shag won’t give you that signature movement and texture—but I’m here to tell you that’s not true.
You can absolutely rock this cut with the right styling techniques:
- Blow-dry with a round brush for volume
- Use a curling iron on ends
- Apply sea salt spray for texture
- Tousle while hair’s still warm
- Adopt bedhead vibes daily
Shag With Highlights: Adding Dimension Through Color

I’ve found that balayage techniques work beautifully on shag cuts because they enhance the texture’s natural movement and create depth without looking staged.
You’ll want to strategically place your highlights around the face and through the choppy layers to draw attention to the style’s best features.
Getting this color placement right transforms a shag from cute to absolutely stunning.
Balayage Techniques for Shags
Balayage brings out the magic in shag haircuts by creating movement and depth through strategic color placement.
- Honey-kissed ribbons framing your face
- Sun-baked shadows at the nape
- Seamless blends between dark roots and lighter ends
- Dimensional waves that catch the light
- Natural-looking dimension that grows out gracefully
You’ll love how balayage enhances your shag’s texture without high-maintenance upkeep.
Color Placement Strategy Tips
Strategic highlight placement can totally transform your shag, and you’ll want to think beyond just sprinkling color randomly throughout.
I’d recommend focusing highlights around your face for immediate impact, then weaving them through the layers. This creates dimension that catches light beautifully and enhances your shag’s natural movement. You’re fundamentally sculpting with color!
Asymmetrical Shag: Playing With Uneven Lengths

When you’re ready to break free from perfectly balanced layers, an asymmetrical shag‘s your ticket to edgy, fashion-forward style. I love how uneven lengths create dynamic movement and personality.
- Longer pieces frame one side dramatically
- Shorter layers on the opposite side add boldness
- Choppy texture catches light beautifully
- Works with waves for effortless sophistication
- Requires confident styling and regular trims
How to Style Your Wavy Shag at Home

Master your wavy shag‘s full potential without stepping foot in a salon—I’m here to show you how.
Start with a lightweight mousse on damp roots for volume. Scrunch in a sea salt spray, then blow-dry with a diffuser attachment.
Finger-comb through for texture, and you’re done. It’s that simple. Fresh waves, zero fuss, total confidence.
Products and Tools You’ll Need for Maintenance

Now that you’ve got the styling technique down, let’s talk about what’s actually sitting in your bathroom cabinet. You’ll want these essentials to keep your waves looking fresh:
- Texturizing spray for definition
- Sea salt mist for that beachy vibe
- Lightweight leave-in conditioner
- Diffuser attachment for your blow dryer
- Wide-tooth comb for gentle detangling
These tools’ll make maintenance effortless and keep your shag looking intentional.
When to Visit Your Stylist: Keeping Your Shag Looking Fresh

Since your shag’s success depends on clean lines and intentional layers, you’ll want to book appointments every 6-8 weeks to maintain that perfectly tousled look.
I’ve found that regular trims prevent split ends and keep those choppy layers defined. Between visits, I use my styling products strategically to extend that fresh-from-the-salon feel.
Believe me, staying consistent with appointments is what keeps your shag absolutely stunning.
You’ve got everything you need to rock a wavy shag that’s uniquely yours. If you’re drawn to ’70s nostalgia or modern edge, this cut adapts beautifully to your style and hair type.
With the right products, a diffuser, and regular trims, you’ll maintain that effortless, textured look that turns heads. So go ahead—embrace the waves and let your shag shine!