I’ve been obsessed with the ’70s shag lately—and honestly, you should be too. There’s something magical about how those razor-cut layers create volume that actually defies gravity.
If you’re rocking thick locks or struggling with fine hair, there’s a shag variation that’ll transform your look completely. Want to know the styling secrets that keep this vintage cut looking fresh and modern?
What Makes the ’70s Shag So Timeless
Because it’s effortlessly cool, the ’70s shag hairstyle continues to capture our imagination decades later.
I’d argue it’s the perfect blend of rebellion and accessibility—you don’t need perfection, just texture and movement.
The shag celebrates individuality while flattering virtually any face shape. It’s unapologetically bold yet surprisingly wearable, which is why we’re obsessed. The style’s roots trace back to the 70s shag haircut, known for its layered, voluminous silhouette.
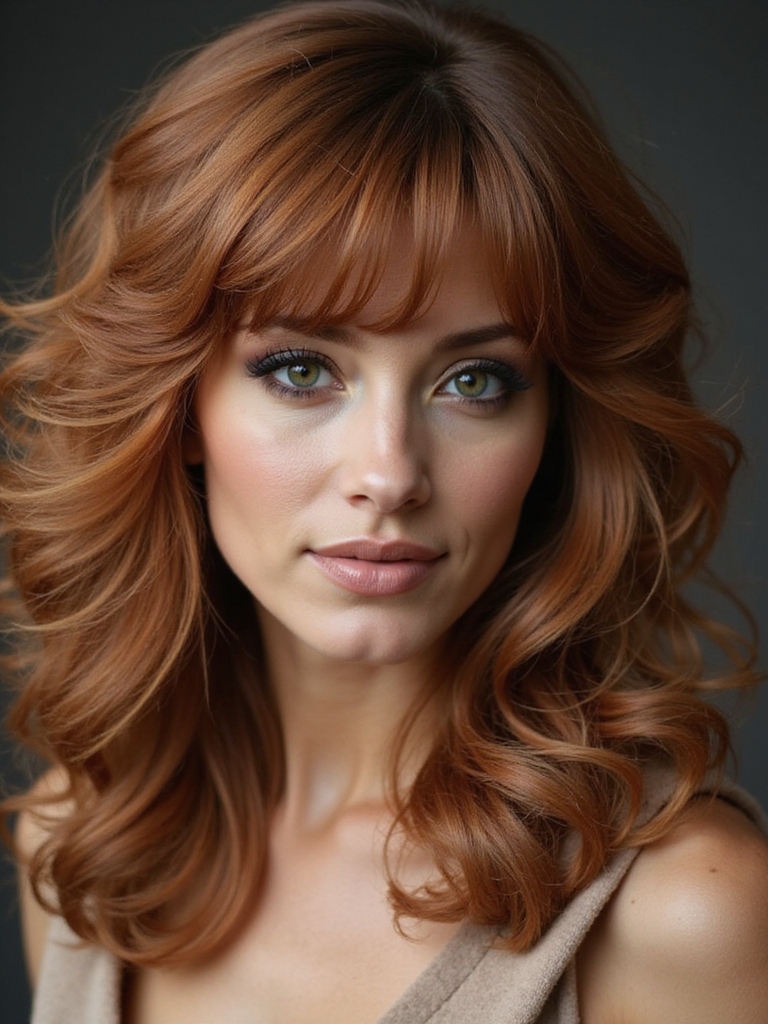
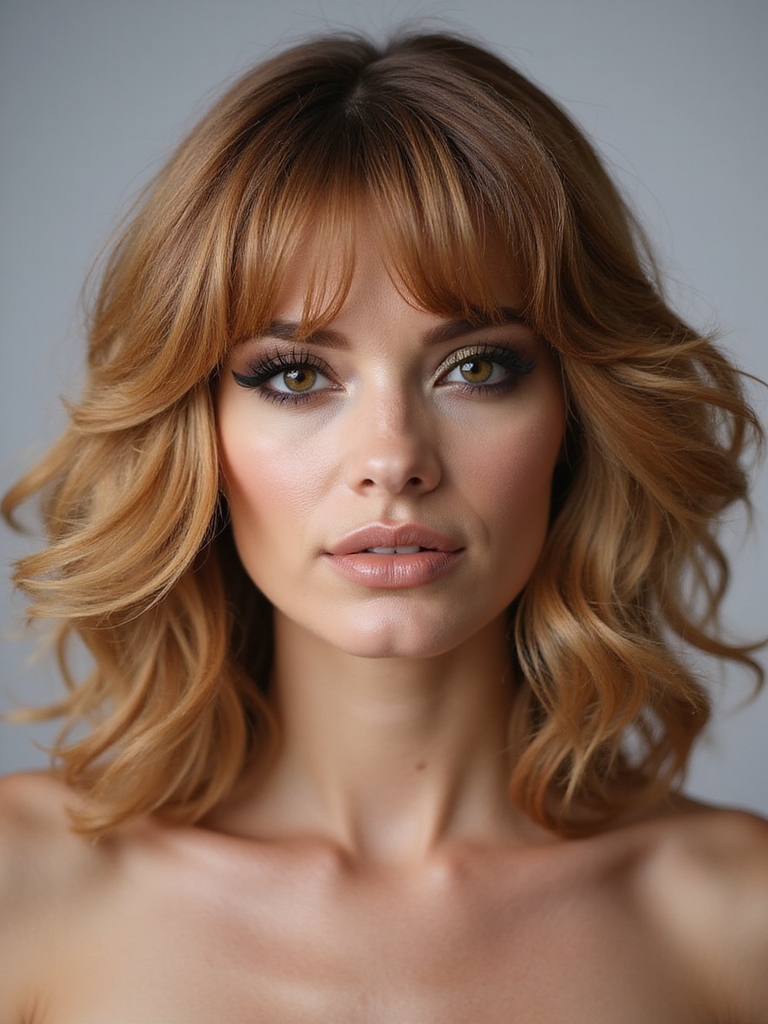
The Classic Long Shag With Feathered Layers
I’m going to show you how feather placement and technique can totally transform your long shag into a masterpiece of texture and dimension.
You’ll discover the sweet spot where volume and movement balance out—too much fluff and you’ve got bedhead, too little and you’ve lost that effortless ’70s vibe.
Let’s break down exactly where those feathers should land and how to achieve that gravity-defying flow that makes this cut so iconic.
This guide will also walk you through the effortless long shag approach so you can recreate the look at home.
Feather Placement and Technique
When you’re ready to master the iconic 70s shag, feather placement is where the magic happens—it’s what transforms a simple layered cut into that effortlessly cool, movement-filled masterpiece we’re all after.
I strategically razor-cut shorter layers around your face and crown, then blend them seamlessly into longer lengths. This technique creates those signature feathered edges that catch light beautifully and give you maximum volume and flow.
I often recommend trying a long layered shag for added texture and bounce, especially when styling to enhance Long Layered Shag movement.
Volume and Movement Balance
Once you’ve nailed those feathered layers, the real artistry kicks in—balancing volume and movement so your shag doesn’t look flat or, worse, like you just rolled out of bed (unless that’s the vibe you’re going for, which hey, totally valid).
I’m talking strategic thinning at the ends while keeping density at your crown. That’s the sweet spot where your shag bounces, flows, and actually moves when you walk.
Try experimenting with a long shag haircut to see how added length affects bounce and flow.
Shag Cuts for Thick and Voluminous Hair
If you’ve got thick, voluminous hair, you’re basically winning the shag lottery—and I’m here to show you how to make it work even better for you.
The key’s finding the right layering techniques that’ll enhance your natural fullness without creating a frizzy mess, and I’ll walk you through exactly how to style those gorgeous thick shags to keep them looking intentional and sharp.
Believe me, once you nail the approach, you’ll understand why thick hair and 70s shags were basically made for each other.
The effortless shag haircut with stylish bangs often pairs perfectly with these looks, especially when you understand shag cut with bangs and how to integrate it into your layers.
Layering Techniques for Volume
Maximize that gorgeous thick hair of yours by welcoming strategic layering that’ll transform your shag into a texture-packed masterpiece.
I’m talking choppy angles that’ll work with your natural density, not against it. Point-cut those ends for movement, and you’ll get that effortless, gravity-defying volume that screams 70s cool without requiring a wind machine!
Styling Thick Hair Shags
Now that you’ve got those strategic layers locked in, let’s talk about actually *styling* that glorious thick hair of yours—because having the cut is just half the battle.
I’m telling you, celebrate that natural texture! Scrunch in some mousse while damp, flip your head, and let gravity do the heavy lifting. Your thick strands won’t need much coaxing to look absolutely killer.
Shag Styles for Fine and Thin Hair
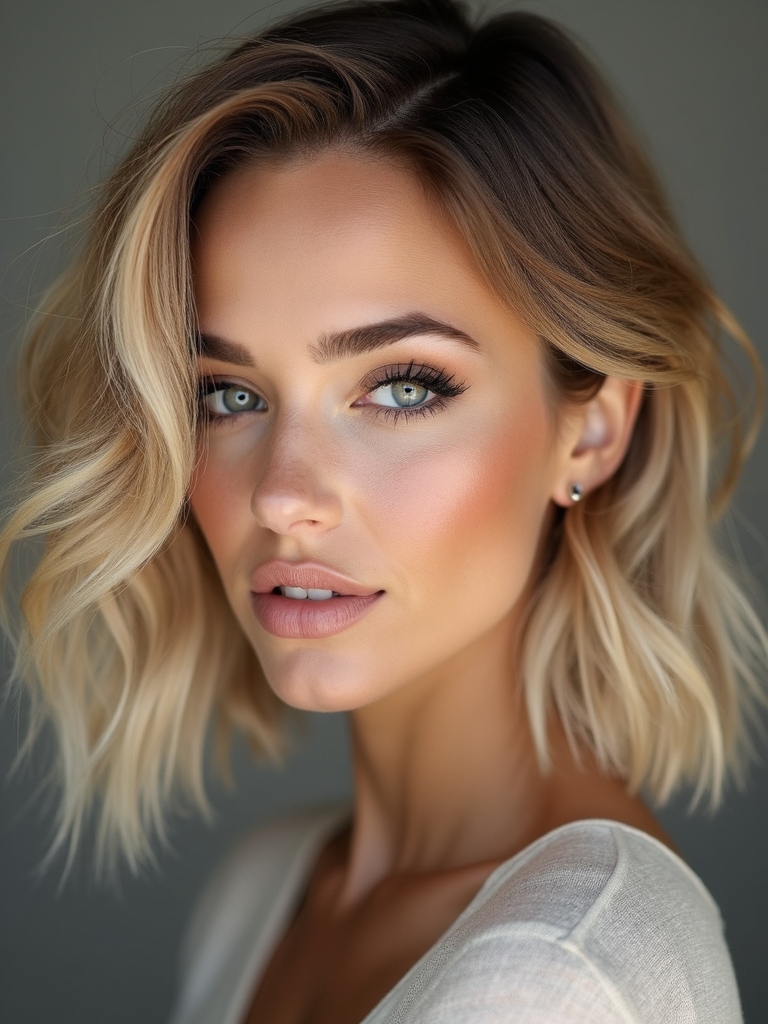
Thin hair’s got a bad rep when it comes to rocking a shag, but honestly? You’re sitting on gold.
Shorter layers create the illusion of thickness without weighing your hair down. I’d recommend asking your stylist for choppy, textured layers throughout—they’ll give you that voluminous, effortless 70s vibe that actually works with your hair type, not against it.
Straight Hair Shag: Sleek and Edgy
If you’ve got naturally straight hair, you’re literally the perfect canvas for a shag that’ll turn heads.
I’m telling you, the sleek layers create this effortlessly edgy vibe that’s absolutely stunning.
Your straight strands’ll showcase each layer’s movement without frizz drama.
Add some texture with a flat iron or adopt that pristine, modern shag aesthetic.
You’ll look undeniably cool.
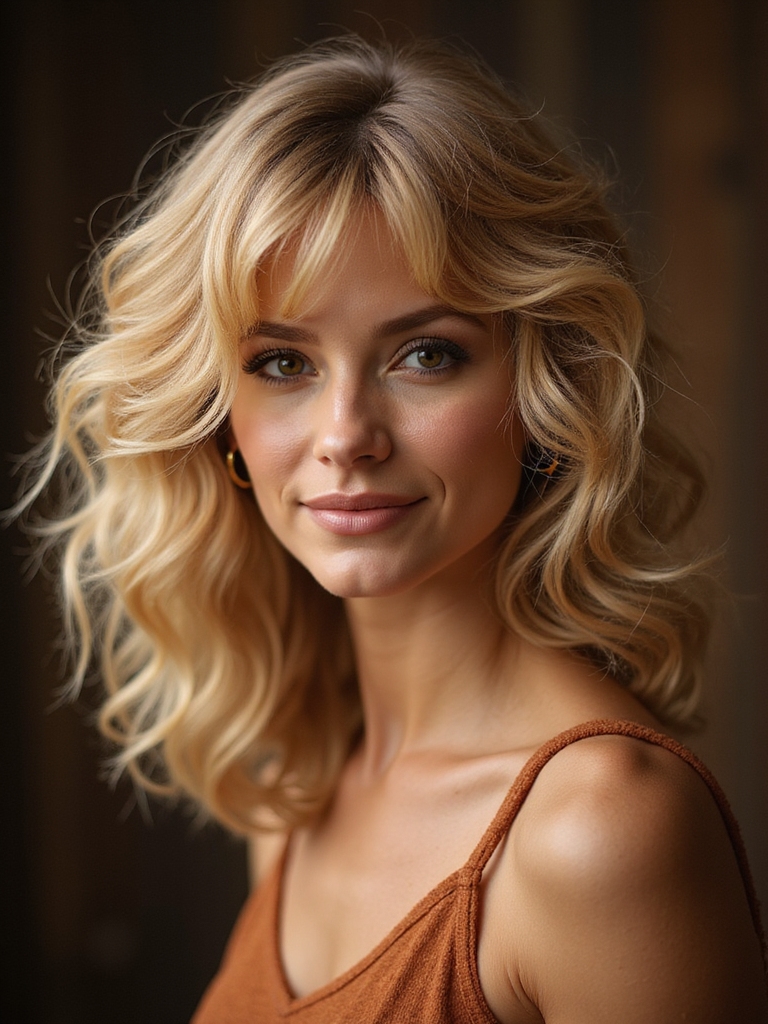
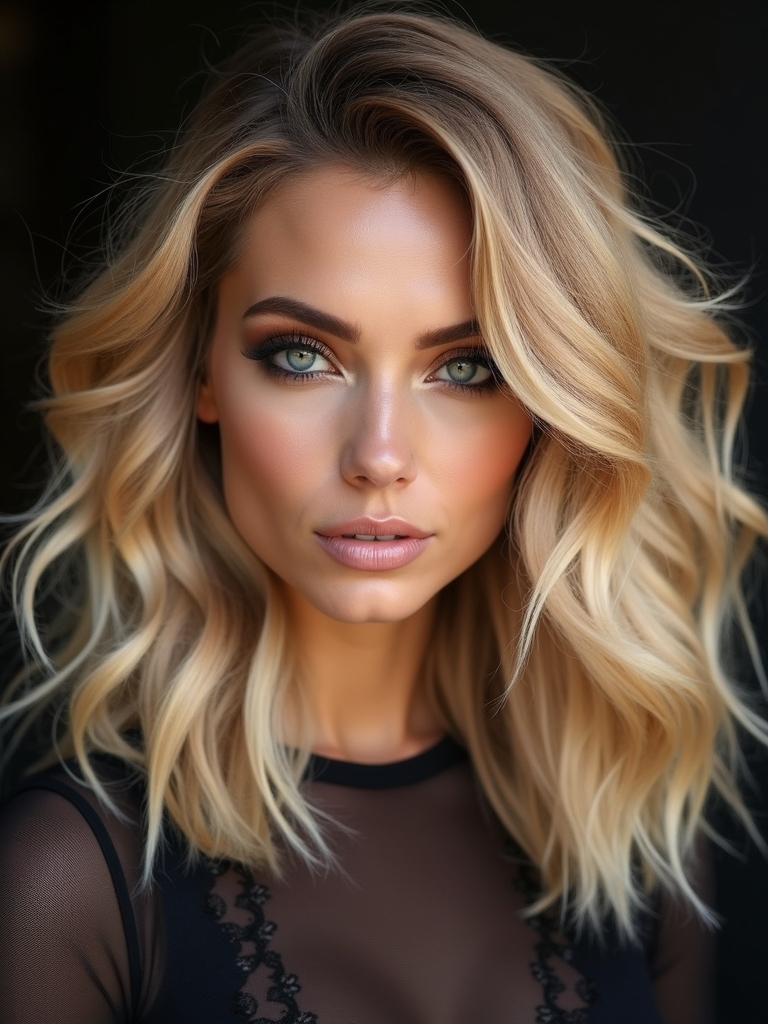
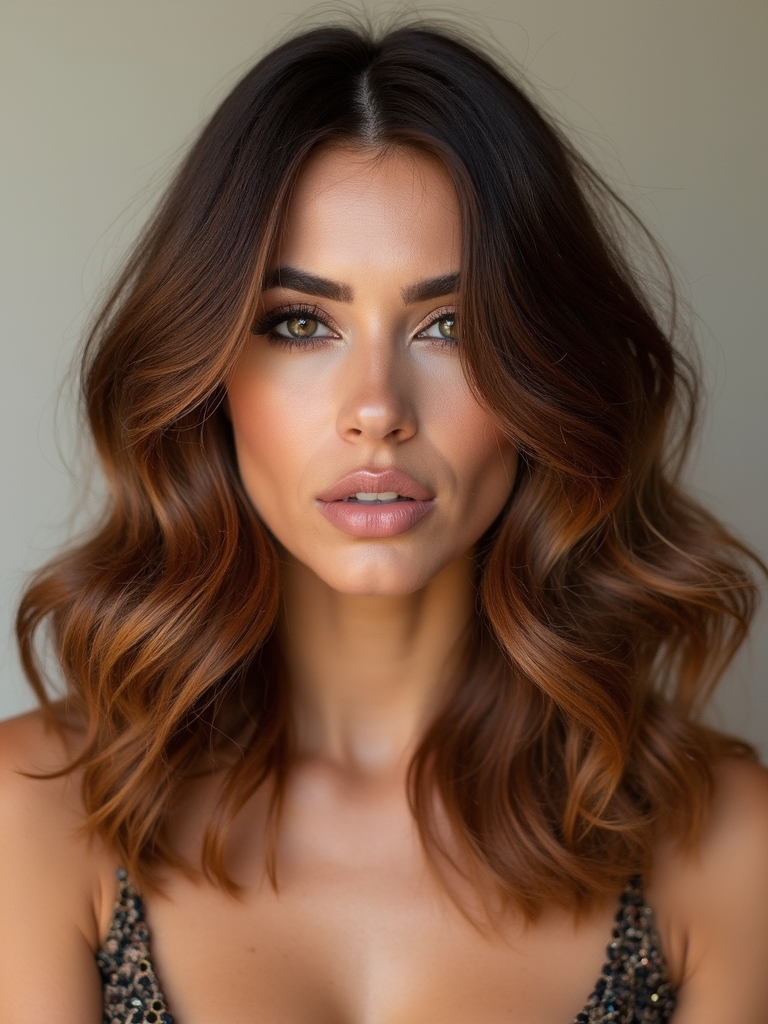
Wavy Hair Shag: Effortless Movement
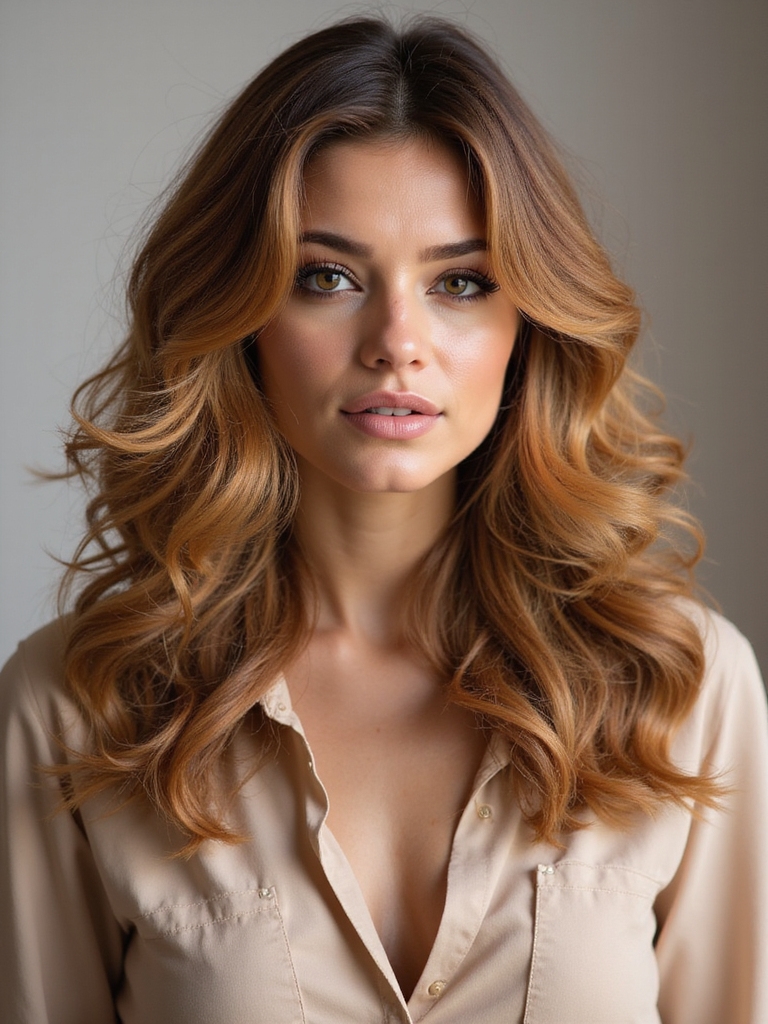
Wavy hair’s basically made for the shag—you’ve already got that natural texture we’re all trying to create with styling tools.
- Layers amplify your waves into gloriously voluminous waves
- Minimal styling effort needed—just shake and go
- Face-framing pieces add movement around your cheekbones
- Texture looks effortlessly tousled, not overdone
- Perfect for celebrating your hair’s natural personality
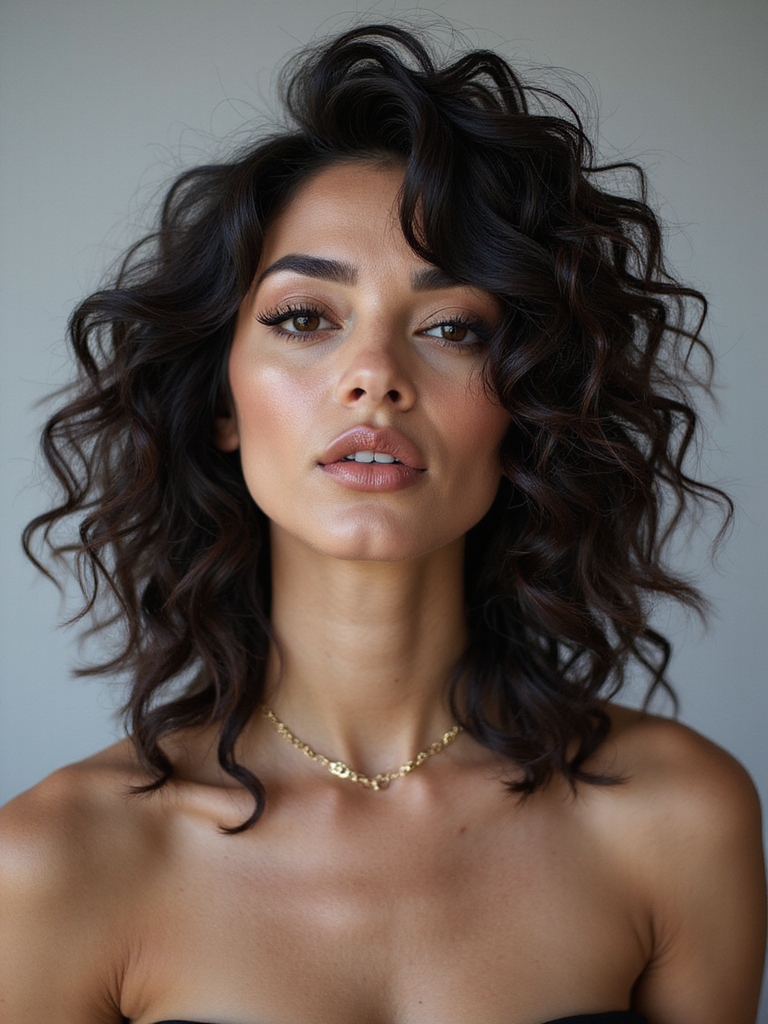
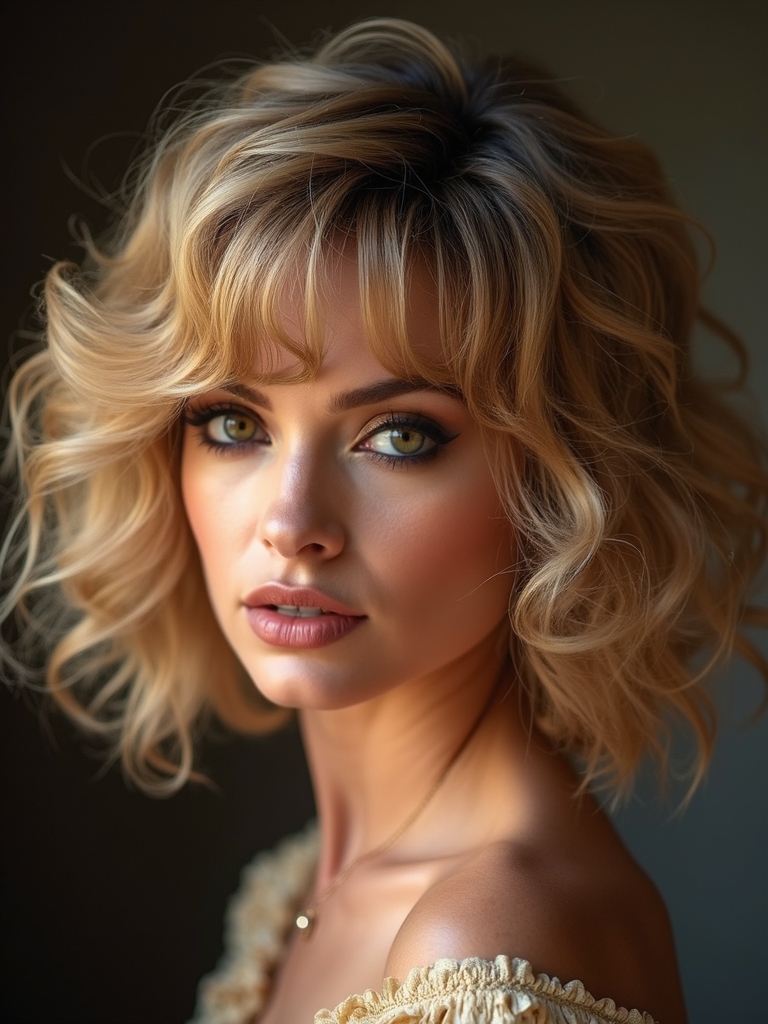
Curly Hair Shag: Bouncy and Bold
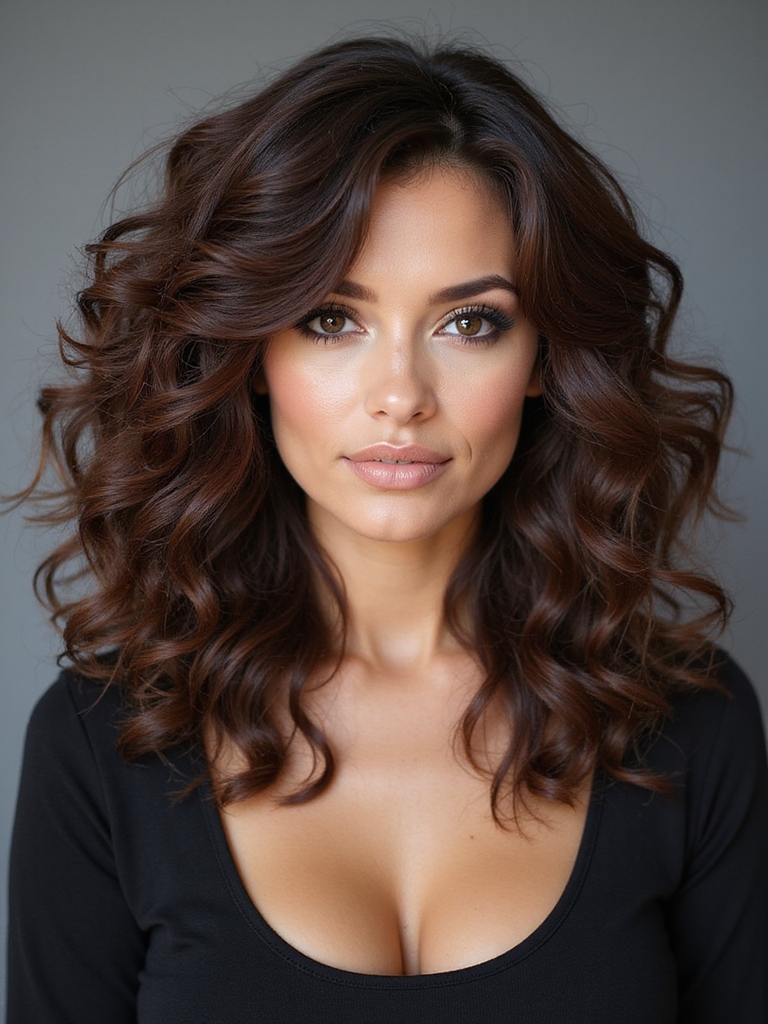
Curly hair and shags are honestly a match made in heaven—you’ve got the texture, the movement, and the volume that naturally rocks this cut.
I’m telling you, the layers work with your curls to create this bouncy, bold effect that screams confidence.
You’ll barely need styling tools; your curls do the heavy lifting.
It’s effortless, it’s fierce, and it’s totally you.
The Mullet-Inspired Modern Shag
I’m obsessed with how the mullet-inspired modern shag rocks short, textured sides that frame your face while the back flows long and wild.
You’ll get serious volume and movement throughout, creating that perfect balance between edgy and effortless that screams 70s cool.
It’s the kind of cut that works if you’re going for bold confidence or laid-back vibes.
Short Sides, Long Back
If you’re ready to welcome some serious 70s nostalgia with an edgy twist, the short sides and long back shag‘s absolutely calling your name.
- Cropped, tapered sides create dramatic contrast
- Voluminous layers flow down your back
- Perfect blend of punk and disco vibes
- Requires regular trims to maintain definition
- Works beautifully with texture and movement
Textured Volume and Movement
Bring the rebellious energy of the mullet into the modern era with this textured take on the 70s shag—it’s where vintage vibes meet contemporary edge.
I’m obsessed with how this style delivers serious volume through strategically placed layers that catch light beautifully.
You’ll rock movement that’s effortlessly cool, proving that bold hair choices never go out of style.
It’s your ultimate statement move.
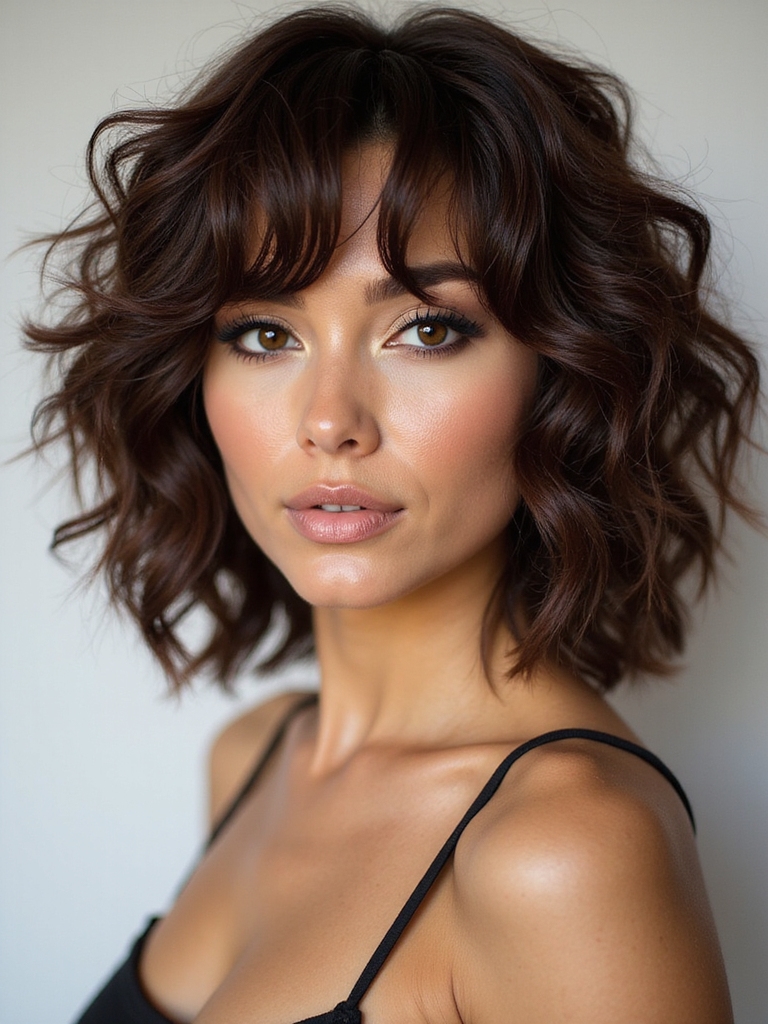
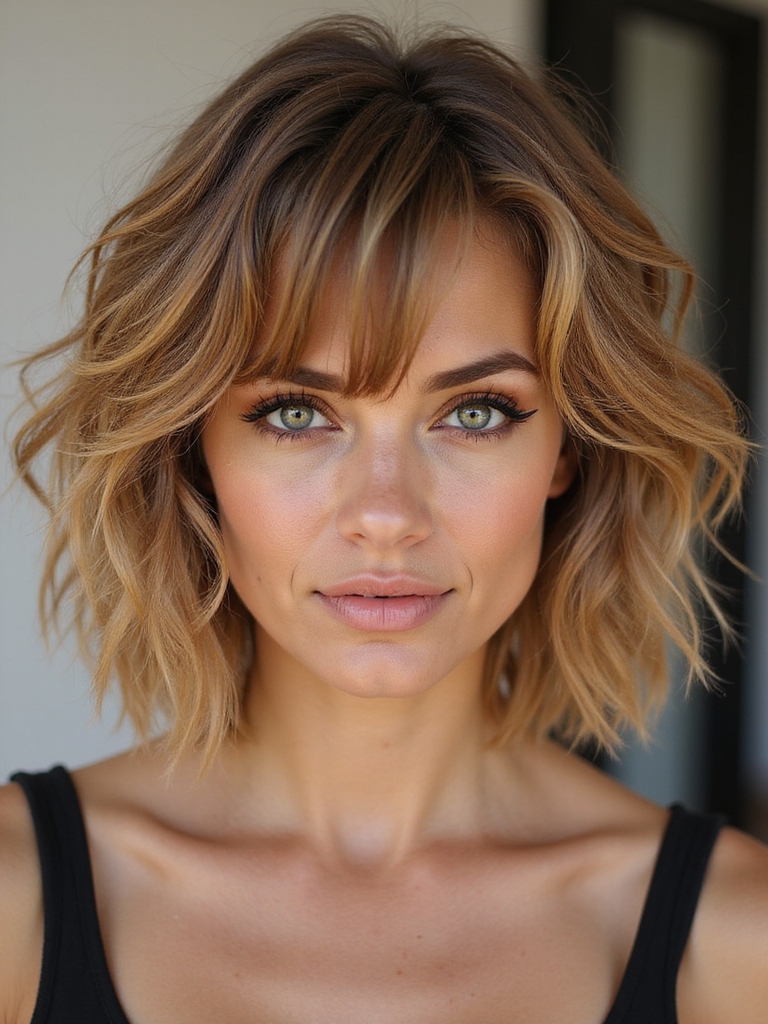
Textured Shag With Choppy Layers
Imagine this: you’re rocking a shag that’s got serious dimension, where choppy layers create movement and texture throughout your entire head.
- Razor-sharp layers that flip and bounce with attitude
- Textured ends that catch light beautifully
- Face-framing pieces that add instant edge
- Volume at the crown without bulk
- Effortless tousled vibes you’ll absolutely love
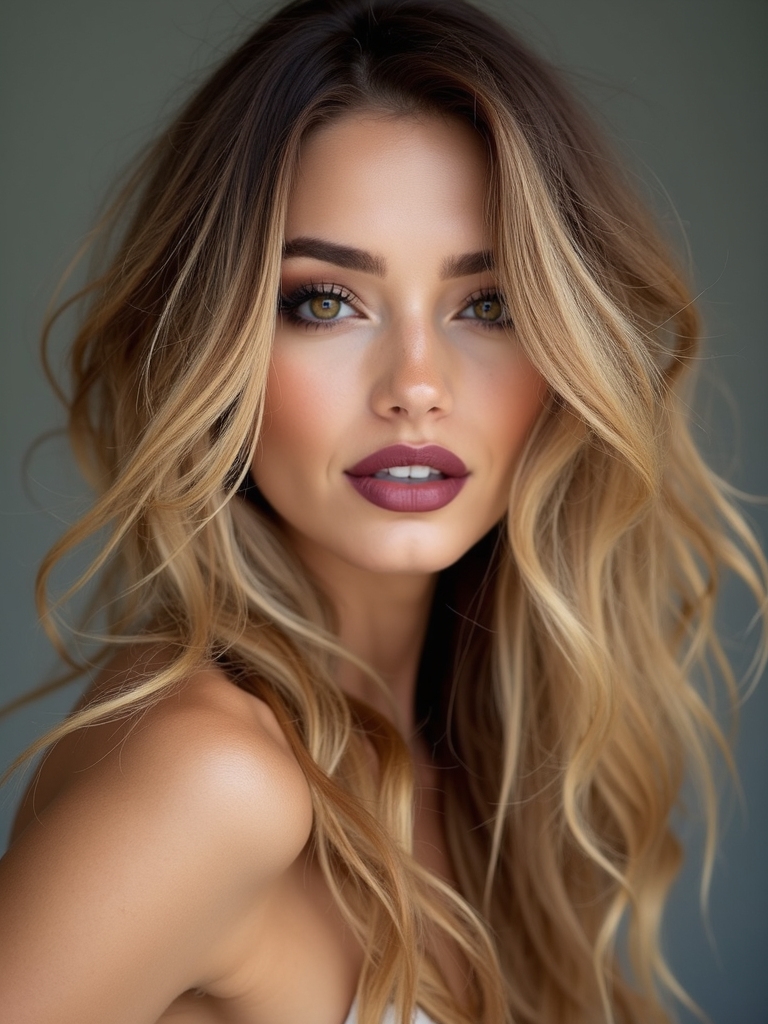
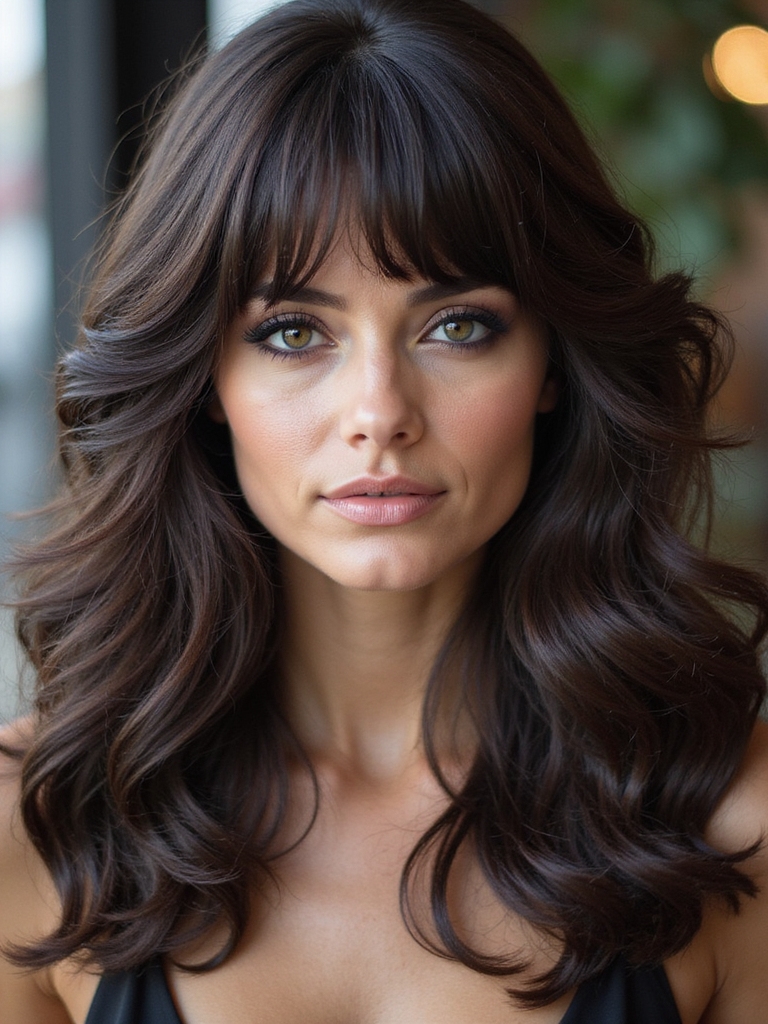
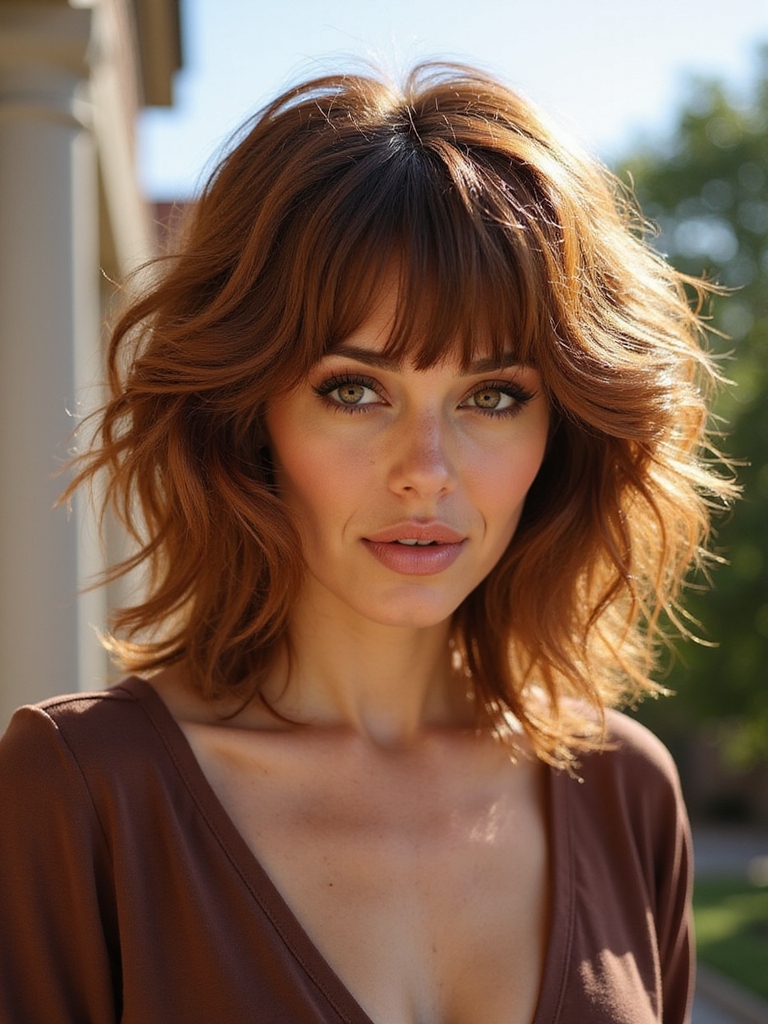
The Long Face-Framing Shag
While choppy layers give you that textured rebellion, face-framing pieces take your shag game to a whole new level of flattery.
I’m talking about longer strands that gracefully hug your cheekbones and jawline, softening your features beautifully.
You’ll love how they catch light and movement, creating instant dimension.
This style works magic for every face shape—trust me, you’re gonna rock it.
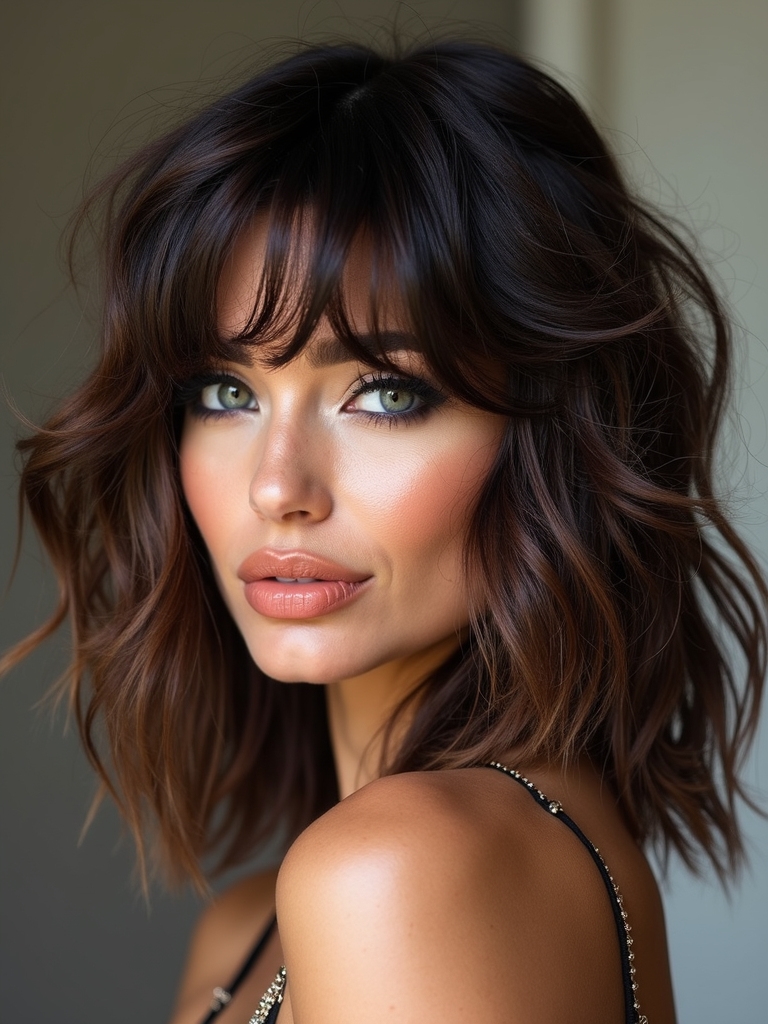
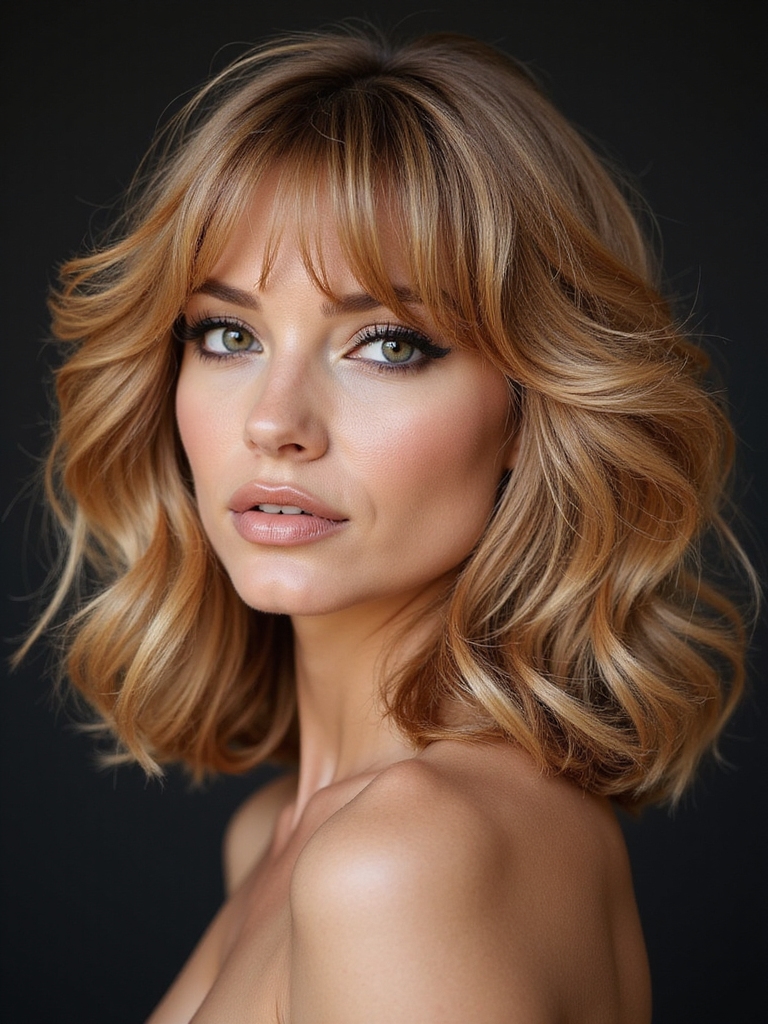
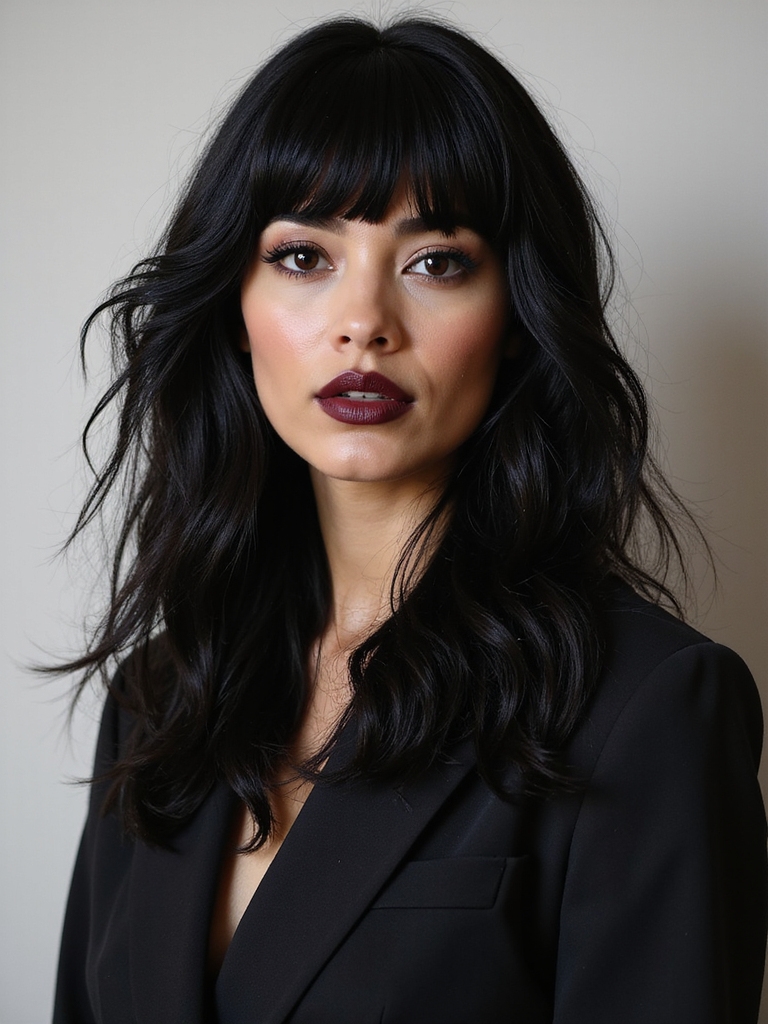
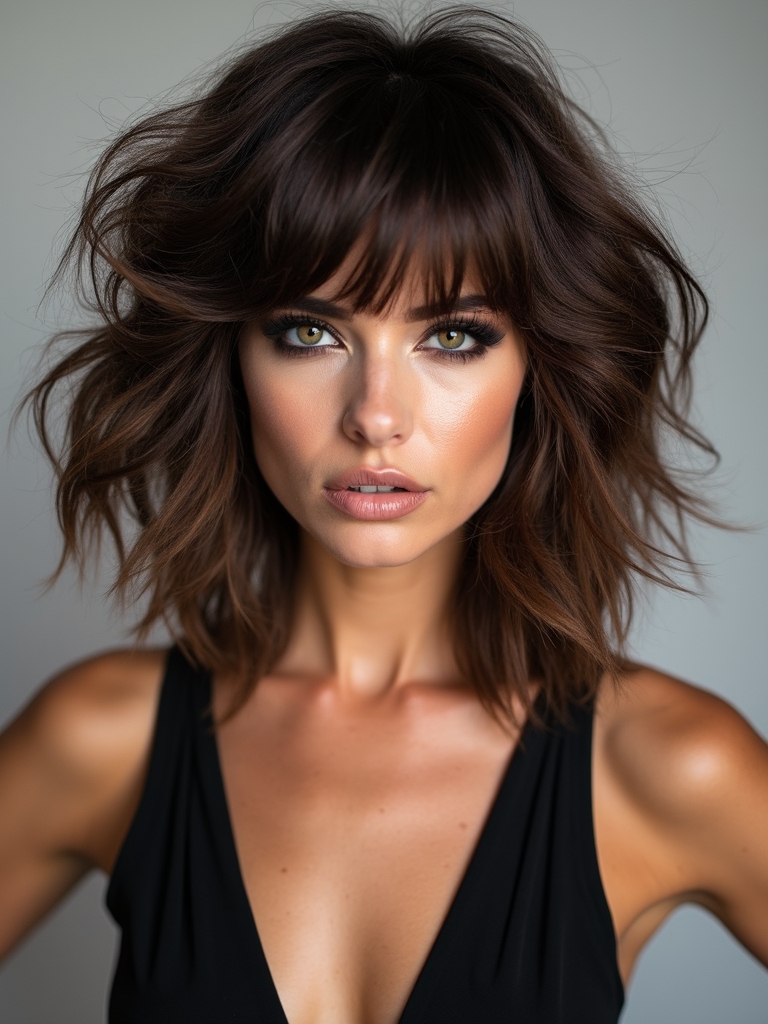
Shag With Bangs: A Retro Must-Have
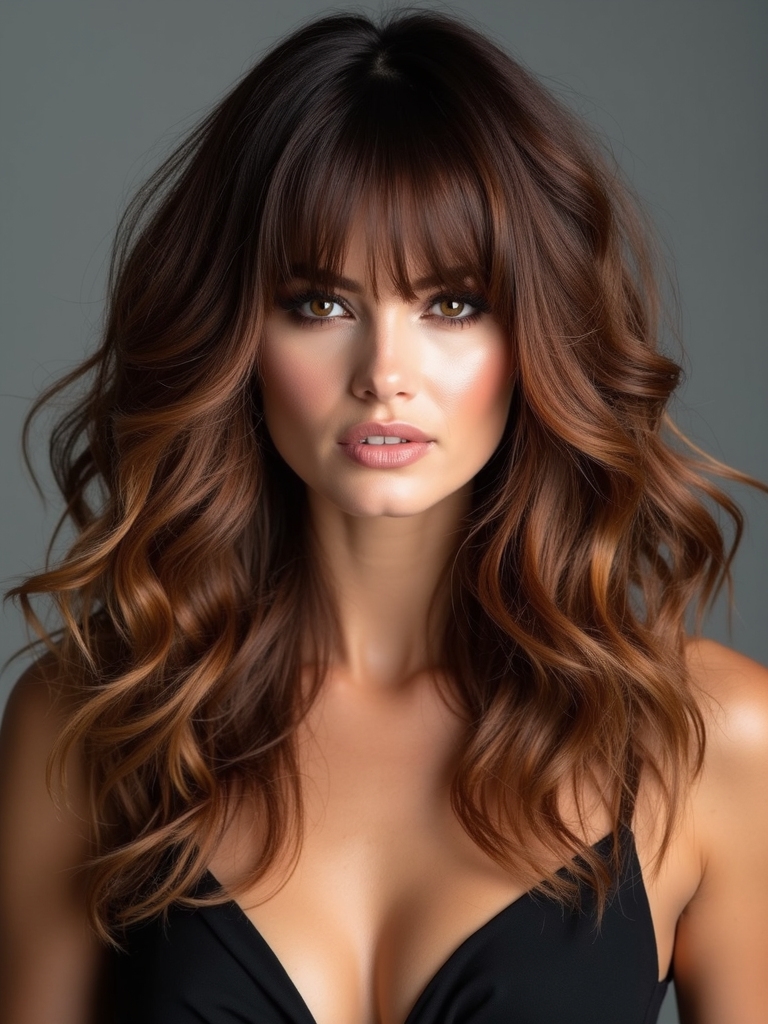
How do you take an already iconic 70s look and make it even more unforgettable? You add bangs, baby! I’m talking about that perfect combo that screams retro chic.
- Feathered bangs that sweep dramatically across your forehead
- Wispy layers that frame your face beautifully
- Volume that defies gravity and turns heads
- Textured movement that catches light effortlessly
- Undeniable confidence you’ll radiate instantly
Styling Your Shag for Maximum Volume
I’ll show you how to blow-dry your shag to get those gorgeous voluminous layers popping—it’s all about technique and the right products working together.
You’ll want to master directional drying and lift at the roots, then lock everything in with texturizing sprays or mousses that give your hair that effortless, tousled bounce.
Believe me, once you nail these styling secrets, you’ll never go back to flat hair again!
Blow-Drying Techniques for Height
Since the shag’s whole appeal hinges on that enviable height and movement, you’ll want to master blow-drying to really unlock its potential.
- Flip your head upside down and rough-dry first
- Use a round brush to lift layers skyward
- Direct heat upward against the hair grain
- Finish with cool air to lock in volume
- Tousle with your fingers for that effortless, textured vibe
Layering Products for Texture
Once you’ve nailed that blow-dry foundation, the real magic happens when you layer in the right products. I’m talking texturizing sprays, volumizing mousses, and lightweight oils that won’t weigh down your shag.
Build them gradually—don’t dump everything on at once! Each layer adds dimension and keeps those feathered ends looking effortlessly choppy and fabulous.
Products and Tools for Shag Maintenance
Keeping your 70s shag looking sharp isn’t as complicated as you’d think—it’s all about having the right arsenal at your fingertips.
- Texturizing scissors for maintaining those choppy layers
- Lightweight dry shampoo to boost volume between washes
- Wide-tooth comb for gentle, tangle-free styling
- Sea salt spray for effortless, piecey texture
- Round brush for shaping and direction control
How to Ask Your Stylist for the Perfect Shag
Now here’s where communication becomes your best friend—nailing down the exact shag you want starts with knowing what to say to your stylist. Bring reference photos showing the layers, texture, and length you’re after.
Describe your hair type and styling commitment honestly. Ask about maintenance frequency and product recommendations. Don’t hesitate to discuss fade patterns or bangs.
Your stylist’s expertise combined with your vision creates magic.
Keeping Your Shag Fresh Between Salon Visits
Because your shag’s got layers for days, you’ll want to develop a solid at-home routine that keeps those textured ends looking intentional rather than scraggly.
- Dry your hair with a diffuser to enhance movement
- Use a texturizing spray for that effortless vibe
- Trim your own layers every 4-6 weeks
- Deep condition weekly to prevent frizz
- Welcome bedhead as part of your aesthetic
You’ve got everything you need to rock that iconic ’70s shag! If you’re blessed with thick waves or delicate strands, this timeless cut’ll transform your look with seriously satisfying volume and movement.
Grab your texturizing spray, adopt the feathered layers, and don’t skip those regular trims. Believe me—you’re about to turn heads and feel absolutely fabulous doing it. Your shag era starts now!