I’ve learned that achieving sleek layers in straight hair isn’t about random choppy cuts—it’s a deliberate technique that transforms your look. If you’re after effortless movement or polished definition, the method matters.
The right approach makes all the difference between a choppy mess and those enviable, piece-y waves you’re after. Let me show you exactly how to get there.
Understanding the Shag Haircut for Straight Hair
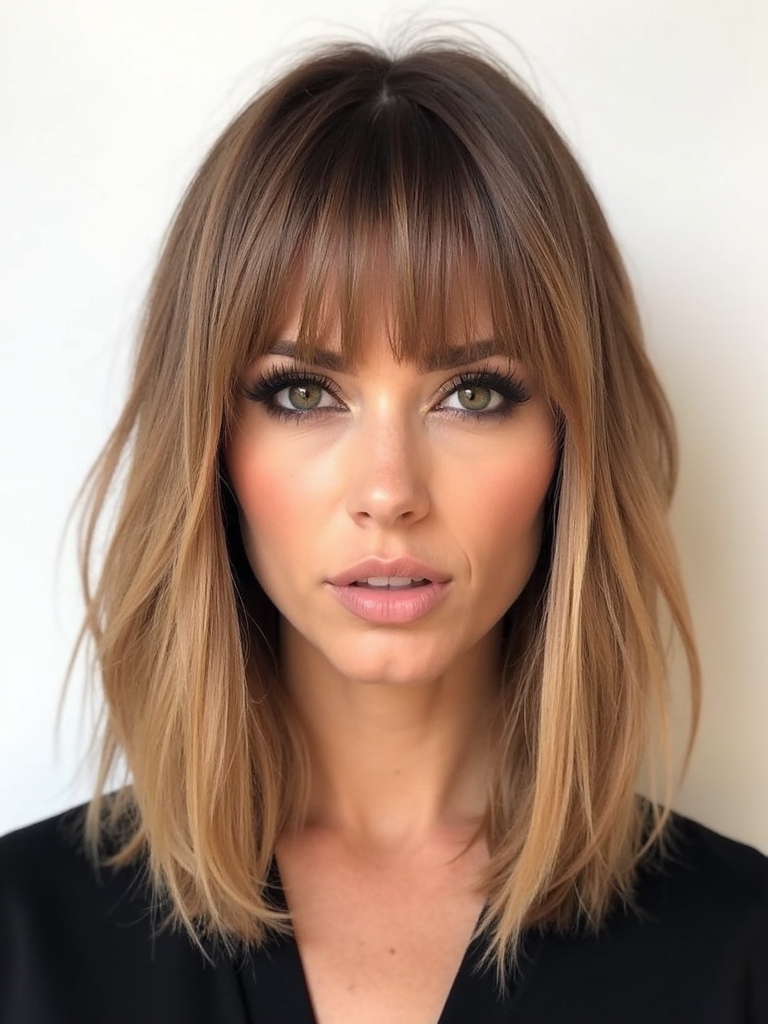
A shag isn’t just a throwback to the ’70s—it’s a versatile cut that works beautifully on straight hair when you understand its core principles. I’ve learned that the magic lies in strategic layering and texture.
Rather than looking choppy, a well-executed shag on straight hair creates dimension and movement. You’ll discover that the cut’s success depends on proper technique and understanding how layers interact with your hair’s natural structure.
Modern shags emphasize texture and movement to keep the style fresh and effortless.
Tools and Products You’ll Need
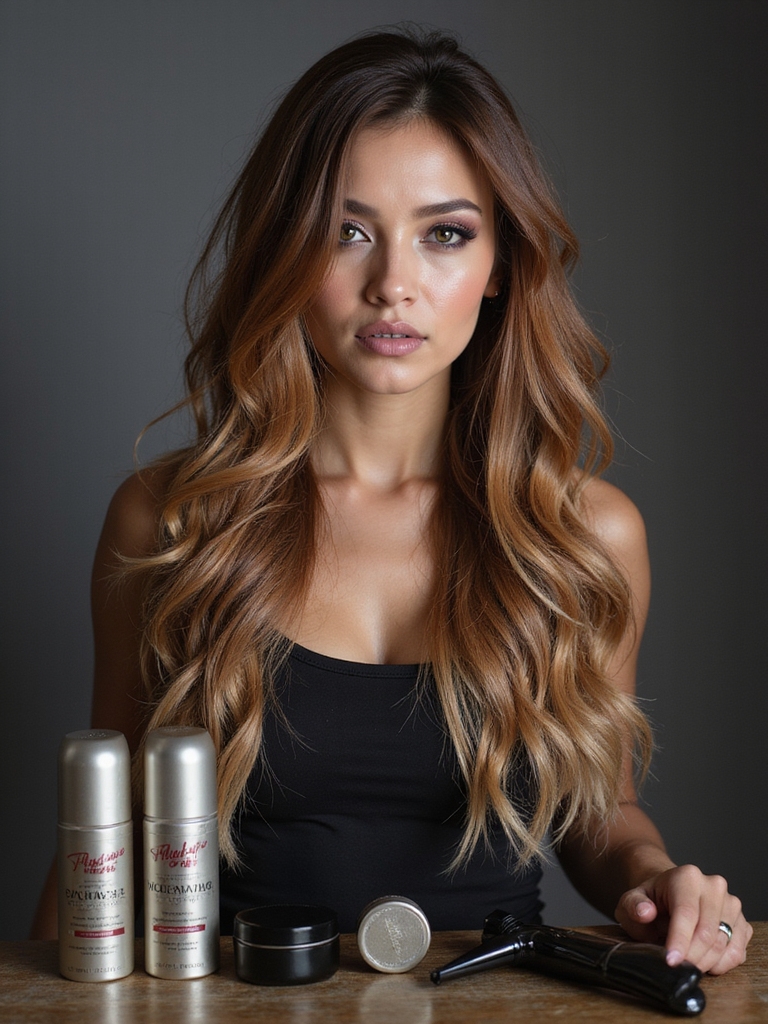
Before you start cutting, you’ll want to gather the right equipment—I can’t overstate how much quality tools elevate your results. You’ll need sharp scissors, a texturizing razor, and thinning shears.
Add a blow dryer, round brush, and straightening iron to your arsenal. Invest in a smoothing serum and texturizing spray. Quality products make layering effortless and keep your shag looking intentional.
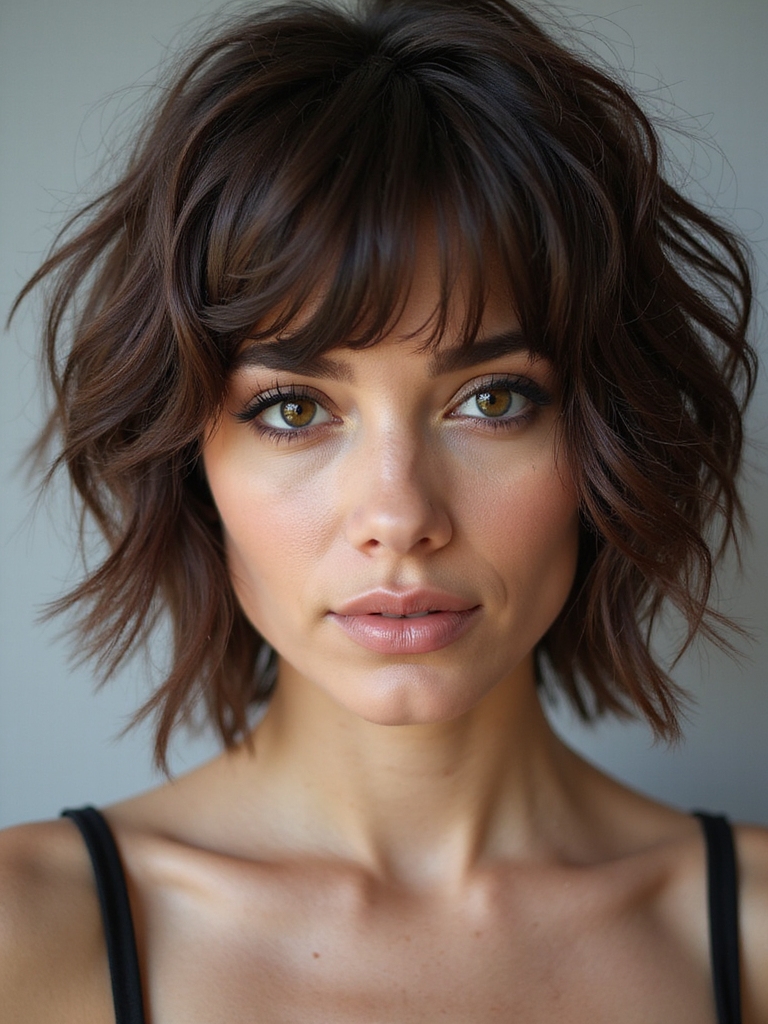
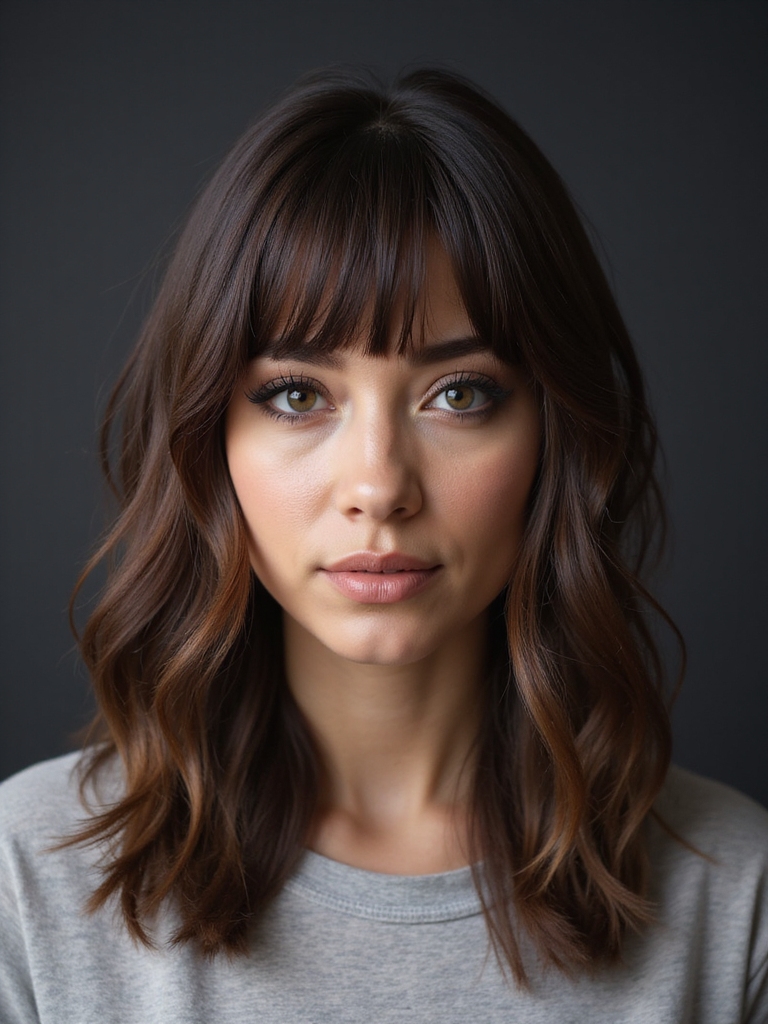
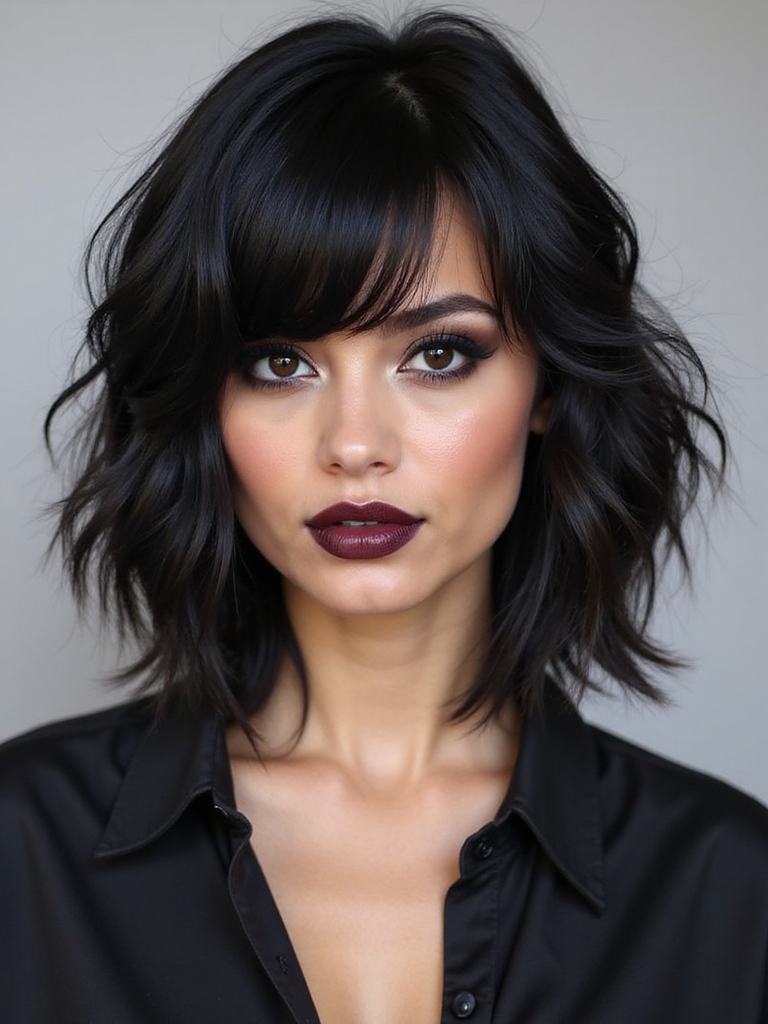
The classic shag combines tousled layers with choppy ends to create movement and volume, making it a versatile option for many hair types and face shapes; consider the shaggy bob when planning your cut.
Preparing Your Hair Before Cutting
Now that you’ve assembled your tools, it’s time to get your hair ready for the magic to happen.
I’ll wash and condition your hair thoroughly, then blow-dry it completely straight. This guarantees you’re working with a clean canvas and accurate length.
Damp hair stretches unpredictably, so absolute dryness is vital for precise layering.
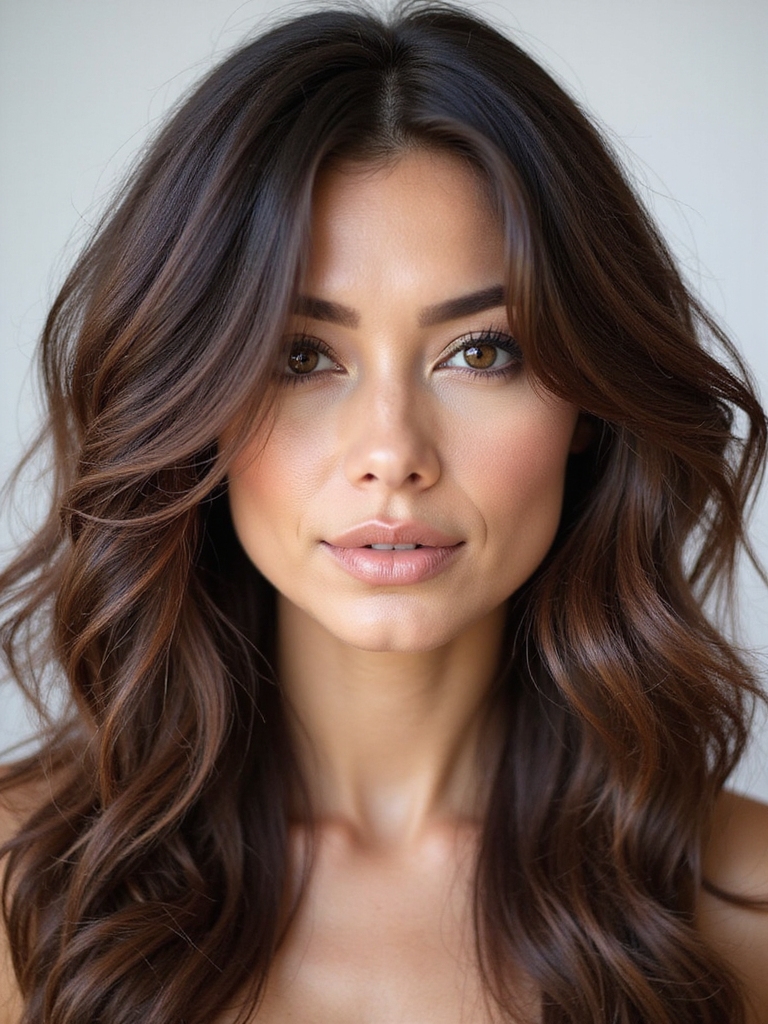
Layered cuts create movement and dimension, so I prioritize techniques that enhance natural texture and shape, like the classic Layered Cut.
The Basic Layering Technique
Once you’ve got that perfectly straight canvas, here’s where the technique really comes alive.
I section your hair horizontally, starting at the crown. I cut each section slightly shorter than the one below, creating that signature shaggy effect.
The key’s keeping your angles consistent—you’ll notice how these strategic cuts instantly build dimension and movement throughout your entire head. You can use effortless shag to guide how much weight to remove from each layer.
Creating Face-Framing Layers
I’ll show you how to create face-framing layers that’ll transform your cut from basic to stunning. You’ll need to master three key skills: measuring and sectioning your hair strategically, angling your cuts to bring out definition, and blending those layers seamlessly around your face.
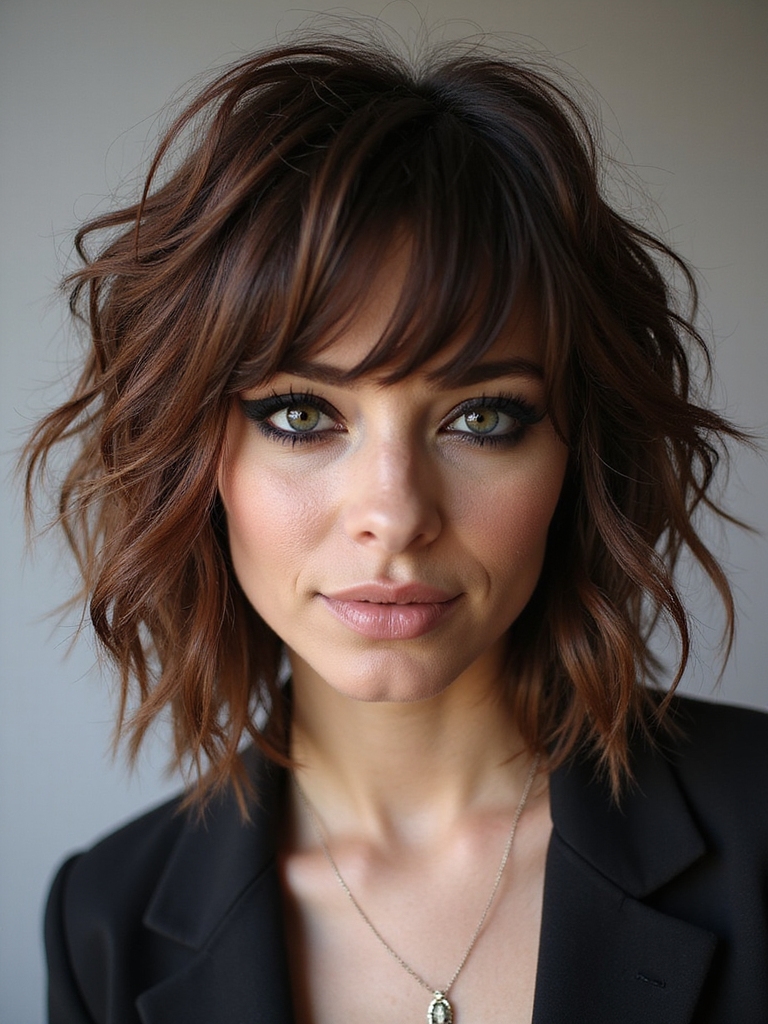
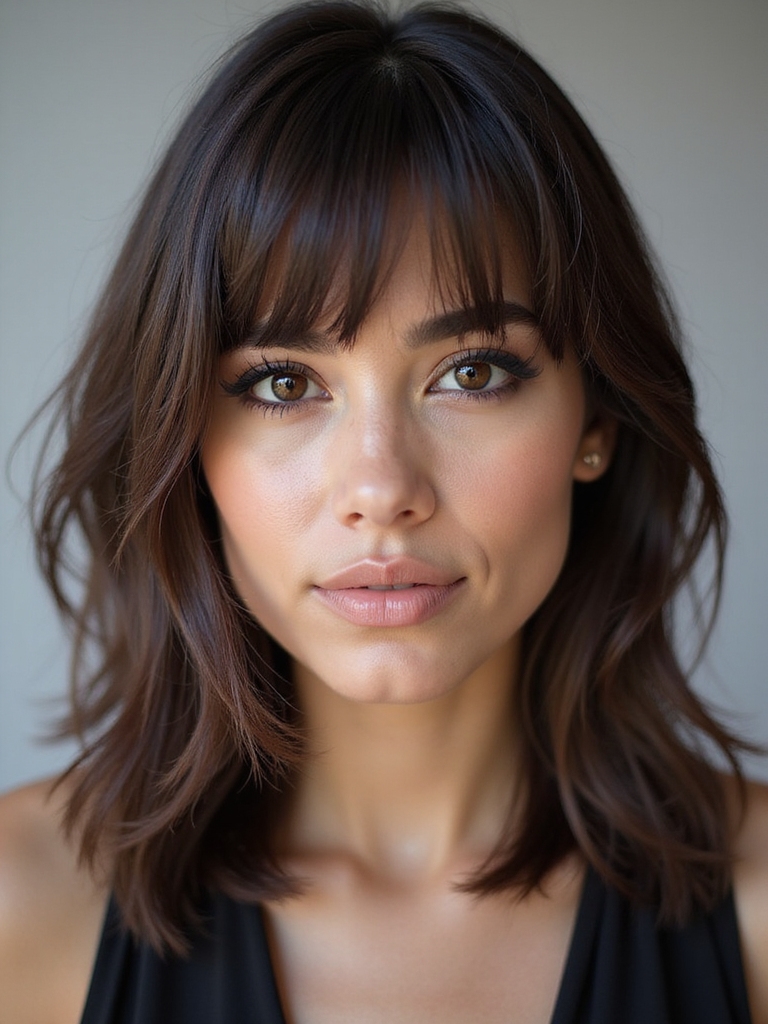
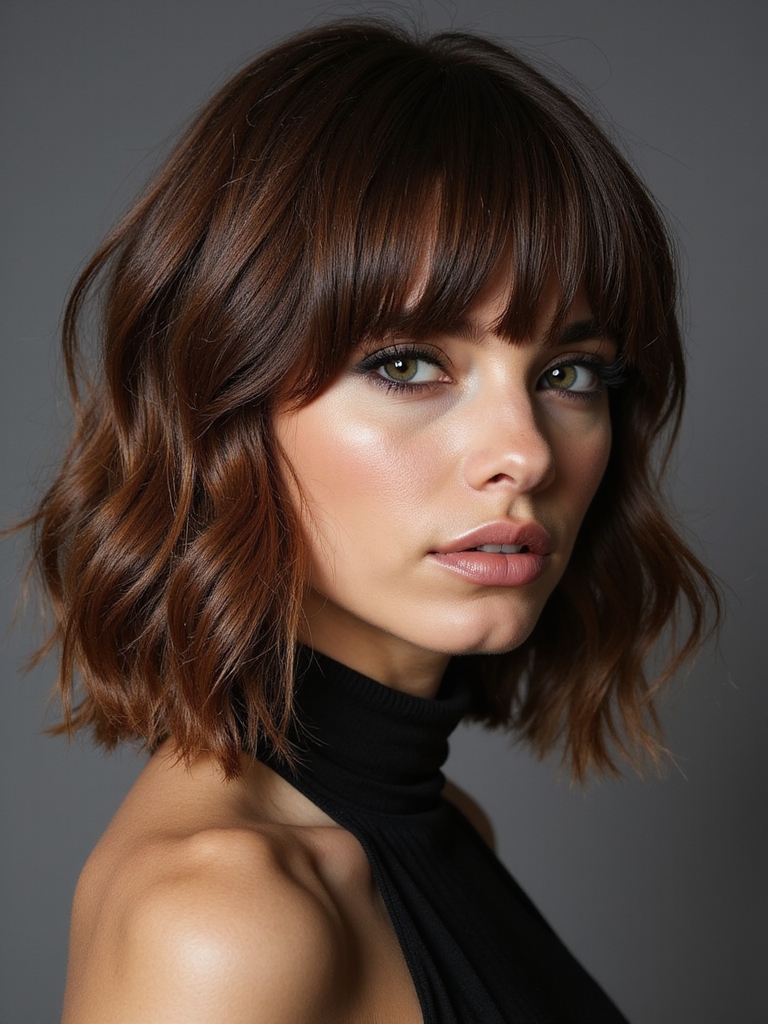
Let’s break down each technique so you can execute them with confidence. A medium shag is a versatile layered style that emphasizes texture and movement with choppy ends and volume, making it ideal for creating chic layered looks that flatter many face shapes.
Measuring and Sectioning Hair
Before you make your first cut, you’ll want to map out exactly where those face-framing layers should land.
I divide the hair into four quadrants using a center part and ear-to-ear section. This gives me clear zones to work within.
I measure from your cheekbone down, marking where each layer begins. Precision here transforms your entire look.
A medium length shag benefits from textured layering to enhance movement and reduce bulk, focusing on effortless medium shag for balanced volume and shape.
Angling Cuts for Definition
Now that you’ve mapped your sections and marked your measurements, the real magic happens with your angle. I’ll guide my clippers at forty-five degrees, creating those face-framing layers that catch light beautifully.
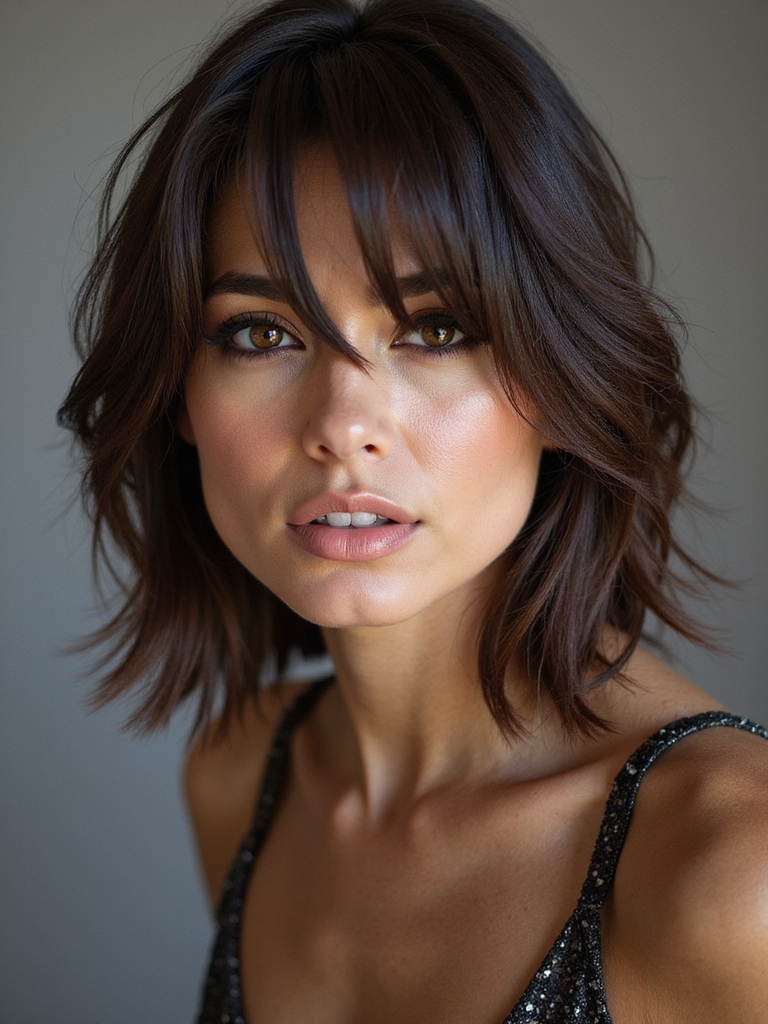
This technique softens features while maintaining movement. You’ll notice how strategic angling transforms straight hair into textured, dimensional layers that feel effortlessly modern and intentional. It’s a versatile update inspired by the shoulder length shag that adds contemporary texture without sacrificing wearability.
Blending Layers Around Face
With your angled sections established, blending becomes the art of creating seamless shifts that frame the face beautifully.
I’ll soften edges using point-cutting techniques, working shorter pieces through longer ones. This creates movement that flatters your client’s features. I’m careful not to over-blend—you want texture and dimension to remain.
The goal’s a polished look that still feels naturally effortless. Combining this with soft layers produces an effortless medium straight hair shape that complements the shaggy straight style.
Blending Layers for a Seamless Look
Once you’ve cut your layers, the real magic happens in how you blend them together—and I’m here to tell you that it’s easier than you might think.
I use point-cutting techniques to soften shifts between sections.
You’ll want to work methodically through each layer, ensuring no harsh lines remain.
This approach creates that coveted seamless flow that makes shaggy straight hair look intentional and polished.
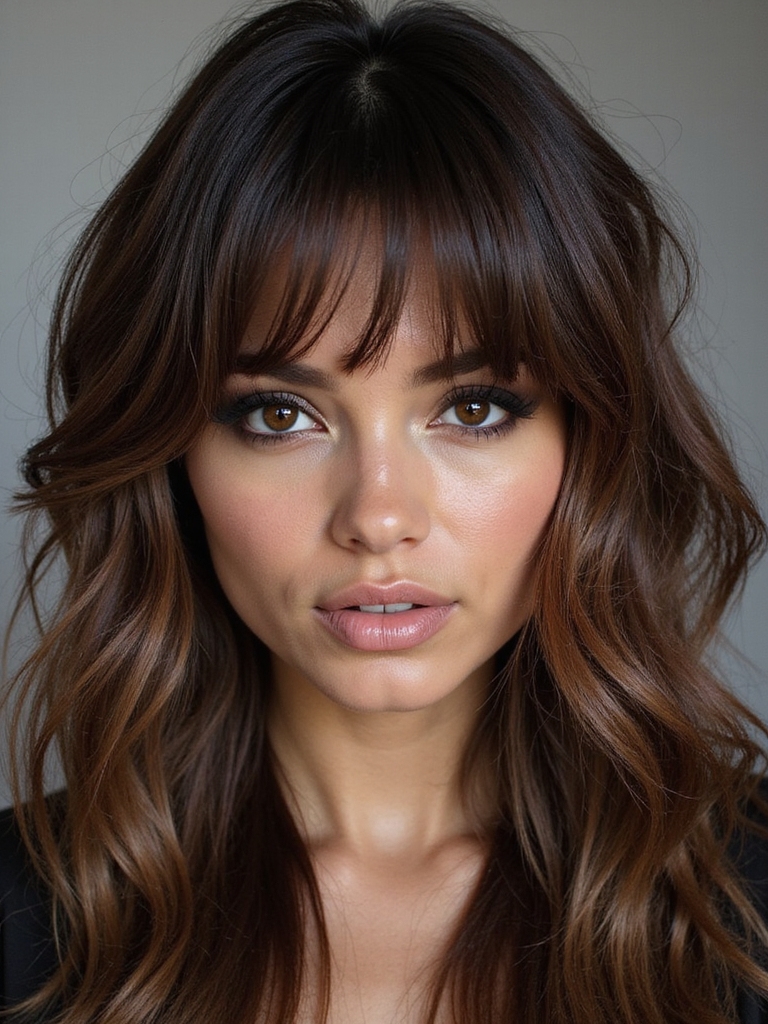
Shaggy layered haircuts work especially well for creating movement and texture in straight hair, so consider how shaggy layered haircut shapes the overall silhouette.
Adding Texture and Movement
Beyond the cut itself, texture and movement are what transform your shaggy straight hair from flat to fabulous.
I’ve found these techniques game-changing:
- Use a texturizing spray for grip and definition
- Blow-dry with a round brush for volume at the roots
- Welcome your natural waves with light styling cream
You’ll notice immediate dimension and flow that makes your layers truly shine.
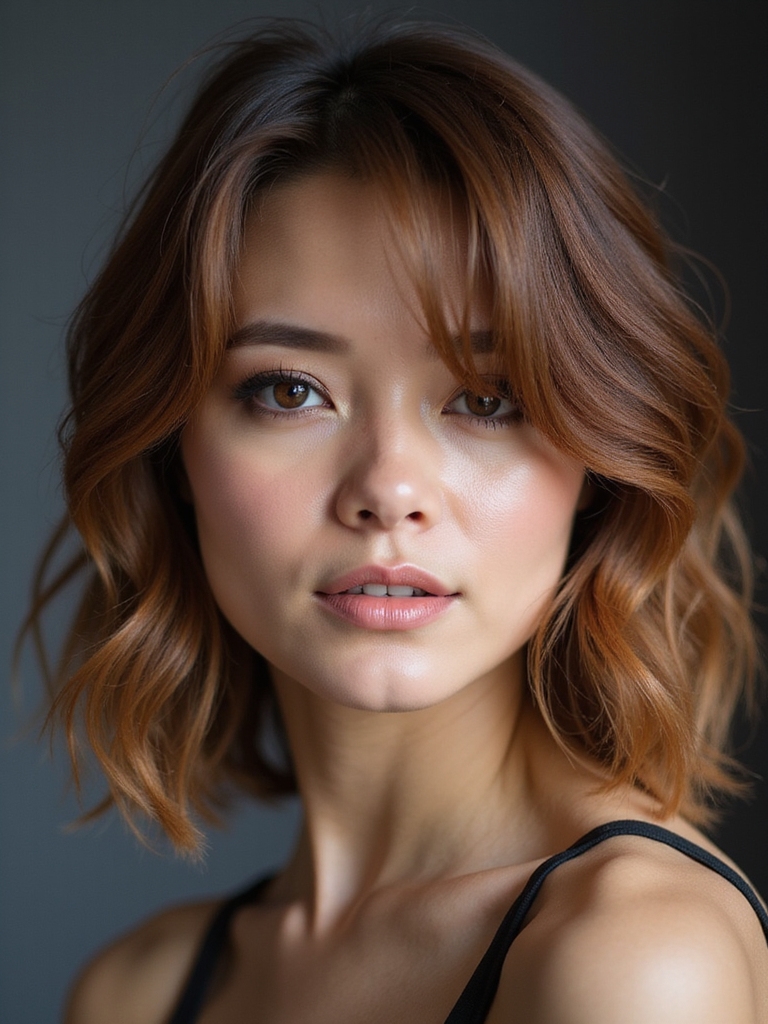
A shag cut can be tailored to enhance face shape and layered movement through varying lengths and razored ends.
Styling Your Shaggy Straight Hair
Getting the most out of your shaggy layers means mastering a few key styling techniques that’ll keep them looking intentional rather than messy.
I’d recommend using a texturizing spray to enhance movement, then blow-dry with a round brush for subtle volume. Finish with a lightweight serum to tame flyaways while maintaining that effortless, lived-in vibe you’re after.
Blow-Drying for Maximum Volume
The round brush I mentioned is really where the magic happens—it’s your secret weapon for transforming flat, lifeless layers into ones that actually bounce.
Here’s what I do:
- Lift sections upward while drying
- Use medium heat with cool shots
- Flip your head for extra lift
You’ll notice immediate volume that lasts all day.
Using a Flat Iron to Define Layers
Once you’ve got that volume locked in with your blow dryer, a flat iron becomes your precision tool for really showcasing those layers.
I glide it through each section, following the natural fall of your hair. This technique smooths frizz while emphasizing dimension. You’ll notice how the layers pop instantly, creating that coveted shaggy-straight aesthetic we’re after.
Product Recommendations for Hold and Shine
I’ve found that the right products can make or break your shaggy straight layers, so let me share what’s worked best for me.
Lightweight serums are your secret weapon for definition—they’ll enhance each layer without weighing down your hair or creating that greasy look.
Volumizing sprays and texturizers are equally essential; they’ll give your layers that piece-y, intentional movement while keeping everything looking polished and held in place.
Lightweight Serums for Definition
Achieving that perfect balance between hold and shine doesn’t require heavy products that weigh down your layers—in fact, you’ll find that lightweight serums are your secret weapon for sleek, defined shaggy layers.
- Silicon-based serums provide lasting hold without stiffness
- Argan oil serums add natural shine and smoothness
- Vitamin E serums strengthen while enhancing layer definition
You’ll love how these work together, creating effortless dimension.
Volumizing Sprays and Texturizers
While lightweight serums give you shine and definition, volumizing sprays and texturizers are what’ll truly transform your shaggy layers into a head-turning style.
I recommend products with sea salt or clay bases—they grip your hair without weighing it down. Apply them to damp roots and mid-lengths, then blow-dry for maximum texture and movement that lasts all day.
Maintenance Tips Between Salon Visits
Keeping your shaggy straight layers looking fresh doesn’t require a salon appointment every week.
I’ve found these essentials keep my style polished between visits:
- Dry shampoo refreshes roots and adds texture
- Regular trims every 6-8 weeks maintain layer definition
- Leave-in conditioner prevents frizz and enhances movement
You’ll notice your layers stay vibrant and structured when you’re consistent with these practices.
Common Mistakes to Avoid
I’ve seen too many people rush through their shaggy straight layers and end up with a choppy mess, which is why I’m going to walk you through the biggest pitfalls you’ll want to sidestep.
You’ll want to nail proper sectioning, resist the urge to over-texturize your hair, and protect your strands from damage every step of the way.
Getting these fundamentals right is what separates a polished, intentional look from one that just looks, well, shaggy.
Skipping Proper Sectioning
The foundation of any great shag haircut crumbles when you skip the sectioning step. I’ve learned that proper sectioning prevents uneven layers and guarantees balanced results.
Here’s what you can’t ignore:
- Divide hair into four quadrants using clips
- Work methodically through each section
- Maintain consistent angle and tension throughout
Trust me—this groundwork transforms your entire shag.
Over-Texturizing Hair
Once you’ve nailed your sectioning, you’ll face another common pitfall that undoes all that careful prep work: over-texturizing. I’ve seen it happen—too many choppy cuts or excessive point-cutting destroys the sleek layers you’re building.
Restraint’s your friend here. Strategic texture enhances movement; overdoing it creates frizz and loss of shape. Trust the technique, not the scissors.
Neglecting Damage Prevention
While you’re creating those gorgeous shaggy layers, you’ve got to protect your hair from the damage that’ll sabotage everything you’ve worked toward. I can’t stress this enough—prevention matters:
- Use heat protectant spray before styling
- Deep condition weekly to maintain moisture
- Get regular trims to prevent split ends
Your layers’ll look fresher longer when you prioritize hair health alongside technique.
Adapting the Style to Your Face Shape
Since face shape dramatically influences how any hairstyle frames your features, you’ll want to take into account your unique contours before committing to shaggy straight layers.
I’ve found that longer layers work beautifully for round faces, while shorter, choppy layers suit angular features.
Oval faces? You’re lucky—they pull off virtually any variation.
Consider your jawline and forehead width when customizing your cut.
Styling Ideas for Different Occasions
Now that you’ve got the perfect shaggy layers customized for your face shape, it’s time to have fun styling them for different moments in your life.
- Casual days: welcome your natural texture with a tousled, effortless look
- Professional settings: Sleek them straight for polished sophistication
- Night out: Add waves and volume for glamorous dimension
You’ll love how versatile these layers truly are!
You’ve got this! With the right tools and techniques, you’ll create shaggy layers that’ll transform your straight hair into something truly special. Remember, it’s all about precision cutting and smart styling—master those round brush moves and that flat iron technique, and you’re golden. Don’t be afraid to experiment with texturizing sprays and serums.
Your sleek, piece-y shag is totally achievable, and you’ll love how effortlessly chic it looks.