I’ve noticed that the right haircut can totally transform how you feel about your hair. If you’re craving that effortless, lived-in vibe without the weight, a medium shag might be exactly what you’re looking for. But here’s the thing—not all shags are created equal.
The difference between a choppy, shapeless mess and a gorgeous, airy cut that frames your face perfectly? It all comes down to technique and understanding your hair texture. Let’s explore what makes a shag truly weightless.
What Makes a Shag Cut Feel Weightless

Layering is what transforms a shag from just another haircut into something that actually moves with you. I’m talking about those strategically placed shorter pieces that remove bulk while maintaining length.
Your stylist texturizes the ends, creating separation so air flows through instead of weighing you down. That’s the magic—less density, more dimension, and serious movement that makes you feel lighter instantly.
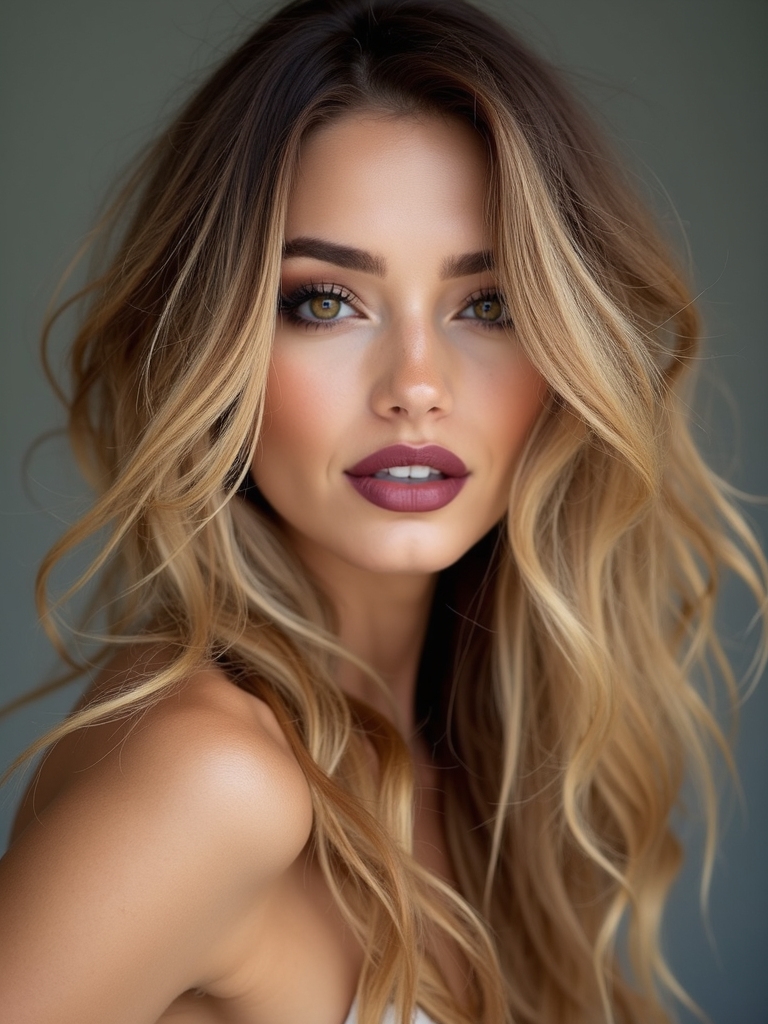
The cut’s signature medium shag framing and feathered layers create that effortless, lived-in texture that defines the look.
The Difference Between Shags and Other Layered Cuts

Now that you understand what makes a shag feel so effortlessly mobile, you’re probably wondering: what sets it apart from other layered cuts you’ve seen?
Here’s the thing—shags prioritize choppy, textured layers throughout, while other layered cuts often maintain more structure. Shags deliberately adopt that tousled, undone vibe, whereas traditional layers typically aim for smoother blending and definition.
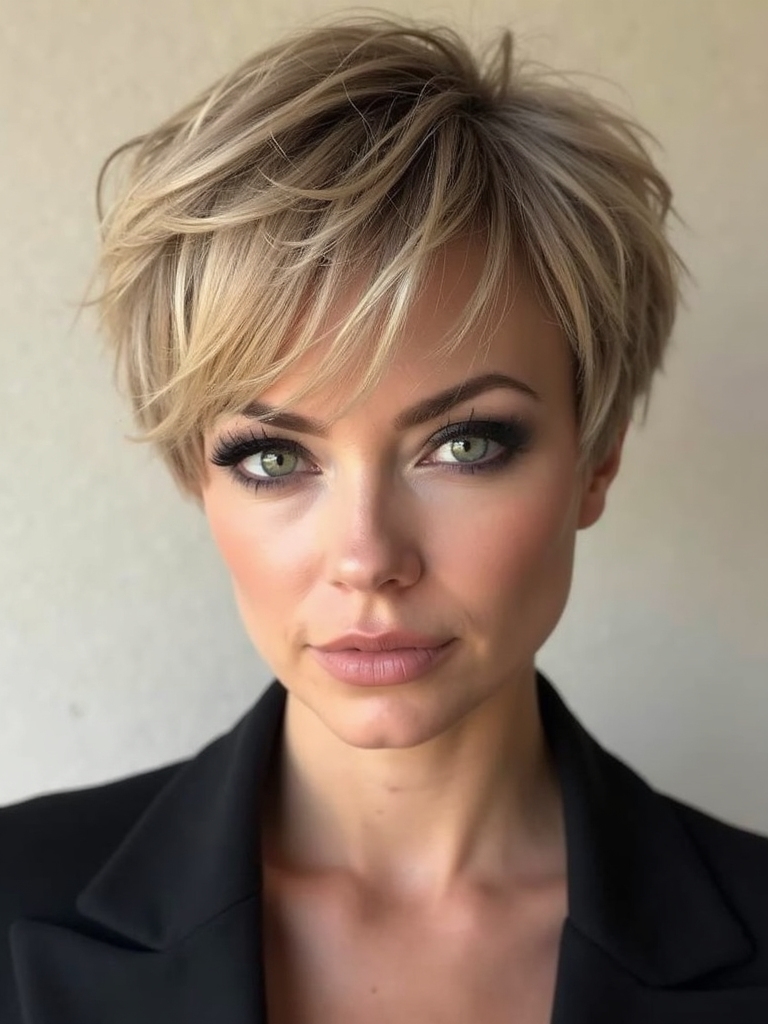
The shoulder-length version emphasizes movement with effortless texture and modern shape.
Classic Medium Shag for Straight Hair

I’m excited to show you how a classic medium shag works beautifully on straight hair, especially when we layer it strategically to create movement and dimension that’ll transform your look.
You’ll discover how to style your naturally straight texture without fighting it, plus I’ll share the low-maintenance products and techniques that’ll keep your shag looking fresh between salon visits.
Let’s break down what makes this cut so versatile and achievable for your daily routine.
This medium-length shag is all about effortless layering to maintain shape and volume with minimal upkeep.
Layering for Movement
Creating movement in straight hair doesn’t require you to fight your natural texture—it’s all about strategic layering. I’ll show you how shorter layers on top work with longer underneath pieces to create dimension and flow.
This technique gives your straight hair that coveted shag texture without damaging it. You’ll get instant volume and movement that bounces naturally throughout the day. Adding medium shag layers can make styling effortless while keeping the look light and airy.
Styling Straight Hair Texture
Once you’ve got your layers cut strategically, styling your classic medium shag is where the magic really happens. I’m telling you—a light texturizing spray and your fingers are all you need.
Scrunch it in, tousle those layers, and you’ve got that effortlessly undone vibe. Straight hair actually holds this look beautifully. Skip the heavy products; let’s keep it breezy and natural-looking. A medium shag with bangs can enhance movement and frame the face when the shag cut with bangs is tailored to your proportions.
Maintenance and Product Tips
Now that you’ve nailed the styling routine, let’s talk about keeping your shag looking sharp between cuts.
I’d recommend a lightweight texturizing spray to maintain that effortless movement.
Use a hydrating shampoo weekly—it’ll prevent dryness that weighs down layers.
Deep condition monthly for shine without heaviness.
Invest in a quality dry shampoo for volume between washes.
Believe me, these essentials keep your shag fresh and bouncy.
Textured Shag for Wavy Hair Types

Why does a textured shag work so beautifully with wavy hair? I’ll tell you—it’s magic!
Your natural waves already give you movement and dimension, so a shag amplifies that effortlessly. You’re not fighting your texture; you’re celebrating it. The layers blend seamlessly with your waves, creating this enviable, undone look that honestly requires minimal styling.
You’ve basically got the perfect canvas.
Curly Hair Shag Variations and Benefits

I’m convinced that a shag cut is your answer if you’ve got naturally curly hair and want to enhance your texture without fighting it.
You’ll love how the layered design creates incredible movement and definition while keeping styling simple—think air-dry and go rather than spending hours with heat tools.
Plus, you’re getting all that gorgeous volume right where you want it, minus the heavy, weighed-down feeling that blunt cuts can create.
Texture and Movement Enhancement
Enhancing your natural curls with a shag cut transforms your hair into something truly spectacular.
I’ve discovered that layering amplifies movement in ways you won’t believe:
- Shorter layers bounce and spring with incredible dimension
- Texture becomes more defined and visibly fuller
- Your curls gain natural volume without heavy products
- Movement flows freely, creating that coveted airy feel
You’ll love how effortlessly your hair moves!
Low-Maintenance Styling Options
One of the best perks of a curly hair shag? You’ll barely need to style it.
Your natural texture does the heavy lifting, creating that effortless, tousled look we’re all after.
I just scrunch in some product, let it air dry, and I’m done.
It’s genuinely liberating—no blow dryer required, no complicated routines.
Your curls work for you, not against you.
Volume Without Weight
Since curly shags are cut to enhance your natural texture rather than weigh it down, you’ll get serious volume without that heavy, flat feeling you might’ve experienced with other styles.
- Choppy layers work with your curls, not against them
- You’ll skip the daily blow-dry routine
- Movement happens naturally throughout the day
- Your curls’ll bounce back effortlessly between washes
The Modern Shag With Longer Layers

Blending choppy texture with elongated strands creates a shag that’s got serious contemporary appeal.
I’ve found that this approach gives you the best of both worlds—edgy movement up top with length that frames your face beautifully.
You’ll love how the longer layers prevent that dated look while keeping everything feeling fresh and modern.
It’s the perfect balance.
Choppy Shag for Maximum Movement

If you’re craving even more texture and movement than those longer layers can offer, a choppy shag’s your answer.
Here’s what makes it fantastic:
- Sharp, jagged layers create dynamic texture
- Tons of volume at the crown
- Effortless, undone aesthetic that feels modern
- Works with your natural hair texture
You’ll love how it catches light and moves with every head turn!
Shag With Bangs: Styling Your Face-Framing Layers

I’m excited to show you how bangs can totally transform your shag, because they’re honestly the secret weapon for framing your face while adding serious dimension. We’ll walk through styling those wispy layers daily, perfecting layering techniques that’ll flatter your unique features, and mastering texture and movement so your bangs work with your hair instead of against it.
Styling Wispy Bangs Daily
Wispy bangs need just a little attention each morning to look their best, and the good news is that styling them doesn’t have to be complicated.
Here’s what I’ve found works:
- Blow-dry with a round brush for movement
- Use texturizing spray for grip
- Separate strands with your fingers
- Tousle gently away from your face
You’ll nail that effortless, face-framing vibe instantly!
Layering Techniques for Flattery
Since layering makes all the difference in a shag with bangs, you’ll want to understand how strategic cuts can enhance your features.
I’ve found that shorter layers around your face create dimension that’s incredibly flattering.
Your stylist can customize the depth based on your face shape—wider faces benefit from longer layers, while rounder faces pop with shorter, choppier ones.
It’s all about working with what you’ve got!
Texture and Movement Control
Once you’ve nailed the perfect cut with those face-framing layers, styling becomes your secret weapon for controlling texture and movement.
- Use a texturizing spray before blow-drying for enhanced grip
- Apply lightweight mousse to damp roots for volume
- Scrunch sections while air-drying for natural waves
- Finish with a flexible hold hairspray—not stiff control
You’ll master that effortless, tousled look that makes shags so irresistible.
How to Style Your Shag for Volume

Transform your medium shag into a voluminous masterpiece by mastering a few key styling techniques that’ll have your hair looking fuller and more textured than ever.
I’ll blow-dry your layers upward, using a round brush to create lift at the roots. Apply a texturizing spray or mousse beforehand—it’s a game-changer for amplifying dimension and hold throughout your day.
Product Recommendations for Light and Airy Texture

I’ve found that lightweight texturizing sprays are absolute game-changers for keeping your shag looking effortlessly tousled without weighing it down.
Volumizing mousse formulas work wonders when you apply them to damp roots before styling, giving you that airy lift that lasts all day.
Sea salt styling products are my go-to for enhancing texture and creating those gorgeous, lived-in waves that make medium shags look so chic.
Lightweight Texturizing Sprays
When you’re rocking a medium shag, the right texturizing spray can be your secret weapon for that effortless, lived-in look we’re all chasing.
- Bumble and bumble Thickening Full Form Mousse
- Oribe Dry Texturizing Spray
- Briogeo Texture & Grip Dry Styling Spray
- Virtue Labs Volumizing Texture Spray
I’ve found these deliver that airy dimension without weighing down your layers.
Volumizing Mousse Formulas
Mousse is genuinely the MVP for creating that weightless volume a medium shag demands. I’m obsessed with how it lifts hair at the roots without any heaviness.
You’ll want to apply it to damp roots, then blow-dry for maximum bounce. Look for formulas labeled “volumizing” or “lightweight”—they’re game-changers for keeping your shag looking effortlessly full all day long.
Sea Salt Styling Products
Texture is everything when you’re rocking a medium shag, and sea salt sprays are your secret weapon for nailing that undone, beachy vibe. I’m obsessed with how they enhance layers and create movement without weighing hair down.
Here’s what I love:
- Bumble and bumble Surf Spray
- Oribe Dry Texturizing Spray
- SaltyHair Sea Salt Spray
- Living Proof Dry Volume Blast
These products give you that effortless, tousled texture instantly.
Styling Tools That Work Best With Shag Cuts

Because shag haircuts thrive on movement and dimension, I’ve found that having the right tools makes all the difference in bringing out their best features.
A round brush creates gorgeous waves, while a diffuser attachment on your blow dryer enhances texture beautifully. Flat irons work wonders for piecing out sections, and a texturizing spray keeps everything looking effortlessly tousled and lived-in.
Maintenance Schedule for Medium Shags

To keep your medium shag looking sharp and intentional rather than just grown out, you’ll want to visit your stylist every 4-6 weeks for trims.
- Regular trims maintain those signature choppy layers
- Weekly deep conditioning keeps ends healthy
- Monthly touch-ups preserve your cut’s shape
- Between appointments, use dry shampoo for texture
How to Refresh Your Shag Between Salon Visits

Between salon visits, you’ve got plenty of ways to keep your shag looking fresh and intentional.
I’d recommend dry shampoo to add texture and absorb oil, then tousle your layers with your fingers.
A quick trim of wispy ends every three weeks helps maintain that effortless shape.
Honestly, savoring the lived-in vibe is part of the shag’s charm!
Common Mistakes to Avoid When Wearing a Shag

While the shag’s whole appeal is its undone aesthetic, there’s definitely a line between “effortlessly cool” and “I didn’t brush my hair.”
I’ve seen plenty of people mistake the style for an excuse to skip maintenance entirely, and that’s where things go sideways.
- Neglecting regular trims every 6-8 weeks
- Over-styling with too much product
- Ignoring texture and your natural hair type
- Skipping heat protectant before styling
Finding the Right Stylist for Your Shag Cut

Since a shag’s success really hinges on the cut itself, finding a stylist who actually knows what they’re doing is non-negotiable.
I’d recommend looking for someone who’s got shag experience in their portfolio. Don’t hesitate to ask questions about their technique and approach. A great stylist will understand layering, texture, and movement—they’ll make you feel confident you’re in capable hands.
You’ve got everything you need to rock a medium shag that’ll make you feel confident and carefree. If you’re working with straight, wavy, or curly hair, this cut’s versatility is unbeatable.
Find a stylist who gets your vision, commit to those trims, and welcome the lived-in texture. Believe me—once you experience that weightless, effortless movement, you’ll never look back. Your shag’s waiting!