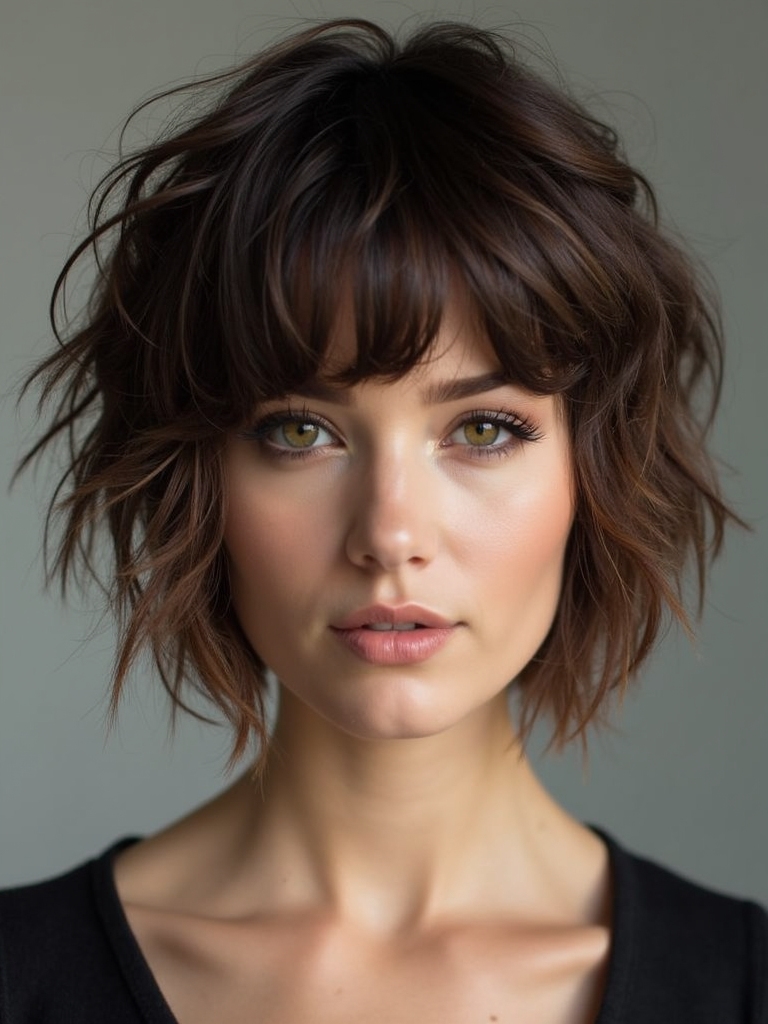
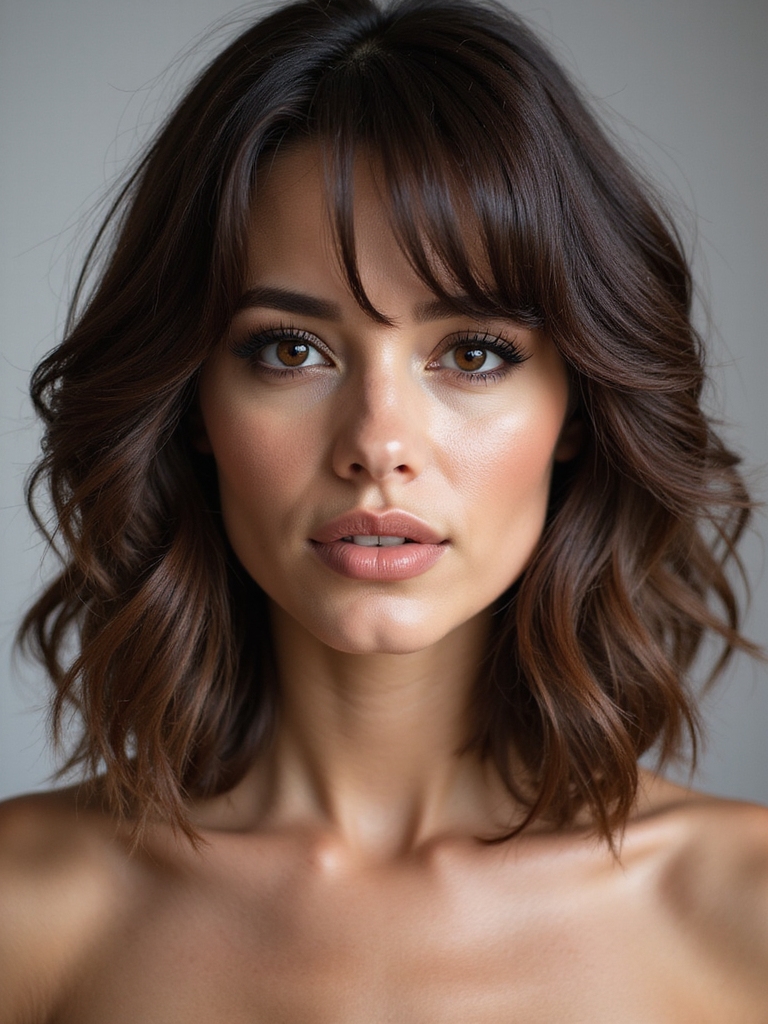
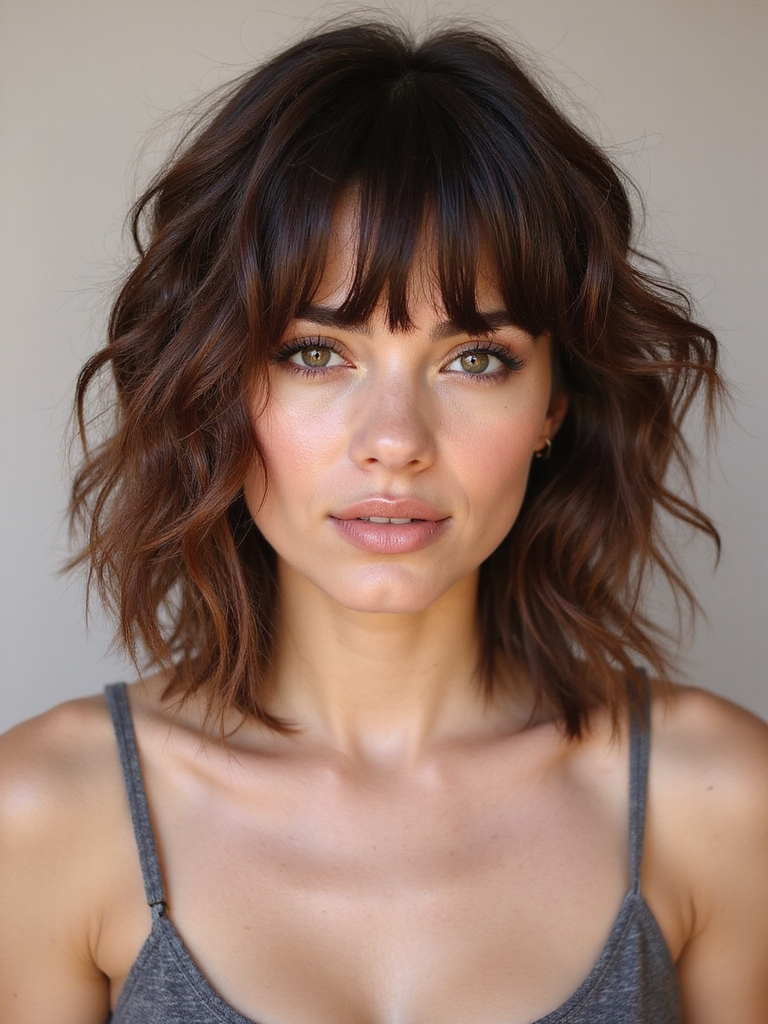
I’m going to be honest—if you’ve been eyeing that effortless, lived-in shag but weren’t sure it’d work for you, I’ve got news.
This cut’s honestly a game-changer for texture, face shape, and that coveted “I woke up like this” vibe. But here’s the thing: getting it right takes more than just asking for layers. Let me show you how.
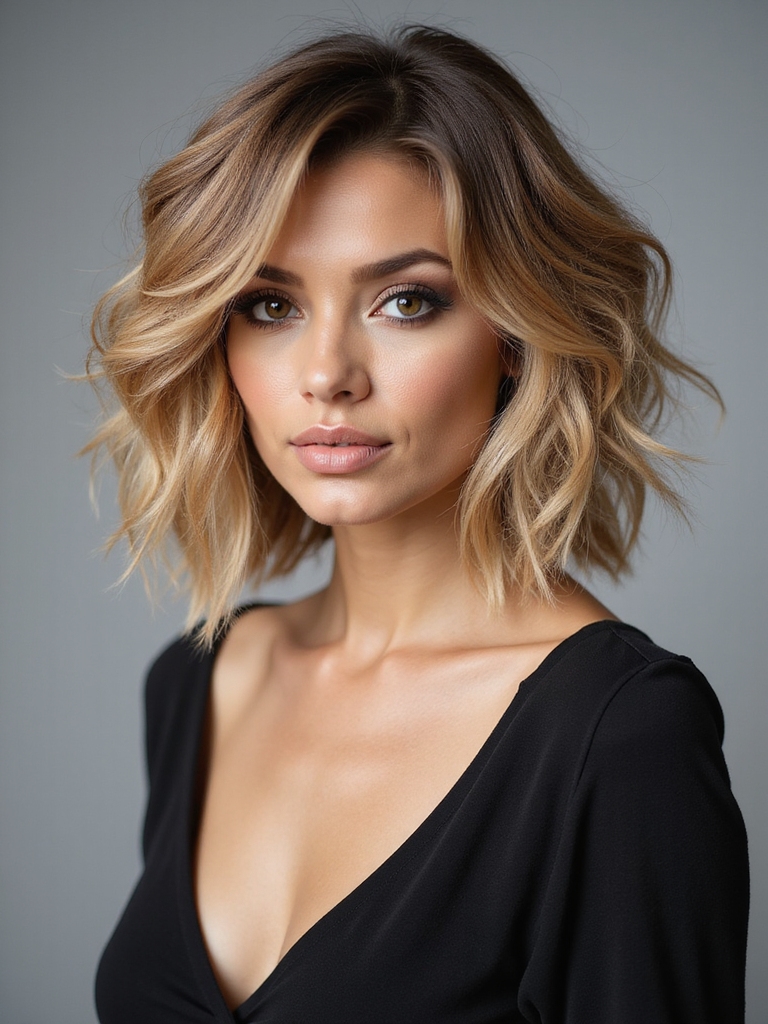
What Makes a Shag Different From Other Layered Cuts
Because shags have been making a comeback lately, you’ve probably noticed them everywhere—and you might be wondering what sets them apart from your standard layered cut.
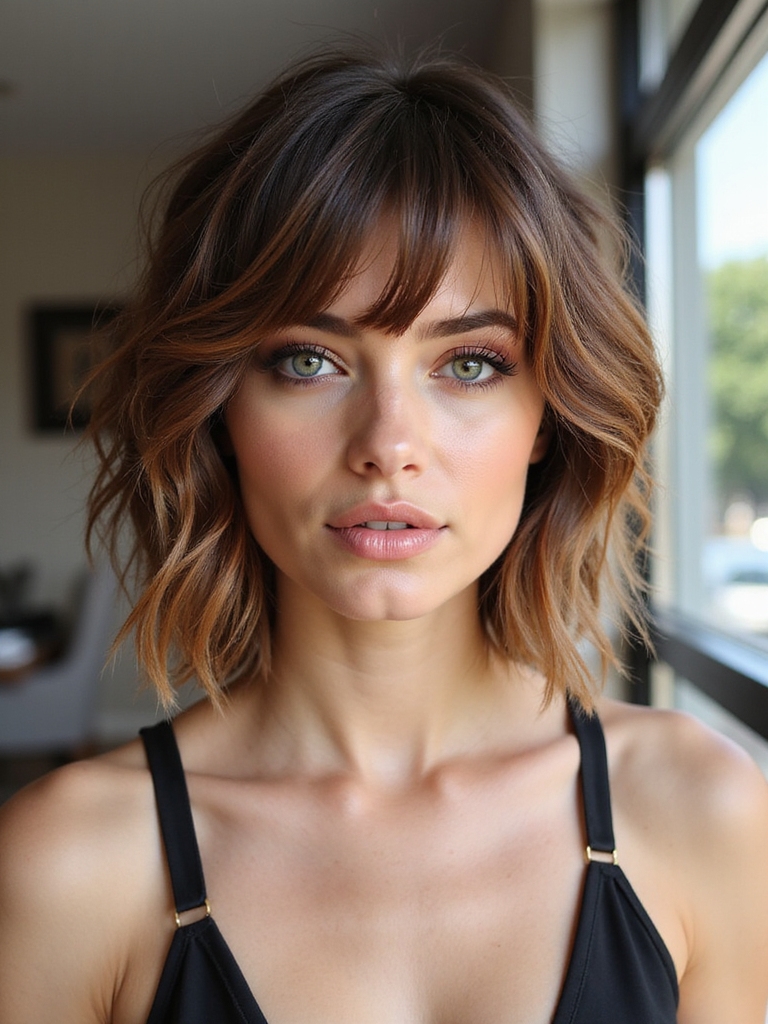
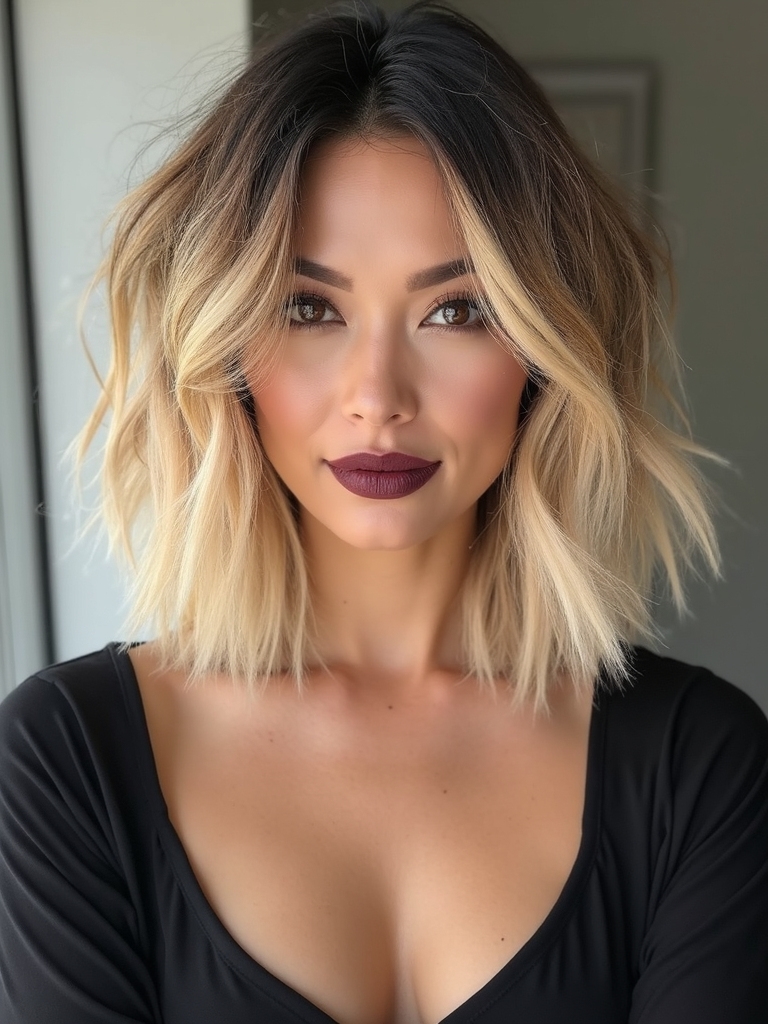
Here’s the secret: shags feature choppy, disconnected layers that create movement and texture throughout. Unlike traditional layers that blend seamlessly, shag layers are deliberately tousled and piecy, giving you that effortlessly undone, rock-and-roll vibe that’s absolutely irresistible.
Many stylists recommend a shag for its versatility across every texture and face shape.
Understanding the Flowy Finish Technique
I’m going to show you how I create that signature flowy finish you’re after—it all starts with strategic layering that lets your hair move naturally instead of sitting flat.
I’ll walk you through the texturizing techniques that transform blunt ends into those wispy, piece-y strands, plus the styling products I swear by for keeping everything soft and effortless-looking.
Believe me, once you nail these three elements, you’ll understand why the shag’s all about that lived-in, movement-forward vibe.
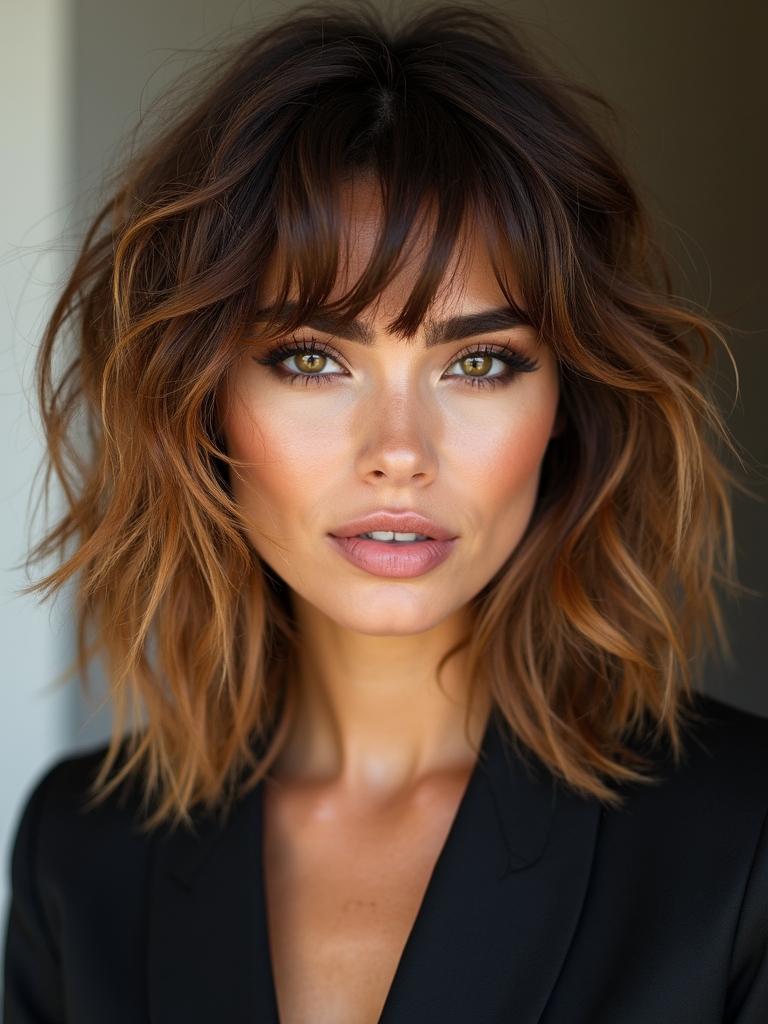
Shags often pair beautifully with curtain bangs to enhance face-framing movement and texture.
Layering for Movement Flow
While you’ve nailed the basic shag structure, here’s where the magic really happens—layering strategically creates that signature movement we’re all chasing.
- Short layers on top boost volume and texture, giving you that effortless tousled look
- Longer underneath sections provide weight and flow, preventing excessive fluffiness
- Choppy edges throughout encourage natural movement and that coveted lived-in vibe
You’re fundamentally sculpting motion into every strand!
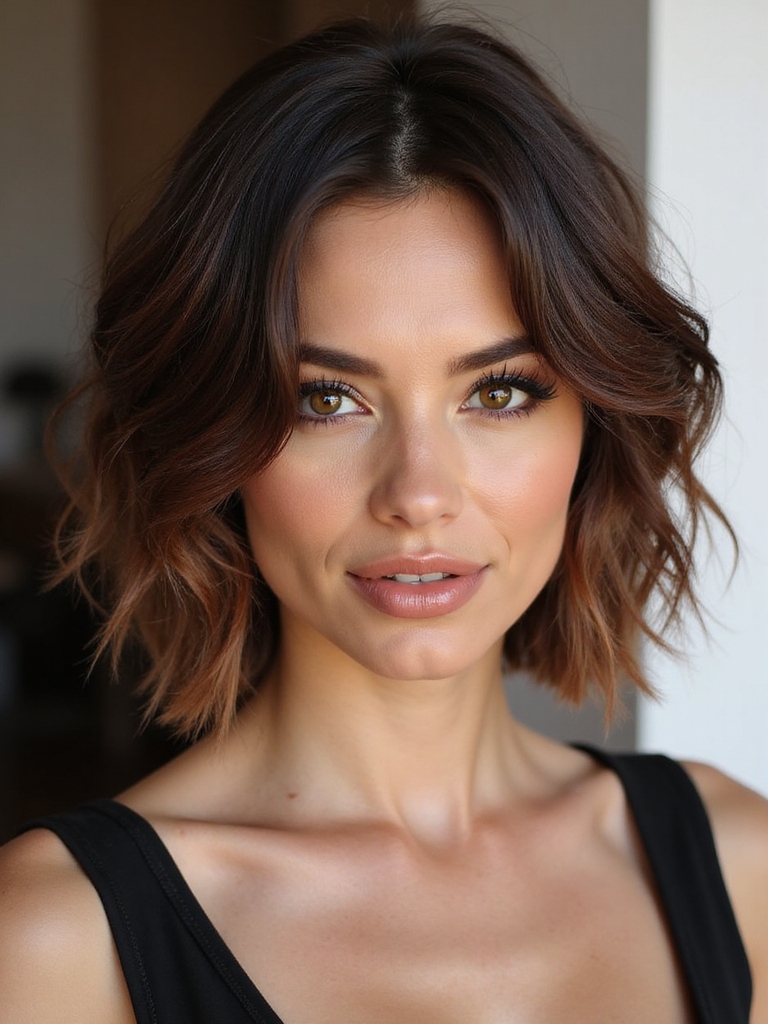
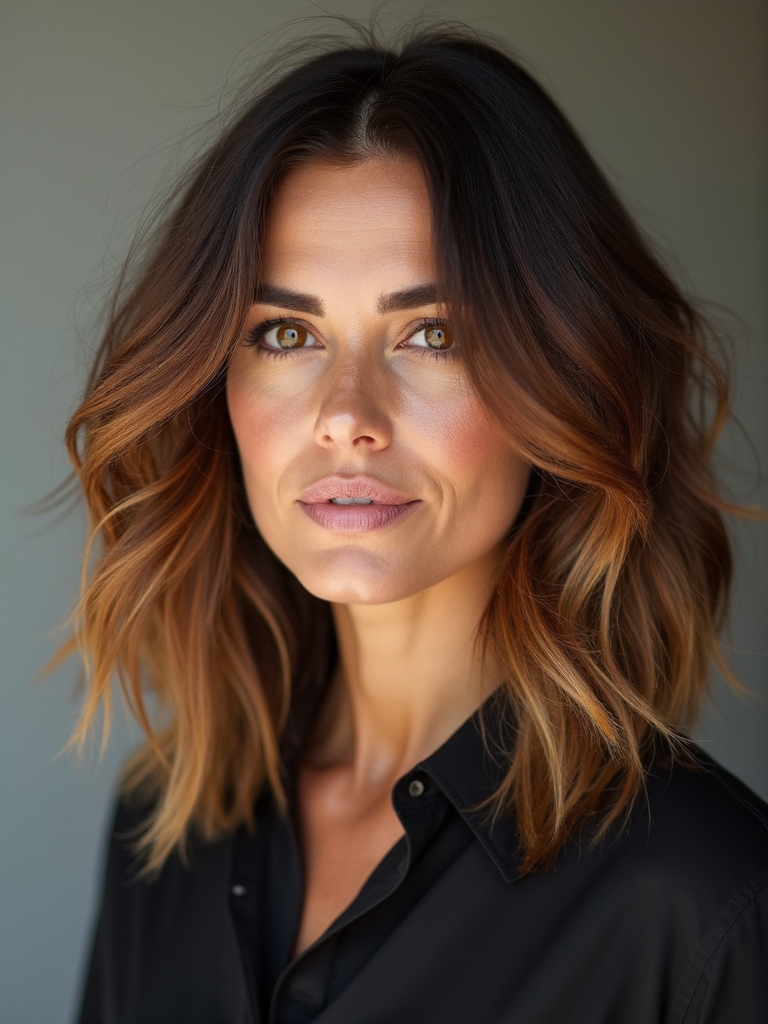
Long shags often emphasize layered texture to enhance the overall shape and flow.
Texturizing Techniques and Methods
Once you’ve nailed your layers, texturizing’s where you’ll truly transform that shag from good to absolutely stunning.
I’ll show you point-cutting and razoring techniques that create those enviable choppy pieces. We’re talking strategic snipping that disrupts blunt edges, letting movement flow naturally. You’ll use texturizing shears to soften density without sacrificing volume.
This is where your shag gets that effortless, lived-in vibe everyone craves. You can also tailor the cut for curly shag textures to maintain bounce while keeping the flow.
Styling Products for Softness
The right product can make or break your shag’s final look, transforming those beautifully textured layers into a genuinely effortless masterpiece.
I’ve discovered these game-changers:
- Lightweight texturizing sprays that won’t weigh down your layers
- Smoothing creams for taming frizz without stiffness
- Sea salt sprays that enhance natural movement
You’ll love how these products work together, giving you that coveted soft, flowing finish you’re after!
A medium-length shag benefits most from layering techniques that create natural movement through the cut.
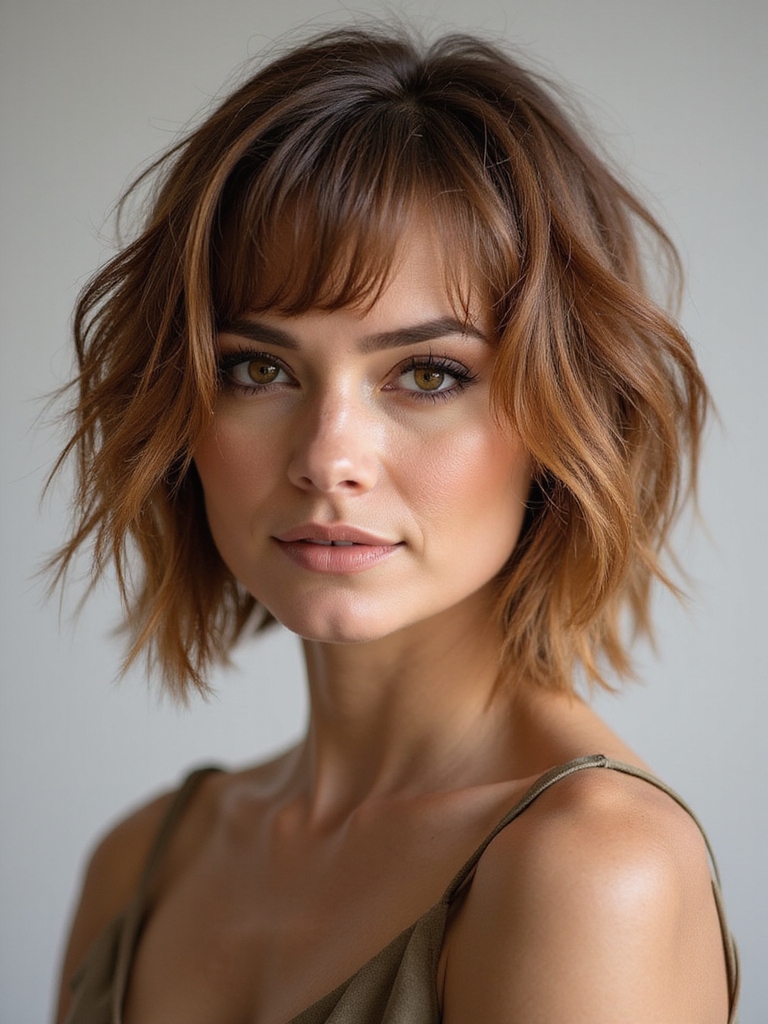
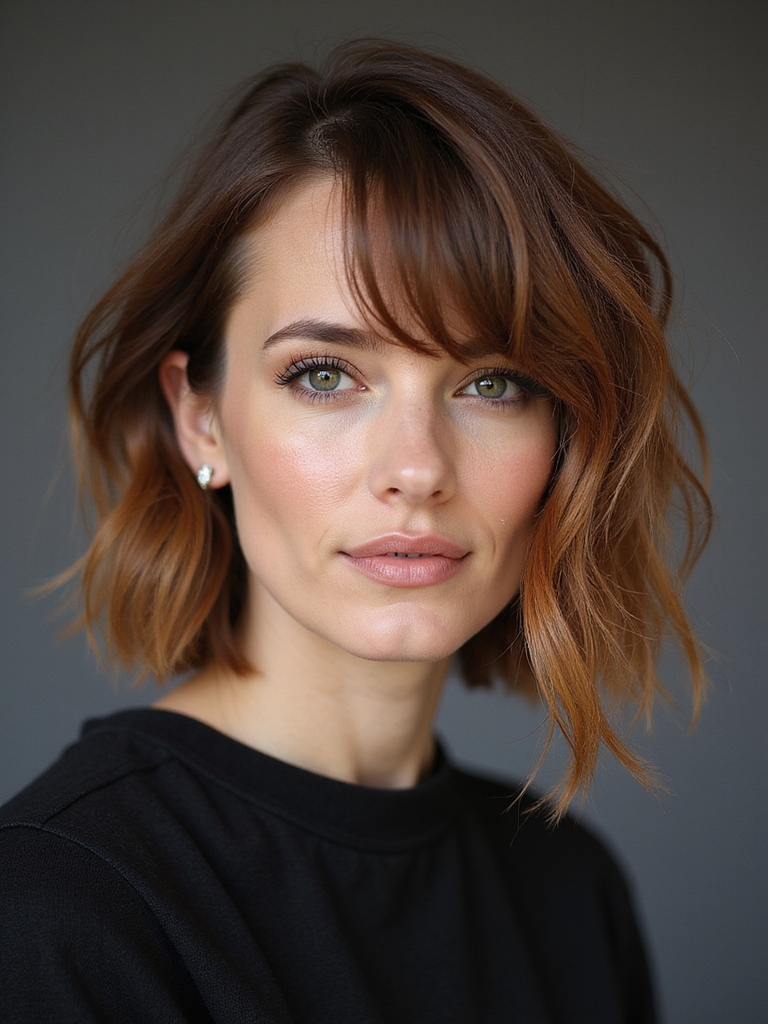
Best Hair Types for Shoulder Length Shags
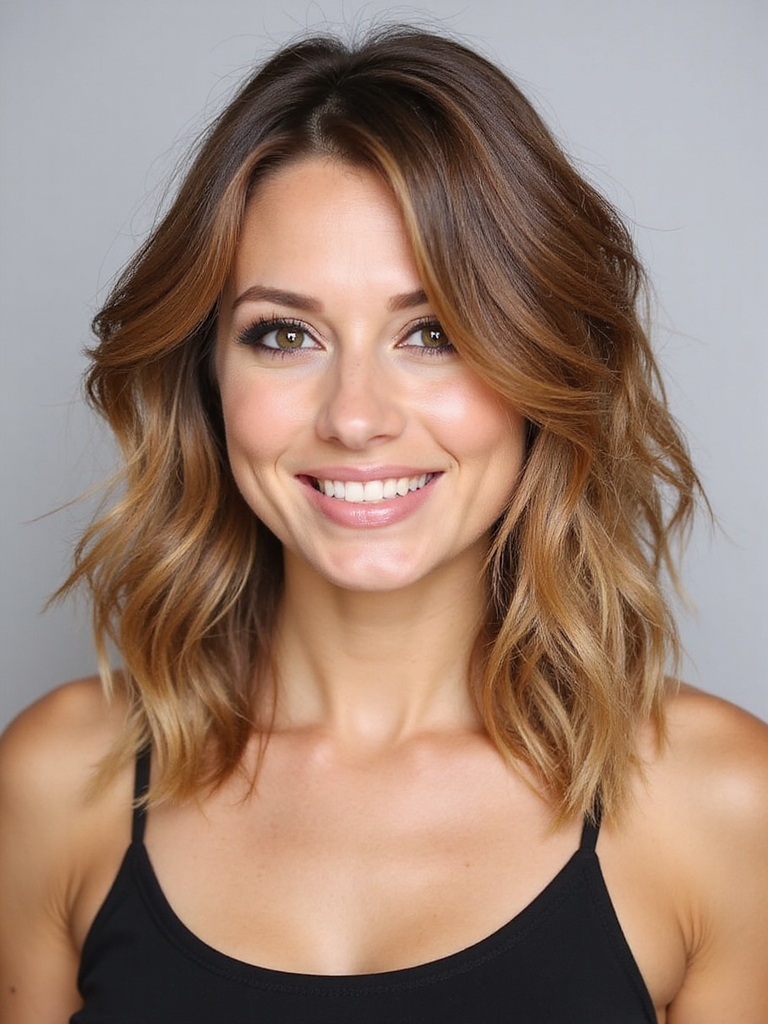
I’ve got to tell you—shoulder length shags work beautifully on straight hair, giving you that sleek, modern edge with minimal fuss.
If you’re rocking curls or waves, you’re in for a treat because they’ll amplify that gorgeous shag texture and give you natural movement you can’t fake.
The best part? This cut adapts to your hair type, so irrespective of you’re team straight or team curly, you’ll find your perfect shag style.
Straight Hair Texture
Straight hair’s got to be one of my favorite textures to work with for shoulder-length shags because it showcases every choppy layer with stunning definition.
Here’s why I’m obsessed:
- Clean lines pop dramatically without any frizz interference
- Styling takes minimal effort—just blow-dry and go
- Color and highlights shine through beautifully, enhancing dimension
You’ll love how effortlessly chic this combination looks!
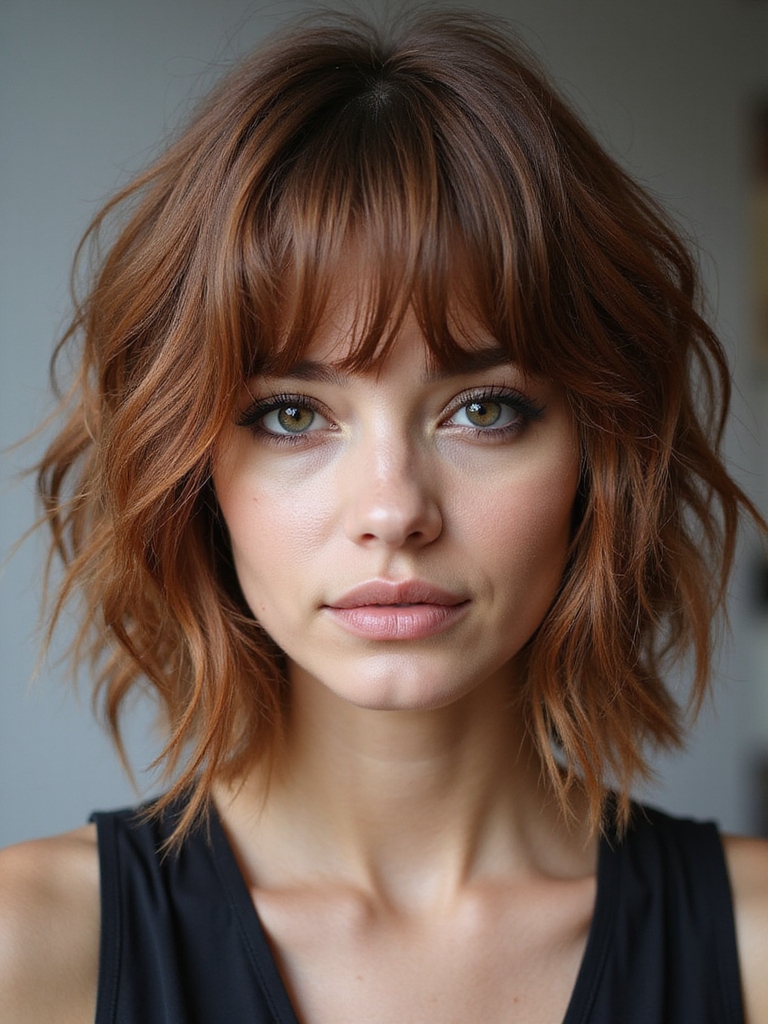
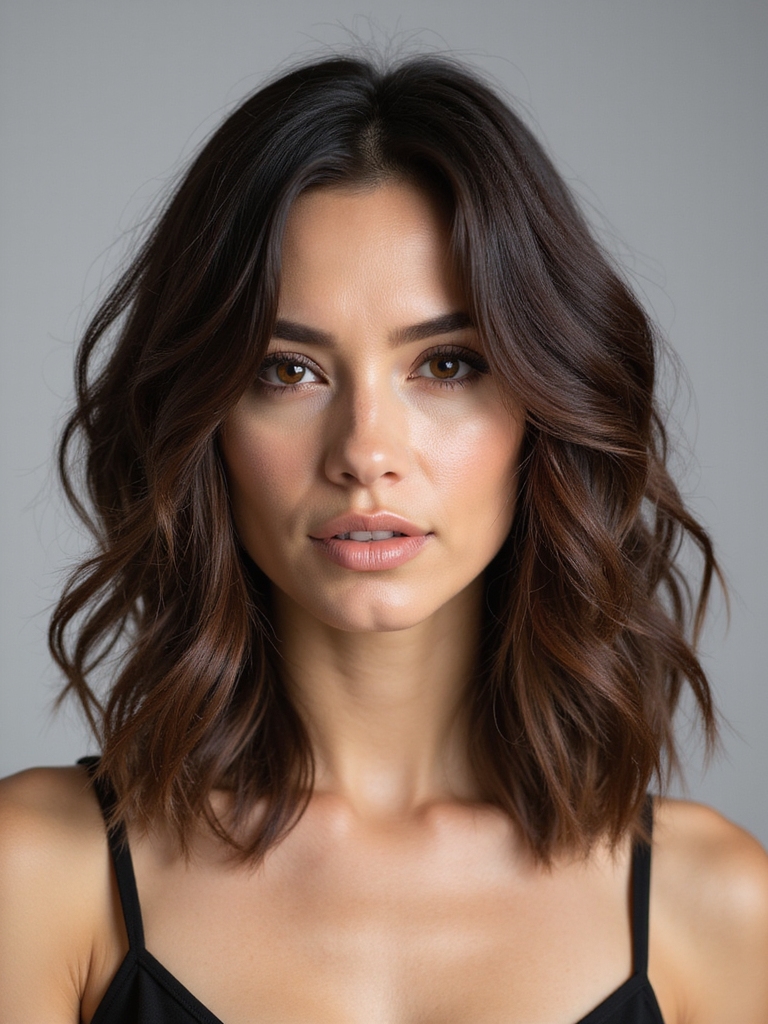
Curly Hair Compatibility
Curly hair transforms shoulder-length shags into something absolutely magical—we’re talking volume, movement, and texture that practically styles itself.
I’ve found that natural curls work beautifully with shag layers because they enhance that effortless, tousled vibe. You’ll get dimension without extra effort, and your curls’ll bounce with newfound freedom. It’s honestly the match made in heaven.
Face Shapes That Shine With This Style
Most face shapes can rock a shoulder-length shag, but some really benefit from what this cut brings to the table. I’ve found that this style works magic on:
- Round faces – the layers create vertical lines that elongate beautifully
- Oval faces – they’re the lucky ones; everything looks fantastic
- Square faces – soft waves counteract sharp angles perfectly
You’ll love how flattering it feels!
How to Style Your Shag for Maximum Movement
I’m thrilled to show you how I get my shag moving with purpose—because the right layering techniques and product application methods are what transform a good cut into an absolutely show-stopping style.
You’ll discover how strategic layers work with your natural texture to create that effortless, tousled movement we’re all after.
Let me walk you through the methods that’ll have your shag bouncing with life every single day.
Layering Techniques for Movement
The magic of a shoulder-length shag doesn’t happen by accident—it’s all about strategic layering that creates texture and flow.
Here’s how I nail mine:
- Start with shorter layers at the crown for lift
- Blend longer pieces through the mid-lengths for movement
- Keep ends choppy and textured for that effortless vibe
You’ll love how these techniques work together, giving you that gorgeous, tousled look.
Product Application Methods
Now that you’ve got those beautiful layers in place, it’s time to make them work overtime with the right products and application techniques.
I’m telling you, a lightweight texturizing spray applied to damp roots gives incredible lift. Then scrunch a sea salt spray through the mid-lengths and ends while your hair’s still slightly wet. You’ll get that effortless, lived-in movement that’ll make everyone ask what your secret is.
Product Recommendations for Flowy Texture
- Lightweight sea salt spray for that beachy, undone vibe
- Texturizing cream that doesn’t weigh down layers
- Flexible hold hairspray that moves with you
You’ll nail that flowy finish every time!
Daily Styling Tips and Tricks
Getting your shoulder length shag to look effortlessly chic doesn’t require a salon visit every morning—I’ve got you covered with styling tricks that’ll take minutes, not hours.
Scrunch sea salt spray through damp hair for instant texture, then flip your head upside down while blow-drying. Finish with a light texturizing cream and you’re done. That’s it!
Maintaining Your Shag Between Salon Visits
Between trims, you’ll want to keep your shag looking fresh and intentional rather than just grown-out. Here’s how I maintain mine:
- Dry shampoo between washes to add texture and grip
- Use a texturizing spray for that effortless, piecy vibe
- Schedule trims every 6-8 weeks to maintain those signature layers
Your shag’ll stay gorgeous and intentional!
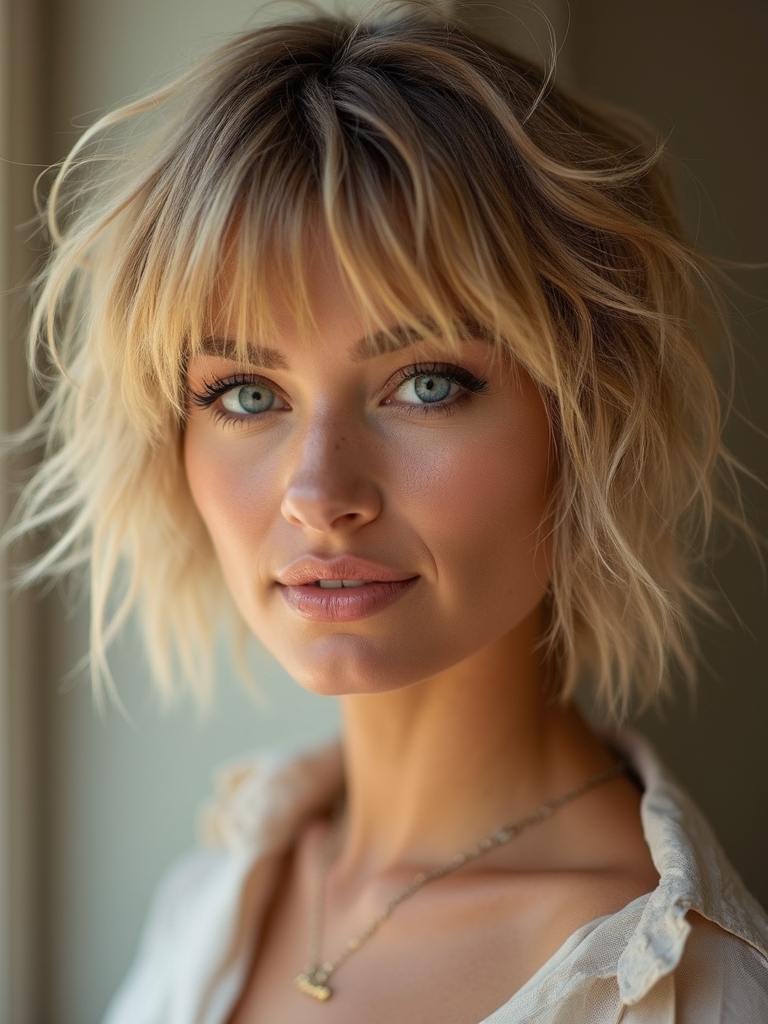
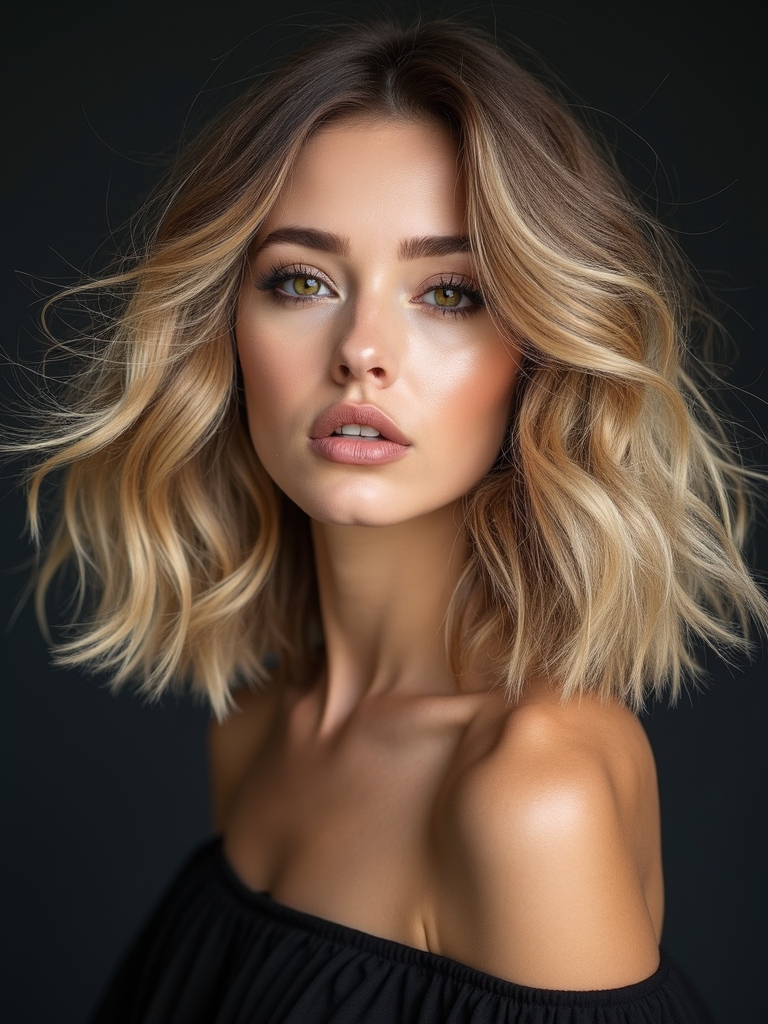
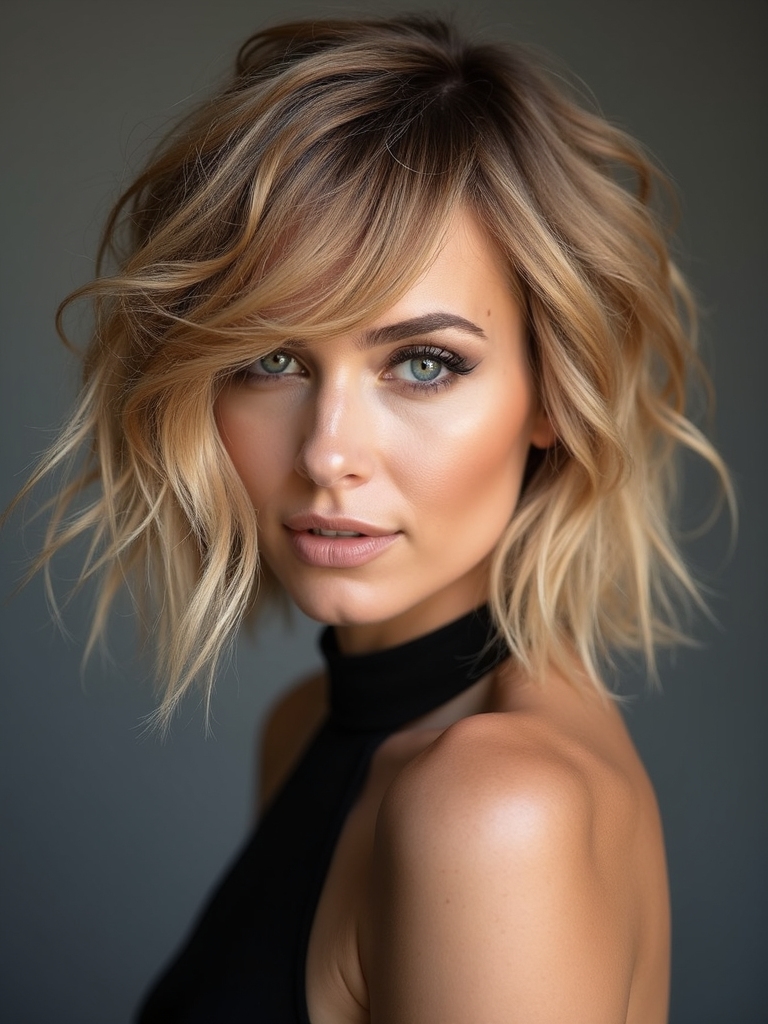
Color Ideas That Complement the Cut

Now that you’ve got your cut dialed in and those layers perfectly maintained, let’s talk about the color that’ll really make your shag sing. I’m obsessed with warm honey tones and sun-kissed highlights—they add dimension without overwhelming the cut.
If you’re darker-haired, try rich caramel or copper undertones. Want something bolder? Deep brunette with platinum face-framing pieces creates serious contrast and movement.
Styling Variations for Different Occasions
One of my favorite things about the shoulder-length shag is its incredible versatility—you can rock it casual on Monday and glam it up by Friday.
- Everyday casual: Tousle with texturizing spray for effortless vibes
- Professional polish: Blow-dry smooth with a sleek half-up style
- Night out: Add waves and volume for instant glamour
You’ll love how this cut adapts to whatever you’re doing!
How Often You Should Get Your Shag Trimmed
If you want your shag looking sharp and maintaining that coveted texture and movement, you’ll typically want to book a trim every 6-8 weeks.
I’ve found that sticking to this schedule keeps the layers from getting too heavy and droopy.
Between appointments, I use a texturizing spray to refresh the flowy finish and keep things feeling fresh and intentional.
Working With Your Stylist to Get the Perfect Cut
Communication’s the secret sauce to nailing that shag cut you’ve been dreaming about.
I recommend bringing reference photos, explaining your hair type, and discussing styling preferences with your stylist. Here’s what I prioritize:
- Show multiple inspo pics from different angles
- Be honest about your daily styling commitment
- Ask about maintenance between appointments
Trust me, these conversations transform your vision into reality!
Embracing Natural Texture in Your Shag
I’m thrilled to help you open your shag’s full potential by working *with* your natural waves instead of against them—because fighting your texture is exhausting!
From choosing the right products that enhance rather than weigh down your hair to mastering styling techniques that bring out definition, I’ll show you how to make your shag work for your unique hair type.
You’re about to discover that welcoming what you’ve got naturally is way more fun than chasing someone else’s straight-haired dreams.
Work With Your Waves
Adopting your natural waves with a shoulder-length shag is honestly one of the best moves you can make—it’s like giving your hair permission to be its authentic self while looking effortlessly cool.
- Use wave-enhancing products that define without weighing you down
- Welcome the texture’s natural movement and volume
- Let your waves dictate the shag’s layering pattern
Your hair’s got personality—let it shine through.
Texture-Enhancing Product Choices
Since your shag’s success hinges on how well you enhance rather than fight your natural texture, you’ll want products that work *with* your waves, not against them.
I’m talking sea salt sprays, lightweight mousses, and texturizing creams that amplify what you’ve already got.
Skip heavy oils—they’ll weigh you down.
Instead, grab products designed specifically for waves and curls.
Your shag’ll thank you!
Styling Techniques for Definition
Getting those layers to pop and work together takes a little technique know-how, but nothing you can’t master.
Here’s what’ll transform your shag:
- Blow-dry with a round brush to encourage movement and separation
- Use a texturizing spray for grip and definition between layers
- Scrunch sections while damp to enhance your natural wave pattern
You’ll nail that effortless, dimensional look!
Transitioning From Other Hairstyles to a Shag
If you’re coming from long, flowing locks or a blunt bob, switching to a shoulder-length shag doesn’t have to feel like a dramatic leap.
I’d recommend asking your stylist for gradual layers that blend your current cut into the shag. This approach lets you adjust to the texture and movement without shocking your hair—or yourself!
Celebrity Inspiration and Real-Life Examples
Nothing’s quite like seeing a shag on someone you admire to spark real confidence in your decision.
I’ve spotted this cut everywhere lately:
- Zendaya rocking effortless texture and movement
- Taylor Swift channeling ’70s vibes with modern flair
- Hailey Bieber keeping it sleek yet playful
When you see how celebrities style theirs, you’ll realize the shag’s versatility truly shines.
You’ve got endless possibilities!
You’ve got everything you need to rock a shoulder-length shag that’ll turn heads! Whether you’re starting fresh or shifting from another cut, this style’s got your back—literally. Embrace those choppy layers, work that texturizing spray, and let your natural texture shine.
Trust me, once you commit to regular trims and styling, you’ll wonder why you didn’t make the switch sooner. Your effortless, lived-in hair game is about to level up.