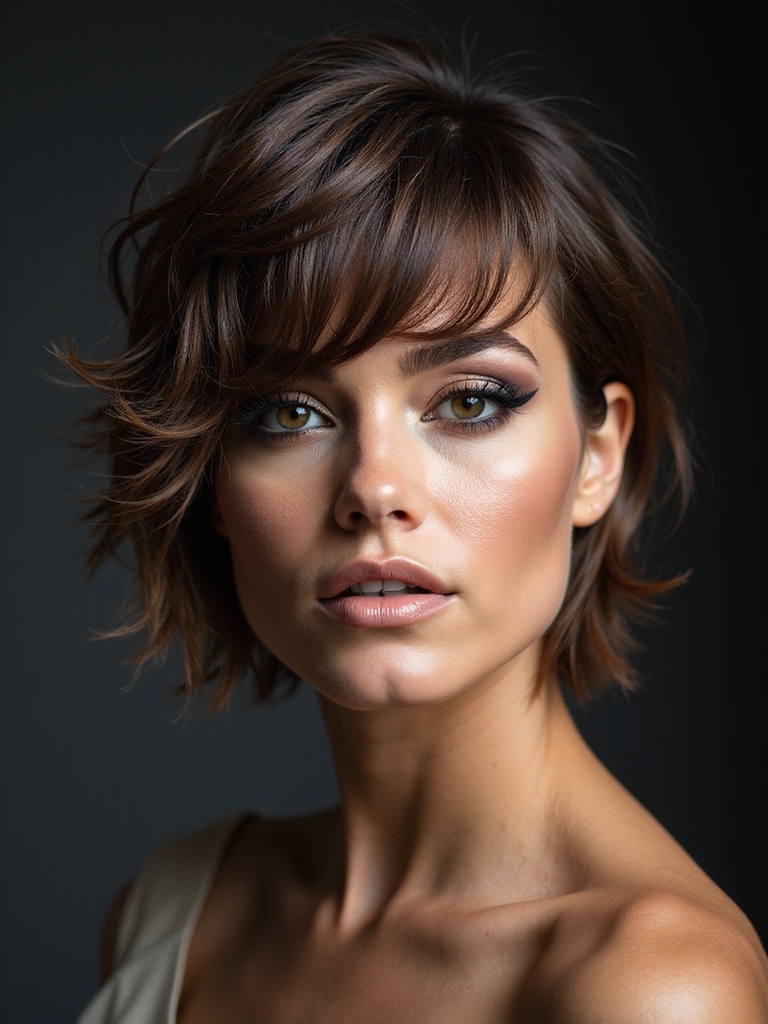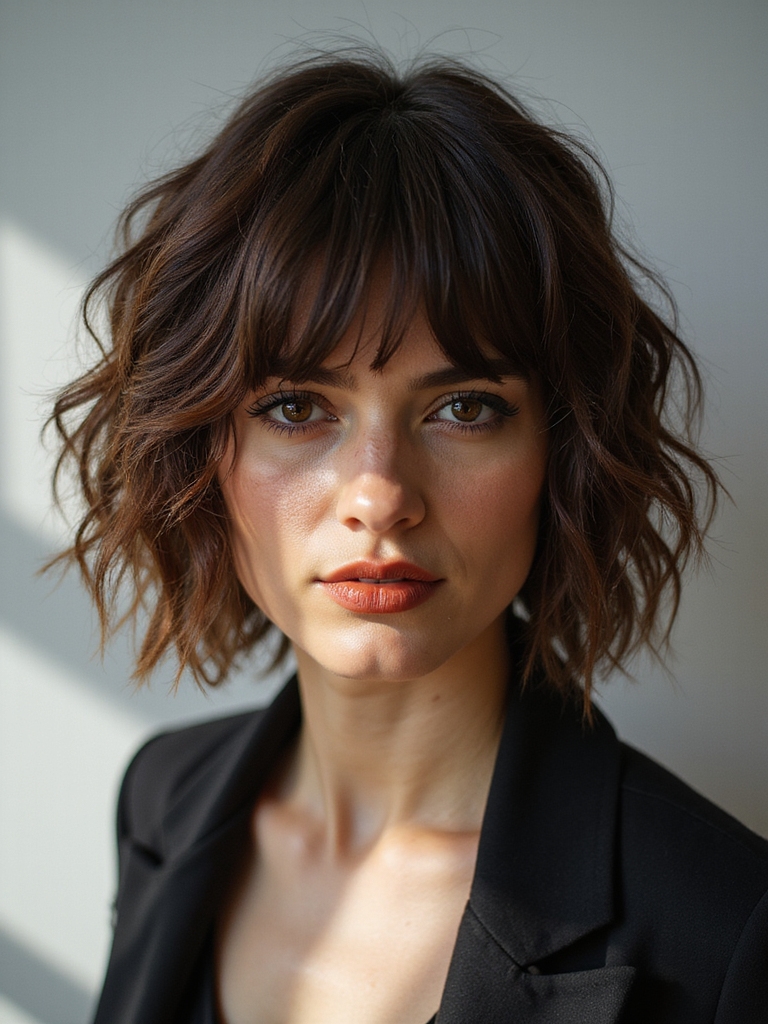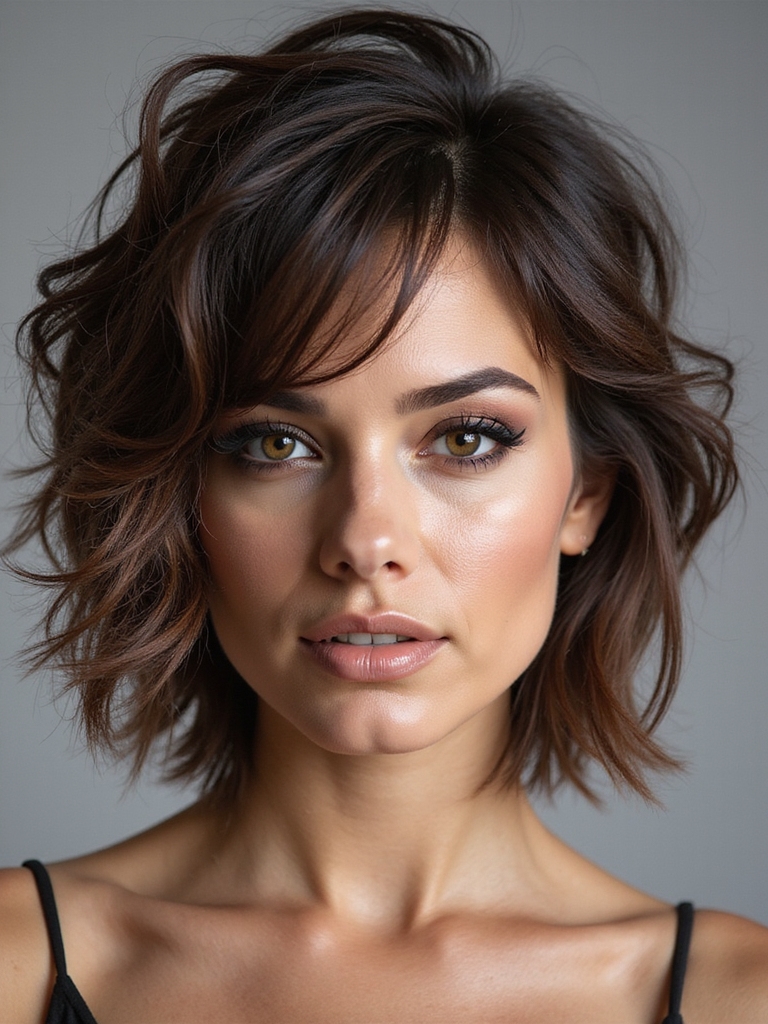
I’ve spent years watching clients struggle with flat, lifeless hair—and I’ve discovered that shaggy layers aren’t just a trend; they’re a game-changer for volume. The secret? It’s not about cutting more hair away.
It’s about understanding exactly where those layers go and at what angles. Want to transform your hair from limp to lively? Let me show you how.
Understanding the Science Behind Shaggy Layers

When you’re chasing volume, shaggy layers aren’t just a trendy styling choice—they’re actually rooted in solid hair science. I’ve learned that layering removes weight strategically, allowing your hair to move freely and catch light better.
It’s all about texture variation—shorter layers on top create lift while longer underneath pieces add dimension. This combination gives you that coveted fuller appearance without relying on products alone. Shag cuts often incorporate strategic layering to maximize movement and visual volume.
Assessing Your Hair Type and Texture

How do you know if shaggy layers will actually work for your hair? I’ll tell you—it’s all about understanding your unique texture. Fine hair? Layers create amazing dimension.
Thick, curly hair? You’ve got natural volume already, so layers enhance movement.
Straight hair needs strategic placement for impact. Assess your hair’s density and texture first. That’s your foundation for killer results. Try short shaggy hairstyles to see how layering techniques boost volume and shape.
Determining the Right Layer Depth for Volume

I’ll help you figure out the perfect layer depth for your hair’s volume, and it all starts with understanding what you’re working with.
I’m going to walk you through evaluating your hair density, show you why cutting angles make a real difference, and give you the length ratio guidelines that’ll keep your layers looking intentional and full.
Once you’ve got these tools, you’ll know exactly how deep to cut for maximum volume without compromising your hair’s structure.
Layered shaggy hair creates texture and movement that enhances fullness, especially when you tailor the layer placement to your hair’s natural fall.
Hair Density Assessment Methods
The foundation of every great shaggy cut starts with understanding your client’s hair density—it’s the game-changer that determines how deep you can cut those layers without leaving them looking sparse or wispy.
- Feel the hair’s thickness between your fingers
- Observe how closely strands pack together
- Check for scalp visibility under normal lighting
- Test how layers fall naturally when wet
This assessment guides your layering strategy perfectly.
Angle Cutting Techniques Matter
Once you’ve got a clear picture of your client’s hair density, it’s time to talk about the angles that’ll actually make those layers work for volume.
I’ve found that cutting at forty-five degrees creates movement without sacrificing density. Steeper angles remove more weight, while shallower cuts preserve fullness. You’ll nail that perfect volume balance by matching your angle to their specific hair type and desired outcome.
The Effortless Medium Shag teaches how to layer for texture with medium shag techniques.
Length Ratio Guidelines
After you’ve nailed your cutting angle, here’s where the magic really happens—figuring out how much length to remove with each layer.
- Remove ½–¾ inch per layer for subtle volume
- Go 1–1.5 inches for dramatic texture
- Keep shorter layers near the crown
- Maintain longer pieces at the nape
This ratio creates movement without sacrificing length. For a lived-in finish, finish with feathering techniques to enhance the shaggy medium hair shape and texture.
The Impact of Cutting Angles on Movement

I’ve found that the angle at which you cut directly shapes how your layers fall and move, making it one of the most powerful tools in creating that effortless, textured look you’re after.
If you’re working with acute angles for dramatic movement or working perpendicular to the hair’s natural growth pattern for precision, each choice you make dictates the flow and dimension of your final style.
Let me walk you through how to strategically select your angles so every layer works in harmony to maximize volume and create that coveted shaggy movement.
The long shag often benefits from strategically placed face-framing pieces that enhance texture and shape, especially when combined with face-framing bangs.
Angle Selection for Flow
Throughout my years behind the chair, I’ve discovered that the angle at which you cut is honestly what separates a flat, lifeless shag from one that moves with purpose and personality.
- 45-degree angles create diagonal movement
- Vertical cuts add lift at the crown
- Horizontal lines build texture and weight
- Combination angles develop dimension throughout
Master these, and you’ll transform how your shags flow.
Precision Cuts and Movement
The magic happens when you realize that cutting angles don’t just determine where hair falls—they dictum how it moves and where the eye travels. I’ve discovered that sharper angles create dynamic texture and movement, while gentler slopes offer softness.
You’ll notice how precision work transforms volume from flat to dimensional. It’s about sculpting flow strategically. Adding strategically placed layers enhances effortless shag bob and amplifies natural movement.
Short Layers vs. Long Layers: Finding Your Balance

Choosing between short and long layers can make or break your shaggy cut, and honestly, it’s where most people get stuck. I’ve learned that balance is everything:
- Short layers create instant texture and movement
- Long layers add weight and dimension
- Mix both for natural, effortless volume
- Consider your hair type and face shape
You’ll nail it once you find your sweet spot. Modern shag cuts often use shaggy bob techniques to add volume to fine hair without sacrificing movement.
Creating Dimension With Strategic Placement

I’ve found that where you place your layers makes all the difference in how dimensional your shag truly becomes. By strategically framing your face with shorter, textured pieces, you’ll catch light and create movement that draws attention exactly where you want it.
Those choppy, textured ends aren’t just for show—they’re what transforms a flat cut into a voluminous, dynamic style that actually moves when you do.
Layering Around Face Frames
When you’re working with shaggy layers, the magic really happens around the face—this is where you’ll create that dimensional, flattering frame that draws attention exactly where you want it.
Here’s my approach:
- Start shorter at the cheekbones
- Angle layers toward the face
- Use choppy texture for movement
- Blend gradually into longer lengths
You’ll notice how these strategic placements instantly elevate volume and flattery. I also recommend considering an Effortless Long Shag to maintain softness and movement while keeping those face-framing layers.
Textured Ends For Movement
Once you’ve nailed those face-framing layers, it’s time to focus on the ends—this is where texture truly transforms your cut from flat to fabulous.
I’ll show you how strategic point-cutting and razor techniques create movement that dances with every head turn.
You’re not just trimming hair; you’re sculpting dimension that catches light beautifully.
The shag wolfcut blends shag and wolfcut elements to create a bold, layered silhouette with textured ends that enhance volume and movement.
Point Cutting Techniques for Texture

Point cutting’s where the magic happens when you’re after serious texture and movement in shaggy layers.
Here’s what I’ve found works best:
- Hold scissors at 45-degree angles
- Cut into the hair’s ends, not across
- Create choppy, uneven pieces
- Build texture gradually with multiple passes
You’ll notice immediate dimension and that coveted piece-y separation that makes shaggy cuts shine.
Razoring Methods for Enhanced Movement

I’ve found that razoring is where shaggy layers really come alive with movement—it’s the technique that transforms a cut from flat to dynamic.
When I use a razor instead of scissors, I’m creating those sharp, piece-y lines that let hair move independently and catch light beautifully. You’ll see the difference immediately: the volume shifts from just bulk to actual flow and texture that makes heads turn.
Essential Shaggy Layer Techniques for Volume
Razoring transforms how hair moves and flows, and it’s honestly one of my favorite techniques for creating that effortless, lived-in texture we’re after.
- Point your razor at a 45-degree angle
- Work section by section methodically
- Use controlled, deliberate strokes
- Check your progress frequently
This approach gives you incredible dimension and movement while keeping everything looking natural and intentional.
Razoring Methods for Enhanced Movement
Once you’ve got the fundamentals down, it’s time to build on those techniques and really dial in the movement you’re chasing.
I’ll show you how razoring creates those effortless, piece-y textures that make layers flow beautifully. By using strategic angle cuts against the hair’s growth pattern, you’ll unleash dynamic movement that’ll transform your client’s volume game entirely.
Blending Layers for a Cohesive Look

The real magic happens when you blend those choppy layers together so they work as one unified style rather than looking fragmented.
I’ve found these techniques essential:
- Use point-cutting to soften harsh lines
- Texturize ends for seamless shifts
- Maintain consistent length graduation throughout
- Feather sections strategically for flow
You’ll achieve that polished, intentional shag every client craves.
Styling Products That Maximize Volume

Now that you’ve nailed the cut, let’s talk about what’ll really bring those layers to life—the right products make all the difference. I’m obsessed with volumizing mousses and texturizing sprays; they add instant lift at the roots.
Lightweight oils and sea salt sprays enhance dimension without weighing you down. Don’t skip a good dry shampoo—it’s a volume game-changer between washes.
Blow-Drying Techniques for Shaggy Layers

Blow-drying’s where your shaggy layers really come into their own, and I’ve found that technique matters way more than you’d think.
Here’s what I do:
- Flip your head upside down for maximum root lift
- Use a round brush to curl ends outward
- Dry layers separately, working from bottom up
- Finish with cool air to seal the cuticle
Trust me, you’ll notice the difference immediately.
Using Texture Sprays and Volumizers

Once you’ve nailed your blow-dry technique, texture sprays and volumizers’ll take your shaggy layers from good to absolutely incredible.
I’m telling you, these products work magic on movement and dimension. I spray them throughout damp hair before styling, and they give me that effortless, piece-y texture I’m after.
They’re seriously game-changers for keeping volume bouncy all day long.
Maintenance and Touch-Up Schedules

Getting those texture sprays working perfectly is only half the battle—keeping your shaggy layers looking fresh between salon visits is where the real commitment comes in.
Here’s what I’d recommend:
- Schedule trims every 6-8 weeks
- Refresh layers monthly with dry shampoo
- Deep condition weekly
- Avoid heat styling on off days
You’ll notice your volume stays incredible when you’re consistent!
Adapting Shaggy Layers for Different Face Shapes

While shaggy layers work beautifully on most people, I’ve found that tweaking the cut to complement your face shape makes all the difference.
For round faces, I keep layers longer and textured toward the ends. On angular faces, shorter, choppy layers add softness. Oval faces? They’re lucky—they rock any layered style. The key’s customizing placement and length to flatter your unique features.
Styling Tips Between Professional Salon Visits

Between salon appointments, you’ve got to keep those shaggy layers looking fresh and intentional rather than just grown-out and messy.
Here’s what I do:
- Blow-dry with a round brush for texture and movement
- Use texturizing spray to enhance separation between layers
- Adopt a light pomade for definition without heaviness
- Schedule trims every six weeks to maintain shape
You’ll love how manageable they become!
You’ve got everything you need to rock shaggy layers that’ll give you major volume! Remember, it’s all about finding what works for your hair type and face shape.
Start with those shorter crown layers, keep up with your trims, and don’t skip the texturizing products—they’re total game-changers. You’ll be flipping that piece-y, dimensional hair with confidence in no time!