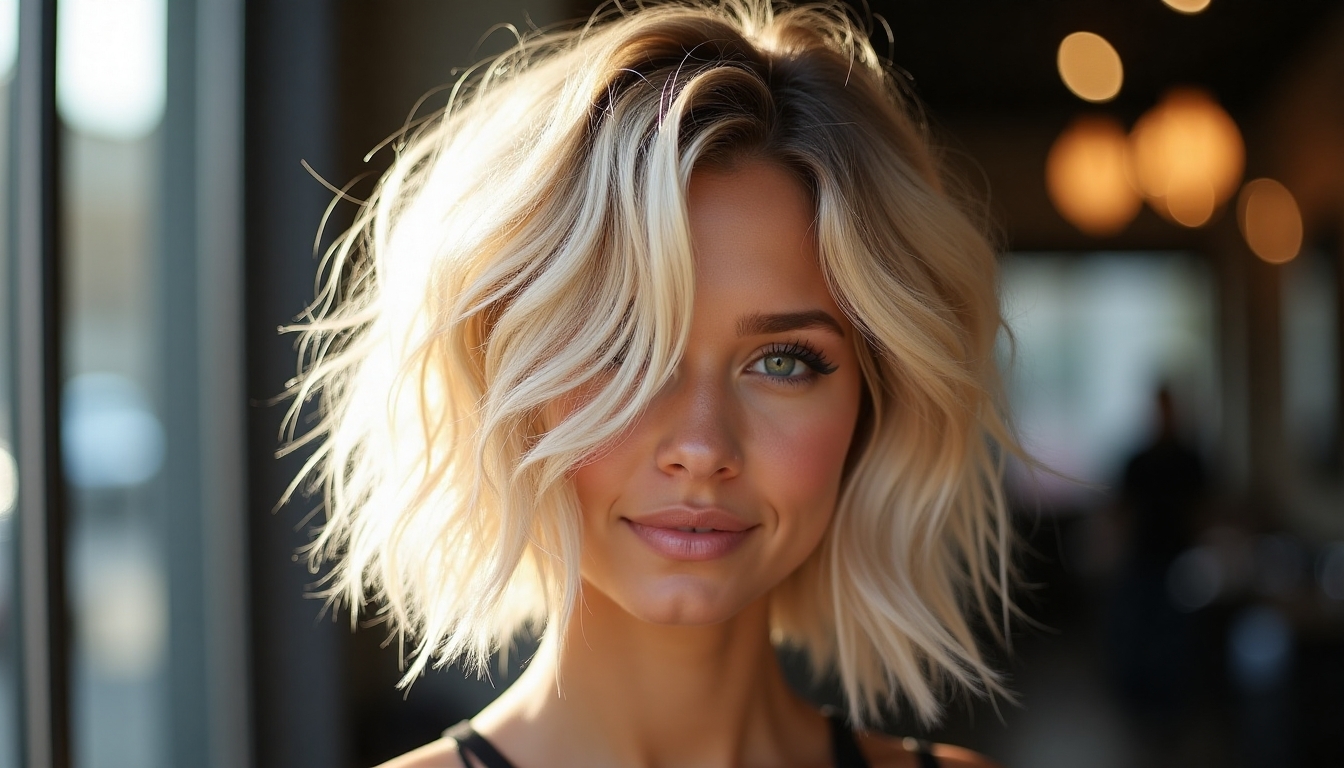
I’ve been there – staring at my greasy hair in the mirror, wondering how I’ll make it through another day without a wash. It’s a common struggle, but I’ve discovered some genius ways to transform that unwanted shine into seriously chic styles.
From sleek ponytails that actually benefit from a bit of natural oil to intricate braids that disguise less-than-fresh roots, I’ll show you how to turn your hair’s oily situation into a style statement.
The Science Behind Greasy Hair
Although it may feel like your hair has a mind of its own, there’s actually a scientific explanation for those annoying oily strands.
Your scalp contains sebaceous glands that produce sebum – a natural oil that keeps your hair healthy. I know it’s frustrating, but when these glands become overactive from hormones, stress, or genetics, they pump out excess oil.
Essential Hair Care Tools for Quick Fixes
I always keep these essential hair care tools within arm’s reach when my hair starts looking greasy: a reliable dry shampoo applicator, natural-bristle brushes, and a fine-toothed comb.
You’ll notice I’m picky about my tools because each one serves a specific purpose – the applicator guarantees even distribution of dry shampoo, while quality brushes help distribute natural oils away from the roots.
My favorite quick-fix accessories include mini claw clips and spiral hair ties that won’t leave obvious dents in your hair when you need to switch up your style midday.
Dry Shampoo Application Tools
Three essential tools can help you apply dry shampoo like a pro and rescue your greasy hair in minutes.
I swear by my fine-tooth comb for even distribution, a natural bristle brush to blend the product perfectly, and my absolute must-have: a spray nozzle attachment that transforms any powder formula into an easy-to-control mist.
Hair Brushes and Combs
Every greasy-haired girl needs the right brush and comb arsenal for those emergency fix-ups.
I swear by my boar bristle brush to distribute oils away from my roots, while my fine-toothed comb creates perfect partings for strategic styles.
I’ll also grab my teasing comb when I need extra volume at the crown to mask second-day hair.
Quick-Fix Styling Accessories
Beyond brushes and combs, you’ll want a solid stash of quick-fix accessories to manage greasy strands.
I swear by mini claw clips for quick sectioning, bobby pins for discrete touch-ups, and elastic bands that won’t snag.
My absolute must-have is a pack of spiral hair ties – they’re gentler than regular elastics and won’t leave those annoying dents in your hair.
Classic Sleek High Ponytail
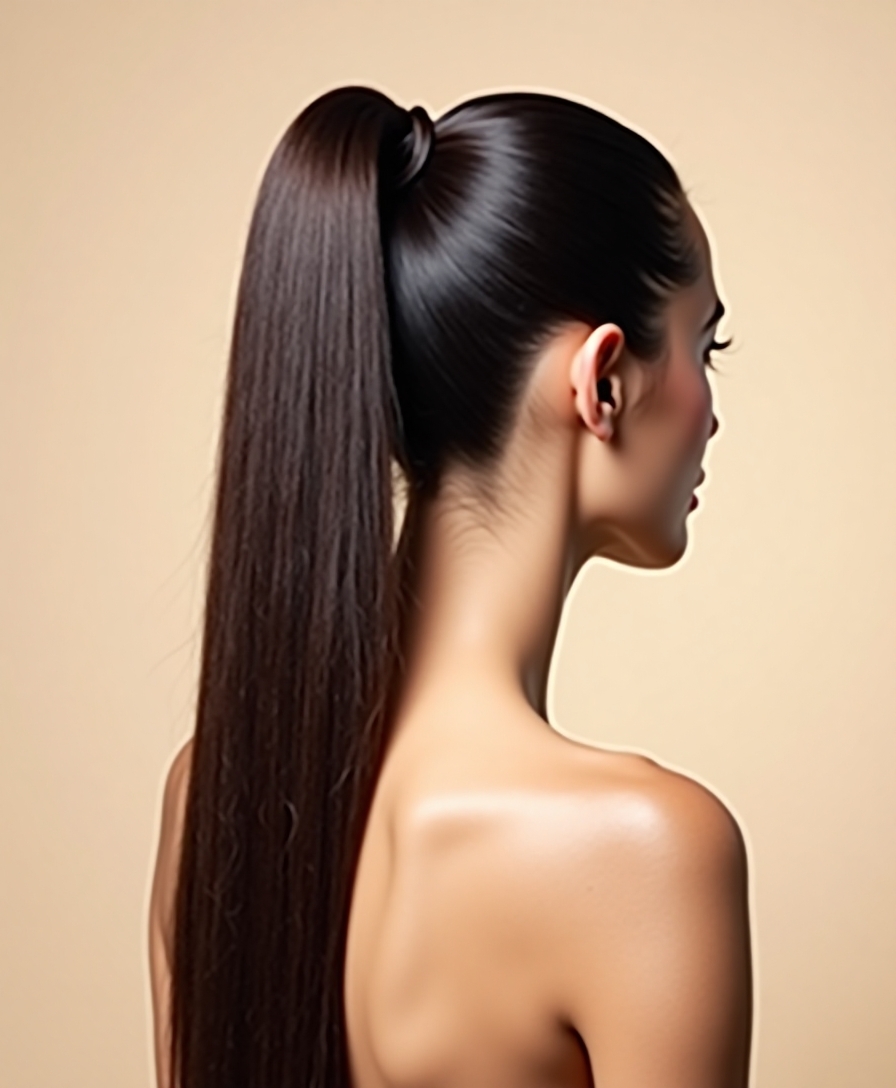
A classic sleek high ponytail is the ultimate go-to style when your hair’s feeling a bit too slick. I love how this look actually works better with oily hair – the natural oils help tame flyaways and create that super-smooth finish we’re after. Just brush your hair upward, secure it tightly at your crown, and wrap a small section around the elastic for a polished touch.
You can also incorporate effortless slicked-back hairstyles to switch up your look even more.
Braided Crown Elegance

While high ponytails are great for taming oily strands, braided crowns take greasy hair management to the next level.
I’m obsessed with how this style transforms my second-day hair into something genuinely elegant.
Simply part your hair down the middle, create two Dutch braids along your hairline, pin them across your crown, and you’ve got a chic look that cleverly conceals any oiliness. Braided hairstyles, such as braided crowns, have long been a favorite among Black women for their versatility and style.
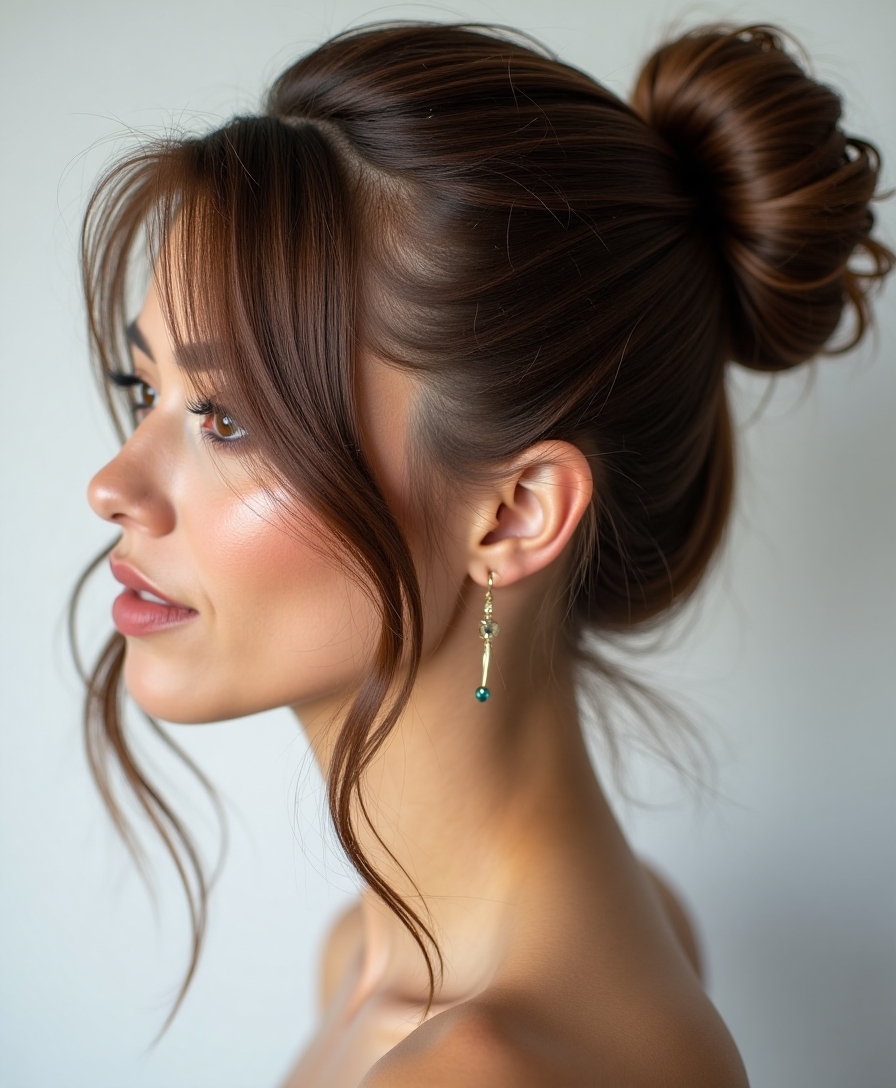
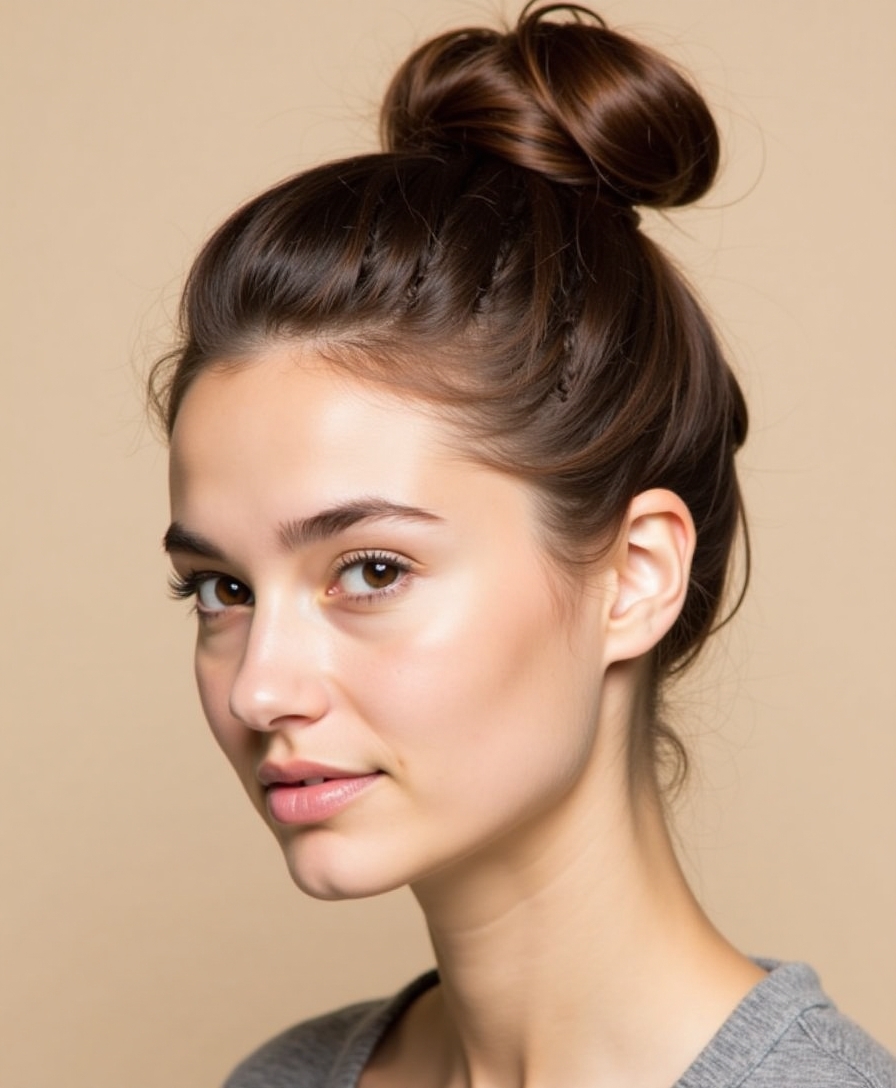
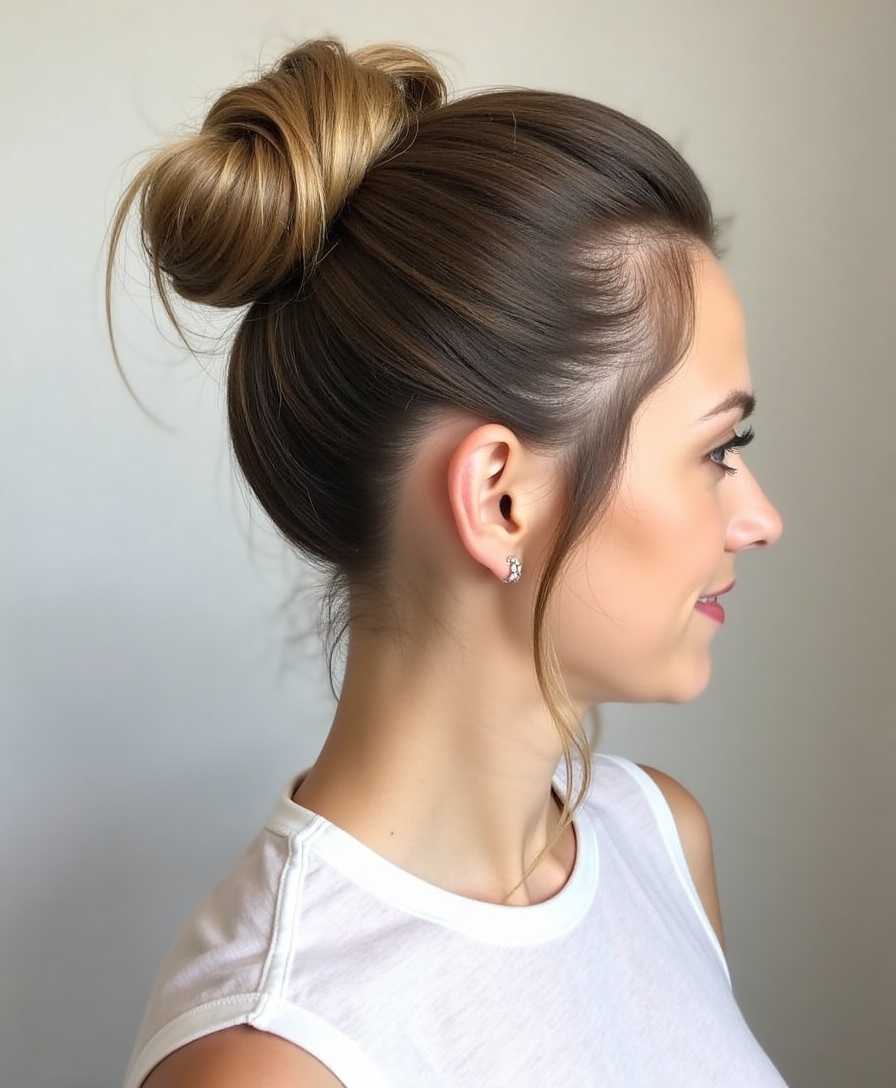
Messy Top Knot Solutions

I love how a messy top knot can transform greasy hair from flat and lifeless to deliberately disheveled and chic.
Let me show you my foolproof technique for placing your knot at the perfect crown height – too low looks sloppy, too high looks like a unicorn.
I’ll also share my favorite tricks for adding instant texture, which makes your messy bun look intentionally undone rather than just unwashed.
Sleek Vs Artfully Disheveled
Greasy hair presents the perfect opportunity to experiment with two distinct styling approaches: the polished, slicked-back look or the intentionally tousled messy bun.
I’ve found that embracing the natural oils can work to your advantage.
When I’m going sleek, I’ll smooth my hair back into a glossy ponytail.
For a disheveled vibe, I’ll twist my hair into a deliberately imperfect updo, letting flyaways create that coveted lived-in texture.
Perfect Your Knot Placement
Speaking of messy buns, let’s talk about where you place that knot – because it’s not just about throwing your hair up and hoping for the best.
I’ve found that positioning your bun higher on the crown creates the illusion of lifted roots, while a lower placement near the nape can make greasy strands look intentionally slick and editorial.
My go-to? Right at the crown sweet spot.
Quick Texture Adding Tips
Three game-changing texture tricks can transform your limp top knot into a piece of messy perfection.
I’ve discovered these foolproof techniques that’ll give you that coveted “I woke up like this” vibe in seconds.
- Gently tug small sections of hair around your crown to create airy volume.
- Twist random pieces outward before pinning them back in.
- Rough up your baby hairs with dry shampoo and fingertips for lived-in edges. Additionally, consider incorporating an elegant low bun hairstyle for a chic twist to your look.
Slicked-Back Wet Look

Rocking a slicked-back wet look is one of the smartest ways to turn oily hair into a deliberate style statement.
I’m obsessed with how this style transforms my second-day hair into something totally chic.
Just grab your favorite hair gel or pomade, brush your hair back from the roots, and smooth down any flyaways.
Trust me, everyone will think it’s intentional.
Double Dutch Braids
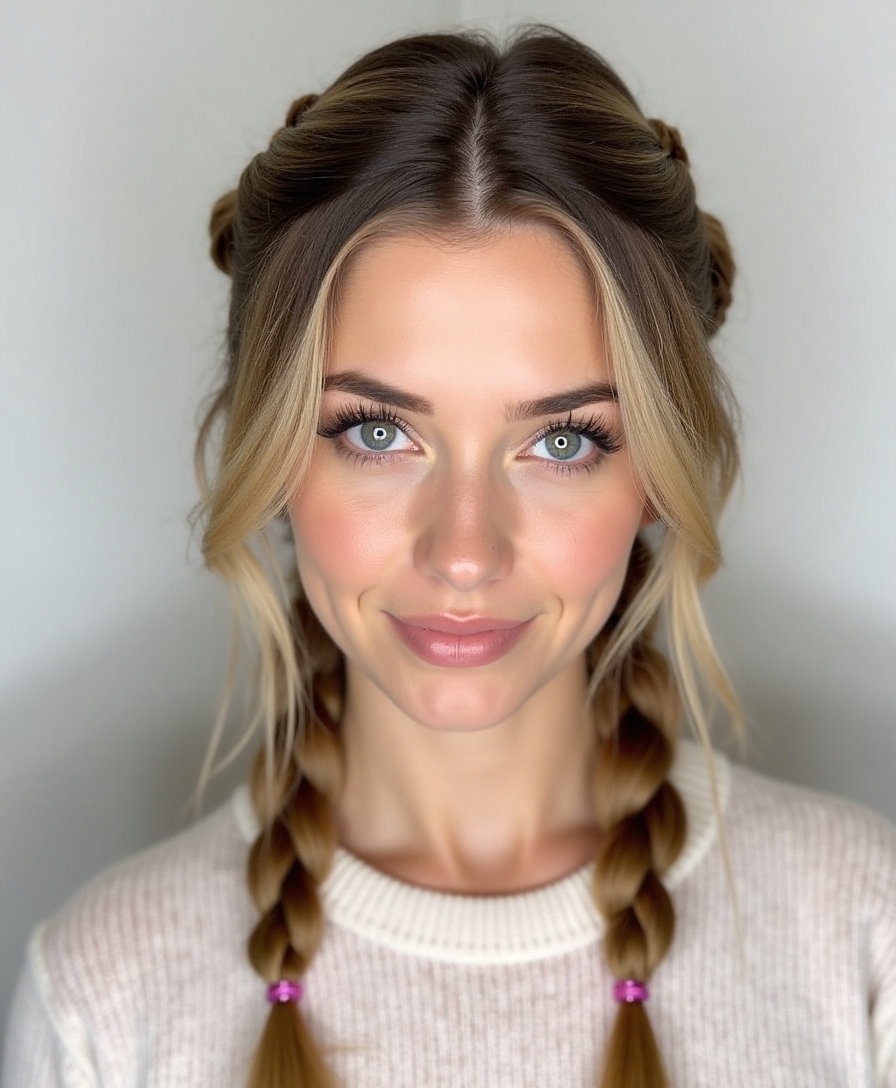
While slicked-back styles work wonders, double Dutch braids are my go-to savior for those greasy hair days.
I love how they transform my oily roots into a purposefully sleek look that’s both edgy and put-together.
- Braid tight against the scalp, letting those slick strands work to your advantage
- Create two clean parts for that Instagram-worthy symmetry
- Secure with clear elastics, leaving the ends slightly messy for contrast
Side-Swept Vintage Waves

Let me show you how to create glamorous side-swept waves that’ll hide those oily roots while adding major volume to your hair.
You’ll need a 1-inch curling iron, dry shampoo, and a strong-hold hairspray to achieve those gorgeous vintage swoops that channel old Hollywood. A chic high ponytail hairstyle can also complement this look if you’re looking for a way to further elevate your style.
I’ll teach you my favorite trick of curling sections away from your face, then brushing out the curls before pinning them into that classic S-wave pattern that looks even better on second-day hair.
Add Volume With Swoops
Side-swept vintage waves can transform greasy hair into a glamorous retro look.
I’ve found that adding strategic swoops creates instant volume while hiding any trace of grease at the roots.
- Gather your hair to one side and create deep, S-shaped waves using a 1-inch curling iron.
- Pin each wave while it cools for maximum hold.
- Lightly mist with hairspray, then brush through for that classic Hollywood sweep. Adding shag haircuts can further enhance volume and texture in your hairstyle.
Hiding Oily Roots Tips
Those gorgeous vintage waves aren’t just about the glam factor – they’re actually perfect for masking oily roots too. I love creating a deep side part and sweeping my hair across my forehead in soft, cascading waves.
The volume at the crown and textured waves draw attention away from any oil, while the side-swept style naturally conceals my greasiest spots near the scalp. This style is reminiscent of elegant prom hairstyles that elevate your look while keeping your hair under control.
Tools and Products Needed
Creating vintage-inspired waves requires a few key tools and products that I always keep in my styling arsenal.
Trust me, I’ve perfected this look through countless trial and error. You’ll need:
- A 1-inch barrel curling iron for those perfect, bouncy waves
- Dry shampoo to absorb excess oil and add texture
- Medium-hold hairspray to keep those waves locked in without looking crunchy
Half-Up Space Buns
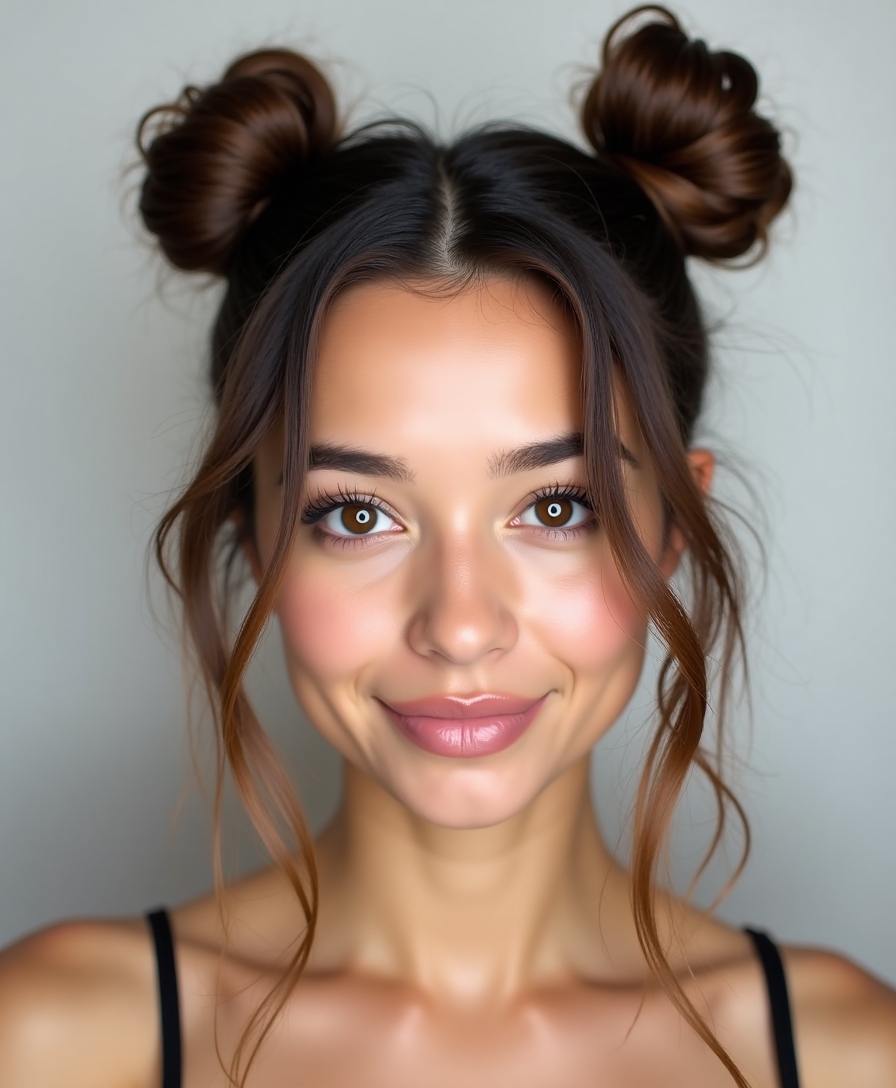
Space buns are a playful twist on the traditional half-up hairstyle that’s perfect for hiding greasy roots.
I love this style because it’s super quick and works with second (or third!) day hair. Just part your hair down the middle, gather the top sections into two mini buns, and secure them with elastics.
Leave the rest of your hair down to create a fun, festival-ready look.
Textured Low Bun Tricks
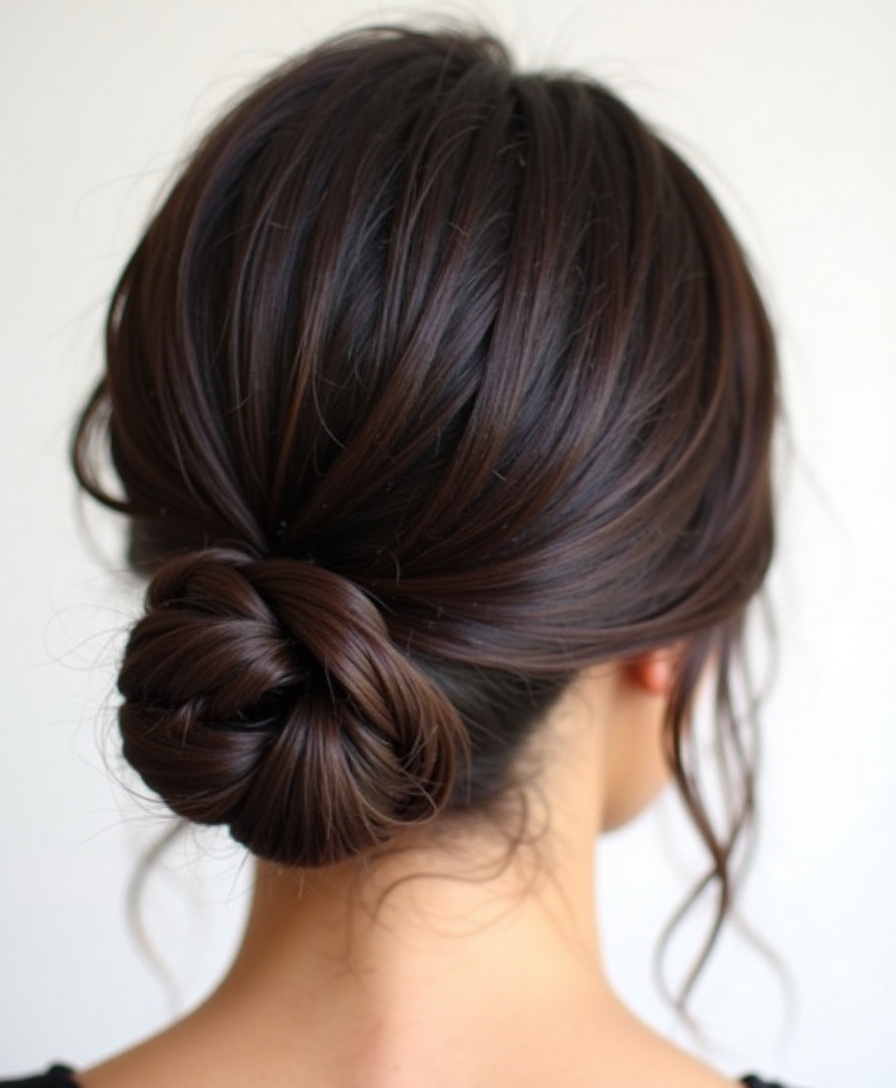
A textured low bun can be your secret weapon against greasy hair days. I love how this style actually works better with slightly dirty hair – it’s like your scalp’s natural oils are working for you, not against you.
- Flip your head upside down and spray dry shampoo at the roots.
- Twist hair into a loose bun at the nape, letting pieces fall naturally.
- Pull gently at the crown for instant texture and volume.
Additionally, a low bun complements the natural wave pattern of your hair, enhancing its overall look and feel.
Beach Wave Transformation

I’ve discovered the perfect way to transform greasy hair into gorgeous beach waves using my favorite overnight salt spray method, which adds incredible texture while you sleep.
You won’t believe how this technique masks oily roots while creating that coveted lived-in wave pattern we’re all obsessed with.
The best part is there’s zero heat damage since the salt spray works its magic naturally, letting you wake up to perfectly tousled waves that look fresh and styled.
Overnight Salt Spray Method
Looking to transform your greasy locks into beachy waves overnight?
I’ve got a game-changing salt spray method that’ll make your oily hair look intentionally tousled and texturized by morning.
- Mix 1 cup warm water with 2 tablespoons sea salt and a splash of leave-in conditioner
- Spray mixture on damp hair and twist into loose buns
- Wake up, shake out those waves, and rock that perfectly undone surfer-girl vibe. Remember, short hair can also be styled with charming short hair hairstyles to elevate your look!
Texturizing Without Heat Damage
While heat styling might seem like a quick fix for greasy hair, there’s a much gentler way to create those coveted beach waves without frying your strands.
I swear by braiding my damp hair into two loose plaits before bed. Just spritz with a sea salt spray, braid, and catch some z’s.
When you wake up, unravel for effortlessly tousled waves that disguise oily roots.
Headband and Scarf Styling
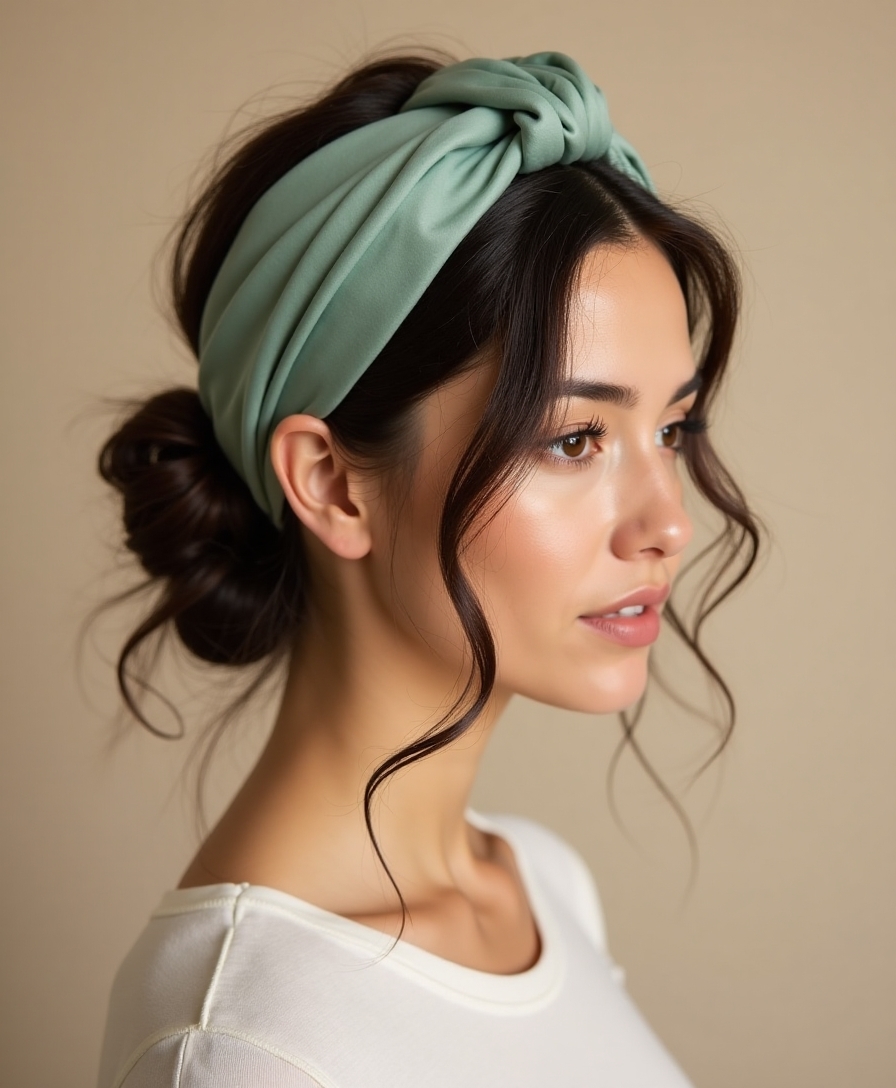
Accessories can be your secret weapon when dealing with greasy hair, and headbands and scarves are total game-changers.
I swear by these styles when my roots get a bit too slick:
- Wrap a silky scarf into a turban to hide oily roots while looking effortlessly chic.
- Push a thick velvet headband back for instant volume at the crown.
- Try a braided bandana fold to disguise grease while rocking a retro vibe, as stylish bandana hairstyles can elevate any look and provide a trendy twist.
French Twist Variations
The classic French twist is a total lifesaver when your hair’s on the greasy side, and I’ve discovered some killer variations that’ll take this updo from basic to brilliant.
Try twisting it loosely for a messy-chic vibe, or add a deep side part for drama.
I’m obsessed with braiding the sides before twisting – it hides oily roots perfectly while looking totally intentional.
Braided Side Sweep

For anyone battling greasy roots, I’ve found that a braided side sweep is a total game-changer.
It’s my go-to style when I’m pushing day three hair and need to look polished fast.
- Sweep all your hair to one side and start a French braid near your temple
- Braid loosely down to your neck, incorporating any oily strands
- Secure with a clear elastic and pull the braid slightly apart for texture
Dry Shampoo Styling Tips

While dry shampoo can be a lifesaver for greasy hair, I’ve learned that proper application makes all the difference.
I always section my hair and spray the product 6 inches away from my roots. Then, I massage it in and let it sit for 5 minutes before brushing.
Pro tip: apply it before bed – it’ll work magic while you sleep.
Quick Fix Emergency Styles

When greasy hair strikes unexpectedly, I’ve got several go-to styles that can save the day in minutes. Trust me, I’ve been there – that moment when you’re running late and your hair looks like it’s been dipped in olive oil.
- Twist and pin the front sections back, creating a bohemian crown that hides oily roots.
- Sleek high bun with a deep side part for that intentionally polished look.
- Hidden braid along the hairline that pulls back greasy strands.
Additionally, remember that easy hairstyles for medium-length hair can be a lifesaver in these situations, as they are designed to be quick and stylish.
I’ve learned that greasy hair doesn’t have to ruin my day – it’s actually become my secret weapon for some killer styles! Whether I’m rocking a sleek pony or throwing my hair into a messy top knot, I’m now confident handling those oily roots.
Trust me, with these tricks up your sleeve, you’ll turn what used to be a bad hair day into your signature look. Work it!