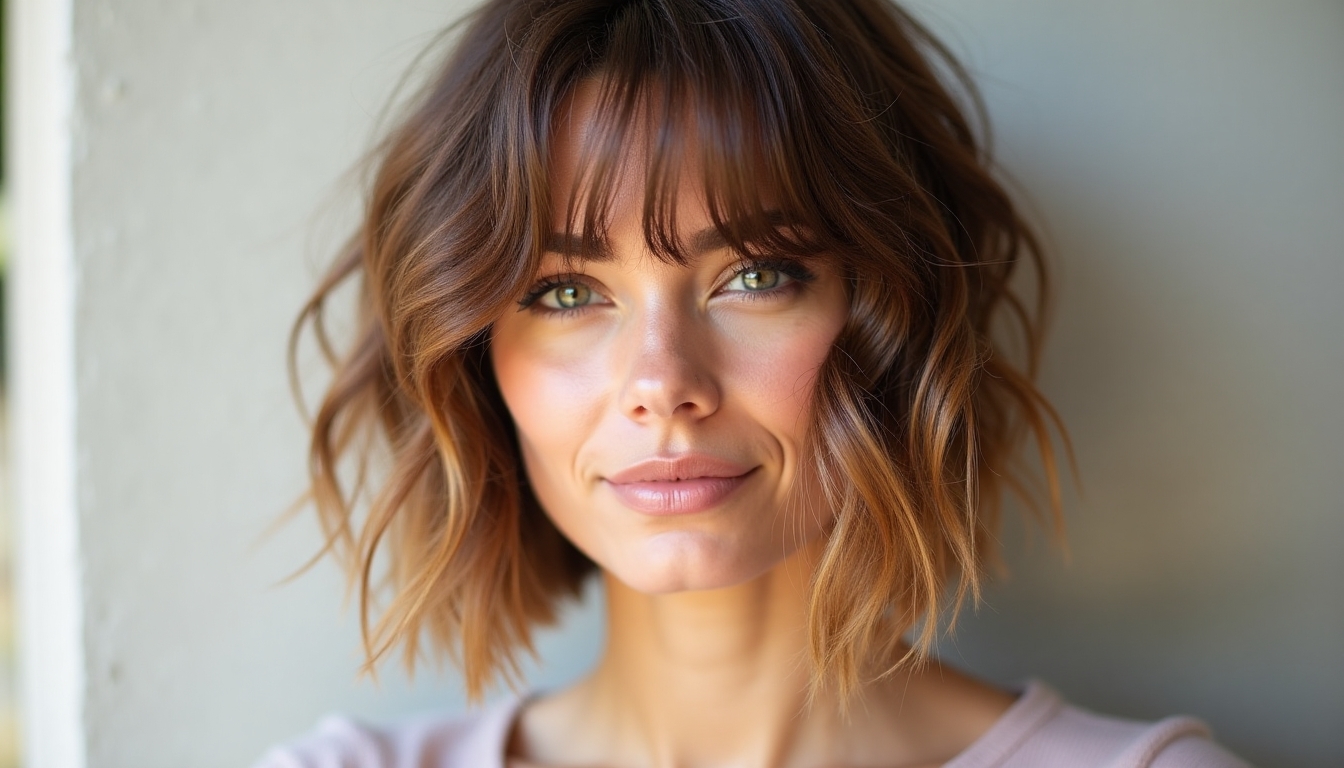
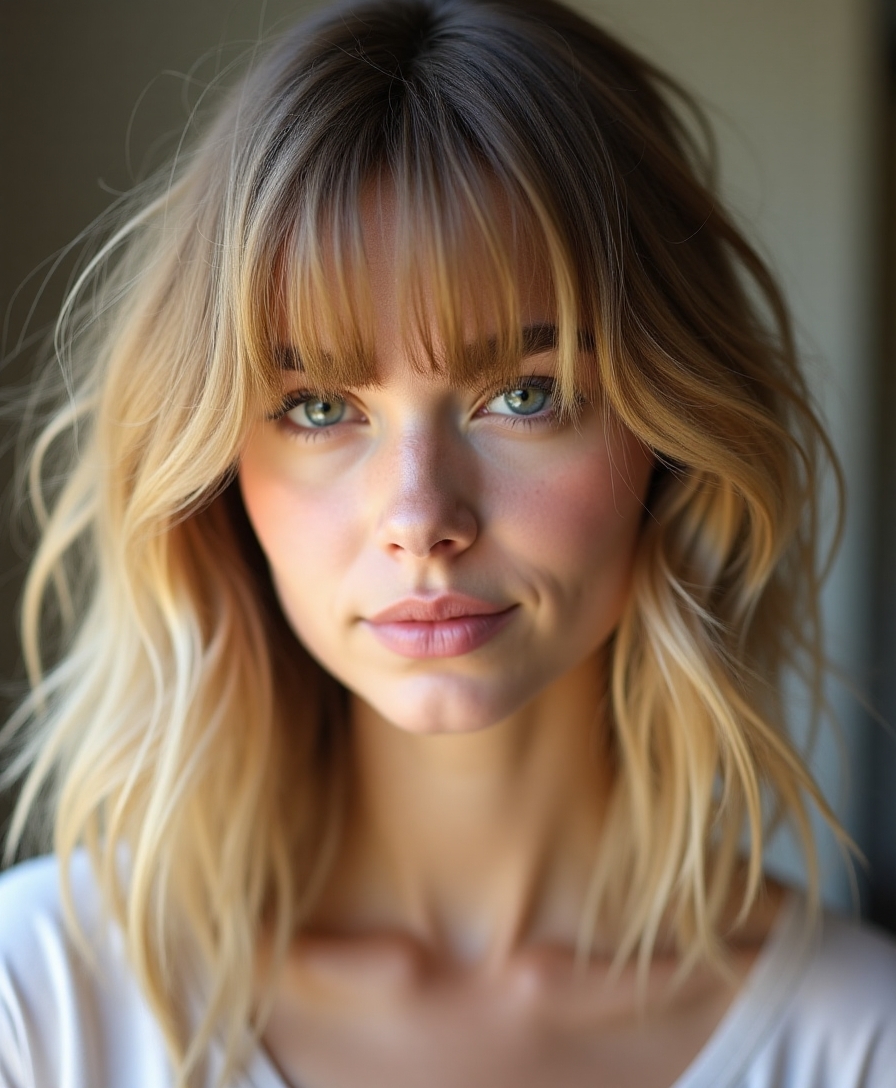
I’ve discovered that curtain bangs possess a unique magic – they’re the only hairstyle I know that looks better when it’s slightly disheveled. While perfect styling can feel stuffy and dated, there’s something incredibly chic about letting these face-framing pieces fall naturally.
Whether you’ve just rolled out of bed or been caught in the wind, I’ll show you how to harness that casual confidence and transform your messy moments into intentional style statements.
What Makes Curtain Bangs So Effortlessly Cool
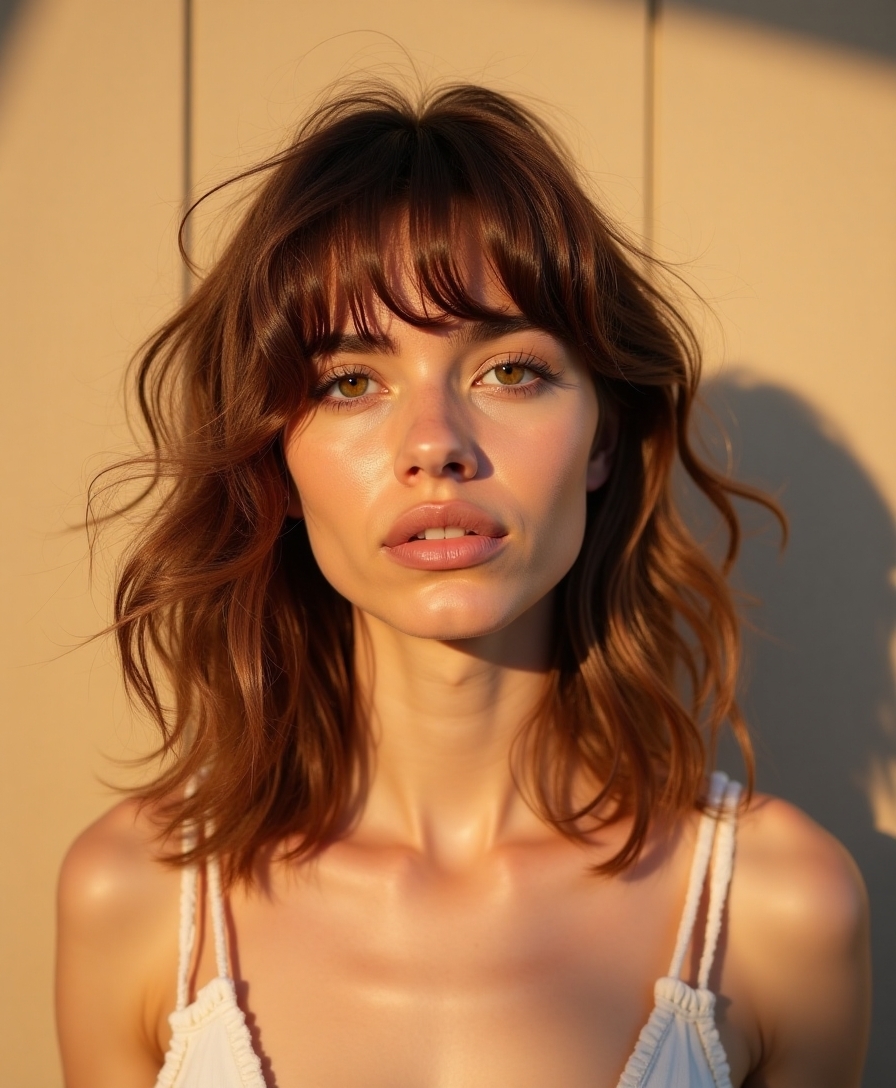
While many bang styles come and go, curtain bangs have maintained their effortless appeal since the ’60s and ’70s.
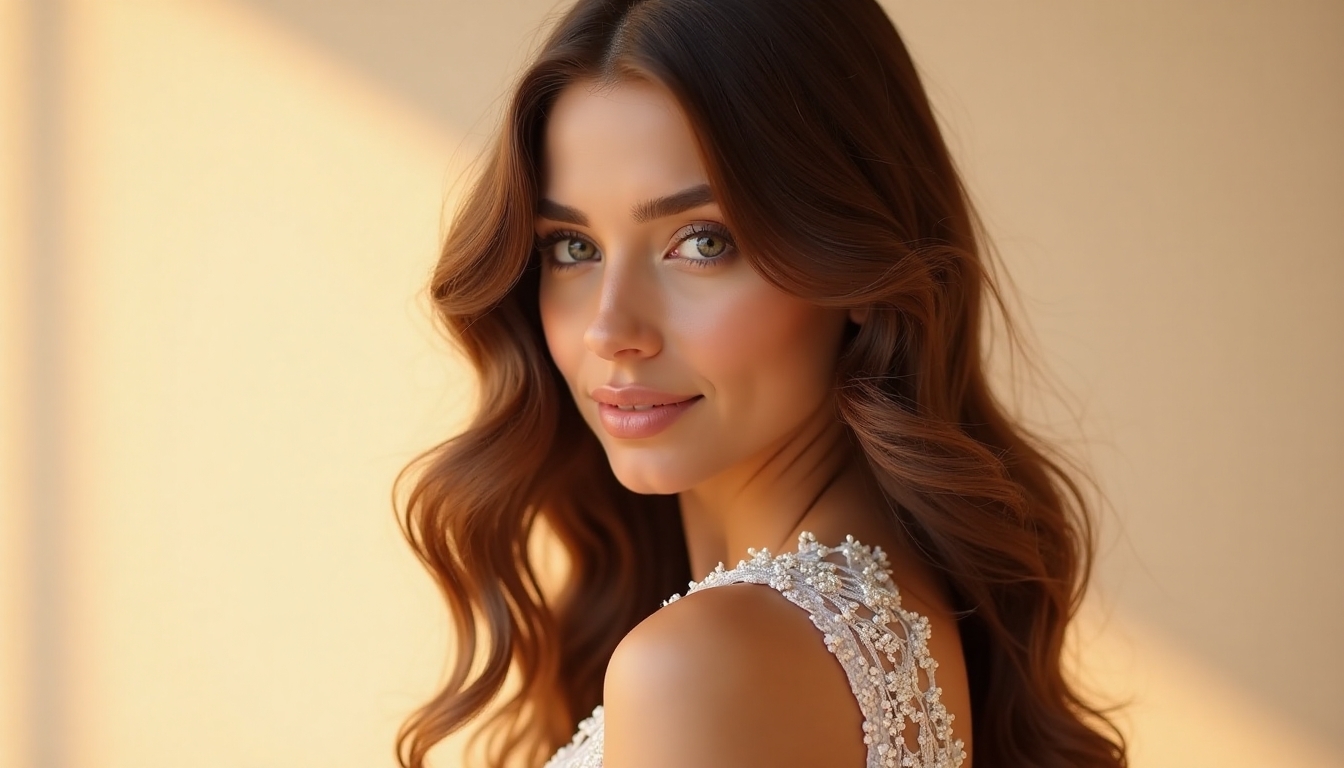
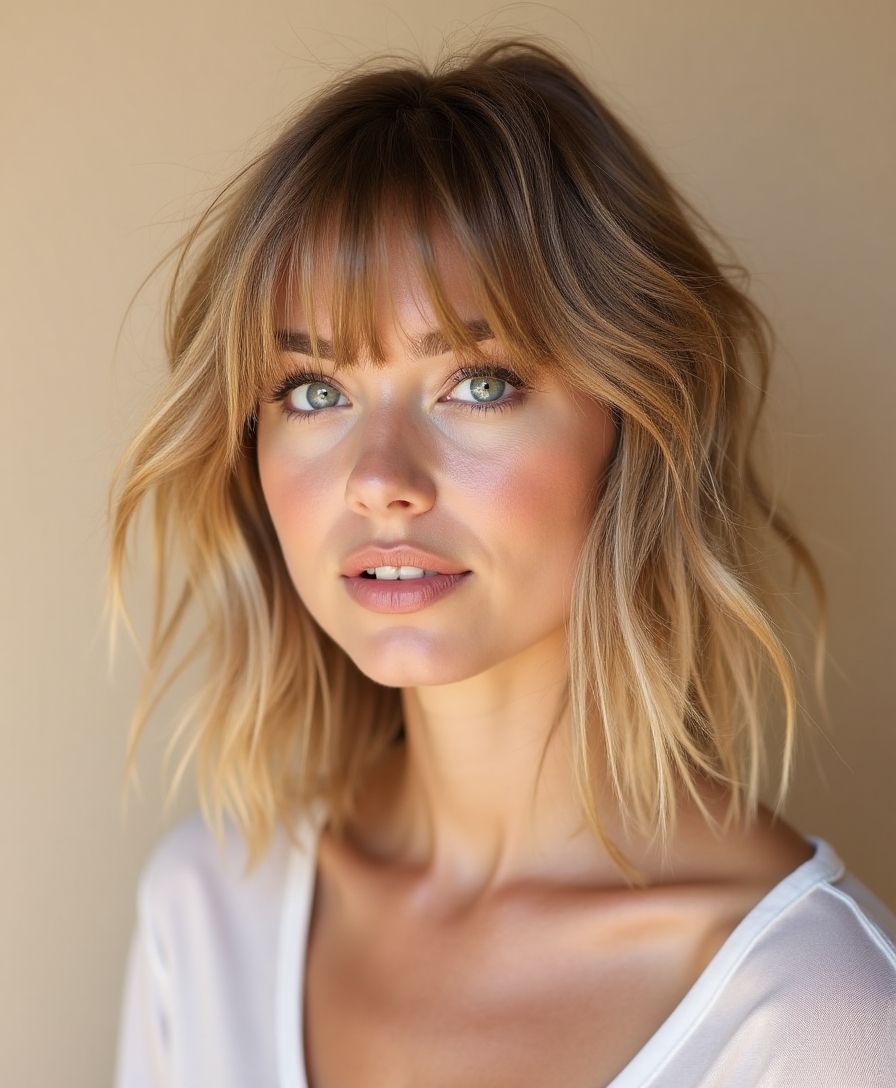
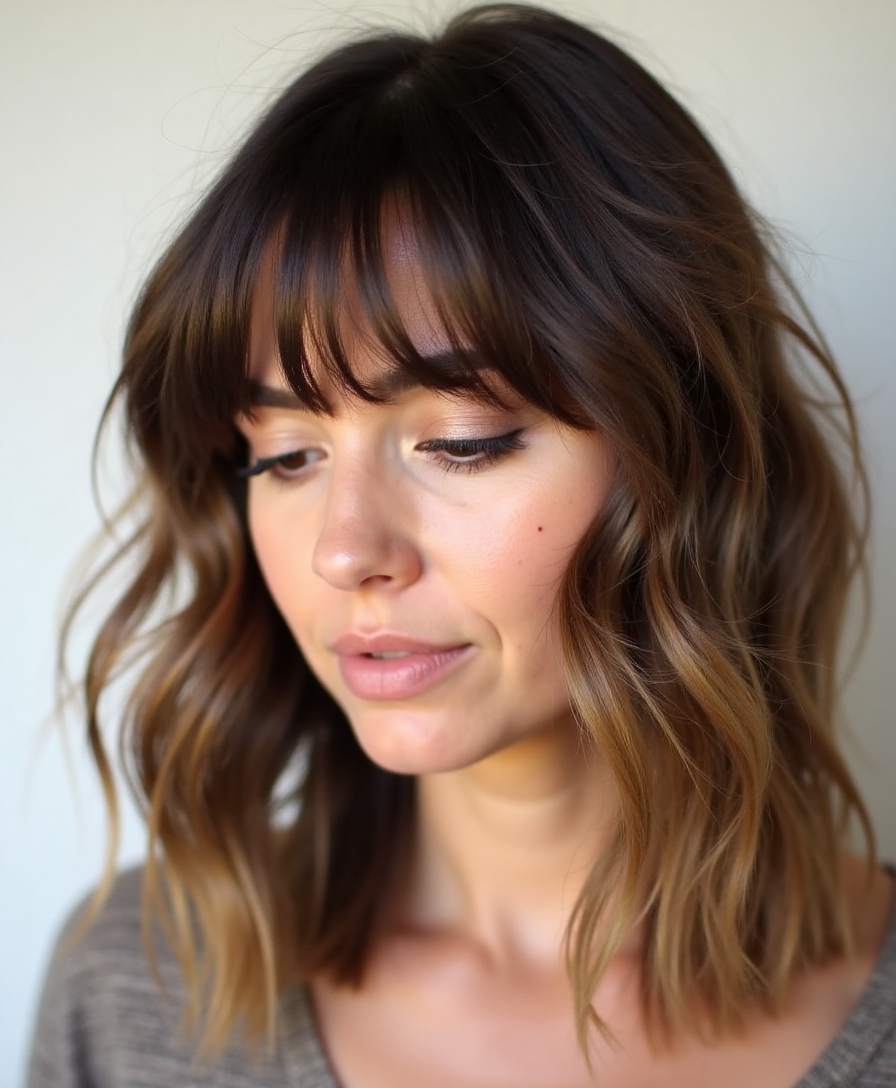
I love how they frame your face like soft, wispy curtains, creating that perfect balance between polished and undone.
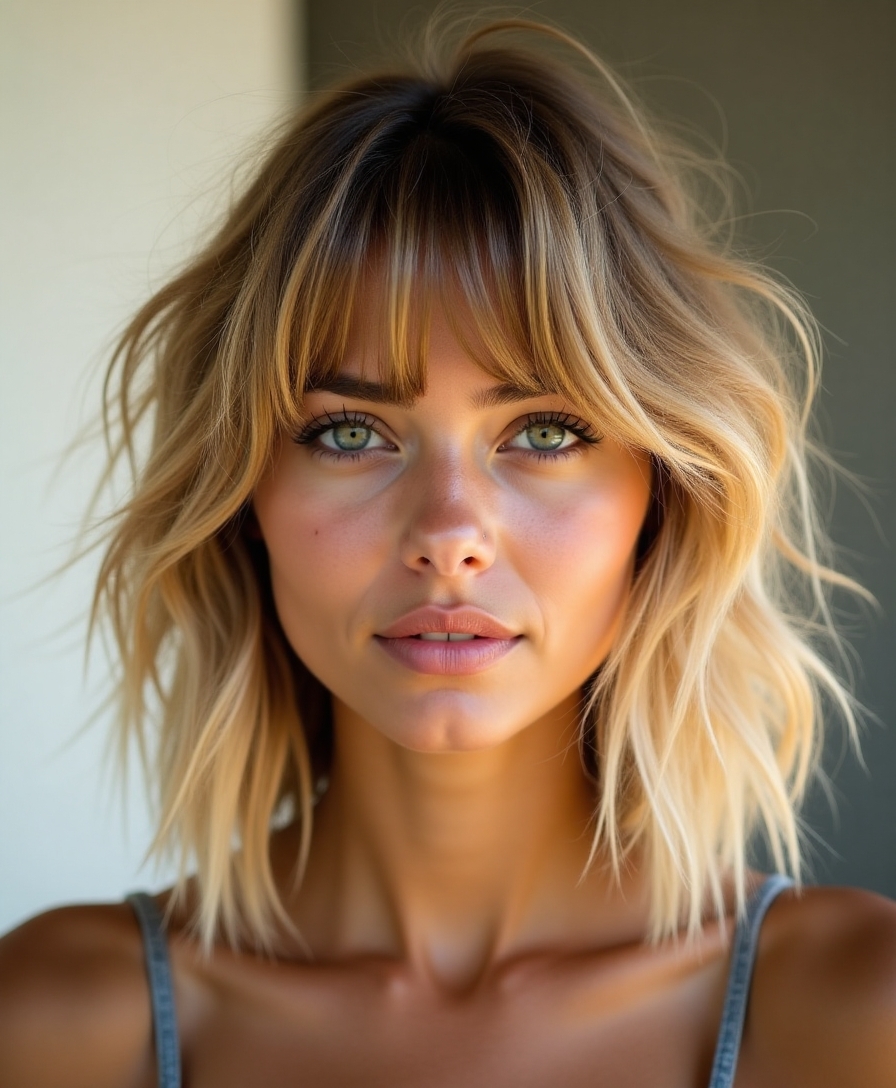
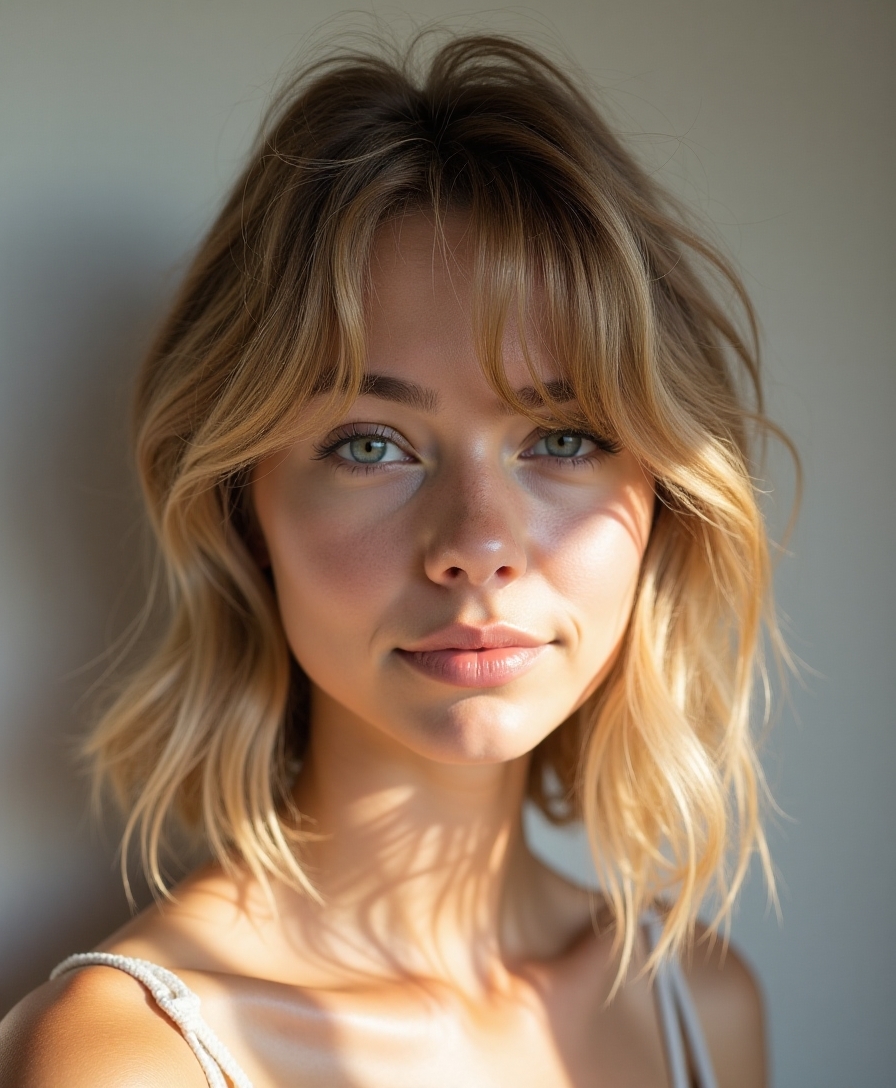
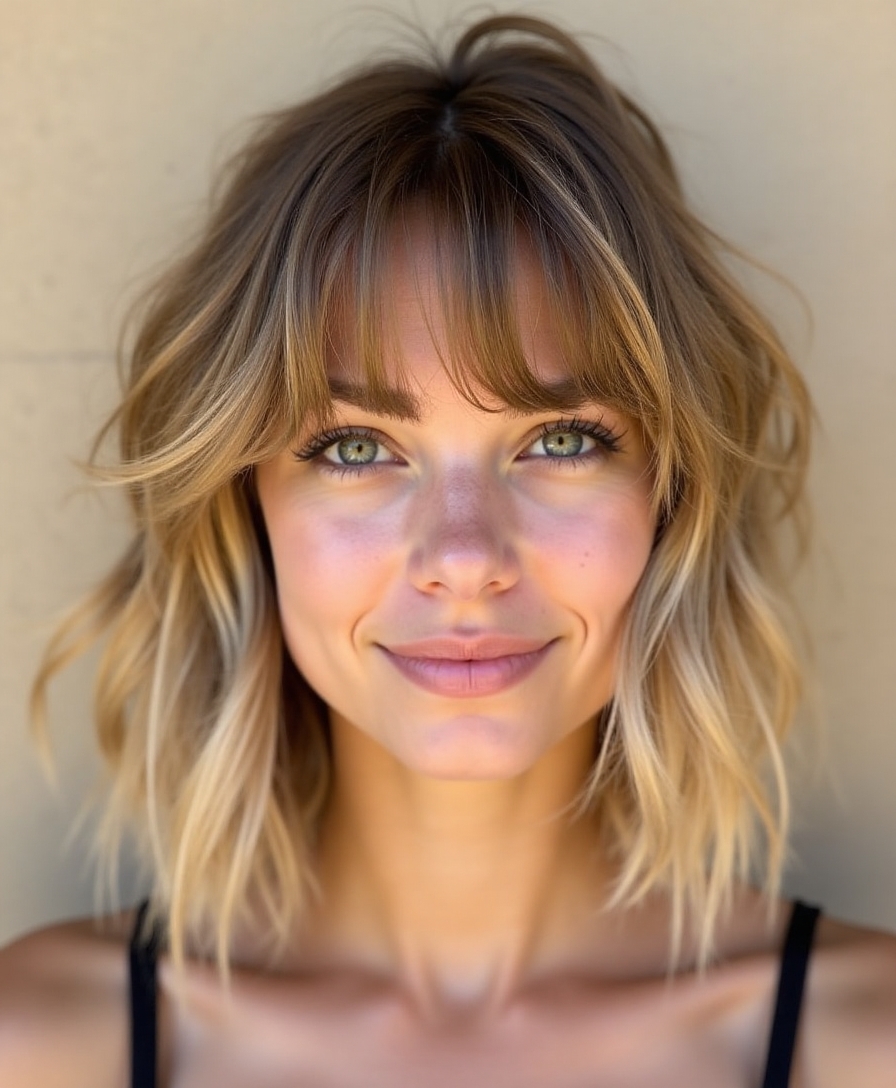
They’re incredibly versatile – wear them parted in the middle for a classic look, or sweep them to the side for added drama.
Plus, they grow out beautifully, making maintenance a breeze. Curtain bangs can be styled in various ways, providing endless opportunities for creative expression.
The Evolution of Face-Framing Fringe Through the Decades
Since their rise to popularity in the 1960s, face-framing bangs have undergone a fascinating transformation.
I’ve watched them evolve from Brigitte Bardot’s sultry swoops to Jane Birkin’s wispy straight versions in the ’70s.
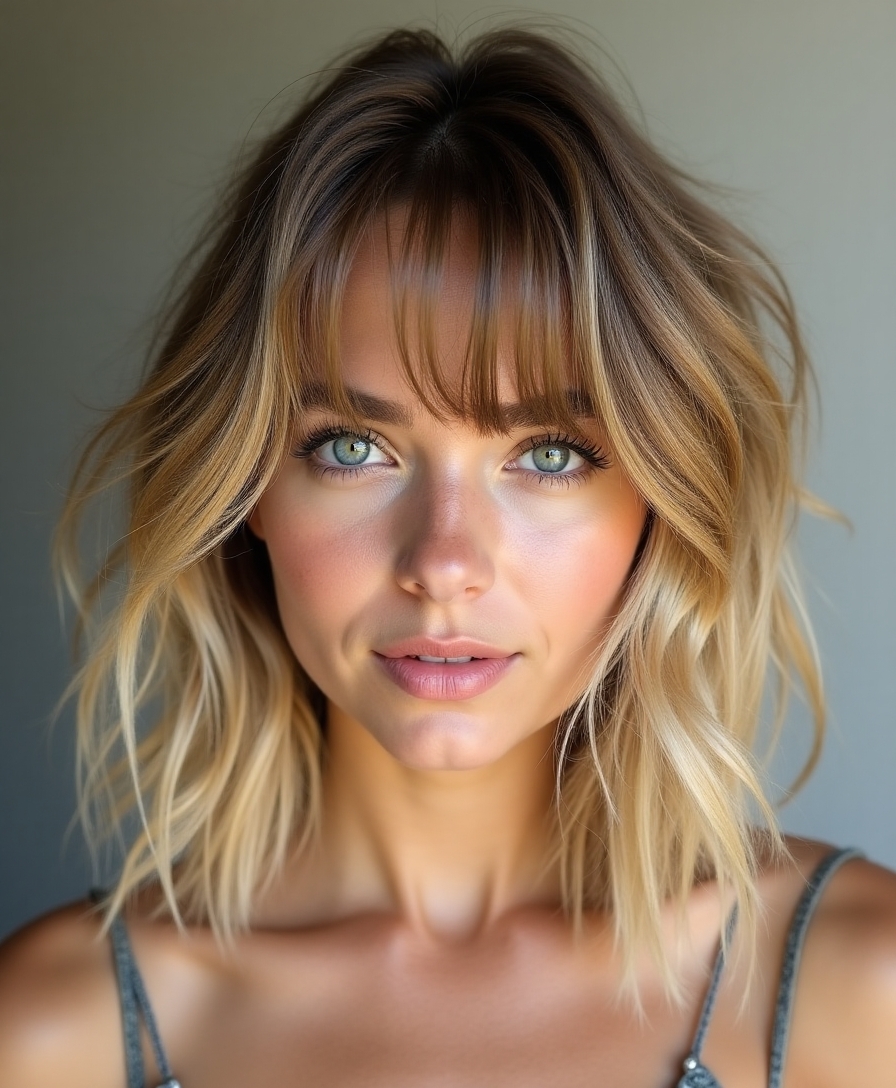
The ’90s brought us the sleek, center-parted curtain bangs of supermodels, while today’s versions blend vintage inspiration with modern, lived-in texture and effortless versatility.
Choosing the Right Length for Your Face Shape
The magic of curtain bangs lies in finding the perfect length to complement your unique face shape.
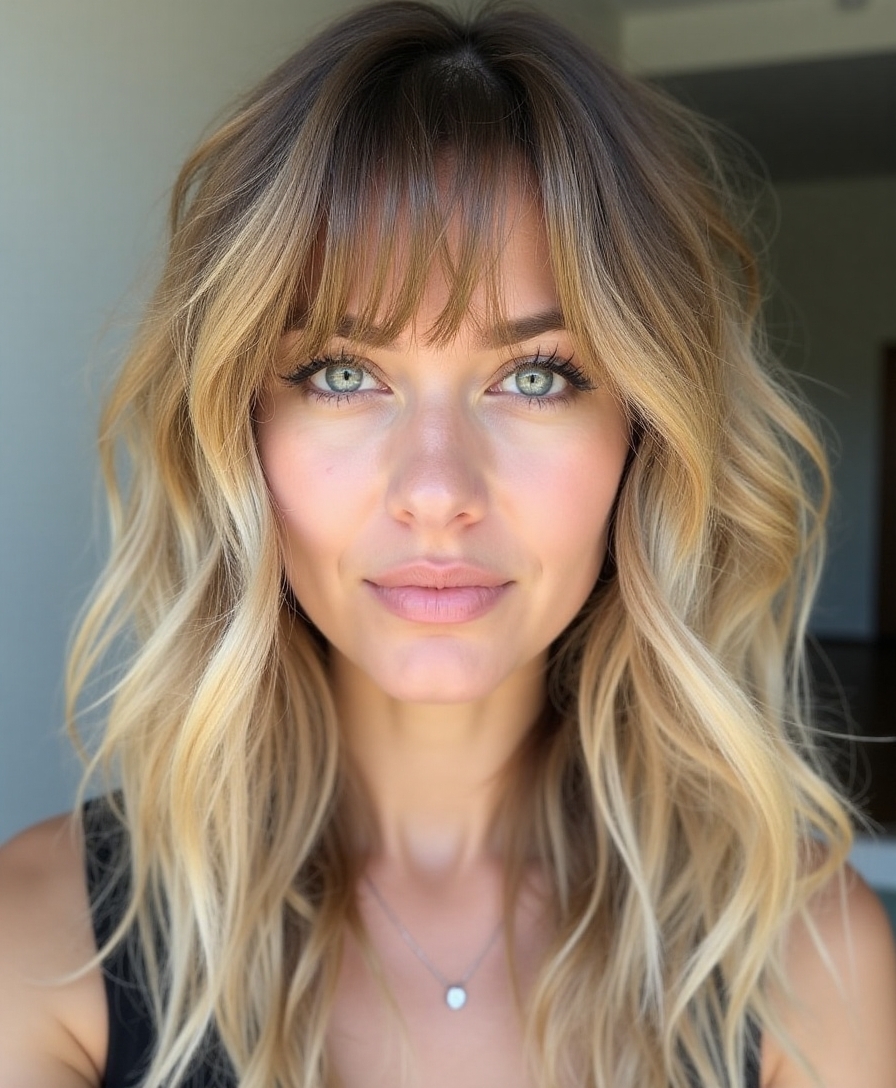
I’ll help you nail it: If you’ve got a round face, go for longer bangs past your cheekbones to elongate.
Heart-shaped? Try chin-length pieces.
For oval faces, you’re lucky – any length works.
Square faces look softer with wispy, collarbone-grazing curtain bangs.
Styling Tools You’ll Actually Need
Just three key styling tools can make or break your curtain bangs game.
I swear by a round brush (about 1.5 inches in diameter), a blow dryer with concentrator nozzle, and decent hair clips to section your bangs.
Trust me, I’ve tried countless tools, but these basics are all you need to nail that effortless, face-framing sweep we’re after.
Morning-After Magic: Making Bedhead Work for You
Many of us wake up with our curtain bangs looking more like a tangled mess than a styled masterpiece.
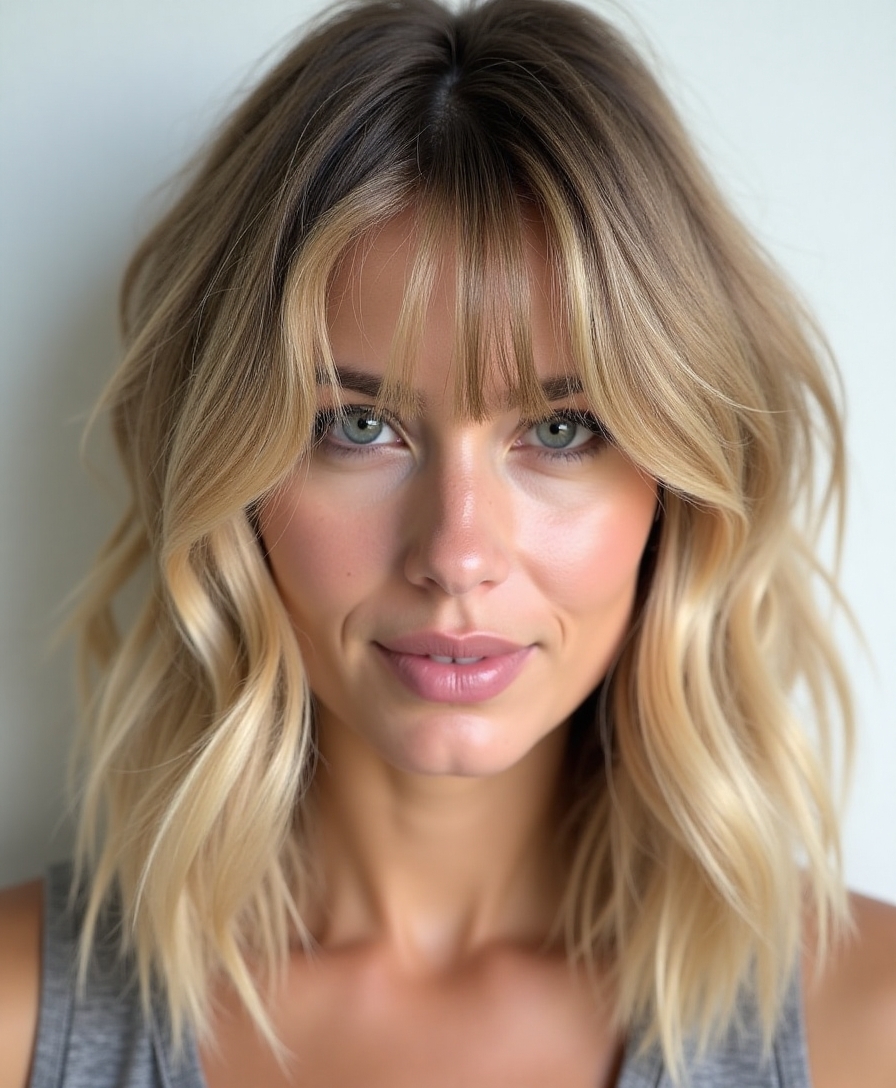
I’ve learned that this bedhead can actually work in your favor. Spritz your bangs with a bit of water, twist them away from your face, and let them air dry while you get ready.
Sometimes, that perfectly imperfect morning texture creates the most effortless, lived-in look you’re after.
Curly Hair? Yes, You Can Rock Curtain Bangs Too
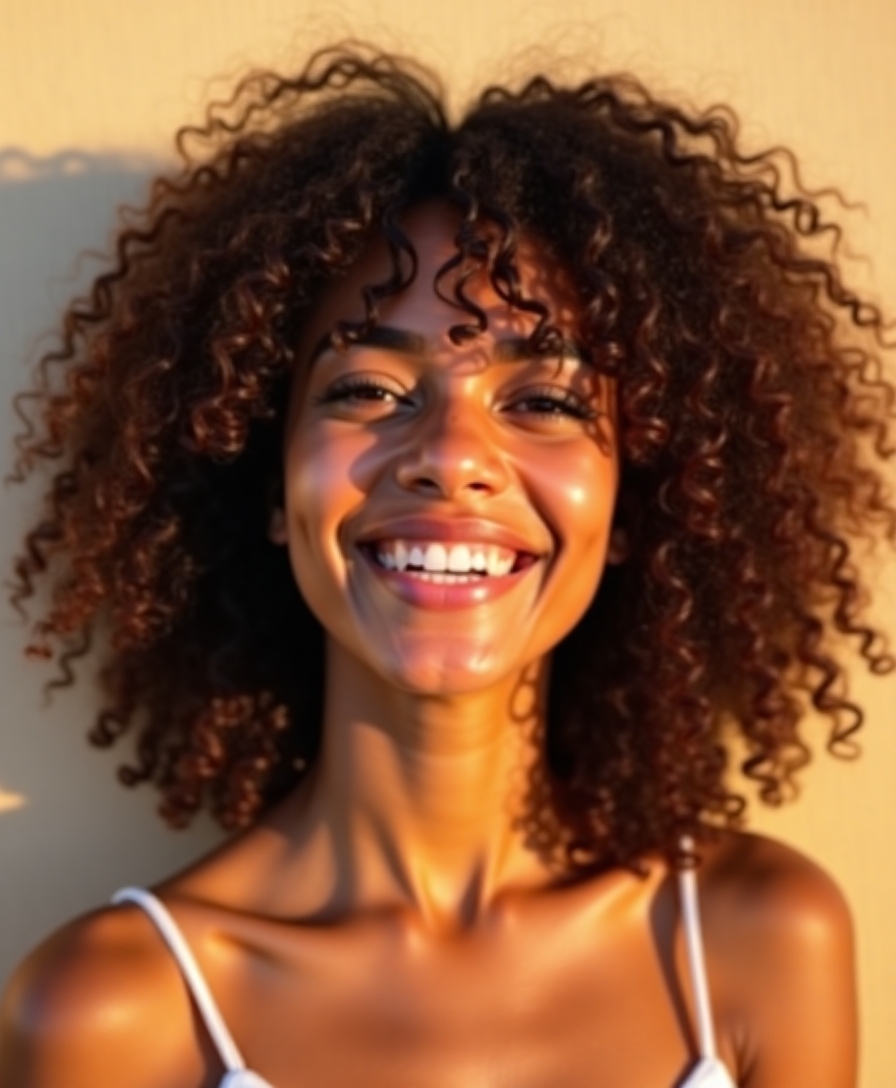
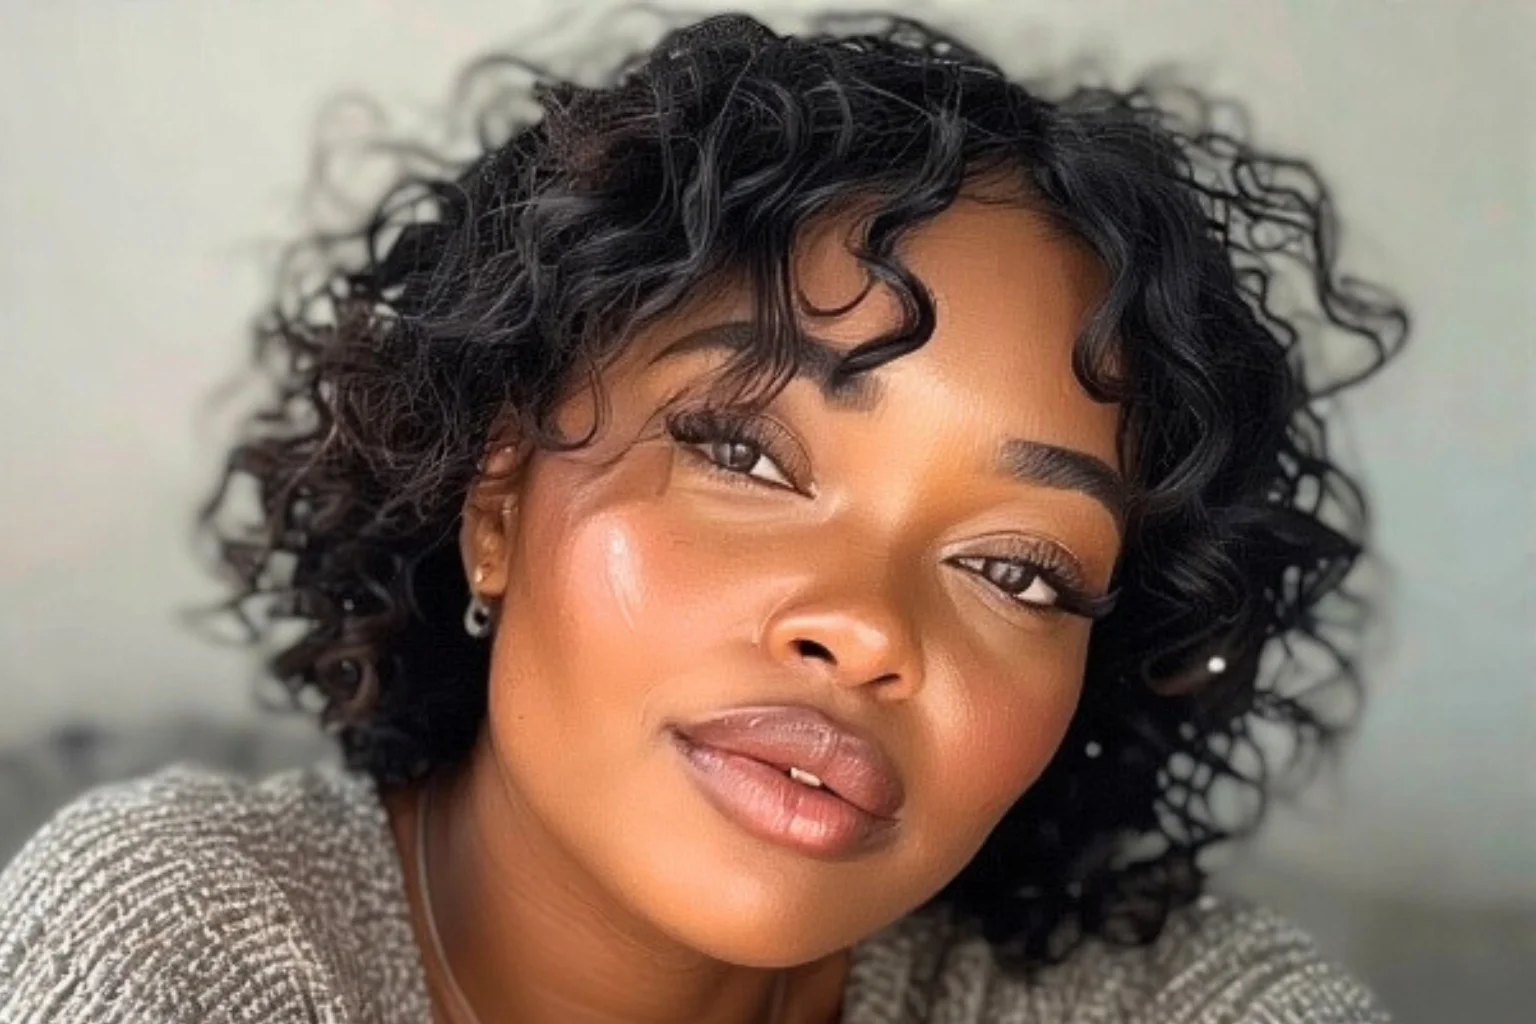
While curly-haired beauties might hesitate to try curtain bangs, I’m here to tell you they’re absolutely possible – and stunning.
Trust me, I’ve helped countless curly clients embrace this trend, and the results are always fabulous.
- Ask your stylist for longer, face-framing pieces that work with your curl pattern
- Keep the cut slightly longer than desired to account for shrinkage
- Use a curl-defining cream to tame frizz and enhance natural texture
- Style while damp using the “pray and spray” method
- Consider a light layering technique for seamless blend
Incorporating shag haircuts can also add texture and movement to your overall look.
The Low-Maintenance Guide to Keeping Your Bangs Fresh
I know firsthand that maintaining curtain bangs doesn’t have to be a time-consuming chore if you establish a simple daily routine.
I’ll show you my tried-and-true techniques for keeping your bangs looking fresh between washes, plus some easy styling shortcuts that take just minutes.
Whether you’re comfortable with scissors or prefer professional trims, I’ve got practical tips to help you maintain that perfect curtain bang shape at home and stretch the time between salon visits.
Daily Bang Care Basics
Taking care of curtain bangs doesn’t have to be a daily struggle.
I’ve learned that simplicity is key when maintaining that effortless, face-framing look.
Here’s what I do to keep my curtain bangs looking fresh:
- Blow-dry bangs immediately after washing using a round brush
- Train bangs to part by pinning them while damp
- Use dry shampoo at roots between washes
- Apply lightweight styling cream to prevent frizz
- Sleep with bangs twisted in small silk scrunchie
Quick Styling Between Washes
Between busy schedules and daily responsibilities, styling curtain bangs can feel like a chore.
I’ve discovered a few tricks to refresh mine without starting from scratch. I’ll spritz my bangs with water, use my fingers to reshape them, then blast with cool air for 30 seconds.
Dry shampoo and a quick twist around a round brush can also revive yesterday’s style perfectly.
Trimming Tips at Home
While regular salon visits are ideal for maintaining curtain bangs, learning to trim them at home can save both time and money between appointments.
I’ll share my tried-and-true tips for keeping your curtain bangs looking fresh.
- Work with dry hair to see the true length
- Use sharp hair-cutting scissors, never kitchen shears
- Trim small sections at a time, cutting at a 45-degree angle
- Point-cut into the ends for texture
- Only trim 1/4 inch at a time to avoid mistakes
Mastering the Perfect Blow-Out Technique
I’ll walk you through achieving salon-worthy curtain bangs at home using essential tools like a round brush, blow dryer with concentrator nozzle, and heat protectant spray.
Starting with damp hair, I’ll show you my tried-and-true technique of sectioning your bangs and directing the airflow downward while rolling the brush away from your face.
With proper tension and heat control, you’ll learn to create that perfect C-shaped curve and maintain your blowout’s bouncy shape throughout the day.
Essential Tools and Products
Creating the perfect curtain bangs blow-out requires three essential tools and a few key products that’ll make styling a breeze. Let me share my go-to arsenal that’ll transform your bangs game:
- Round brush (1.5-2 inch ceramic or boar bristle)
- Professional-grade blow dryer with concentrator nozzle
- Heat protectant spray or cream
- Lightweight styling mousse
- Anti-frizz serum for finishing touches
Step-by-Step Blowout Process
The perfect curtain bangs blow-out starts with damp, freshly washed hair and a clear plan of attack.
I’ll guide you through my foolproof method: First, rough dry your bangs with fingers until they’re 50% dry.
Next, use a round brush to curl under at the roots, then flip outward at the ends.
Finally, alternate directions while moving down each section, creating that coveted curtain effect.
Maintaining Your Blow-Out Style
Once you’ve achieved that perfect curtain bangs blow-out, maintaining it becomes your next mission.
I’ll show you my tried-and-true tips to keep your style fresh between washes.
- Sleep with your bangs pinned back in a loose spiral
- Use dry shampoo at the roots before bed
- Wrap your hair in a silk scarf overnight
- Touch up with a round brush in the morning
- Avoid touching your bangs throughout the day
Air-Drying Tricks for Natural-Looking Results
While blow-drying might be your go-to styling method, achieving effortlessly chic curtain bangs doesn’t always require heat tools.
I’ve found that applying a lightweight styling cream and tucking your damp bangs behind your ears for 15 minutes creates that perfect center part.
Once you release them, gently twist each side away from your face and let them air-dry naturally for that coveted lived-in look.
Working With Cowlicks and Stubborn Growth Patterns
I’ve learned that fighting against your hair’s natural growth patterns is a losing battle, especially with curtain bangs.
Your cowlicks and stubborn growth patterns can actually become your allies when you work with them instead of against them – let them guide the natural parting and flow of your bangs.
Through consistent styling and gentle training over time, you can coax those challenging areas to cooperate better with your desired curtain bang look.
Embracing Natural Hair Direction
Working with your natural hair direction is the secret to making curtain bangs look effortlessly stylish.
I’ll help you discover how to make your natural hair patterns work for you, not against you.
- Map your natural hair swirl patterns by letting hair air dry
- Style in the direction your hair naturally falls
- Use light products that enhance, rather than fight, your texture
- Part where your hair naturally separates
- Train stubborn sections gradually with gentle heat
Train Stubborn Growth Patterns
Stubborn growth patterns and cowlicks can seem like your biggest enemies when styling curtain bangs, but I’ve learned they’re actually opportunities to create unique, personalized looks.
I recommend working with your natural growth direction instead of fighting it. Train your bangs by blow-drying them in your desired direction while they’re damp, using a round brush to guide them.
Consistent styling will help retrain those stubborn strands over time.
Seasonal Styling Tips for Every Weather
Ever wondered how to keep your curtain bangs looking fresh through humidity, rain, and seasonal changes?
I’ve mastered the art of seasonal styling through years of trial and error, and I’m here to share my go-to strategies.
- Use lightweight anti-humidity spray in summer
- Switch to moisturizing cream in winter to prevent static
- Apply dry shampoo before bed on rainy days
- Invest in silk pillowcases for all seasons
- Keep mini flat iron in your bag for quick touch-ups
Growing Out Your Curtain Bangs Gracefully
If you’ve decided it’s time to grow out your curtain bangs, I’ll guide you through the process with minimal frustration.
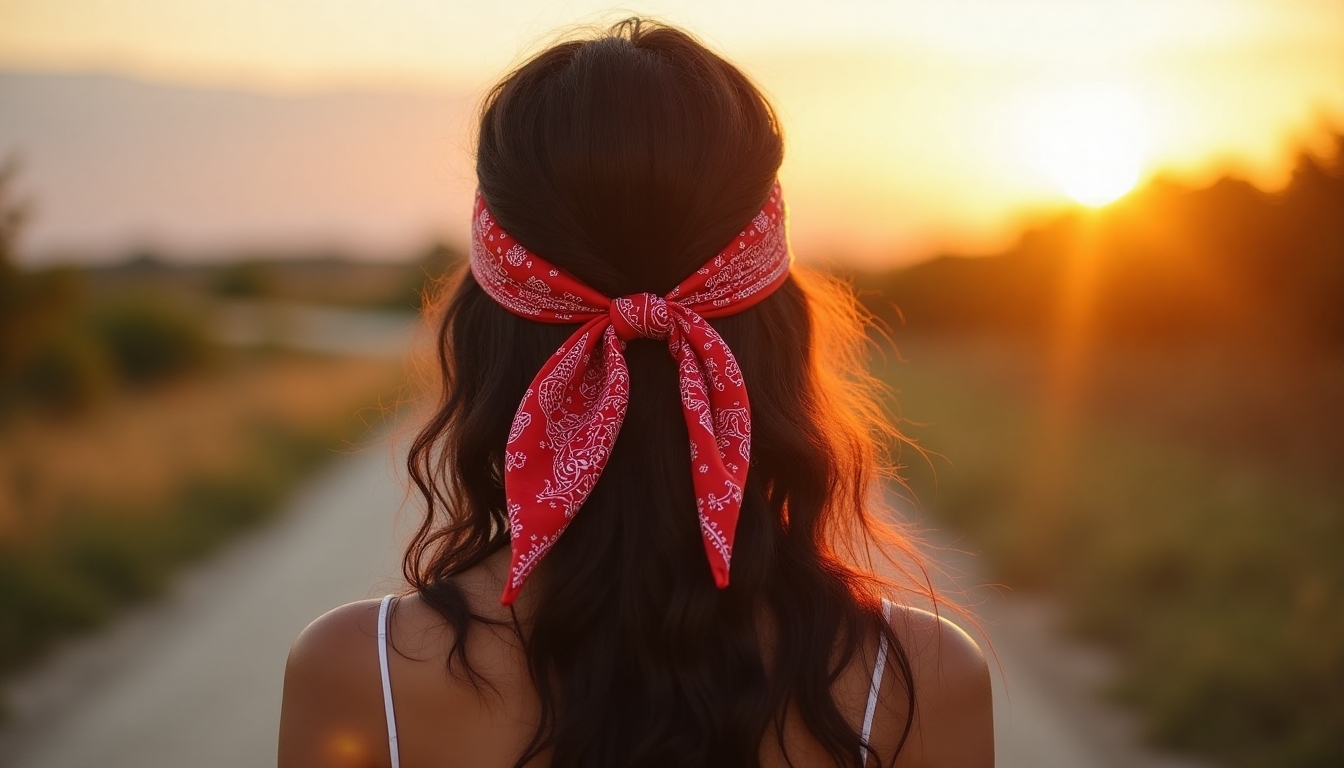
During the growth phase, I recommend using bobby pins and small styling clips to secure longer pieces away from your face while still maintaining a stylish look.
As your bangs shift between lengths, you’ll find that strategic styling techniques like side-sweeping and face-framing layers help you embrace each stage of the growing-out journey.
Pin While They Grow
When your curtain bangs start growing past their prime length, don’t panic – I’ve got your back with some practical pinning techniques.
- Twist and pin back using small pearl clips for an elegant look
- Try crisscrossing bobby pins to create a subtle crown effect
- Sweep bangs to one side with a decorative barrette
- Use mini butterfly clips for a trendy Y2K vibe
- Secure with snap clips underneath layers for an invisible hold
Additionally, incorporating claw clip hairstyles can be a stylish way to manage your bangs while keeping your long locks in check.
Styling Between Growth Phases
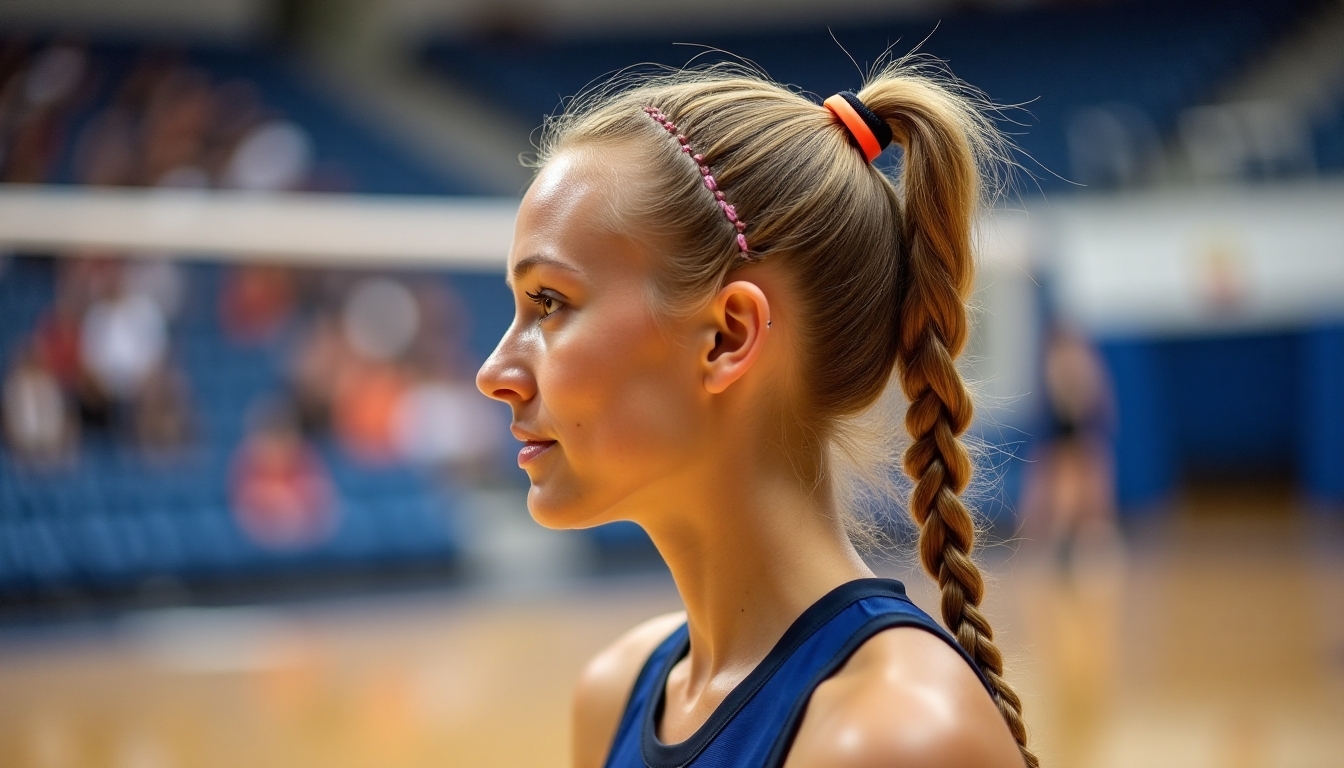
Growing out curtain bangs doesn’t mean giving up on style – there’s a sweet spot between each length that lets you experiment with fresh looks.
I’ve discovered that braiding longer pieces or twisting them into subtle face-framing tendrils works wonders. You can also sweep them to the side with a chic clip, blend them into layers, or tuck them behind your ears for an effortless look. Additionally, consider integrating airy layers with a whispy finish to enhance volume and sophistication as your bangs grow longer.
Product Must-Haves for Different Hair Textures
To maintain those gorgeous curtain bangs across different hair textures, you’ll need the right arsenal of styling products in your beauty toolkit.
I’ve tested countless products and narrowed down the essentials that’ll work for your specific texture.
- Lightweight mousse for fine, straight hair
- Anti-frizz serum for wavy, unruly strands
- Curl-defining cream for natural curls
- Smoothing oil for coarse, thick textures
- Texturizing spray for added volume and hold
Quick Fixes for Second-Day Hair
Since curtain bangs can look a bit disheveled after sleeping, I’ve discovered some genius ways to refresh them without starting your entire styling routine from scratch.
I love using dry shampoo at the roots, followed by a quick blast of cool air from my blow dryer. For stubborn pieces, I’ll dampen just the bangs and reshape them with a round brush.
Celebrity-Inspired Ways to Wear the Look
Celebrity inspiration has shaped the curtain bangs trend into countless stunning variations.
I’m seeing so many stars rock this versatile look in fresh ways that’ll work for your style too.
- Dakota Johnson’s soft, feathered curtain bangs frame her face perfectly
- Lily Collins opts for shorter, piece-y bangs that blend seamlessly
- Jennifer Lopez’s long, swooping curtain bangs add drama
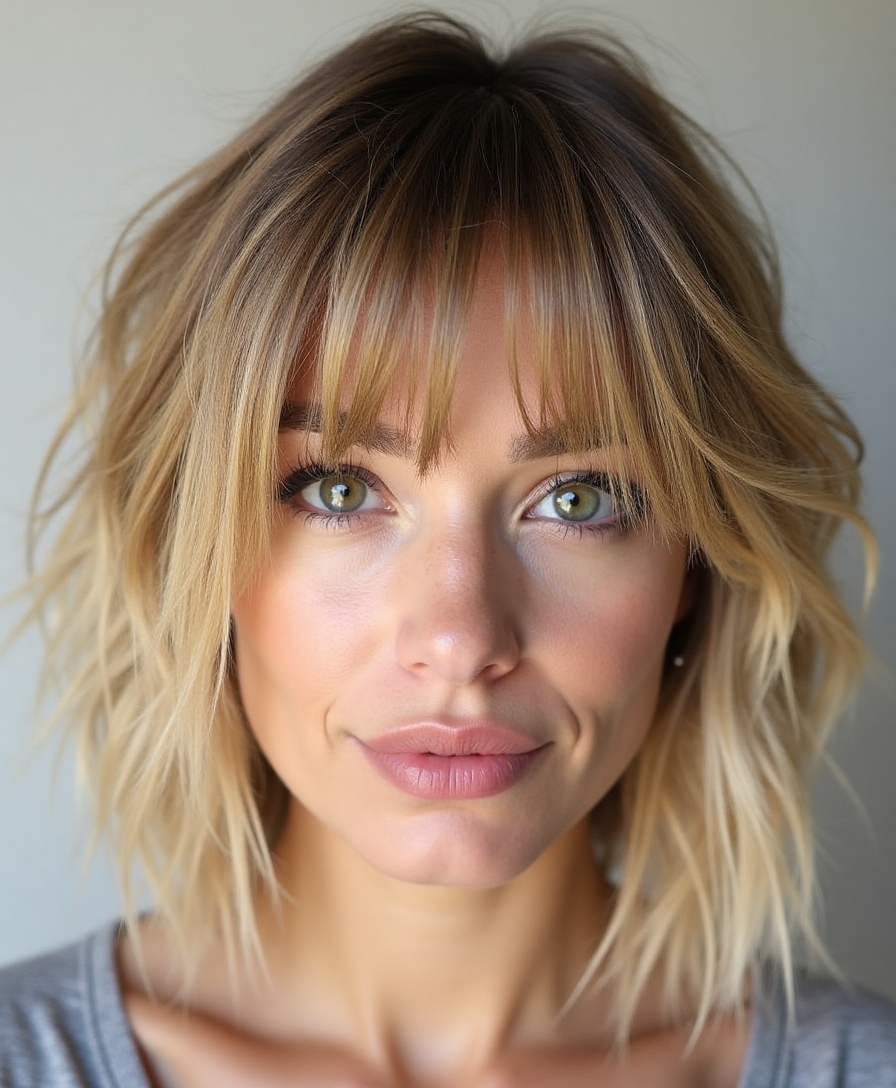
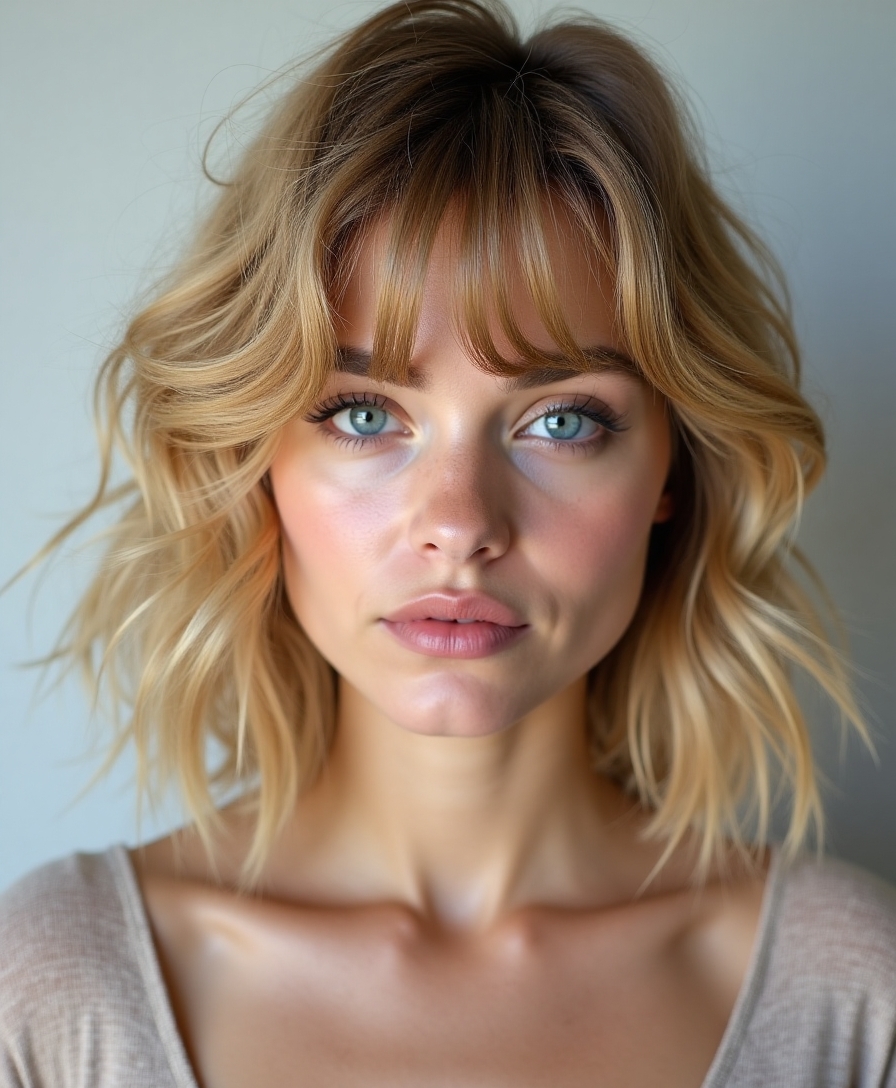
- Selena Gomez keeps hers textured and effortlessly tousled
- Margot Robbie’s subtle curtain bangs create gentle face-framing layers
Combining Curtain Bangs With Different Hair Lengths
Whether you’re sporting a pixie cut or waist-length waves, curtain bangs can enhance virtually any hairstyle.
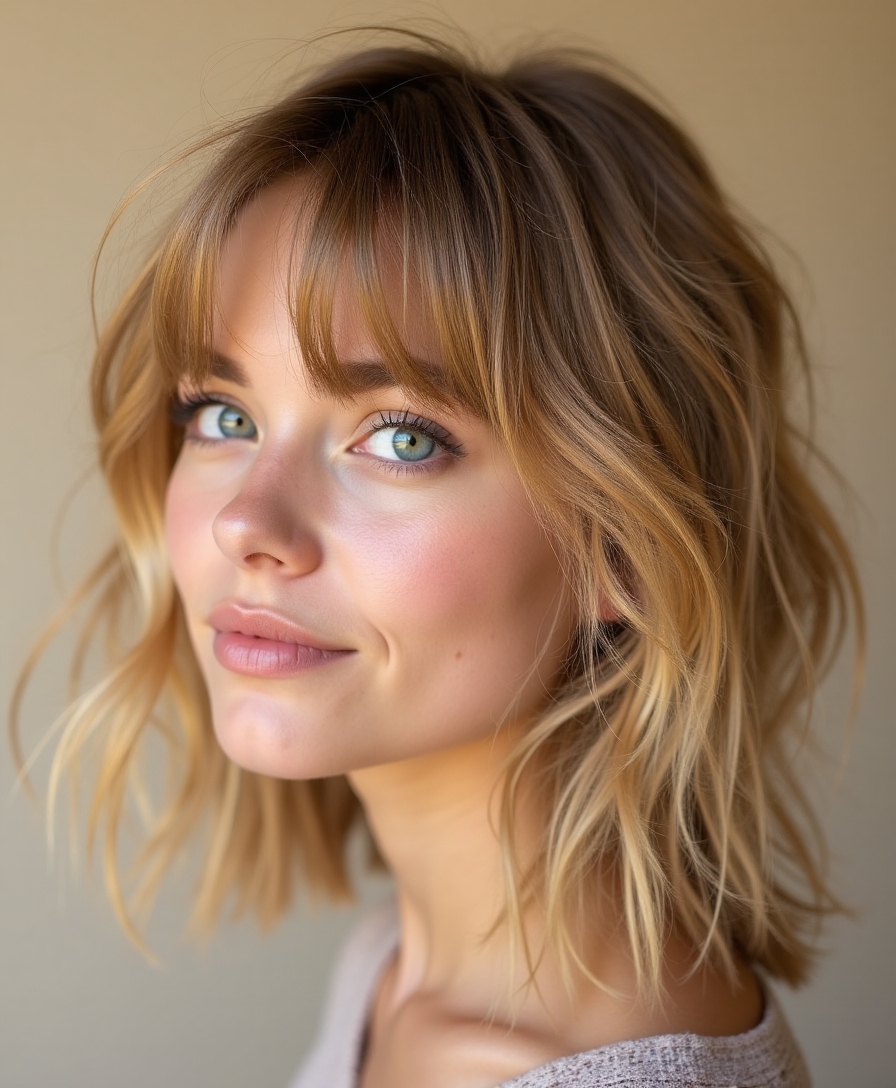
I love how they frame short bobs by creating soft face-framing layers, while adding dimension to shoulder-length cuts.
For longer styles, I’ve found they create gorgeous movement and depth.
They’re especially flattering when layered into shags or when softening blunt cuts.
Common Styling Mistakes and How to Avoid Them
When styling curtain bangs, I’ve noticed many people make the same frustrating mistakes that can sabotage their look.
Let me share what I’ve learned to help you avoid these common pitfalls:
- Cutting bangs too thick instead of keeping them wispy and light
- Over-relying on heat styling rather than working with natural texture
- Trimming bangs while they’re wet, causing them to shrink up too short
- Parting incorrectly against your hair’s natural growth pattern
- Forgetting to maintain regular trims, leading to lost shape
I’ve learned that curtain bangs aren’t just about perfection – they’re about embracing the beautiful chaos of your natural texture. Whether you’re rolling out of bed or heading to a night out, these face-framing layers can transform any “mess” into an intentional style statement.
Trust me, once you master the art of casual-cool curtain bangs, you’ll never look back. It’s time to let your hair tell its own effortlessly chic story.