


I’ve mastered the art of short sew-in hairstyles through years of trial and error, and I’ll tell you – there’s nothing quite like the confidence of knowing your style looks effortlessly polished. While many struggle with visible tracks or awkward blending, I’ve discovered the secrets to achieving that “I woke up like this” look.
Whether you’re considering your first short sew-in or looking to elevate your current style, these insider techniques will transform your approach to protective styling.
The Perfect Length: Choosing Your Short Sew-In Style
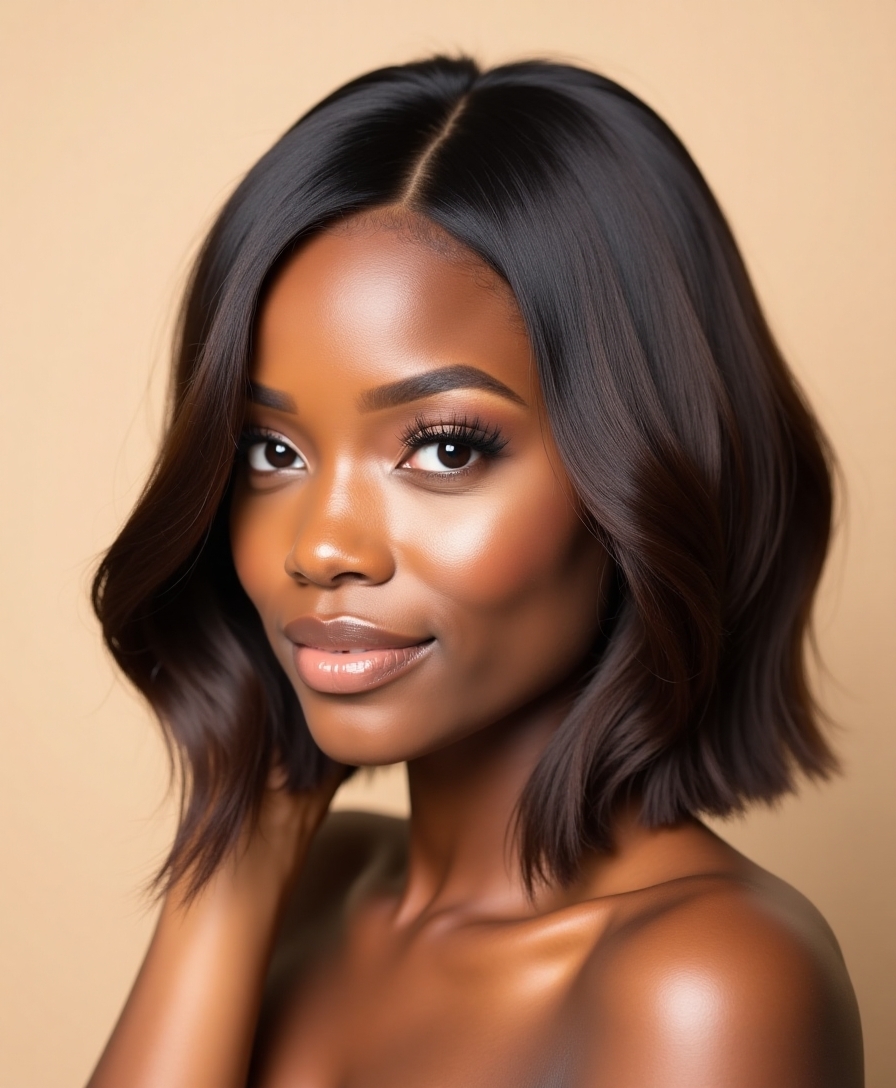
When it comes to choosing the perfect length for your short sew-in style, there’s more to evaluate than just personal preference.
I recommend considering your face shape, daily routine, and lifestyle demands. A chin-length bob might frame a round face beautifully, while a pixie-length sew-in can highlight your cheekbones.
Balance your desired look with manageable maintenance. Additionally, opting for a layered bob style can provide added volume and texture, enhancing your overall appearance while keeping it stylishly effortless.
Essential Tools and Products for Long-Lasting Short Sew-Ins
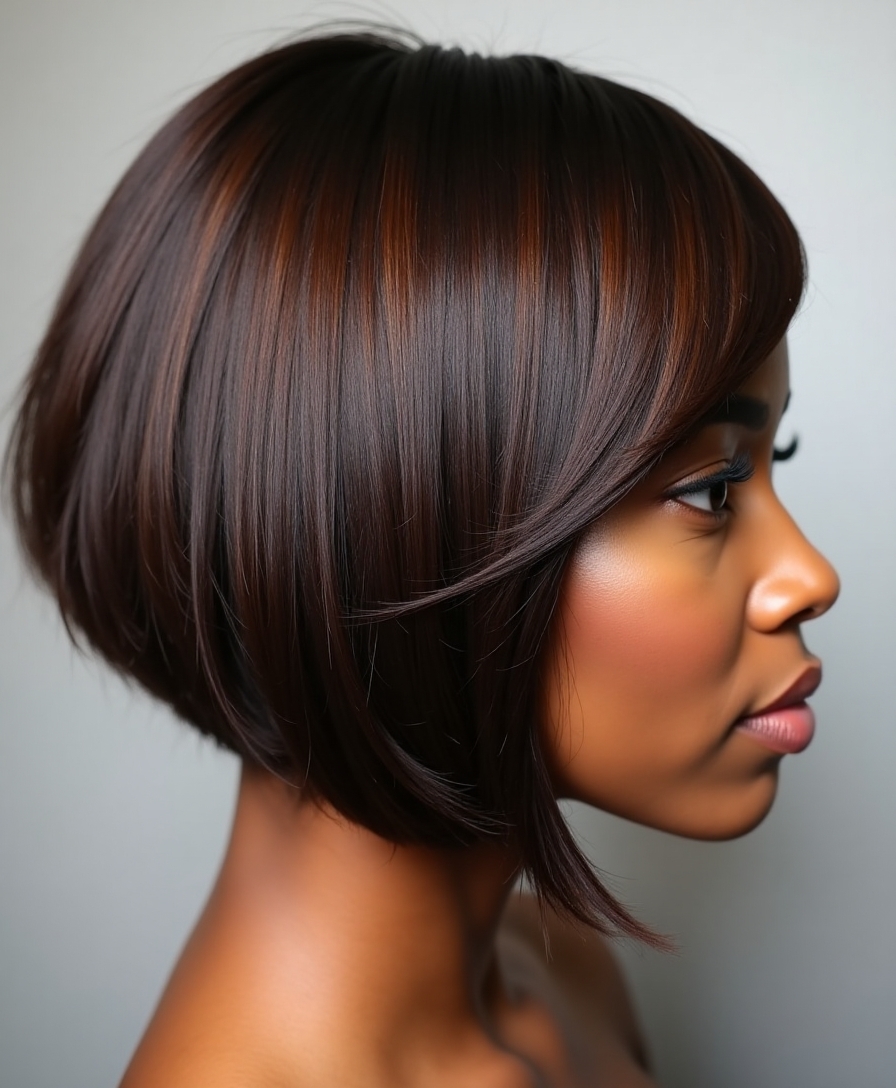
Every successful short sew-in starts with the right arsenal of tools and products.
I’ve found that sharp threading needles, quality braiding thread, and a reliable sew-in comb are non-negotiable basics.
I always keep strong edge control, alcohol-free holding spray, and lightweight moisturizer on hand.
Trust me, these essentials will help your style maintain its polished look between maintenance visits.
Preparing Your Natural Hair for the Perfect Installation

Having the right tools is just the start – proper hair preparation sets the foundation for a flawless short sew-in.
I’ll tell you my tried-and-true method: Start with freshly washed, deep-conditioned hair.
Then detangle thoroughly and let it dry completely.
I always section my hair into clean, precise parts and braid each section flat against my scalp in the desired pattern for installation.
Creating a Natural-Looking Hairline That Lasts

Since the hairline makes or breaks a sew-in’s natural appearance, I’ve learned that strategic placement is essential.
I always start by creating a soft, staggered part that mimics natural growth patterns.
Using baby hairs sparingly and leaving a thin section of your natural hairline exposed helps achieve that seamless look.
I recommend using a light-hold edge control to maintain the style’s authenticity. Additionally, employing a deep conditioning routine can enhance overall hair health, ensuring that your sew-in looks vibrant and natural.
Blending Techniques for Seamless Short Styles
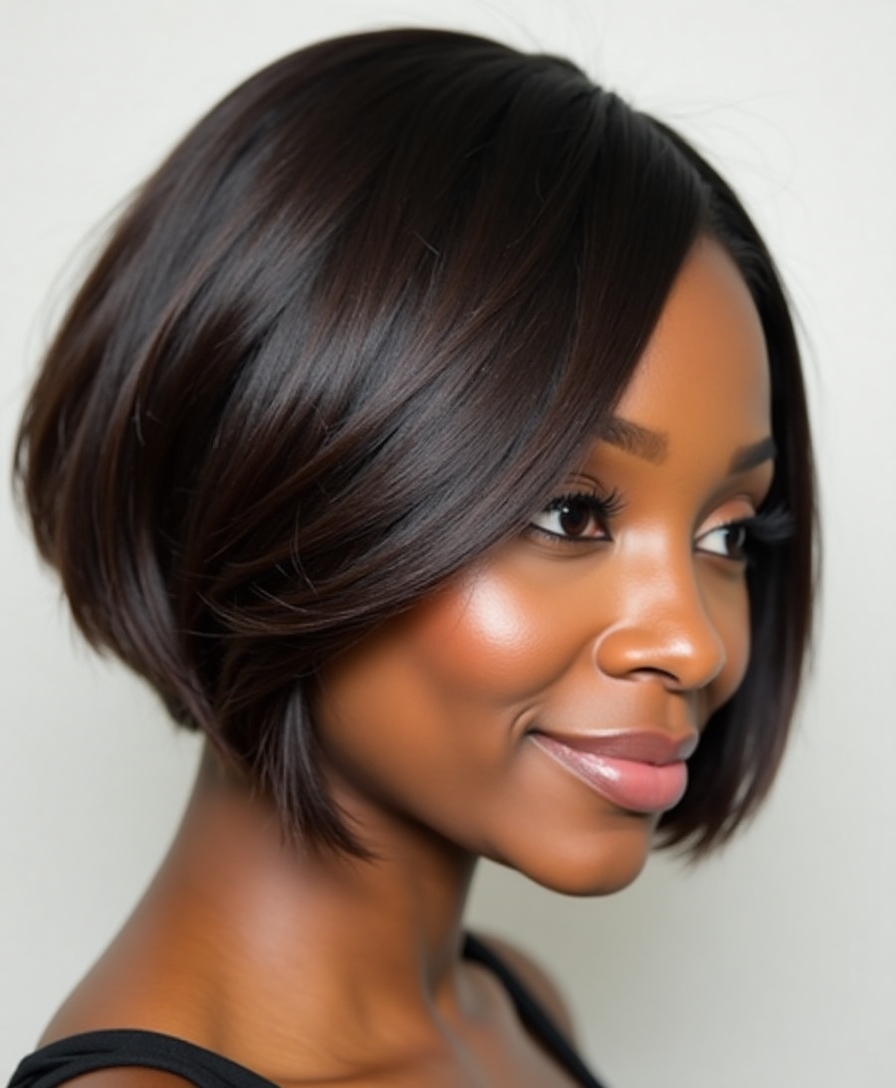
When styling a short sew-in, blending is essential to achieving that flawless, natural look.
I’ve found that layering your natural hair with thinning shears creates the perfect shift point.
I’ll often use a razor comb to feather the edges where natural and sewn-in hair meet.
For the most seamless blend, I recommend matching textures and keeping layers consistent throughout.
Popular Short Sew-In Styles for Different Face Shapes
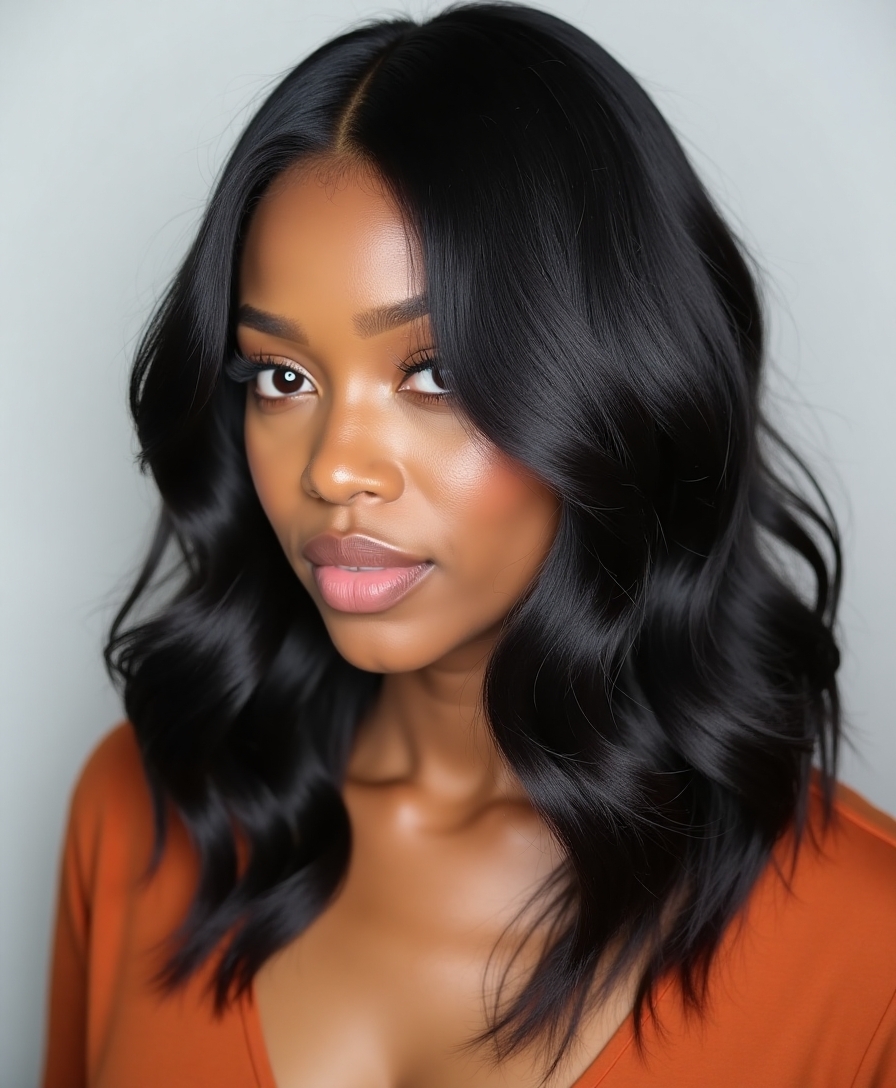
The right short sew-in style can transform your entire look, especially when it complements your unique face shape.
I recommend sleek bobs for round faces to create length, while layered pixies work wonders on oval shapes.
If you’ve got a heart-shaped face, try a side-swept bob with volume at the jawline.
For square faces, I suggest soft waves and wispy bangs to soften angles. Additionally, incorporating chic and trendy short hairstyles can elevate your overall appearance and add a modern touch.
Maintaining Your Short Sew-In’s Fresh Look

Maintaining a fresh look with your short sew-in requires daily attention and the right care routine.
I’ve found that the key to keeping your style flawless lies in consistent maintenance.
- Wrap your hair in silk at night to prevent frizz and maintain smoothness.
- Moisturize your leave-out daily to blend seamlessly with the weave.
- Use dry shampoo between washes to absorb excess oil.
- Schedule touch-ups every 2-3 weeks to keep edges sleek.
Additionally, incorporating high-quality hair products into your routine can greatly enhance the longevity and appearance of your sew-in.
Color Options That Keep Your Style Looking Real

Beyond proper maintenance, selecting the right hair color makes a dramatic difference in how natural your short sew-in appears.
I recommend staying within two shades of your natural color for the most believable look.
If you’re feeling bold, try subtle highlights or lowlights that match your skin’s undertones.
I’ve found that warm honey tones work beautifully on darker complexions, while cooler ash shades complement fair skin.
Night-Time Care Routine for Extended Wear

I’ve found that protecting your short sew-in at night makes all the difference in maintaining its fresh, salon-worthy appearance.
For ideal preservation, I recommend wrapping your hair in silk using a figure-eight pattern, then applying a lightweight oil around your edges to prevent friction damage.
Once you’ve completed these steps, secure everything with a snug-fitting bonnet that won’t slip off while you sleep.
Daily Silk Wrap Method
To keep your short sew-in looking fresh night after night, wrapping your hair in silk is an essential evening ritual.
I’ve found this daily practice helps maintain smoothness while preventing tangles and frizz.
- Apply a light oil to your edges and nape
- Gently brush hair in a circular motion around your head
- Secure with silk scarf, making sure all hair is covered
- Remove in morning and style as desired
Oil-Based Edge Protection
Protecting your edges with nourishing oils at night is essential for maintaining a healthy short sew-in over time.
I recommend applying a light layer of castor or jojoba oil along your hairline before bed.
Gently massage it in using circular motions, paying special attention to areas where the tracks meet your natural hair.
I’ve found this prevents tension and breakage while keeping edges smooth.
Secure Bonnet Application
Night-time care starts with a secure bonnet that fully covers your short sew-in.
I’ve learned through years of maintaining flawless styles that proper coverage prevents matting and preserves your style’s bounce.
- Smooth your hair gently toward the crown before covering
- Double-check edges to avoid bonnet slippage
- Use a silk or satin bonnet that won’t catch or snag
- Secure with an adjustable band that won’t pinch or bind
Signs It’s Time to Refresh Your Short Sew-In

I’ll share with you how to spot when your short sew-in needs a refresh, as letting it go too long can compromise your style and hair health.
When you notice your tracks becoming visible or edges appearing less seamless, it’s a clear signal that maintenance is needed.
If your extensions start feeling matted or loose, or if your natural hair isn’t blending as smoothly as it once did, these are definitive signs that it’s time for a redo.
Visible Tracks and Edges
One of the telltale signs that your short sew-in needs a refresh is when tracks and edges become visible to the naked eye.
I’ve learned that even the most skillfully installed sew-in can start revealing its secrets over time.
- Wefts peeking through when you style your hair
- Lifting edges around your hairline that won’t lay flat
- Obvious demarcation between natural hair and extensions
- Noticeable track lines when your hair moves
Additionally, using high-quality quick weave hairstyles can help minimize the visibility of tracks and maintain a sleek appearance.
Loose or Matted Hair
While well-maintained sew-ins can last for weeks, matted hair and loose wefts are clear indicators that your style needs attention.
I’ve noticed when my extensions start feeling tangled or begin to separate from the braided base, it’s definitely time for a refresh.
Don’t wait until your hair becomes uncomfortably matted – this can damage both your natural hair and the extensions.
Styling Tips for Different Short Sew-In Textures
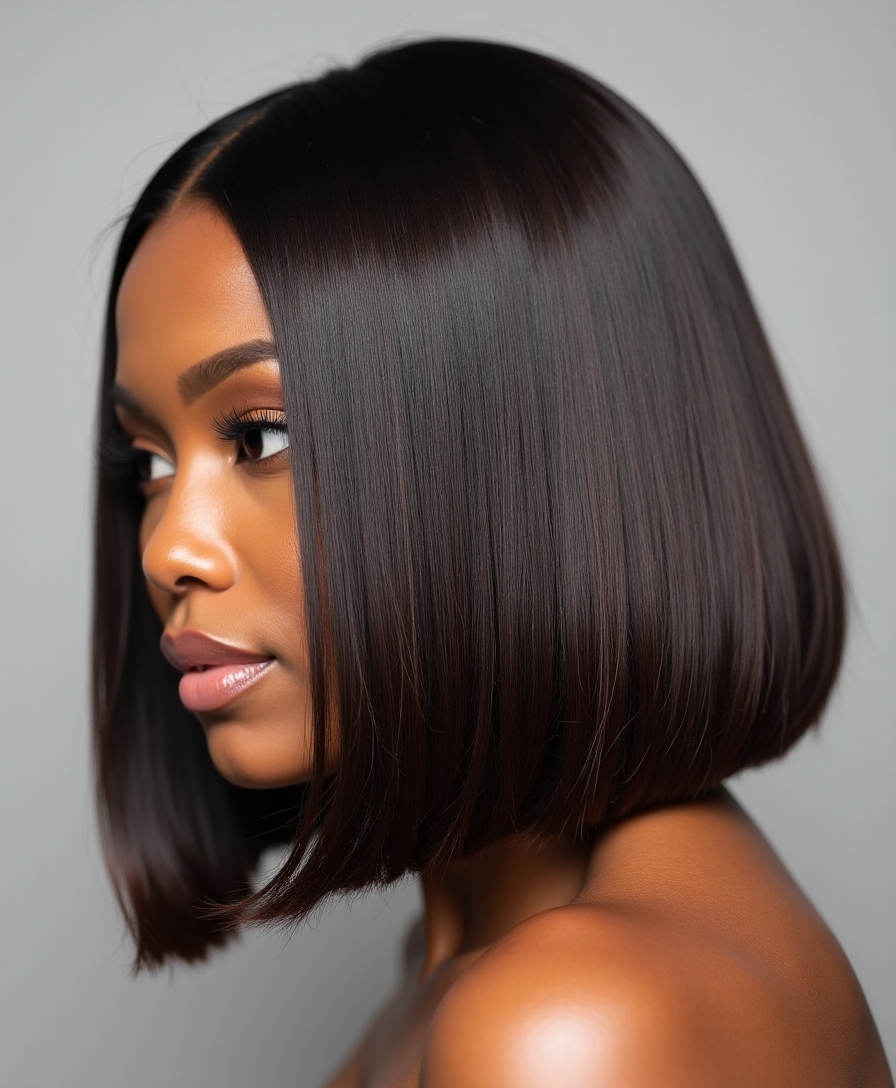
Since different hair textures require unique styling approaches, mastering the right techniques for your short sew-in is essential for achieving that perfect look.
- Let me show you how silky straight textures need gentle flat-ironing at the roots, creating that seamless blend I’ve perfected over years.
- For curly textures, I’ve found that finger-coiling the leave-out works wonders.
- With kinky textures, you’ll love how a light mousse defines those gorgeous patterns.
- Trust me, wavy styles come alive when you scrunch while damp.
Weather-Proofing Your Short Protective Style
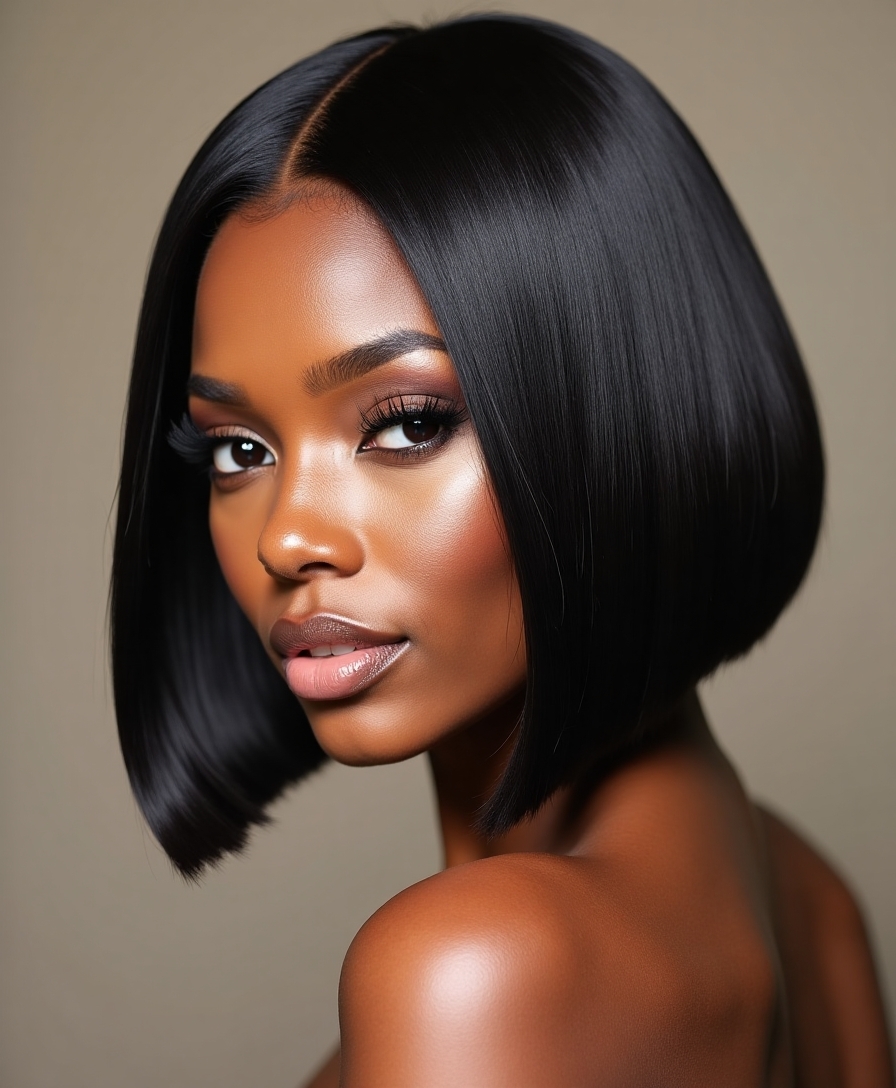
I’ve learned through trial and error that weather-proofing your short sew-in is essential for maintaining that fresh-from-the-salon look, no matter what Mother Nature throws your way.
You’ll want to start by sealing those exposed edges with a light pomade, then layer your anti-humidity products from lightest to heaviest, creating an invisible shield against frizz and moisture.
I make it a daily habit to protect my closure with a light waterproof spray, which helps maintain the natural-looking hairline while keeping unwanted moisture at bay.
Seal Those Exposed Edges
Even with a flawless sew-in installation, exposed edges can quickly become your style’s weak point when faced with humidity, rain, or sweat.
I’ve learned that sealing those edges properly is essential for maintaining your look.
- Apply edge control using your fingertips, not palms, for precise application
- Use a silk scarf at night to preserve your edges
- Avoid overworking the hairline with excessive brushing
- Layer a light oil under your edge control for extra protection
Anti-Humidity Product Layering
When humid weather threatens to sabotage your short sew-in, proper product layering becomes your best defense.
I start with a lightweight anti-humidity serum on my leave-out, followed by a moisture-locking cream.
For the wefts, I use a silicone-based protectant spray.
I’ll finish with a light mist of flexible-hold hairspray, focusing on areas where moisture typically causes the most trouble.
Additionally, ensuring regular trims can help maintain healthy curls and prevent split ends from impacting your style.
Waterproof Your Closure Daily
Protecting your closure from moisture requires daily attention, especially with shorter styles where any irregularities become immediately noticeable. I’ve learned that waterproofing your closure is essential for maintaining that seamless look.
- Gently dab a silicone-based sealer along your closure’s hairline
- Apply light pressure while sealing to prevent product buildup
- Focus on securing the perimeter where moisture typically sneaks in
- Let each layer dry completely before styling
Common Mistakes to Avoid With Short Sew-Ins
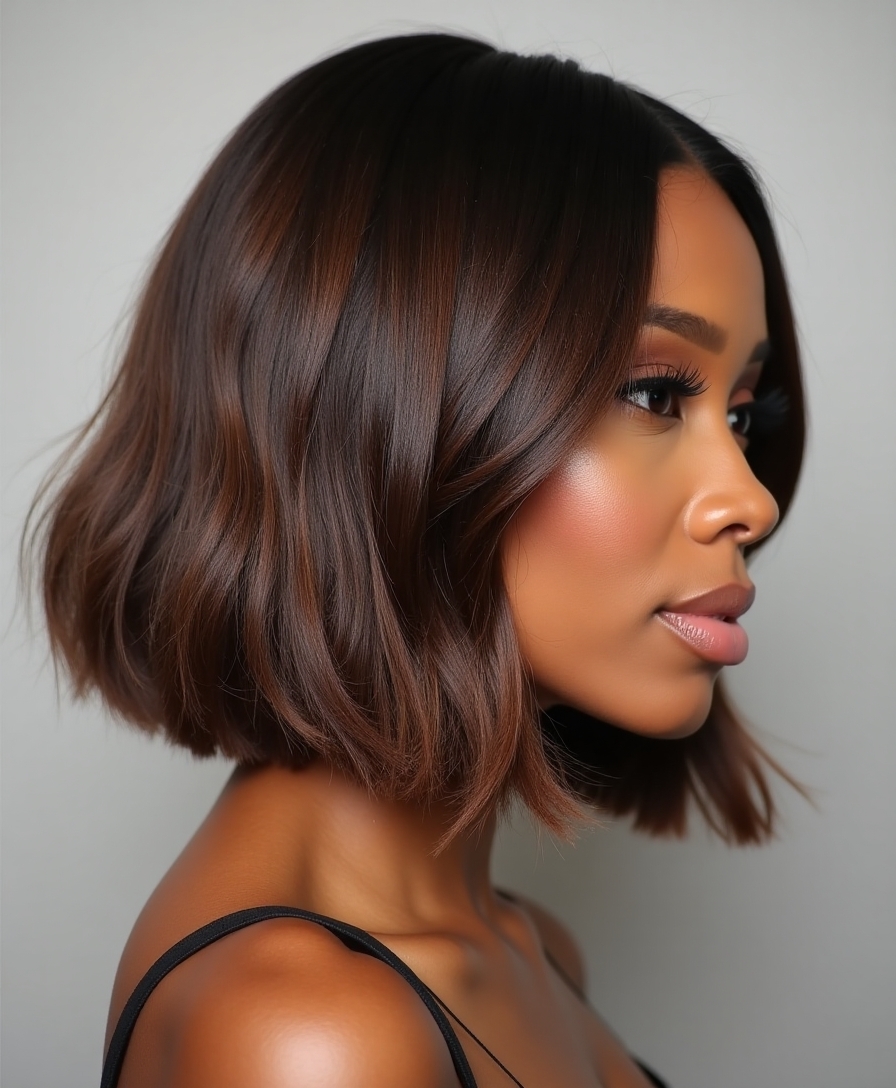
Although short sew-in hairstyles can look stunning, I’ve seen many people make avoidable mistakes that diminish their style’s potential.
Don’t skip the braid pattern foundation or use hair that’s too long for your desired style.
I’ve learned that rushing the installation, neglecting proper cornrowing, and choosing the wrong closure size can ruin the natural look you’re trying to achieve.
Quick Fixes for Short Sew-In Emergencies

Let me share some quick emergency fixes I’ve learned for those nerve-wracking short sew-in mishaps that always seem to happen at the worst times.
I’ll show you how to quickly secure a loose track with a few bobby pins and clear nail glue, conceal visible part lines with a touch of concealer and edge control, and refresh those edges with a spritz of water and light gel application.
When these hair emergencies strike, you’ll be prepared with these simple solutions that can save your style until you can get back to your stylist.
Secure Loose Track Quickly
Dealing with a loose track in your short sew-in can feel like a hair emergency, but I’ve got some quick solutions that’ll save your style.
- Keep a curved needle and matching thread in your purse – trust me, this tiny tool has saved my style countless times.
- Apply a dab of hair bonding glue for instant hold.
- Secure with small bobby pins strategically placed.
- Braid the loose track temporarily until you can see your stylist.
Fix Visible Part Lines
Visible part lines can pop up unexpectedly in short sew-ins, especially after a few weeks of wear.
I’ve found that gently dabbing concealer along exposed areas helps blend them seamlessly. If you’re in a pinch, try spritzing a small toothbrush with hairspray and lightly brushing it over the part lines.
For a lasting fix, I recommend repositioning the tracks during your next maintenance session.
Emergency Edge Touch-Ups
Edge emergencies with short sew-ins can strike at the worst possible moments, whether you’re heading to an important meeting or rushing out for date night.
I’ve learned that quick fixes can save your style in these situations.
- Smooth baby hairs with edge control gel and a soft brush for instant polish
- Dab concealer along your part to camouflage any gaps
- Spritz water and wrap edges with a silk scarf for 10 minutes
- Apply dry shampoo to absorb excess oil at the roots
Choosing the Right Hair Type for Your Short Style

When selecting hair for your short sew-in style, texture and quality make all the difference in achieving a natural, flattering look.
I recommend choosing virgin hair that matches your natural texture – whether straight, wavy, or curly.
Look for human hair bundles between 8-12 inches with good body and movement.
Brazilian and Malaysian hair textures tend to blend seamlessly with most natural hair patterns.
Cost-Effective Ways to Maintain Your Short Sew-In

Maintaining your short sew-in doesn’t have to drain your wallet if you follow some smart care practices.
I’ve learned that investing in the right products upfront saves money long-term.
- Mix your favorite conditioner with water in a spray bottle for daily moisture.
- Sleep with a silk scarf to prevent friction and extend style life.
- Clean your scalp with witch hazel between washes.
- Deep condition monthly using DIY treatments.
Tips for Transitioning Between Short Sew-In Styles
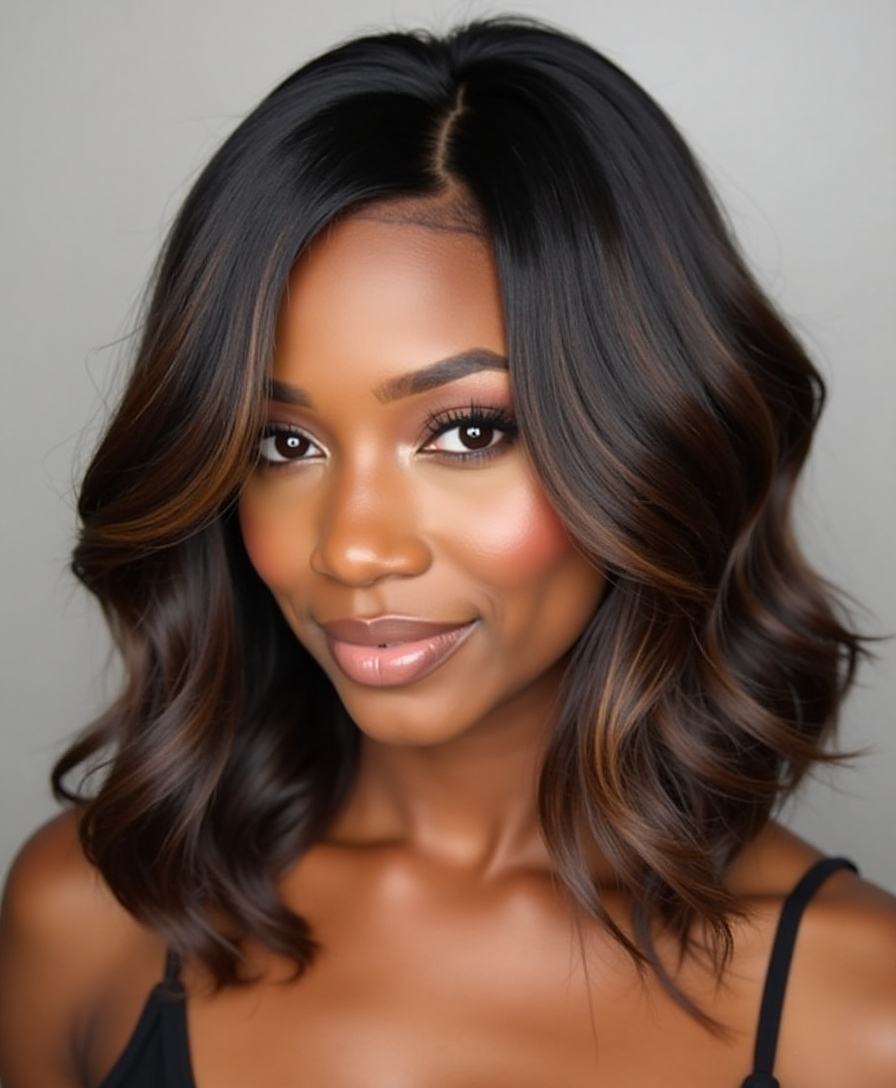
Before switching between short sew-in styles, I’ve found that giving your natural hair a brief recovery period makes all the difference.
I recommend deep conditioning treatments and letting your scalp breathe for at least a week.
When you’re ready for a new style, consult your stylist about any necessary adjustments to the braiding pattern, and consider trying a slightly different length or texture to keep things fresh. Exploring chic pixie styles can also offer a stylish change as you transition between looks.
I’ve found that short sew-in styles are all about smart choices and subtle techniques. When you master the basics – from selecting the right hair length to perfecting those blending methods – you’ll achieve that effortless look we’re all after.
Remember, it’s not about hiding the work; it’s about making smart styling decisions that let your confidence shine through. Trust me, your perfect short sew-in is within reach.


