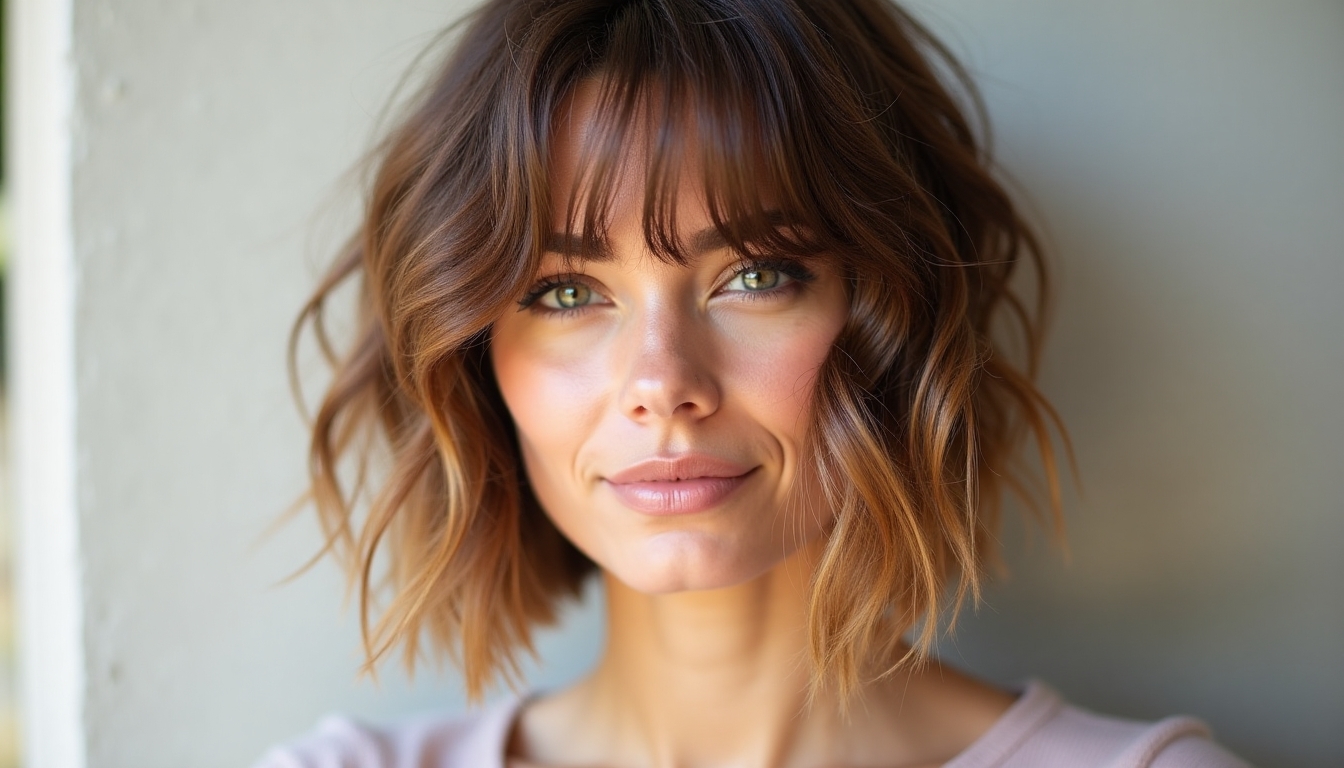
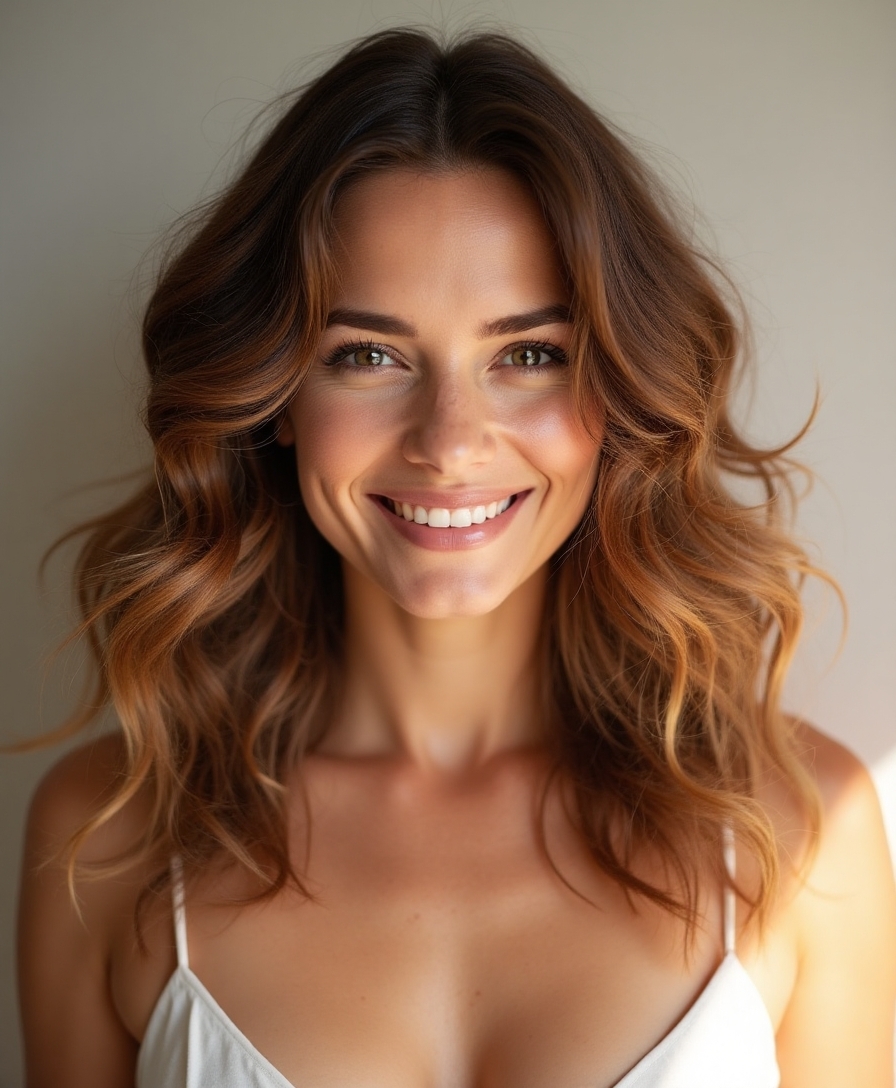
I’ve spent years fumbling with complicated hairstyle tutorials that left me with tangled hair and wounded pride. Trust me, I get it – you want to look put-together without dedicating hours to mastering intricate techniques.
That’s why I’m sharing these fool-proof hairstyles for medium-length hair that I’ve perfected through trial and error. Let’s make your morning routine easier with styles that actually work for real people.
The Five-Minute Messy Bun Hack
Although messy buns might look effortlessly chic, nailing that perfectly imperfect look can be frustratingly difficult.
Trust me, I’ve spent way too many mornings wrestling with my hair. Here’s my foolproof hack: Flip your head upside down, gather hair into a high ponytail, twist it loosely, and wrap it around the base.
Secure with bobby pins, pull out a few face-framing pieces, and you’re done. This style is reminiscent of a chic low bun that’s both versatile and suitable for numerous occasions.
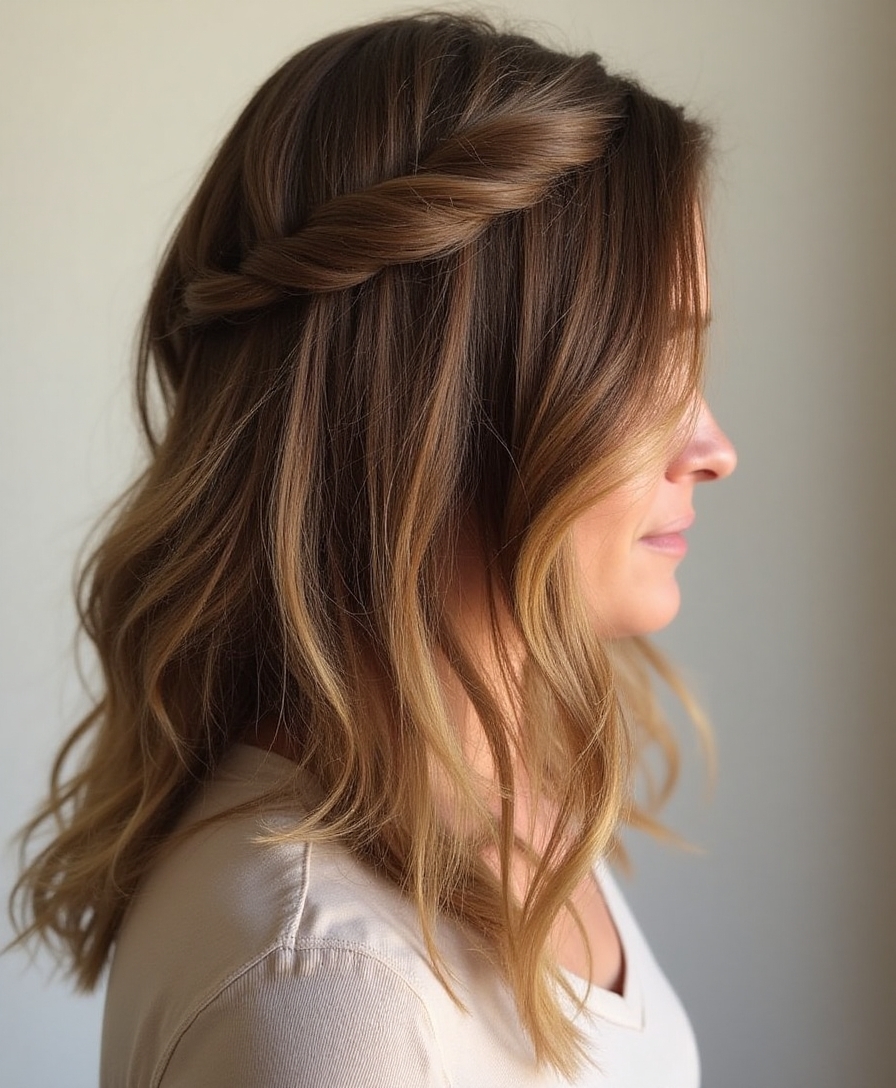
Twisted Side-Swept Elegance
I’m excited to share my favorite all-occasion hairstyle that’s both sophisticated and incredibly simple to create.
With just a few strategic twists and pins, you’ll transform your medium-length hair into a stunning side-swept style that looks like you spent hours at the salon. This versatile style is perfect for various events, including weddings, where chic half up half down styles are in demand.
I’ll show you how to master this red-carpet-worthy look in minutes, even if you’re rushing out the door.
Perfect Side-Sweep Technique
Creating a flawless side-sweep starts with three key elements: the right angle, proper twist tension, and strategic pinning.
I’ll tell you a secret – tilt your head slightly when parting your hair to get that perfect diagonal sweep.
Then, twist the hair while applying gentle pressure (not too tight, you’re not making a rope!).
Finally, secure it with two criss-crossed bobby pins behind your ear.
Glamour Without Much Effort
Building on that side-sweep technique, let’s amp up the glamour factor without breaking a sweat.
I’ll show you how to create a twisted side-swept look that’s perfect for date nights or special events.
- Gather your swept hair and divide it into two sections.
- Twist each section away from your face until you reach the ends.
- Pin the twisted sections together at the nape of your neck with bobby pins. This look pairs beautifully with curtain bangs for an added touch of sophistication.
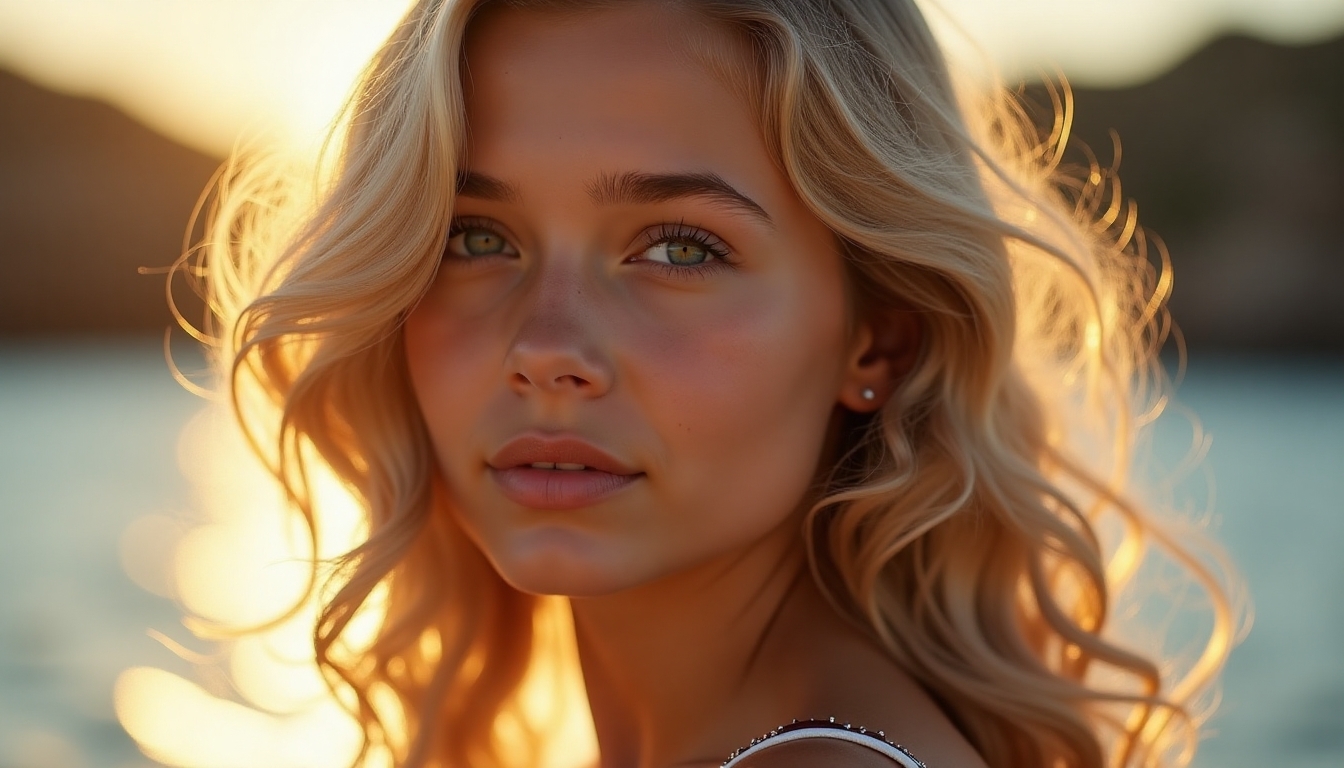
Beach Waves Without the Ocean
While beachy waves might seem exclusive to coastal living, you can totally nail that perfectly tousled look right at home.
I’m obsessed with this super easy method: Just braid your damp hair before bed, and wake up to effortless waves.
Or try my quick alternative – twist small sections of your hair around a flat iron, holding each twist for 5 seconds. Done!
Double Dutch Braid Magic
Despite looking complex, double Dutch braids are actually a total game-changer for medium-length hair.
I swear by this style when I need my hair to look amazing for two whole days.
Here’s what makes them magical:
- You’re braiding upward instead of down, which creates that cool crown effect
- They stay put during workouts
- When you unravel them, you’ll get perfect waves
Additionally, this style echoes iconic hairstyles from the 90s, where braided looks were all the rage.
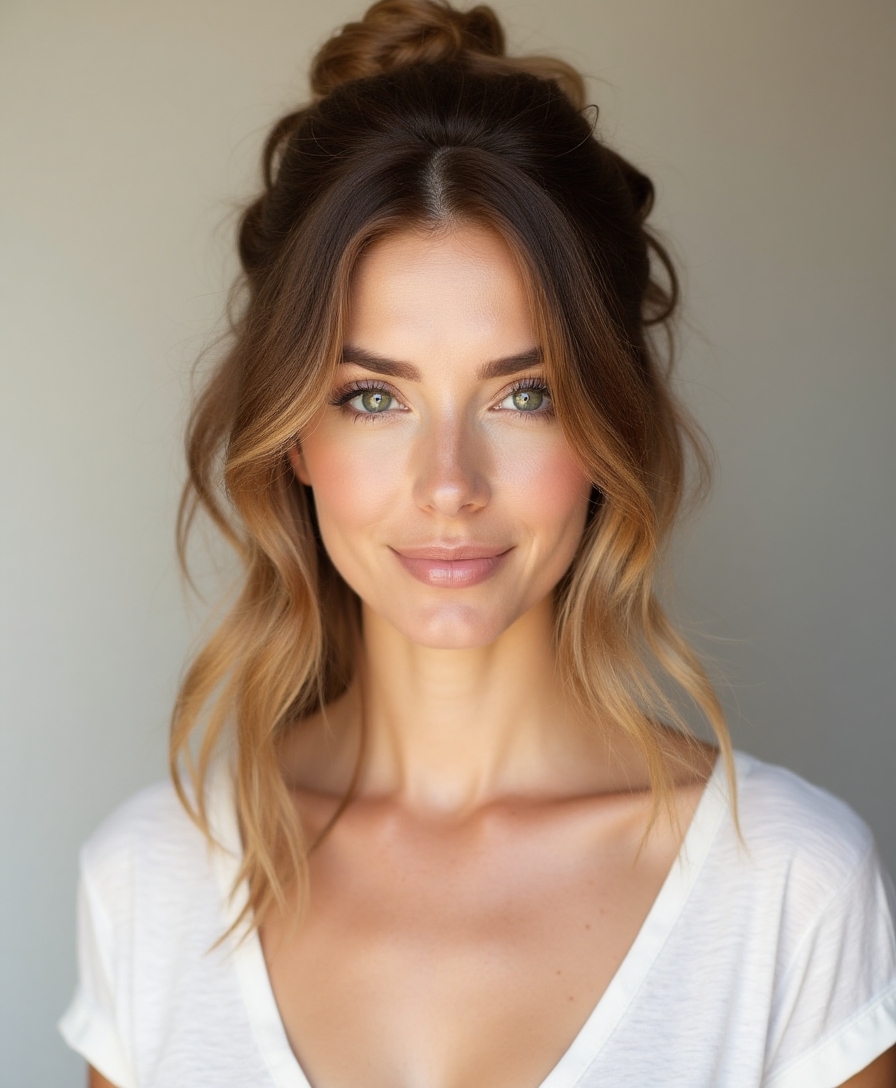
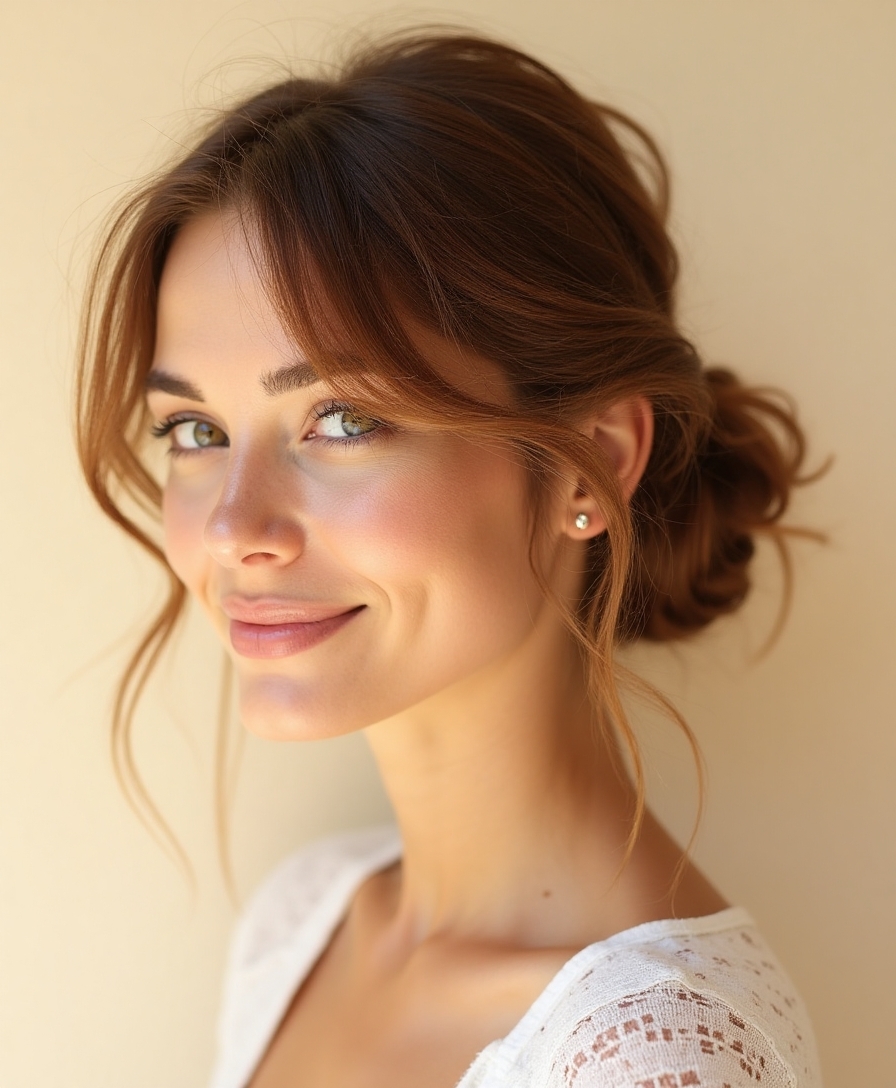
Quick Top Knot With Volume
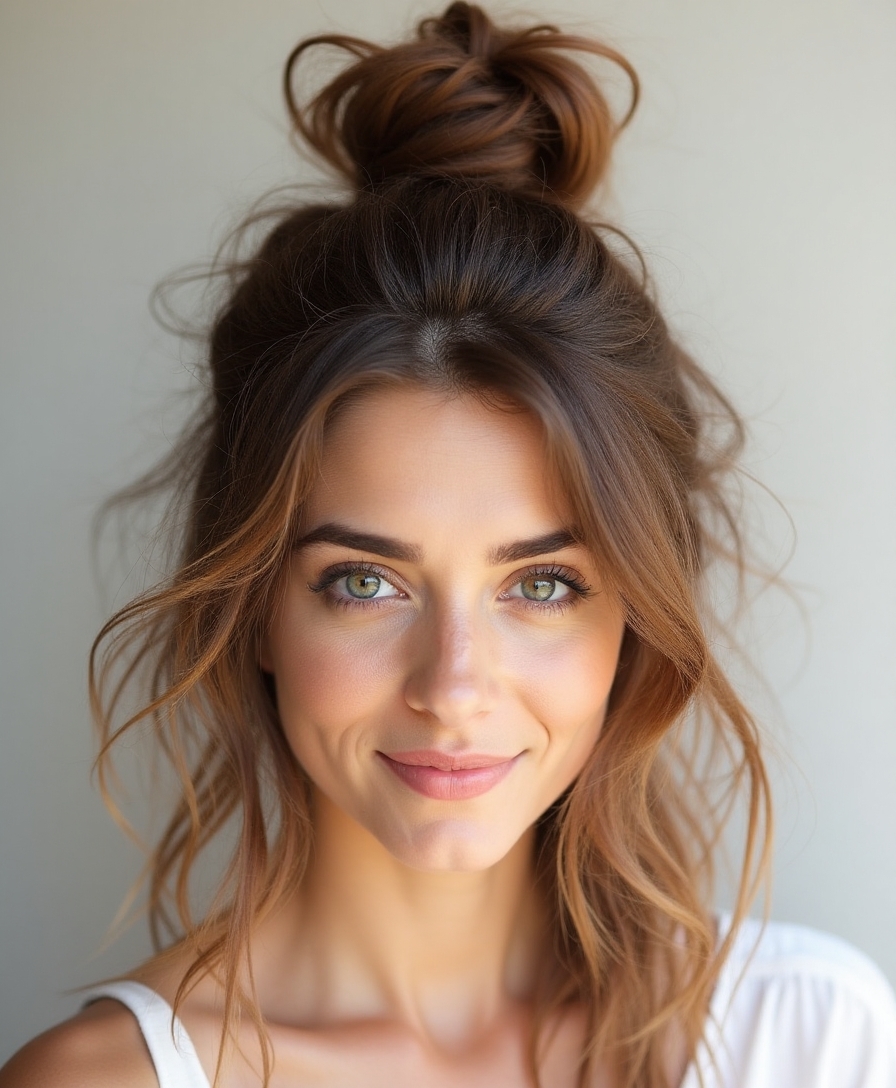
Just gather your hair at your crown, spritz some texturizing spray for grip, and twist it into a messy bun. Don’t worry about perfection – the messier, the better! Secure with bobby pins, then gently pull at the sides to create that coveted volume.
For added flair, consider incorporating a stylish claw clip hairstyle to enhance your look and keep your hair securely in place.
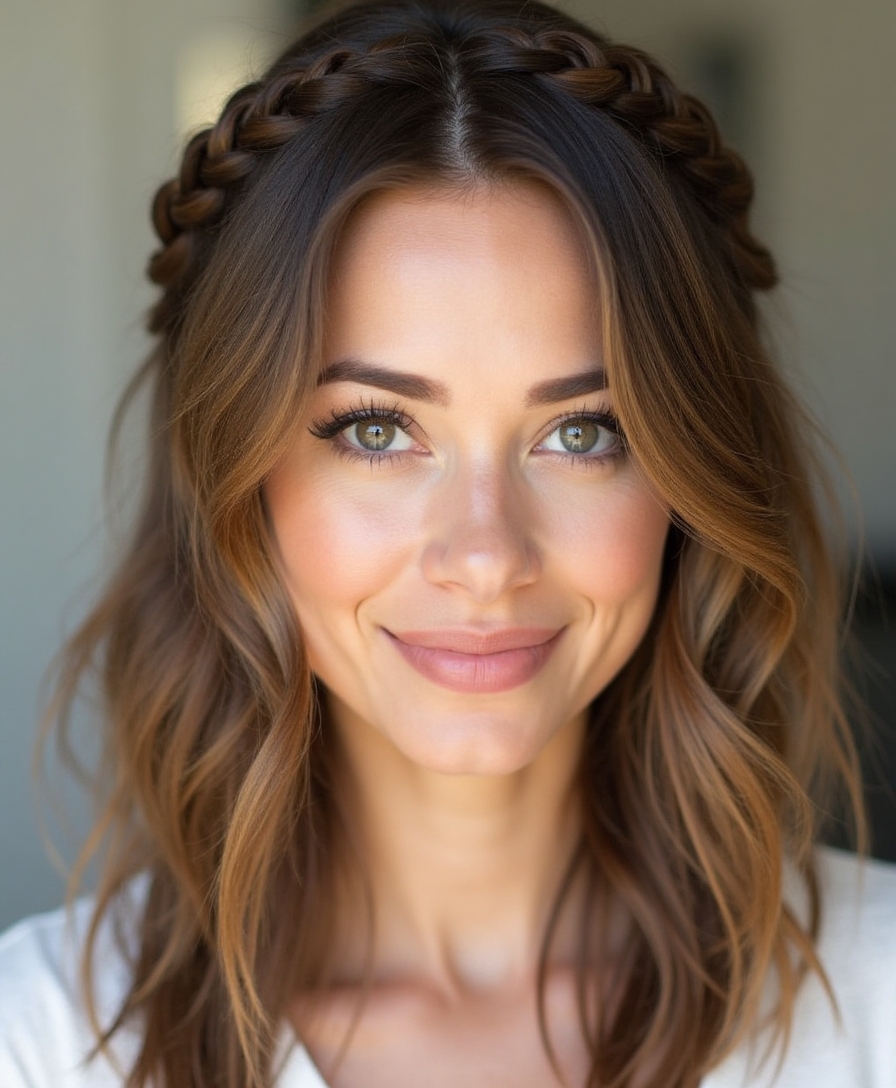
Half-Up Crown Braid
I’ll show you how to create a gorgeous half-up crown braid that’s perfect for any occasion, starting with the essential tools you’ll need: a tail comb, small clear elastics, and bobby pins.
Your hair texture will work best for this style when it’s slightly dirty or prepped with dry shampoo, giving your braid that perfect grip and hold. To enhance your braid’s longevity, consider incorporating deep conditioning routines that promote overall hair health.
Once you’ve got your tools and texture ready, I’ll walk you through my fail-proof method that turns this seemingly complex braid into a quick 5-minute style.
Quick Steps Guide
Creating a half-up crown braid takes just five simple steps, and you’ll love how elegant it looks for any occasion.
Trust me, I’ve got your back with this foolproof guide:
- Part your hair down the middle and grab a small section at each temple
- Start Dutch braiding each side toward the back of your head
- Connect the braids at your crown and secure with bobby pins
Essential Braiding Tools Needed
Before diving into the half-up crown braid, you’ll need to round up a few key tools to nail this look.
I always make sure I’ve a tail comb for precise parting, clear elastic bands that won’t show, bobby pins that match my hair color, and a light-hold hairspray.
Trust me, having these basics ready will make the process so much smoother.
Perfect Hair Texture Tips
Now that you’ve got your tools ready, let’s talk about getting your hair texture just right for that perfect crown braid.
I’ve learned through countless hair fails that second-day hair works best, but if you’re starting fresh, here’s what I do:
- Spritz dry shampoo at the roots for grip
- Rough up the texture with sea salt spray
- Apply a lightweight mousse for manageability. Incorporating effortless hairstyles into your routine can elevate your look while keeping it simple.
Sleek Low Ponytail With a Twist
While classic ponytails can get boring, this sleek low version with a twist adds just enough edge to make heads turn. First, I’ll smooth your hair with a brush and serum, then gather it at the nape. Here’s the fun part – before securing with an elastic, I’ll split the hair in two and create a small opening above the elastic to flip the tail through.
This hairstyle works beautifully with elegant low bun hairstyles, giving it a touch of sophistication for any occasion.
Easy Rope Braid Tutorial
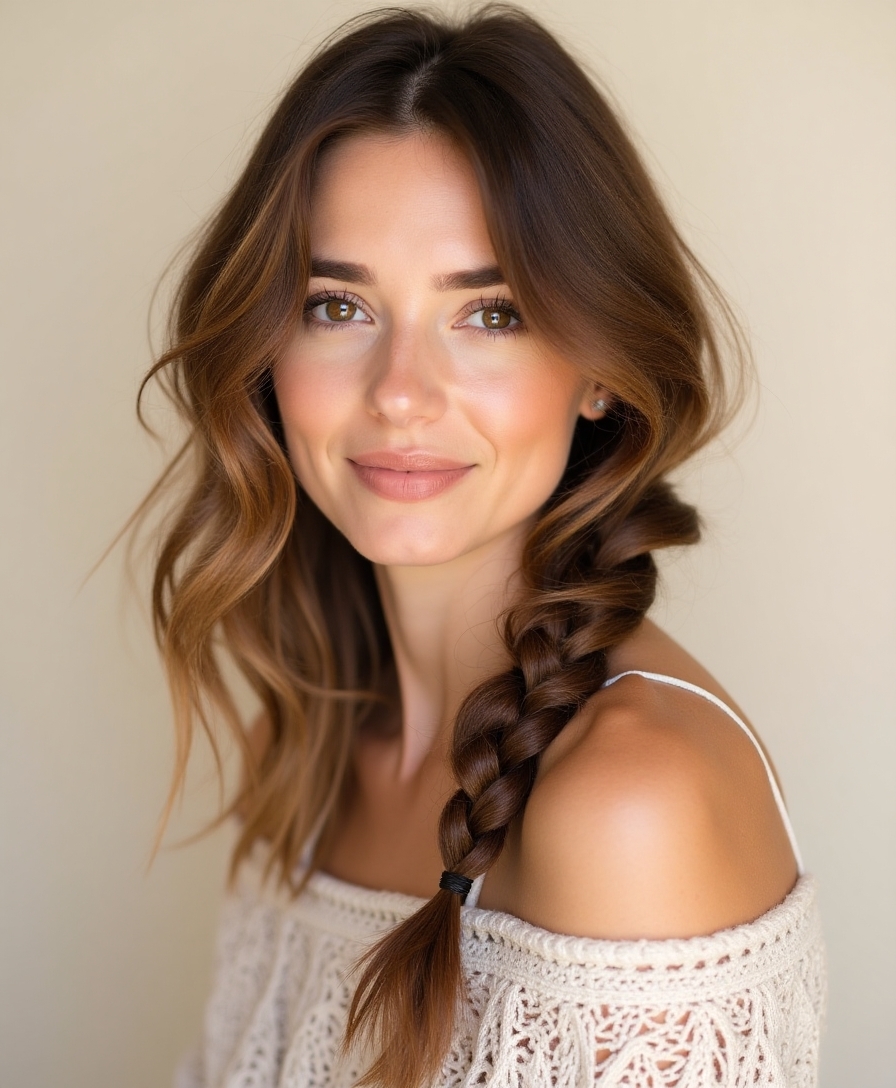
I’ll show you how to create the perfect rope braid using just a brush, hair elastic, and optional hairspray.
Once you’ve gathered those tools, it’s all about dividing your hair into two sections and twisting them in opposite directions before wrapping them around each other.
Whether you’re heading to work or meeting friends for brunch, this versatile style takes less than five minutes to master with my quick styling tips.
Tools You’ll Need
Getting started with a rope braid is super easy – you really don’t need much at all.
I’ve got just three essential tools that’ll help you create the perfect rope braid:
- A few elastic hair ties (I recommend small, clear ones)
- A brush or wide-tooth comb to detangle those pesky knots
- Bobby pins to secure any flyaways and the braid’s end
Basic Braiding Technique
Creating a rope braid consists of three easy steps that anyone can master.
First, divide your hair into three equal sections.
Next, twist each section clockwise individually until they’re tight.
Finally, take these twisted sections and cross them over each other counterclockwise – just like a regular braid, but with twisted strands instead of flat ones.
Secure with an elastic band.
Quick Styling Tips
Now that you know the basic rope braid steps, let me share some game-changing tips to make your styling process even faster.
Trust me, these tricks will save you precious morning minutes:
- Spray dry shampoo before bed – it absorbs oils overnight.
- Twist damp hair into a loose bun while getting dressed – instant waves.
- Keep bobby pins on a magnetic strip – no more digging through drawers.
- Consider utilizing the benefits of soft waves which can frame your features beautifully and add a touch of elegance to your overall look.
Two-Minute Twist and Pin
This two-minute twist and pin is a total lifesaver when you’re running late or just want to look polished without the fuss.
Simply gather your hair to one side, twist it tightly while working your way down, then secure with bobby pins in a spiral pattern.
I love adding a few face-framing pieces for that effortlessly chic vibe.
Trust me, it’s foolproof!
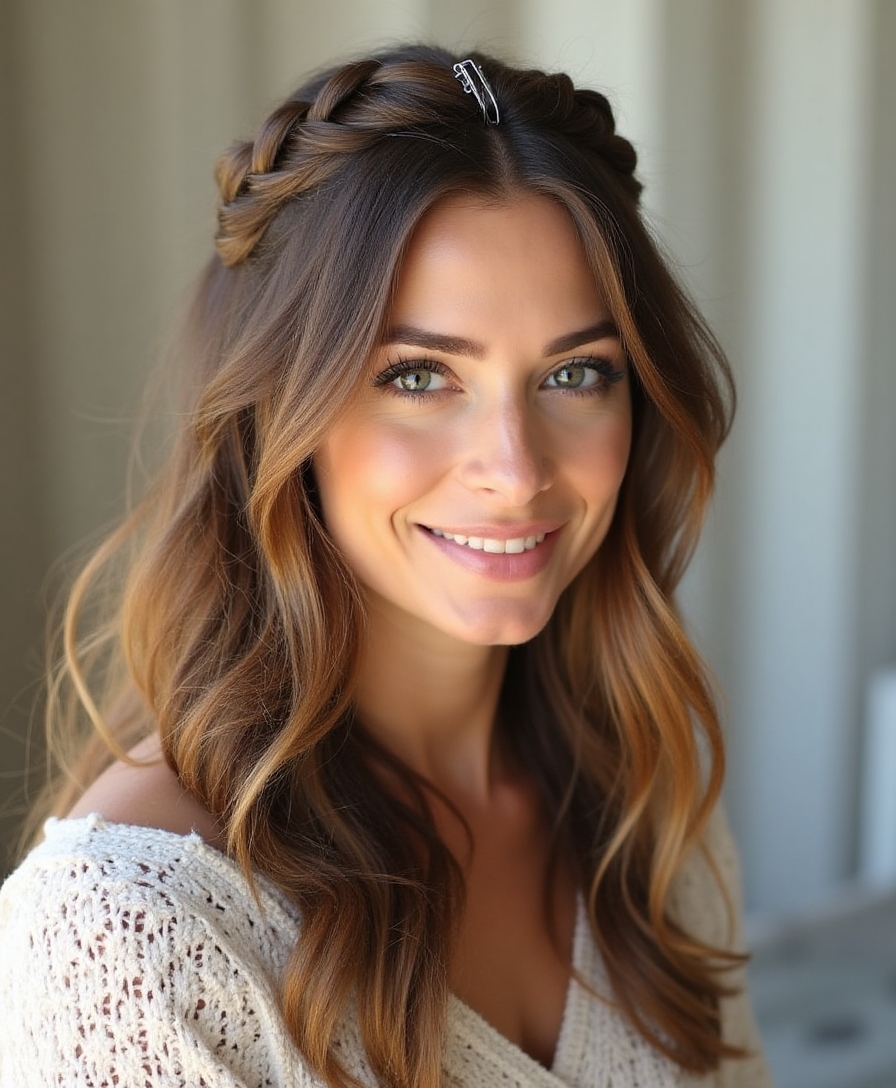
Bohemian Braided Headband
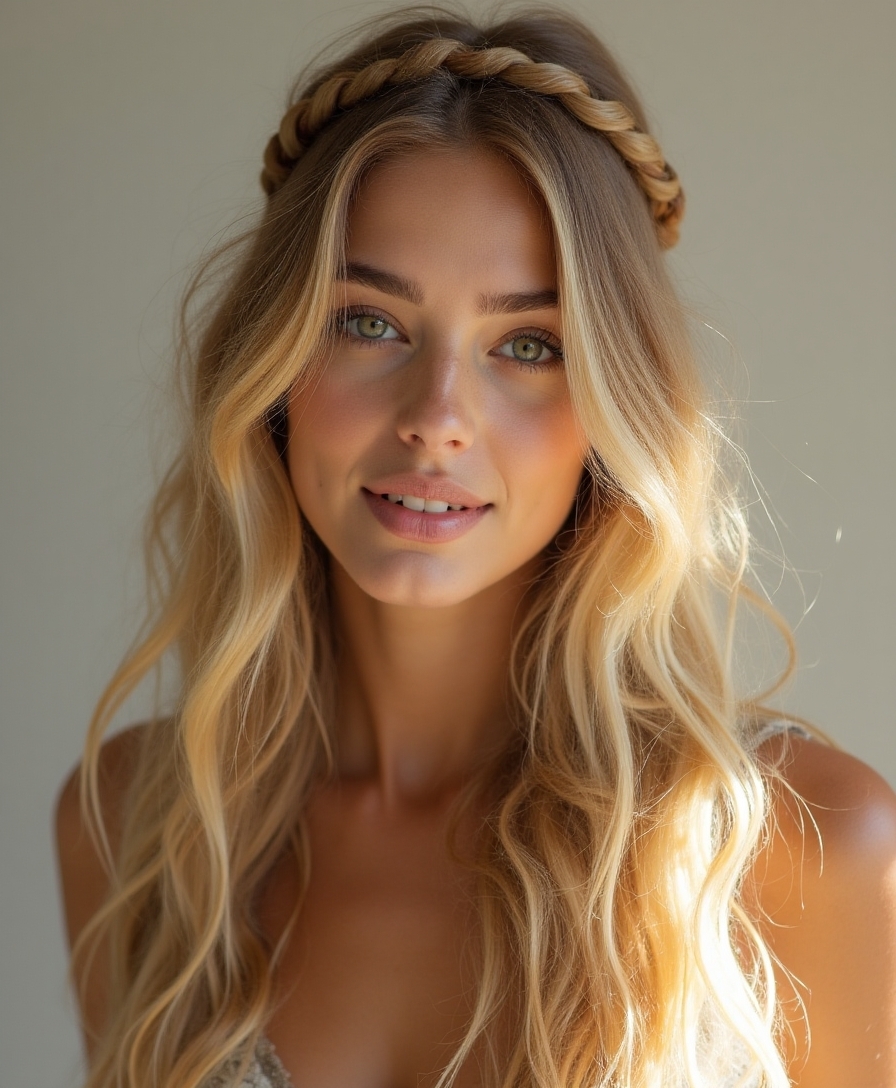
I’m excited to show you how to create a beautiful bohemian braided headband that’ll make you look like you just stepped off a music festival stage.
You’ll need some basic items like hair elastics, bobby pins, and a little texturizing spray to get started with this free-spirited style.
Let me walk you through the braiding technique that creates this eye-catching look, plus share some insider tricks I’ve learned to help your braid stay put all day long.
Required Tools and Products
Creating a bohemian braided headband requires just a few essential tools and products you’ll likely have at home.
I always make sure I’ve got these basics before starting:
- Hair elastics – I keep a few clear or color-matched ones handy
- Bobby pins with grip coating for better hold
- Light-hold hairspray to tame flyaways and secure the style without making it stiff
Step-by-Step Braiding Instructions
While the bohemian braided headband might look complex, achieving this romantic style only takes about 10 minutes once you’ve got the technique down. Start by parting your hair down the middle.
Take a one-inch section from behind your ear and divide it into three strands. Create a regular braid, securing the end with a clear elastic. Wrap it across your crown, pin it, and you’re done! Additionally, introducing twist braid hairstyles can provide you with even more options for stylish looks.
Styling Tips and Tricks
To make your bohemian braided headband look effortlessly chic, let’s focus on some game-changing tricks.
- Spritz your hair with texturizing spray before braiding – trust me, it’ll give you that perfect grip and prevent flyaways.
- Don’t pull the braid too tight – loose strands create that coveted boho vibe.
- Pin the braid with clear elastics and bobby pins that match your hair color.
Effortless Side Braid Style

A side braid can transform your medium-length hair into an instantly chic look without much fuss.
I’ll let you in on my favorite trick: start by parting your hair deeply to one side, then gather three sections near your ear.
Begin braiding downward, incorporating loose strands as you go.
Don’t worry if it’s not perfect – those tiny flyaways actually make it look more effortless.
Casual Bubble Ponytail

Looking for a fun twist on the basic ponytail?
Let me show you how to create the cutest bubble ponytail that’ll turn heads everywhere you go.
- Start by pulling your hair into a high, sleek ponytail.
- Tie clear elastics every 2 inches down your ponytail.
- Gently tug each section between elastics outward to create your bubbles.
Trust me, I’ve never met anyone who didn’t love this playful style!
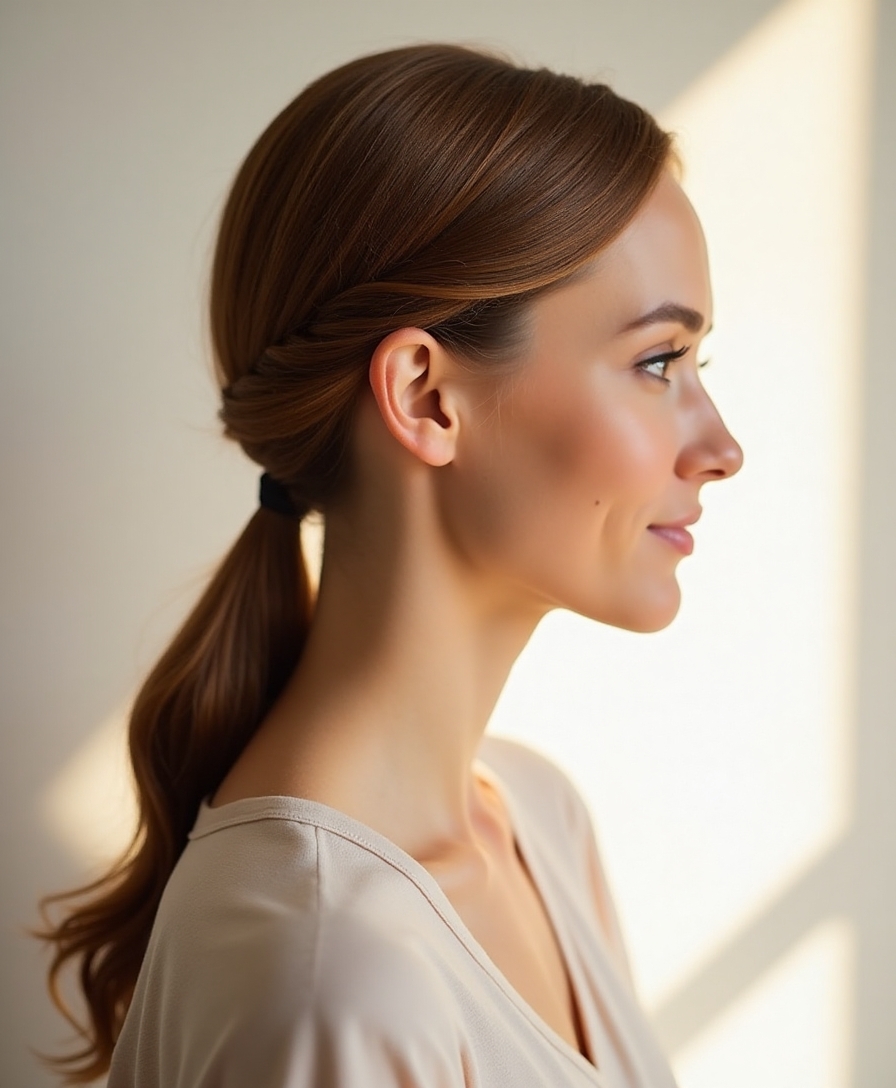
Simple Twisted Chignon

This elegant chignon takes less than five minutes but looks like you spent hours at the salon.
I’ll show you how: Pull your hair into a low ponytail, twist it tightly, and wrap it around the base.
Secure with bobby pins as you go, tucking loose ends under. Mist with hairspray and pull a few strands loose around your face for that effortlessly chic vibe.
No-Heat Overnight Curls
Want gorgeous curls without damaging heat? I’ve got you covered with this super easy overnight method that’ll give you beautiful waves by morning.
- Start with slightly damp hair and part it into 2-4 sections.
- Twist each section tightly and wrap it into a bun, securing with soft scrunchies.
- Sleep on it and wake up to effortless, beachy waves – just finger-comb and go.
Side-Swept Waterfall Braid
Anyone can master the side-swept waterfall braid with a little practice – I’ll show you my favorite twist on this romantic style that’s perfect for both casual days and special events.
Start by parting your hair deeply to one side.
Begin a French braid at your crown, but instead of picking up all three sections, let one strand “fall” as you braid.
Continue this pattern along your hairline, securing with bobby pins.
Modern Space Buns

Looking for a fun twist on the classic double bun style? Modern space buns are perfect for those days when you want to channel your inner Princess Leia with a contemporary edge.
- Part your hair down the middle and gather each side into high pigtails.
- Twist each pigtail around itself to form a bun, securing with bobby pins.
- Pull out a few face-framing pieces for that effortlessly messy vibe.
Essential Tools and Products
To nail these trendy hairstyles like space buns, you’ll need the right gear in your styling arsenal.
I swear by my trusty tail comb for precise partings, mini elastic bands that won’t snap, and bobby pins that actually grip.
Don’t forget a good texturizing spray and hairspray – they’re absolute game-changers for holding your style in place all day.
I’ve shared my favorite medium-length hair hacks, and I’m telling you – they’re total game-changers. Whether you’re rushing to work or heading to brunch, these styles have got your back. Trust me, with just a few bobby pins and hair ties, you’ll look like you spent hours at the salon.
Now go rock those braids, buns, and waves like the hair goddess you are!