
I’ve spent years mastering quick braided hairstyles, and I’ll tell you – they’re absolute game-changers for busy folks like us. From five-minute french braids to super-quick crown plaits, these styles pack serious impact without eating up your morning.
Whether you’re rushing to work or heading to brunch, I’ve got nine foolproof techniques that’ll transform your hair game. Let’s start with the shortcuts I wish someone had taught me sooner.
The 5-Minute French Braid Alternative
While traditional French braids can be tricky to master, I’ve discovered a quick alternative that gives you the same elegant look in half the time.
Instead of weaving three sections from the crown, start with a loose ponytail at the nape. Split it into two parts, twist them together, then secure with an elastic.
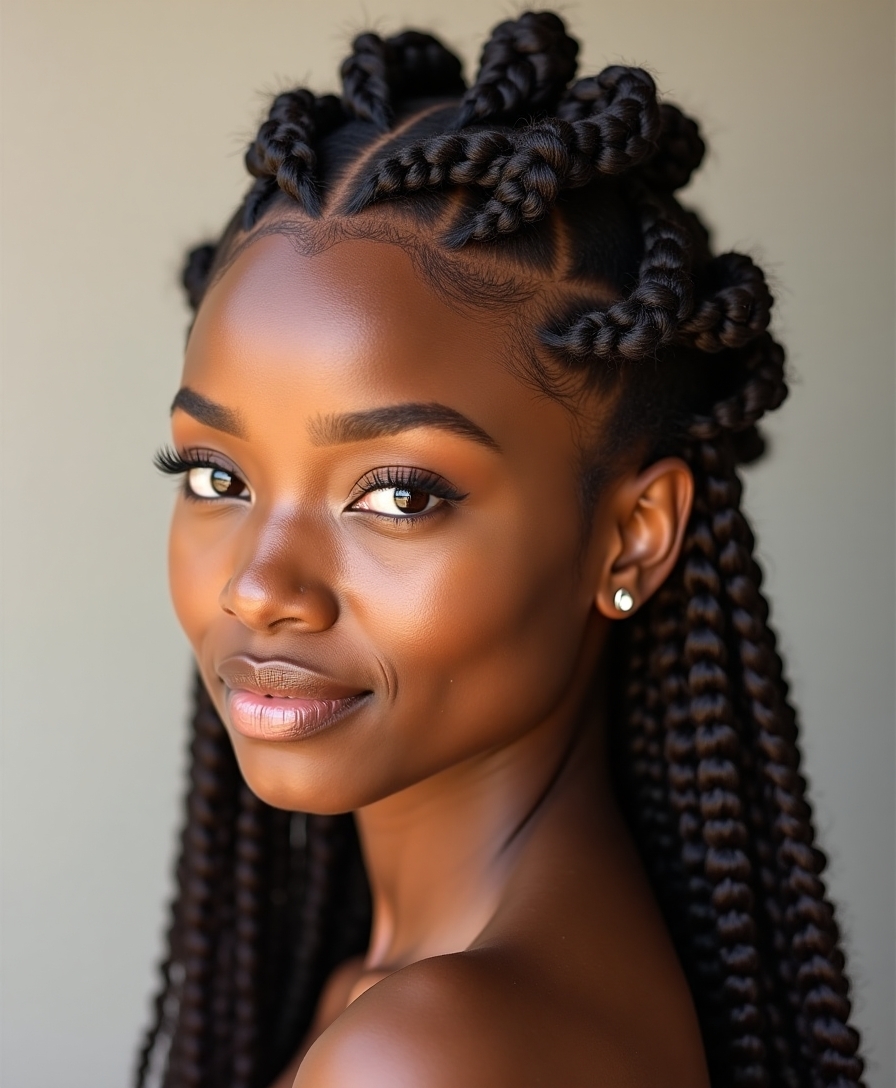
I call it my “faux French” – it’s foolproof and fabulous. This method captures the essence of braided hairstyles for Black women, allowing for a chic style that fits any occasion.
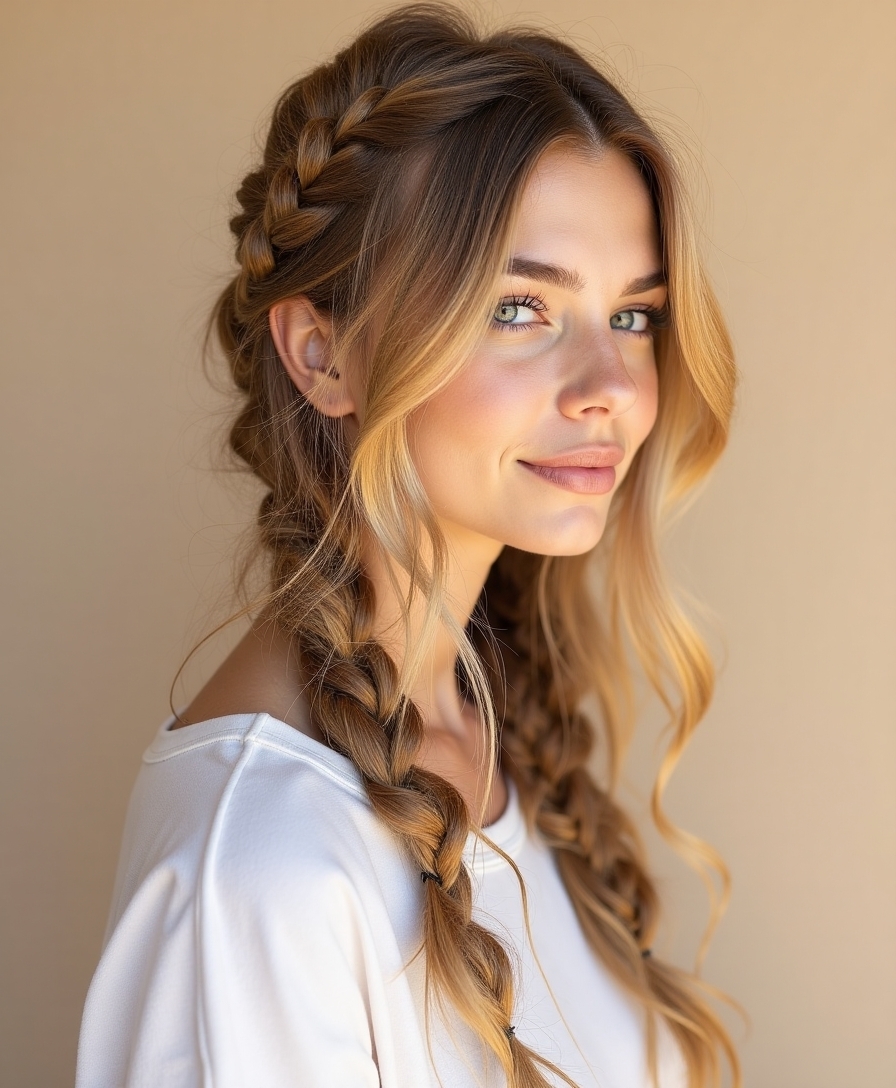
Side-Swept Rope Braid for Busy Mornings
This two-minute rope braid has saved me countless mornings when I’m rushing out the door.
Simply part your hair to one side, divide a section into two pieces, and twist each piece clockwise.
Then, cross these twisted sections over each other counterclockwise.
Keep twisting and crossing until you reach the ends, secure with an elastic, and you’re done!
I swear it’s that easy.
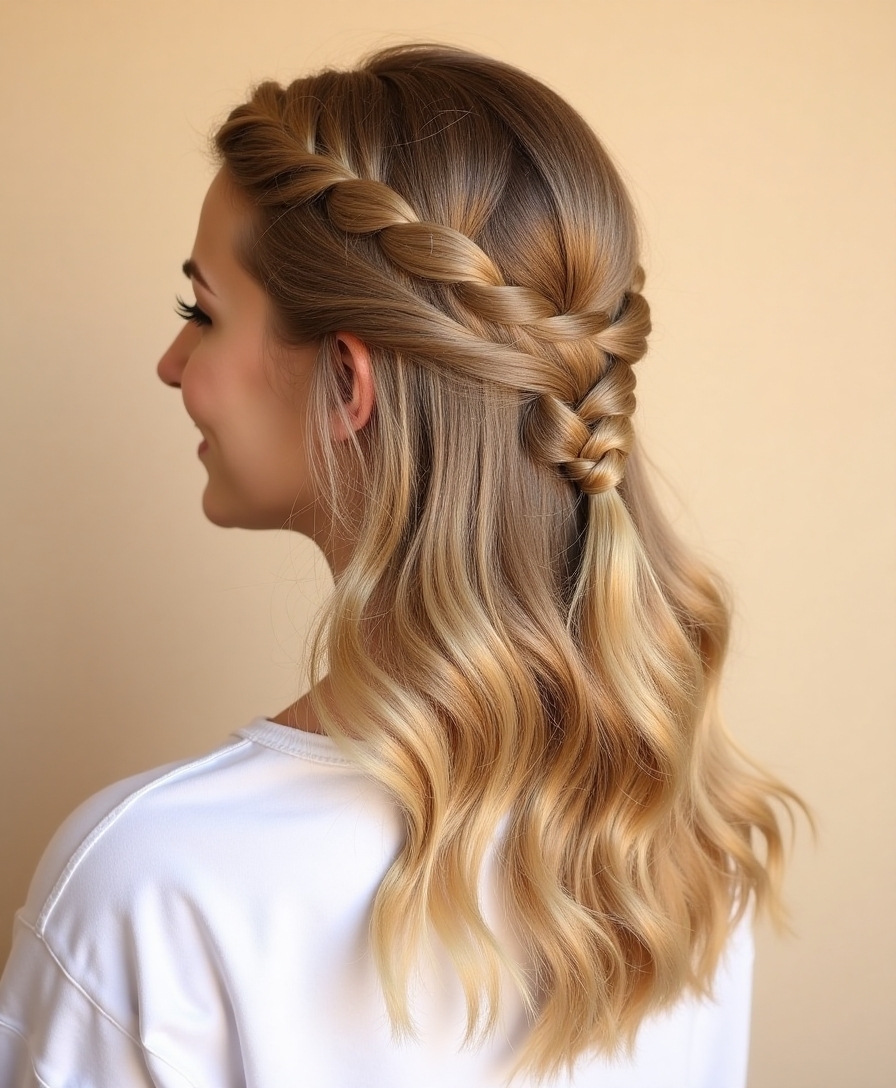
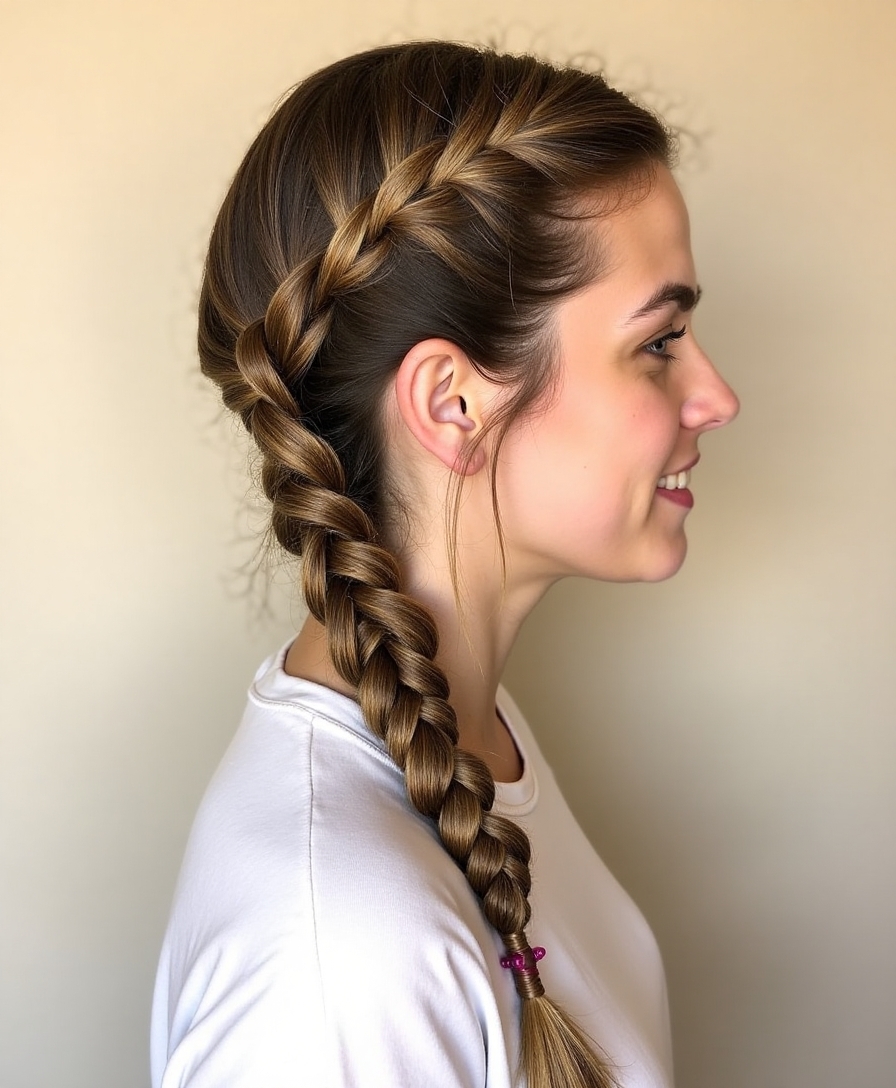
Quick Pull-Through Crown Braid
I’ll show you how to create a stunning pull-through crown braid that only looks complicated but actually takes less than 10 minutes to do.
You’ll need some clear elastic bands, a tail comb for sectioning, and your favorite texturizing spray to make this elevated twist on a standard crown braid.
Whether you’re heading to brunch or need a polished look for work, I’ve got variations that work for both straight and curly hair types, plus tips to make this style last all day.
Required Tools and Products
Getting started with a pull-through crown braid requires just a few basic tools that you’ll probably find in your bathroom drawer.
I’ll help you gather what you need to create this stunning look in minutes.
- Small clear elastic bands (I recommend having 4-6 on hand)
- A tail comb for clean sectioning and teasing
- Lightweight hairspray to tame flyaways and set the style
Step-by-Step Braid Instructions
A pull-through crown braid might look complex, but it’s actually one of the easiest braided styles you’ll ever create. Start by sectioning off the crown of your hair and securing it with an elastic. Split this ponytail in half, then pull a new section through the middle.
Keep repeating this process around your head until you reach the starting point, pinning as needed. This style is a great way to showcase twist braid hairstyles as it adds a chic element to your look.
Styling Tips and Variations
Once you’ve mastered the basic pull-through crown braid, let’s make it uniquely yours with some creative tweaks.
I’m always experimenting with different variations to keep this style fresh and interesting. Here are my favorite ways to transform this classic:
- Add small colorful elastics or ribbons between sections for a boho rainbow effect
- Pancake each section before securing for a fuller, messier look
- Weave in small flowers or delicate accessories for special occasions
Easy Double Dutch Accent Braids
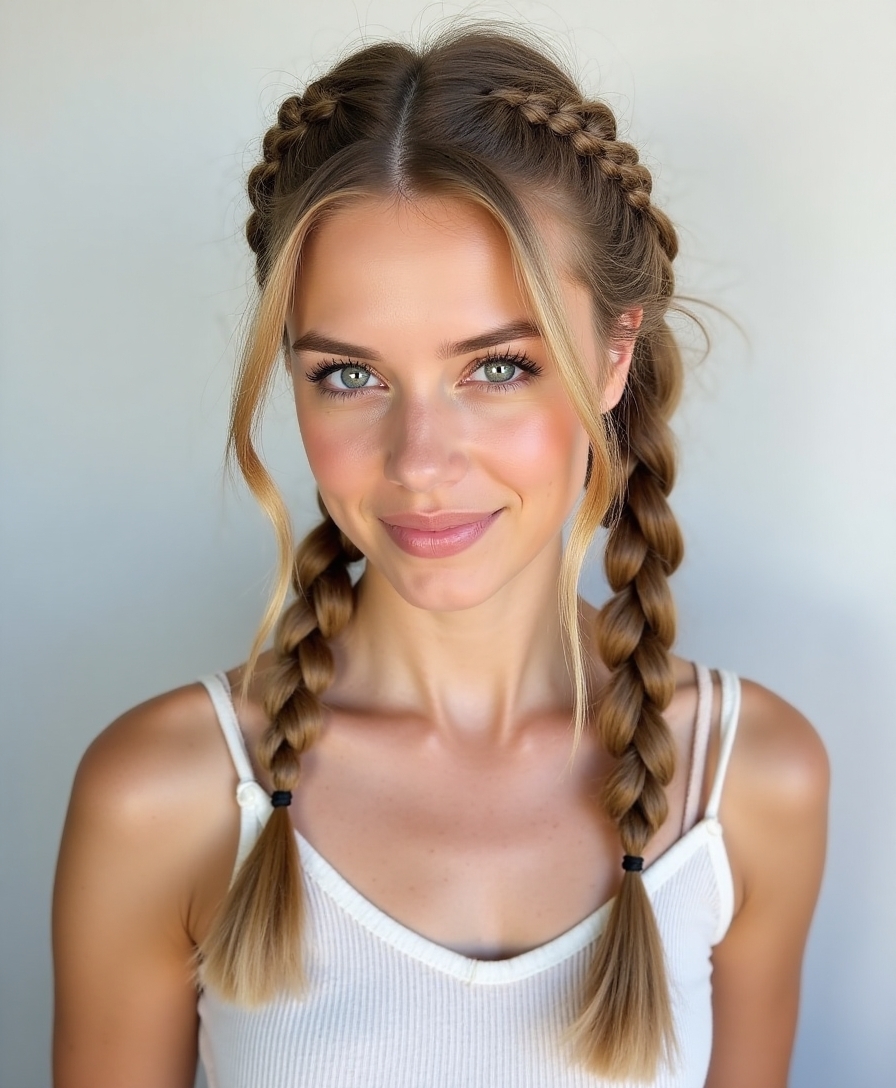
Double Dutch accent braids can jazz up your everyday look with minimal effort.
I’ll show you how to create this style by sectioning your hair into two parts along your hairline.
Working with one side at a time, Dutch braid backward along your scalp, keeping the braid close to your head.
Secure each braid with small clear elastics.
3-Minute Fishtail for Short Hair
I’ll help you create a stunning fishtail braid on your short hair with just basic items like a fine-toothed comb, clear elastic bands, and hairspray.
Before we start, make sure your hair is detangled and prepped with a light texturizing spray to give it grip and prevent slipping.
I’ll guide you through this quick process step-by-step, from dividing your hair into two main sections to weaving those small pieces for that perfect mini fishtail look.
Essential Tools Required
Creating a minute fishtail braid requires just a few basic tools to achieve that effortlessly chic look on short hair.
I’ll show you exactly what you need to nail this style in no time.
Trust me, with these essentials, you’ll be braiding like a pro.
- Clear elastic bands that won’t snag or damage your strands
- A fine-toothed comb for precise sectioning and smoothing
- Light-hold hairspray to tame flyaways and lock in your style
Prep Your Hair First
Proper prep work makes all the difference when creating the perfect minute fishtail braid for short hair.
I recommend starting with day-old hair since it’s less slippery and holds better. Spray dry shampoo at your roots, then brush through to distribute.
If your hair’s freshly washed, add texturizing spray.
Finally, smooth any flyaways with a light styling cream.
Step-By-Step Braiding Instructions
Following these three easy steps will help you master the minute fishtail braid for short hair.
I’ll show you how to create this stunning style that’s perfect for those busy mornings when you need to look polished but don’t have much time.
- Divide your hair into two equal sections and hold them firmly, keeping tension throughout the process.
- Take a small strand from the outer edge of one section, cross it over to join the opposite section.
- Repeat alternating sides until you reach the ends, secure with an elastic, then gently pull apart to create fullness. This technique adds texture and volume to your braid, making it appear more voluminous and stylish.
Messy Boho Braid With Texture
A messy boho braid adds carefree, effortless style to any outfit. I love creating texture by first spritzing dry shampoo through my hair and gently teasing the crown. Then I loosely braid the length, purposely letting pieces fall out around my face.
To finish, I’ll softly pull apart the braid for that perfectly undone look, securing any loose sections with bobby pins. Incorporating knotless braids into your messy boho style can enhance the overall effect and ensure a long-lasting hold.
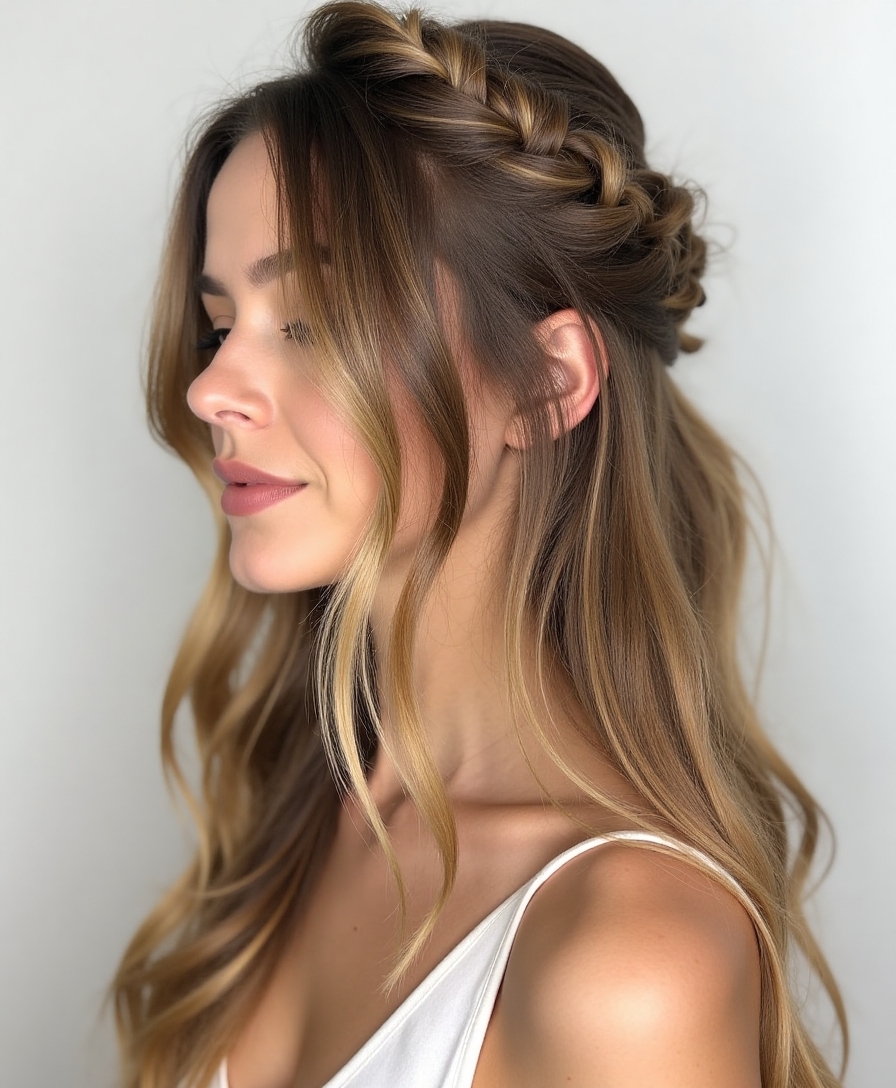
Simple Braided Headband Style

This simple braided headband style takes just five minutes to create and looks effortlessly polished.
I love how versatile it’s – perfect for both casual days and dressy events. Start by creating a small Dutch braid along your hairline, wrapping it around like a crown.
- Secure the braid with clear elastics and bobby pins behind your ear
- Gently tug at the braid to create fullness and texture
- Mist with light hairspray to keep flyaways in check
Adding a headband can enhance the overall look, making it perfect for curly hair by framing your face beautifully.
Two-Strand Twist and Pin Technique
Creating a two-strand twist requires minimal skill but delivers maximum impact. I’ll show you how to master this style in seconds. Simply split a section of hair in two, twist the strands around each other tightly, then secure with bobby pins.
I love adding these twists randomly throughout my hair or creating one statement twist along my hairline for an effortless, elevated look. These twists can be beautifully incorporated with natural cornrow hairstyles for added texture and versatility.
Quick Waterfall Braid Tutorial
Learning a waterfall braid might seem challenging at first, but I’ll show you how to nail this dreamy style in minutes.
This romantic look creates cascading strands that literally waterfall down your hair while maintaining a neat braid along the side of your head.
- Part your hair deeply to one side, grab a small section at the crown
- Start a French braid, but let the outer strand “fall” instead of braiding it
- Continue the pattern around your head, dropping each outer piece until you reach your desired endpoint
Lazy Girl’s Braided Updo

I’ll show you how to create the perfect lazy girl’s braided updo using just bobby pins, hair ties, and a brush – trust me, that’s all you need.
Let me walk you through the simple steps to achieve this effortless look that’ll make everyone think you spent way more time on it than you actually did.
Before we get into the step-by-step guide and styling tips, I want you to know this is genuinely one of the easiest braided styles I’ve mastered, and it’s perfect for those mornings when you’re running late but still want to look put-together. Plus, incorporating a side-part hairstyle can enhance your features and elevate your overall appearance.
Essential Tools Needed
Before diving into this super-easy braided updo, you’ll need to grab just a few basic items from your bathroom drawer. I promise you won’t need anything fancy – these are tools most of us already have at home.
- Clear elastic hair ties (2-3 small ones work best)
- Bobby pins (grab a handful, trust me)
- A brush or wide-tooth comb to smooth things out
Step-by-Step Braiding Guide
While this hairstyle might look complicated, I promise you’ll master it in under 5 minutes once you get the hang of it.
Start by creating two simple side braids, leaving some face-framing pieces loose.
Next, gently pull the braids toward the back of your head, crossing them over each other.
Secure with bobby pins, tucking any loose ends underneath.
That’s it – you’re done!
Styling Tips and Tricks
The lazy girl’s braided updo is perfect for those mornings when you hit snooze one too many times.
I’ve mastered this quick style that looks polished but takes minimal effort. Trust me, you’ll look like you spent way more time than you actually did.
- Pull your hair into a messy ponytail, then braid it loosely
- Wrap the braid around the base of your ponytail
- Secure with bobby pins and spritz with hairspray
Basic Dutch Braid With Modern Edge
Dutch braiding gets a fresh update with this edgy take on a classic style.
I’ll show you how to create a sleek Dutch braid with attitude. Start by sectioning damp hair and braid from the crown, pulling strands under instead of over.
For extra edge, keep the sides super-tight while letting the top maintain volume. Finish with a mist of texturizing spray for that perfectly undone look.
4-Minute Braided Space Buns
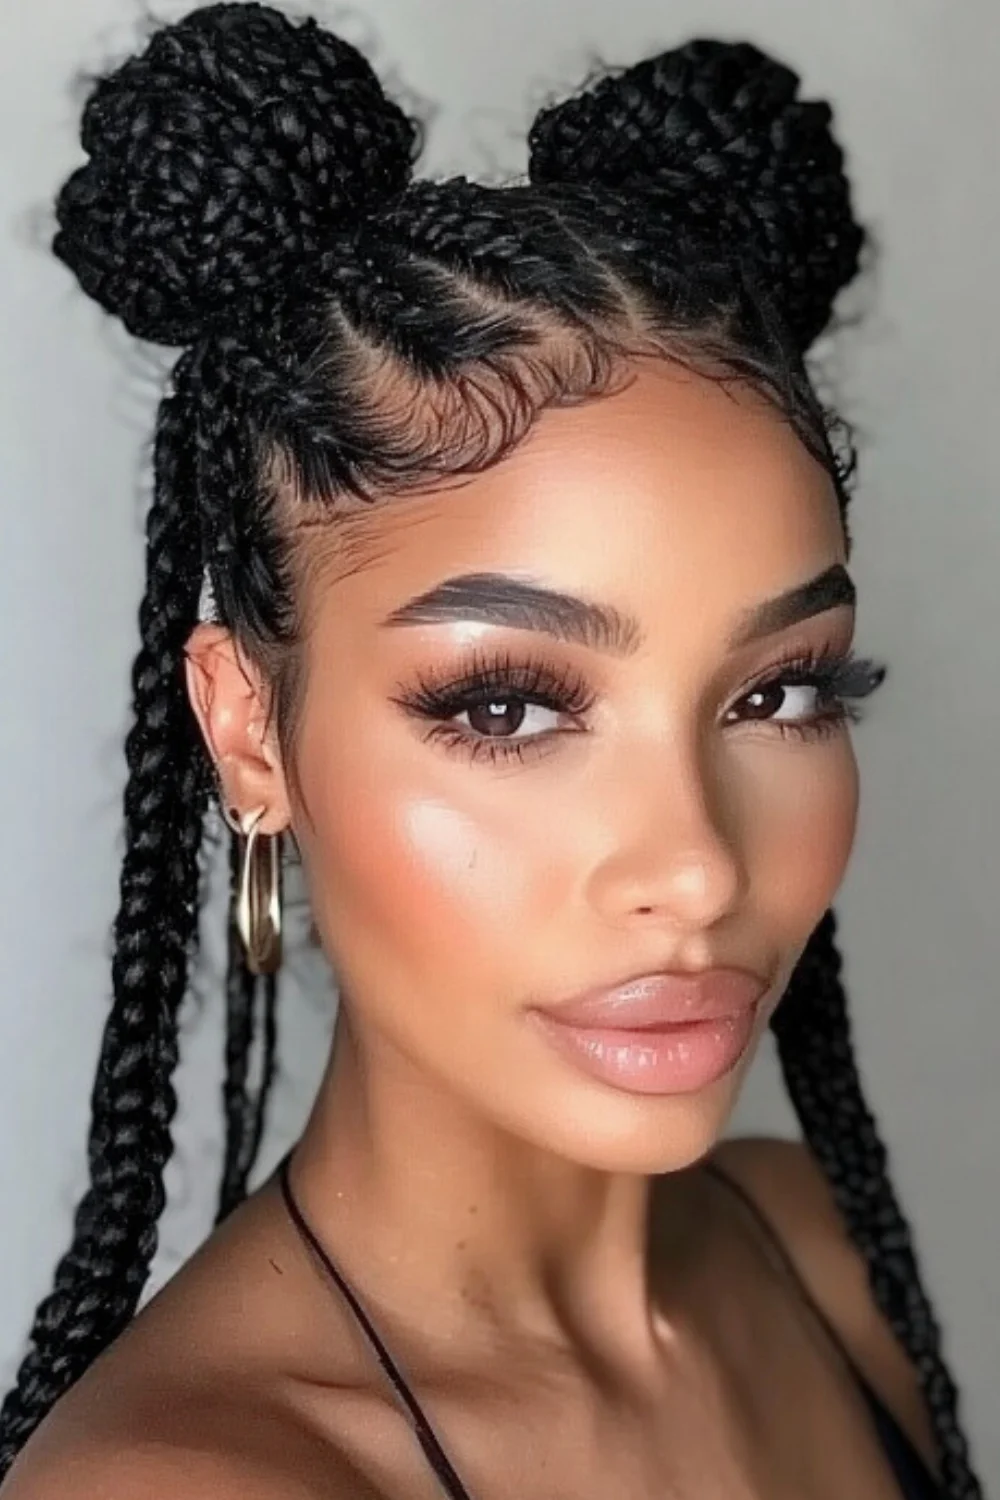
For anyone seeking an ultra-quick updo that turns heads, braided space buns deliver major style points in minimal time.
I love how this Y2K-inspired look takes basic braids to the next level while keeping things playful and fresh.
- Part hair down the middle, create two braids, and twist each into a bun
- Secure with bobby pins and add texture spray for grip
- Pull out face-framing pieces for that effortless, lived-in vibe
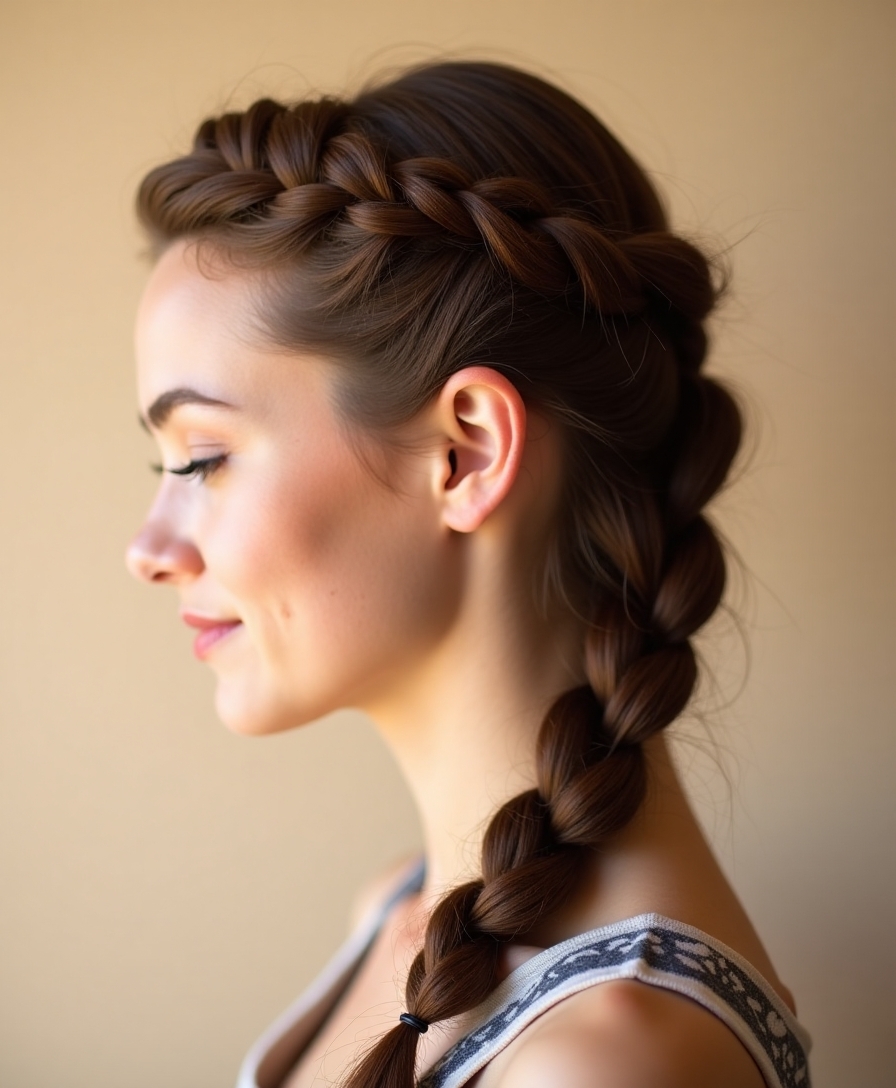
Quick Twisted Side Braid Design
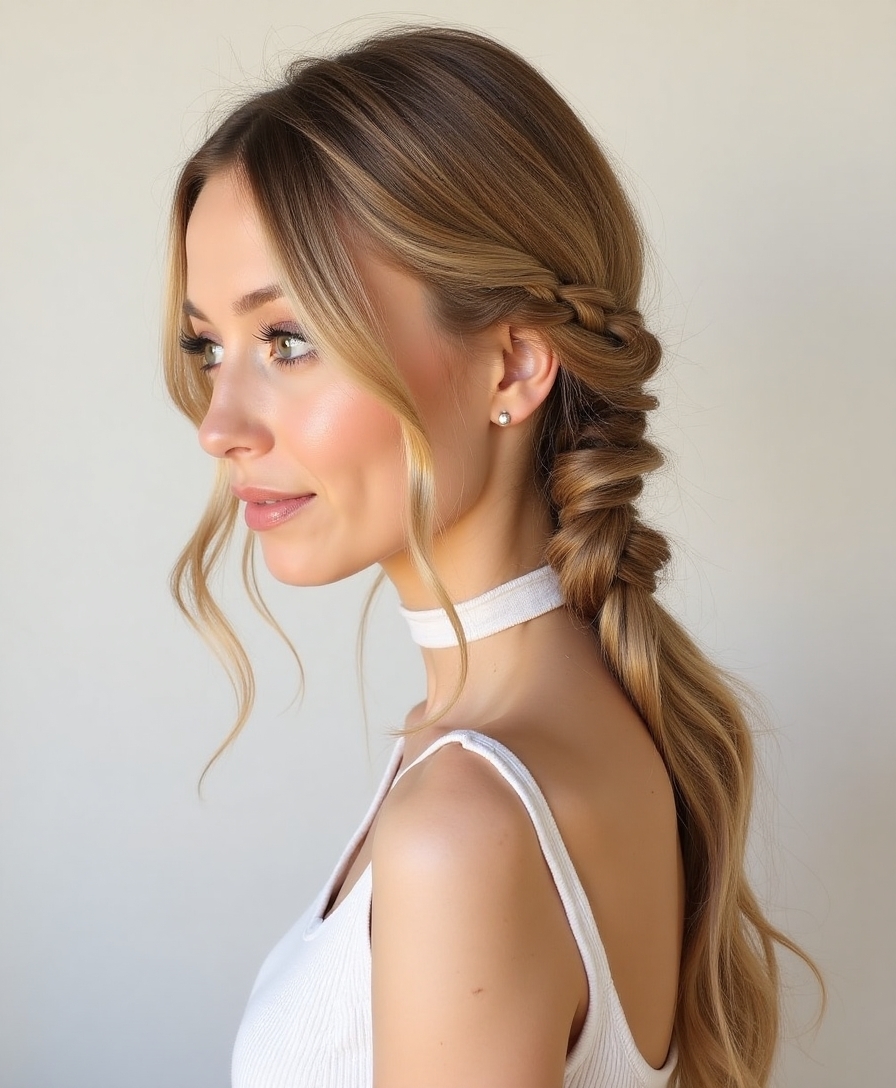
Single twisted side braids are my go-to when I need a polished look in under two minutes.
Just part your hair deeply to one side, gather all your hair over one shoulder, and start twisting it into a rope braid.
Secure with a clear elastic, then gently tug at the braid’s edges to create that perfectly imperfect, lived-in texture I’m obsessed with. This quick style can be enhanced with accessories, similar to how adding volumizing products elevates natural hairstyles for an even more chic appearance.
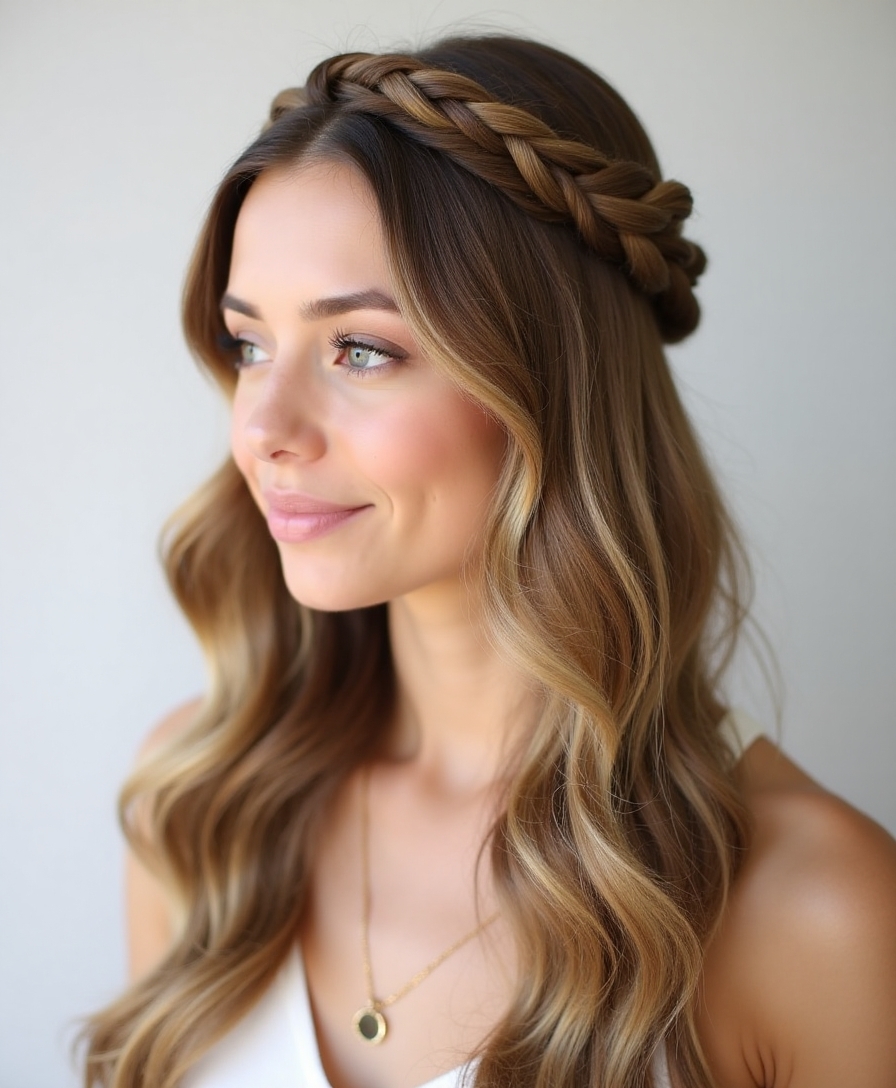
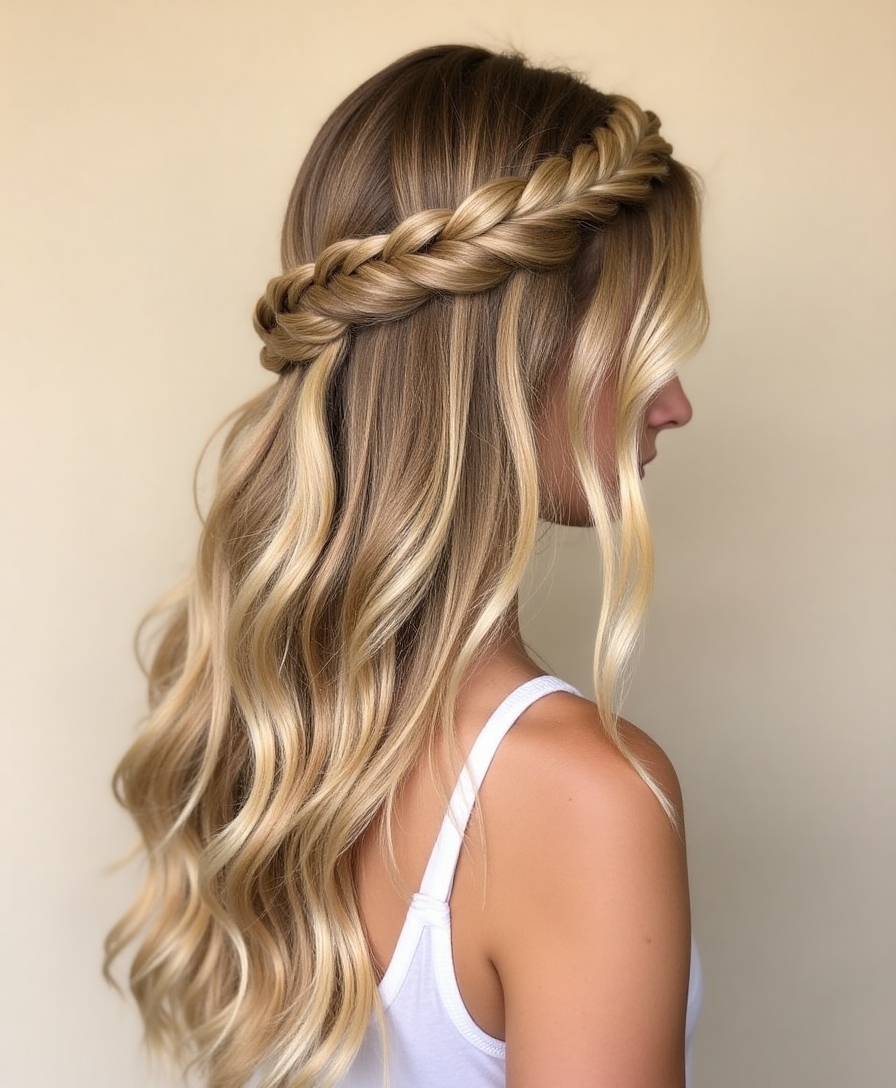
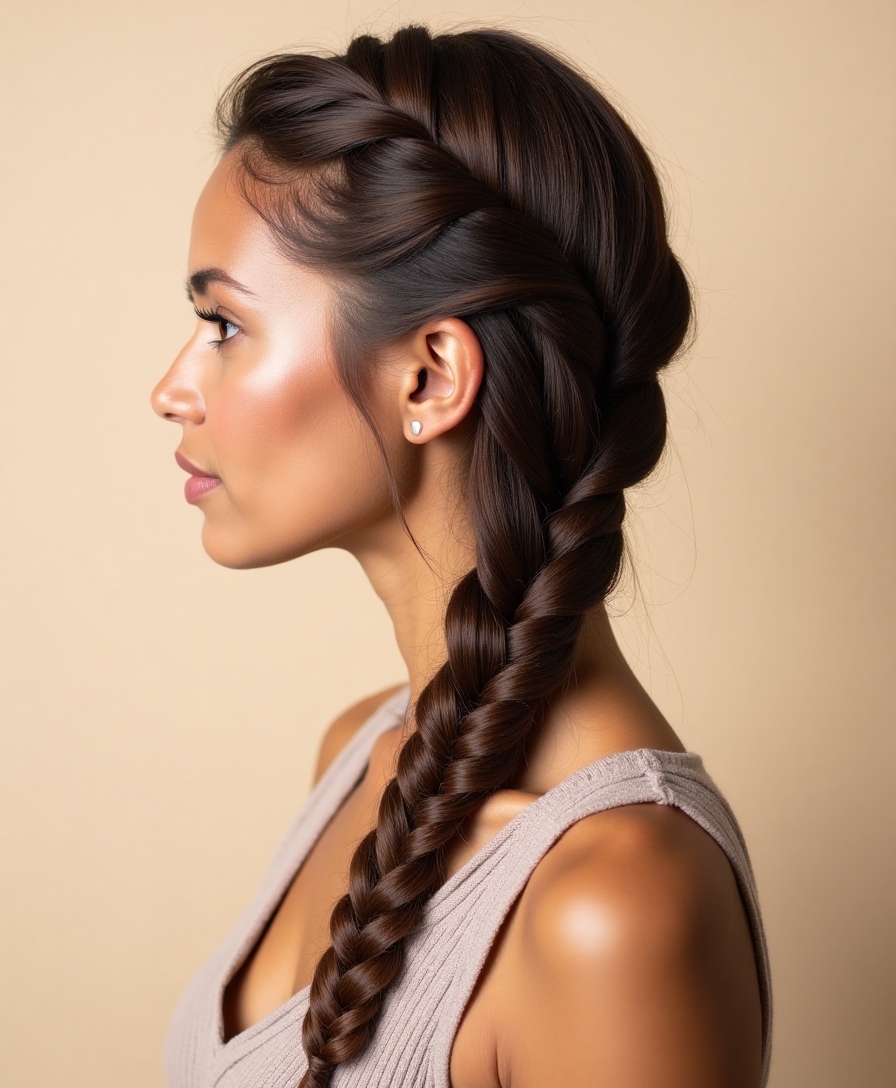
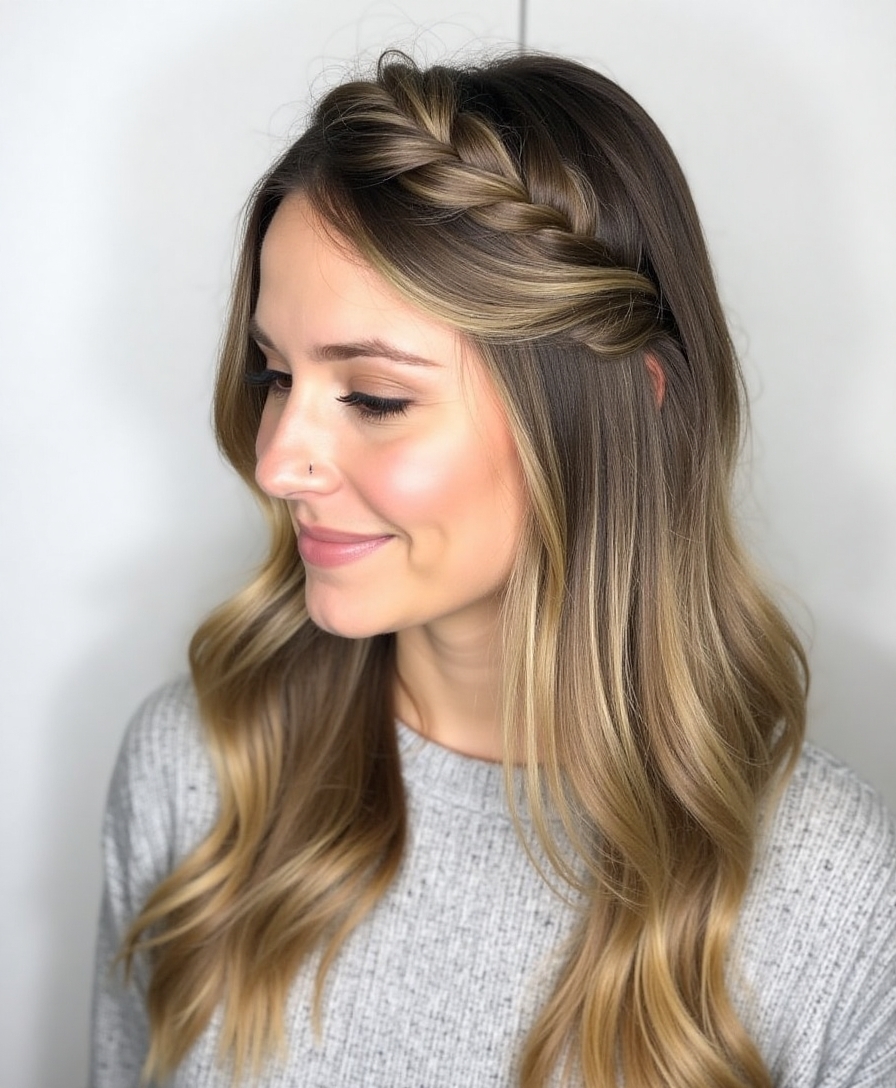
Effortless Rope Crown Braid

While side braids are always chic, I absolutely love elevating my hair game with a rope crown braid that sits like a halo around my head.
Trust me, it’s easier than it looks and takes just minutes to create this ethereal style that stays put all day.
- Start with two side sections, twist each away from your face until they’re tight and rope-like
- Pin the first rope across your crown, then layer the second rope over it
- Secure with bobby pins, pulling a few wispy pieces loose for that effortless vibe
Fast Track Ladder Braid Method
The ladder braid has become my go-to hack for mornings when I’m running late but still want to look put-together.
I simply section my hair into two parts, create small ponytails down one side, and weave my remaining hair through each elastic.
Trust me – it looks way more complicated than it is.
You’ll nail this style in under three minutes with a bit of practice.
No-Fuss Accent Braid Placement
Looking for something even simpler than a ladder braid?
Let me show you how to place small accent braids that’ll make your hair pop without the hassle.
I love adding these tiny braids because they instantly elevate any hairstyle.
- Pick a thin section near your face – about finger-width – and create a basic three-strand braid
- Secure with a clear elastic band
- Tuck the braid behind your ear or let it peek through your waves
I’ve discovered that quick braided styles aren’t just time-savers – they’re total game-changers. Whether you’re rushing to work or hitting brunch, these speedy braids pack a serious style punch without the hassle.
Now that I’ve shared my favorite fast-track braiding techniques with you, you’ll never have to sacrifice looking put-together just because you’re short on time. Trust me, you’ve got this!


