Let’s be honest – those days when you can’t even keep your life together, your hair shouldn’t add to the chaos. I’ve spent countless mornings staring at my untamed mane, wondering how other people make it look so effortless.
After years of trial, error, and way too many hair ties lost to the void, I’ve figured out some foolproof styles that work even when my brain doesn’t. Trust me, if I can master these, anyone can.
The Classic Messy Bun for Busy Days

Let’s be real – every long-haired person knows the messy bun is our ride-or-die hairstyle when we’re running late or just can’t deal.
I’ve mastered this lifesaver in three steps: gather hair into a ponytail, twist it around itself (don’t worry about perfection), and secure with an elastic.
Pro tip: pull out a few strands around your face for that “I totally meant to look this effortless” vibe. This style is a classic example of an effortless style that perfectly complements busy lifestyles.
Quick and Elegant Top Knot

Let me share my favorite elevated hairstyle that’ll take your messy bun to new heights – the top knot.
I’ll walk you through the must-have tools (hello, bobby pins and texturizing spray) and show you how to twist your way to that perfect ballerina-inspired look.
Whether you’re aiming for sleek and polished or deliberately undone, I’ve got some genius variations that’ll make this style your go-to for everything from gym sessions to fancy dinners.
Essential Tools and Products
Creating a quick and elegant top knot doesn’t require a professional’s arsenal – just a few key items you probably already have lying around.
- A smooth elastic band (I swear by the snag-free kind because nobody wants a hair-pulling disaster)
- Bobby pins that match your hair color
- Light-hold hairspray to tame those pesky flyaways
- A paddle brush or wide-tooth comb to get those tangles out
Step-by-Step Knot Tutorial
Now that you’ve got your tools ready, I’ll show you my foolproof method for a top knot that looks like you spent hours at the salon (when really you did it between coffee sips).
Flip your head upside down, gather your hair into a high ponytail, and secure it tight.
Twist the ponytail while wrapping it around the base, pinning as you go.
Don’t worry if it’s messy – that’s actually trendy! A chic high ponytail hairstyle is perfect for both casual outings and elegant events.
Chic Styling Variations
The basic top knot is just the beginning – I’ve got some seriously stylish twists that’ll take your bun from “just rolled out of bed” to “ready for the red carpet.”
Whether you’re aiming for sleek and polished or perfectly undone, these variations work with any hair texture and only add a minute or two to your routine.
- Wrap a thin braid around your knot’s base for instant elegance
- Split your knot into two mini-buns for a modern ballerina vibe
- Leave out face-framing pieces for that effortless cool-girl look
- Add a silk scarf for vintage glam (and hide second-day hair)
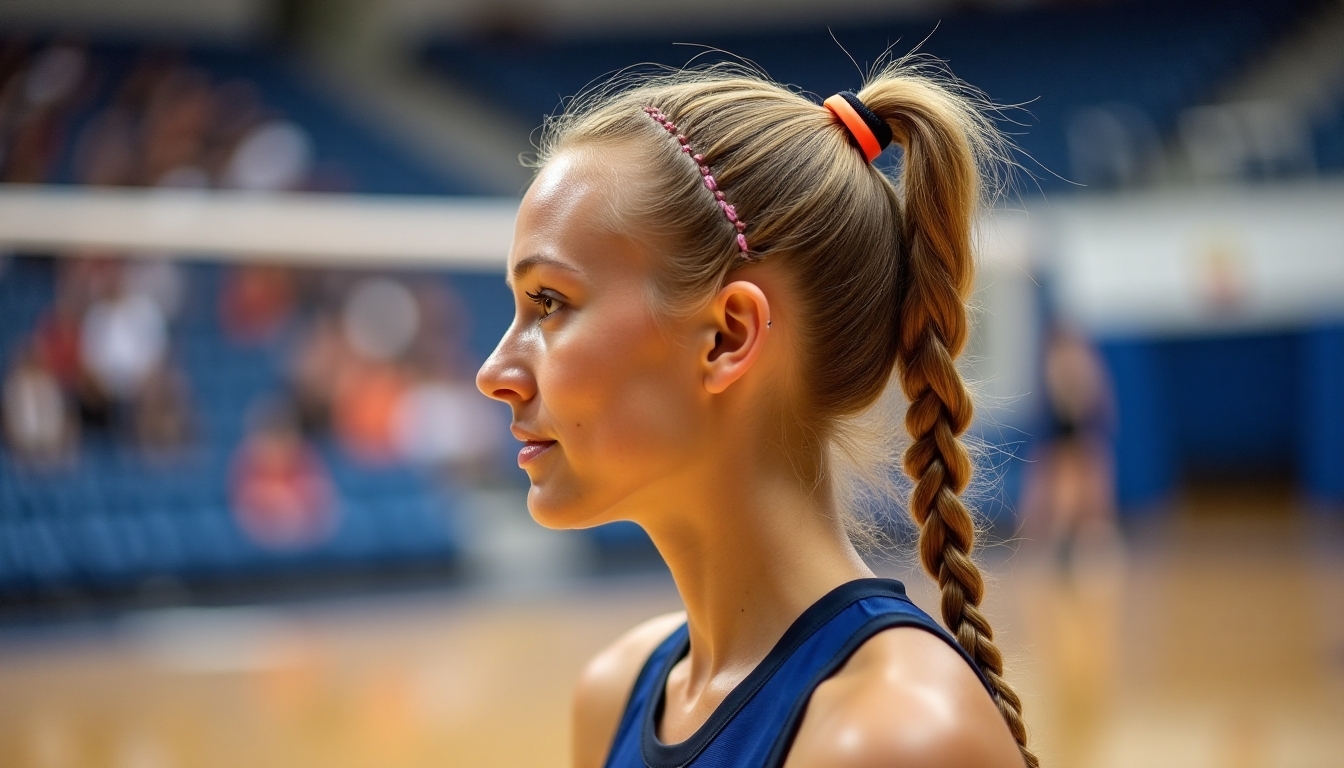
Five-Minute French Braid

I’ll let you in on a secret: French braiding isn’t as scary as it looks, even if your first attempts resemble a bird’s nest gone wrong.
When I learned the basic steps of sectioning hair and crossing three strands while gradually incorporating loose pieces, my most common mistake was grabbing too much hair at once – trust me, smaller sections are your friend.
Whether you’re racing against the clock or just tired of your usual ponytail, I’ve got some pro tricks that’ll have you French braiding like a boss in no time, including starting with slightly damp hair and using texturizing spray for extra grip. Adding cute hairstyles for school can also inspire you to try new looks once you master the French braid!
Basic French Braid Steps
Learning to French braid your own hair might seem challenging at first, but I promise you’ll master it with a bit of practice.
- Start by sectioning off a triangle of hair at your crown and divide it into three equal parts – trust me, the neater these sections, the better your results.
- Cross the right strand over the middle.
- Cross the left strand over the new middle.
- Add a small section of loose hair before each crossover.
Common Braiding Mistakes Fixed
Now that you’ve got the basic steps down, let me share some fixes for those pesky braiding mishaps we’ve all experienced (yeah, even us “experts” mess up sometimes!).
If your braid’s too loose, try tilting your head down while braiding. Getting bumps? Don’t pull so hard at the roots.
For those annoying flyaways, I spray my hands with hairspray first. Trust me, it works like magic! To achieve effortless braided hairstyles, consider practicing different techniques for added versatility.
Quick Styling Pro Tips
While many people think French braids take forever to master, I’ve got a foolproof method that’ll have you styling like a pro in five minutes flat.
Trust me, I’ve spent countless hours tangling my own hair before figuring out these game-changing steps:
- Divide damp hair into three even sections at the crown
- Cross outer sections over the middle while adding hair
- Keep sections tight but don’t pull too hard
- Secure with a clear elastic at the end
Incorporating braided hairstyles for Black women into your routine can add versatility and beauty to your overall look, making it easier to keep long hair styled and neat.
Simple Twisted Side Ponytail

The Simple Twisted Side Ponytail takes your basic side pony from “meh” to “yeah!” with just a few extra twists – literally.
Start by gathering your hair to one side, then split it into two sections. Twist each section separately, wrap them around each other, and secure with a hair tie.
I swear it’s easier than explaining quantum physics, and you’ll look like you actually tried today.
Braided Crown for Special Occasions

Anyone can rock a braided crown hairstyle – it’s not just for fairy princesses and festival-goers anymore.
Trust me, I’ve mastered this look after countless YouTube tutorials and mirror battles. Here’s my fool-proof method:
- Part your hair down the middle and create two Dutch braids
- Wrap braids around your head like a crown
- Pin securely with bobby pins (lots of them!)
- Mist with hairspray and pull a few face-framing pieces loose
No-Fuss Double Dutch Braids

I’ll let you in on my favorite lazy-girl secret: Double Dutch braids aren’t just stunning – they’re actually super easy once you get the hang of them.
All you’ll need is a brush, some hair ties, and maybe a spritz of texturizing spray (trust me, your fine hair will thank me later). Incorporating twist braid hairstyles can also elevate your look and offer a stylish alternative.
Whether you’re rocking these braids for a workout or sleeping in them for gorgeous waves tomorrow, I’ve got all the tips to keep your style fresh and frizz-free.
Effortless Step-by-Step Guide
Double Dutch braids might sound intimidating, but I promise this effortless technique will have you mastering them in minutes.
- Part your hair down the middle (don’t stress about perfect lines – we’re going for that cool-girl vibe)
- Start braiding toward your scalp – think regular braids but upside down
- Grab hair as you go, just like French braids
- Secure each braid at the nape and let the tails hang loose
Tools and Products Needed
Creating these laid-back Dutch braids doesn’t require a fancy arsenal of tools – you’ll just need a few basics from your hair stash.
Grab a wide-tooth comb to detangle those morning knots, two snag-free elastics that won’t wreck your ends, and bobby pins for those pesky flyaways.
I also recommend a light-hold hairspray to keep everything in place without that crunchy helmet head look.
Nighttime Braid Care Tips
When you’ve put in the effort to braid your hair before bed, you’ll want those Dutch braids looking fresh come morning.
Trust me, I’ve learned these game-changing tips through countless messy mornings:
- Use a silk pillowcase to prevent frizz and friction
- Secure braid ends with small clear elastics
- Mist braids lightly with leave-in conditioner
- Pin any loose pieces flat against your head
Additionally, consider incorporating curl-defining techniques for more vibrant and healthy-looking curls when you take those braids out.
Sleek High Ponytail With Hidden Hair Tie

The sleek high ponytail with a hidden hair tie is basically the Ferrari of ponytails – it’s polished, powerful, and perfect for those days when you want to look like you’ve got your life together (even if you don’t).
I’ll let you in on my secret: Just wrap a small section of hair around your elastic band and secure it with a bobby pin underneath.
Trust me, this tiny detail elevates your entire look from “just rolled out of bed” to “corner office material.” Plus, it’s one of the most popular sleek ponytail hairstyles, making it a timeless choice for any occasion.
Beach Waves Without Heat

Beach waves used to be nature’s exclusive domain until I discovered this lazy girl’s hack for getting that tousled, just-back-from-Malibu look without frying my hair. Trust me, you’ll wake up looking like a mermaid (minus the tail).
- Braid damp hair into two loose plaits before bed
- Spritz with salt spray for extra texture
- Sleep on a silk pillowcase to prevent frizz
- Unravel and finger-comb in the morning
This method works best for those with wavy hair, allowing for a more effortless and natural finish.
Two-Strand Twist Back

Looking more elegant than it actually is, this two-strand twist back saved my life during countless bad hair days and last-minute dinner plans.
I simply part my hair down the middle, grab two sections from the front, and twist each away from my face. Then I secure them in the back with bobby pins. This easy technique allows you to embrace your natural texture while keeping your look polished and sophisticated.
Trust me, even my sleep-deprived self can nail this look.
Half-Up Space Buns

I’m totally obsessed with half-up space buns right now – they’re that perfect mix of cute and effortless that’ll make you look like you actually tried (even when you didn’t).
I’ll show you how to create this festival-ready style that’s basically two mini buns placed high on your crown, leaving the rest of your hair flowing free. Claw clips are a great way to secure these buns while adding a stylish touch to your overall look.
Whether you’re heading to Coachella or just want to channel your inner space princess at brunch, I’ve got the step-by-step breakdown that’ll have you rocking this look in minutes.
Cute and Casual Look
When you need a playful twist on wearing your hair down, half-up space buns are your new best friend.
Trust me, I’ve rocked this look everywhere from grocery runs to music festivals, and it never fails to turn heads.
- Part your hair horizontally from ear to ear
- Divide the top section into two equal parts
- Twist each section into a mini bun
- Secure with bobby pins and let the rest flow free
Step-by-Step Styling Guide
Now that you’re ready to master those adorable space buns, let me break down exactly how to create this fun style.
Start by parting your hair down the middle and securing two high pigtails.
Twist each pigtail until it coils around itself, then pin in place.
I promise it’s not rocket science – if I can do it while half-asleep, you’ve totally got this!
Perfect for Festival Season
Three reasons make half-up space buns the ultimate festival hairstyle – they’re super cute, keep hair off your face while dancing, and let you show off those long flowing locks.
- Divide your top section into two parts (trust me, even I can handle this)
- Twist each section into a bun and secure with elastics
- Pull gently to create that perfect messy look
- Spritz with hairspray to tame flyaways
Rope Braid Ponytail

Looking for a hairstyle that’s both elegant and easy?
Let me introduce you to the rope braid ponytail – my go-to style when I’m pretending to have my life together.
Simply divide your ponytail into two sections, twist them separately clockwise, then wrap them counterclockwise around each other.
Secure the end with a hair tie, and you’re ready to trick everyone into thinking you spent hours on your hair.
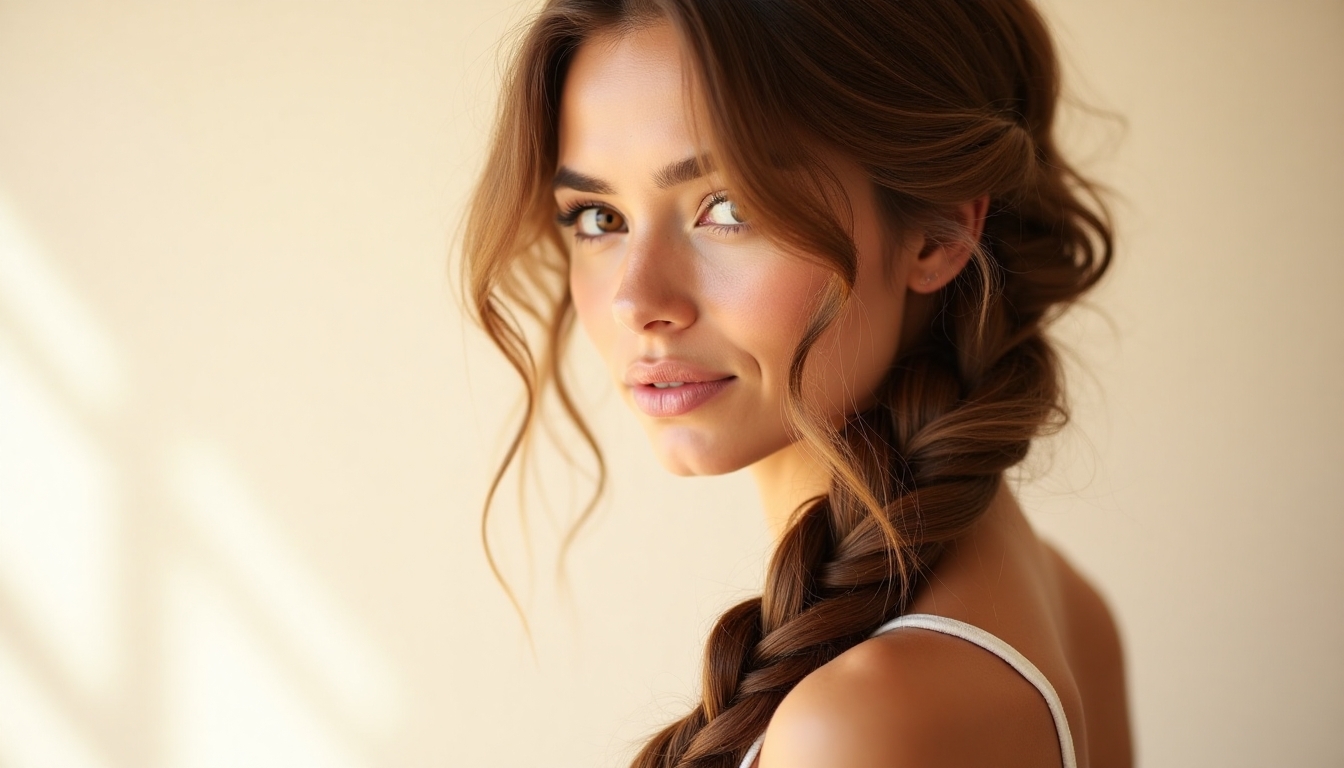
Easy Boho Side Braid

While the rope braid gives off that polished, pulled-together vibe, sometimes I want to channel my inner flower child – that’s where the boho side braid comes in.
Let me show you how to nail this effortlessly messy look:
- Part your hair deeply on one side
- Loosely gather all hair over one shoulder
- Create a basic three-strand braid, keeping it relaxed
- Gently pull apart the braid for that perfectly undone finish
Bubble Ponytail Variation

One of my favorite ways to zhuzh up a basic ponytail is with this fun bubble variation.
Simply secure your ponytail with an elastic, then place additional hair ties every two inches down the length.
Gently pull apart each section between the elastics to create “bubbles.”
I swear it looks way fancier than the two minutes it takes to do.
Quick Wrapped Low Bun

A sleek low bun can take you from messy desk hair to dinner-ready in about 30 seconds flat.
Trust me, I’ve perfected this lifesaver during countless last-minute meetings.
- Gather your hair into a low ponytail (don’t stress about perfection)
- Twist the length tightly, wrapping around the base
- Secure with bobby pins as you wrap
- Spritz with hairspray for those pesky flyaways
Twisted Headband Updo

This three-minute hairstyle looks way fancier than the effort it takes – I promise you’ll fool everyone into thinking you spent ages on it.
Just position a stretchy headband about an inch back from your hairline.
Then grab small sections of hair and wrap them around the band, tucking the ends underneath.
Keep going until all your hair is wrapped.
I even wear this to fancy events!
Overnight Heatless Curls

When you want gorgeous curls without frying your hair, overnight heatless curls are a total game-changer.
Trust me, I’ve killed enough hair with hot tools to know better now. Just follow these simple steps:
- Part damp hair down the middle and twist each side with a silk scarf.
- Secure the ends with scrunchies.
- Sleep like a princess (or try to).
- Wake up and gently unravel for bouncy, natural waves.
I’ve learned that perfect hair isn’t always the goal – sometimes just keeping it out of my face while looking semi-put-together is the real win. Whether I’m rocking a messy bun during my morning coffee rush or twisting up a quick crown braid for date night, these styles have saved me countless times.
Trust me, your long locks don’t need to be Instagram-worthy every day; they just need to work for your real life.