I’ll be honest—I’m not a morning person, and my hair seems to know it. While other people wake up looking like they stepped out of a magazine, I wake up looking like I wrestled with my pillow all night (spoiler: the pillow won).
But after years of oversleeping and countless bad hair days, I’ve cracked the code on hairstyles that look intentional when you’ve got exactly seven minutes to get out the door.
The 30-Second Messy Bun That Actually Looks Intentional
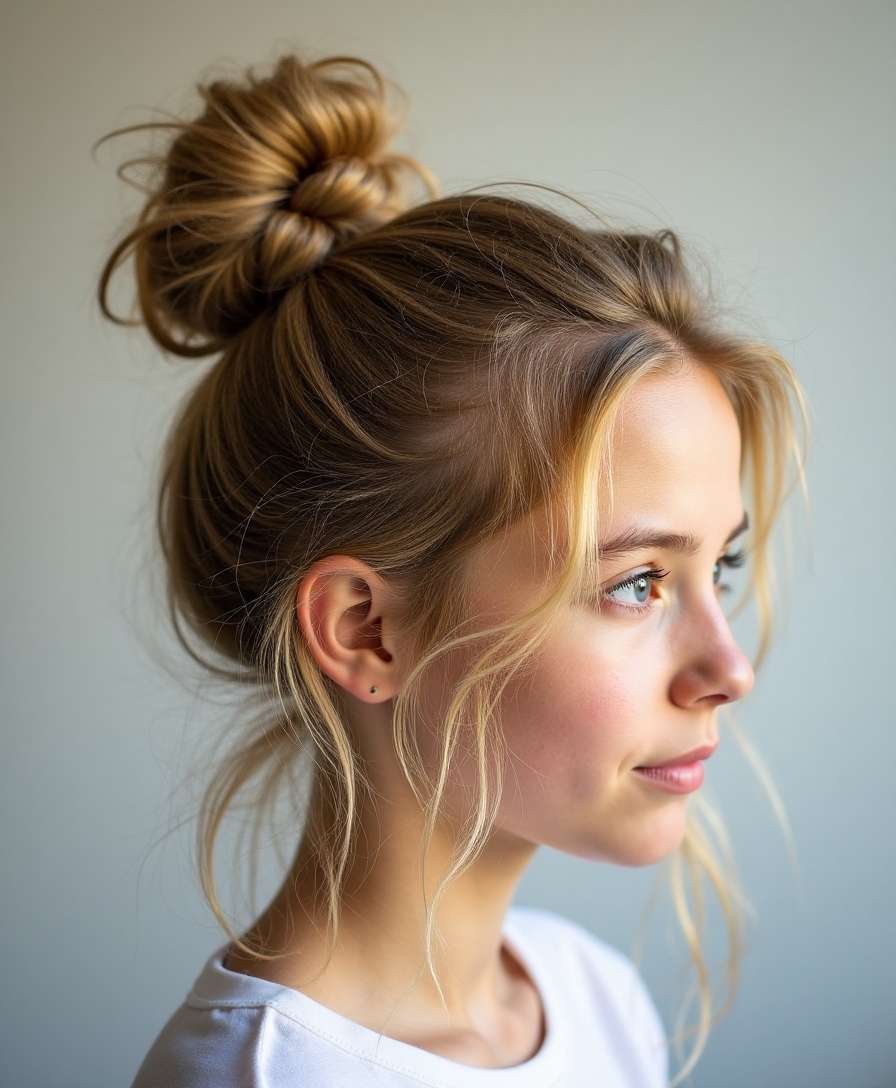
Most mornings I’m running around like a caffeinated squirrel, realizing I’ve got exactly three minutes before I need to sprint out the door.
That’s when this messy bun saves my sanity. I flip my head upside down, twist everything into a loose knot, secure with an elastic, and pull out a few face-framing pieces.
Done.
Sleepy Girl Braids: French Braids for Beginners
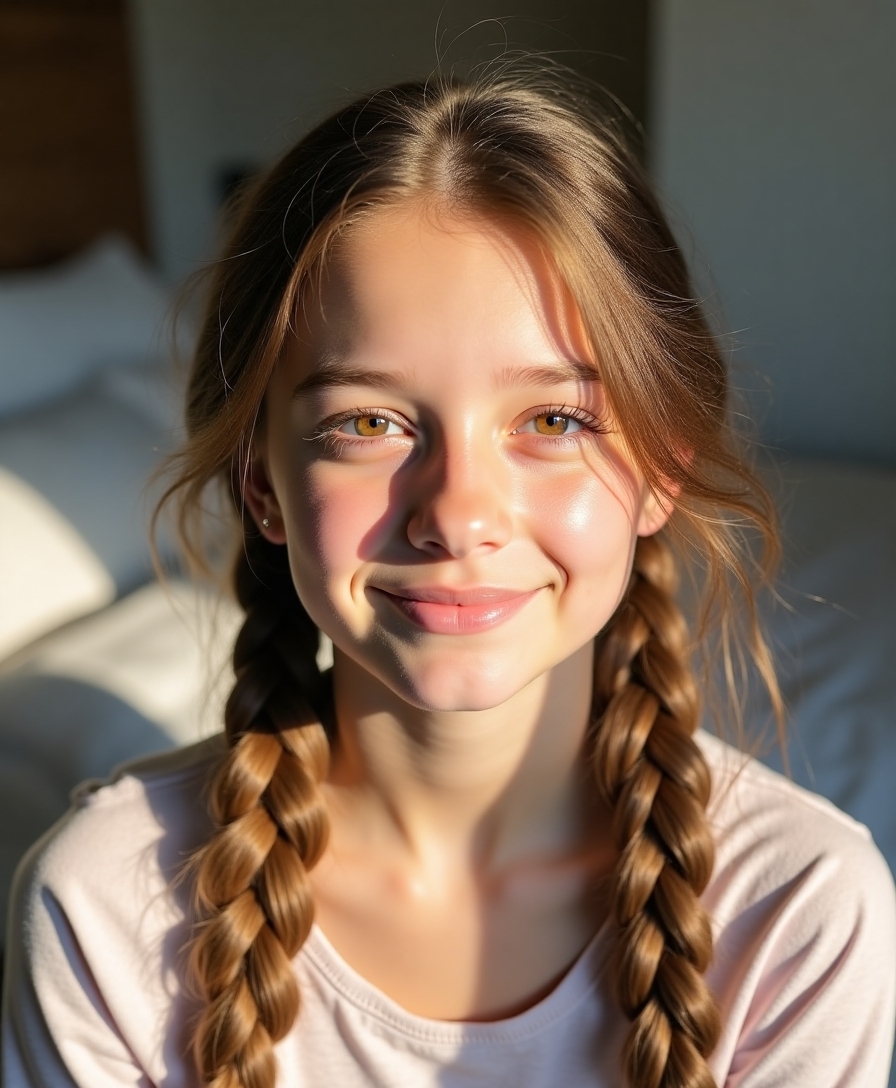
I used to think French braids were some mystical skill reserved for hair wizards and Pinterest moms who’ve their lives together. Turns out, I was overthinking it. Start with three sections at your crown, cross the outer pieces over the middle while adding hair from the sides.
It’s basically regular braiding with commitment issues. For a stylish look, finish off with quick braided hairstyles that are easy to achieve even on busy mornings.
Half-Up Top Knot for When You’re Almost Running Late

I’ve perfected the art of the panic-induced half-up top knot after countless mornings of hitting snooze one too many times. The secret is grabbing just the top section of your hair from temple to temple—don’t overthink it because messy actually works in your favor here.
A little hairspray can help keep everything in place, making it a slicked-back hairstyle that doesn’t require a ton of effort. I’ll show you how to twist it up and secure it without yanking your hair out, because the last thing you need when you’re already late is a damaged scalp to match your damaged sleep schedule.
Quick Sectioning Tips
Three seconds before you’re officially late, and your hair looks like you wrestled a pillow all night? Quick sectioning saves the day when you’re basically sprinting to the bus.
- Grab hair above your ears – don’t overthink the parting
- Twist it loosely – perfection isn’t the goal here
- Secure with any elastic – even that random one from your wrist
- Done – you’re welcome
Securing Without Damage
When you’re frantically throwing your hair up while hopping on one foot to put on shoes, the last thing you need is to rip out half your strands with a death-grip hair tie.
I’ve learned to use spiral hair ties or silk scrunchies – they grip without yanking.
Twist your top knot loose, then secure gently. Your scalp will thank you later. Short Natural Updo styles can also be a quick yet stylish option for busy mornings.
The Classic Low Ponytail With a Twist
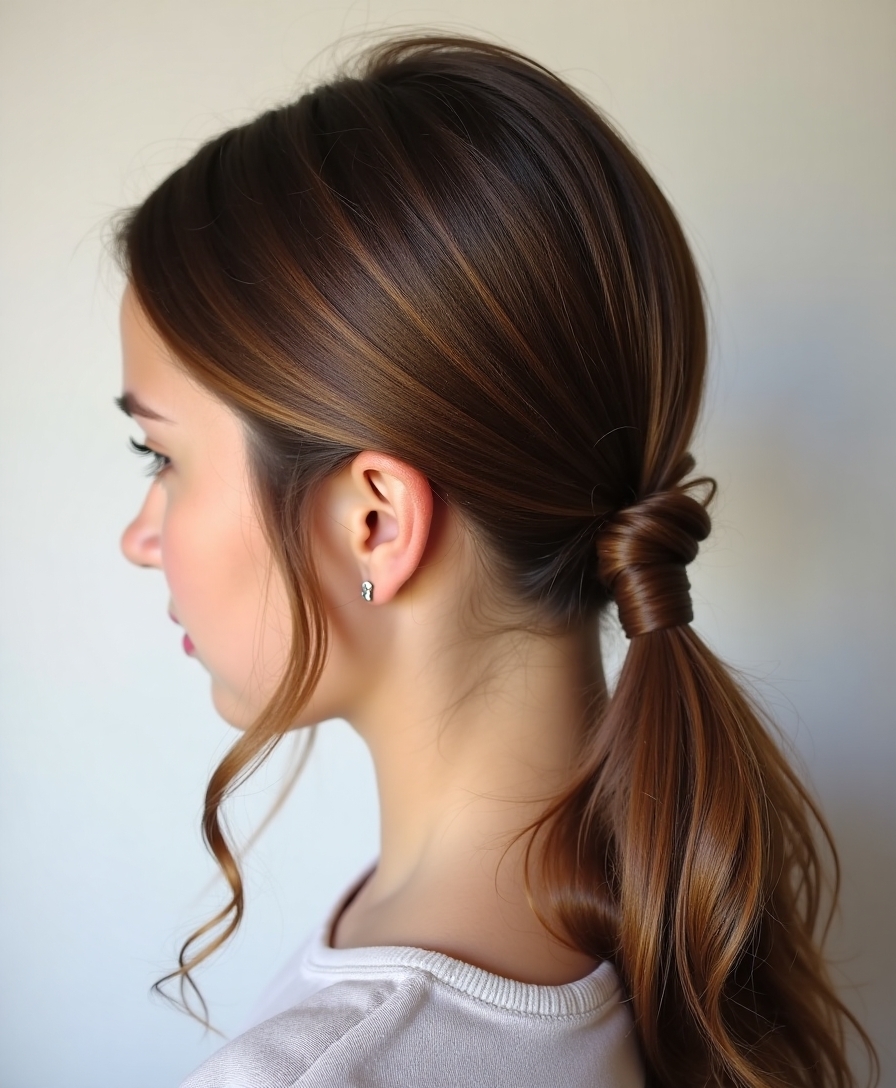
Though I’ll admit my “artistic vision” sometimes resembles more of a hot mess than haute couture, the classic low ponytail with a twist has become my go-to when I need something that looks intentional rather than like I stuck my finger in an electrical socket.
Here’s my foolproof method:
- Gather hair at nape
- Twist section before securing
- Wrap around elastic
- Pin loose ends
Additionally, this hairstyle pairs beautifully with chic high ponytail hairstyles, making it versatile for different looks throughout the week.
Quick Side Braid That Works on Day-Old Hair
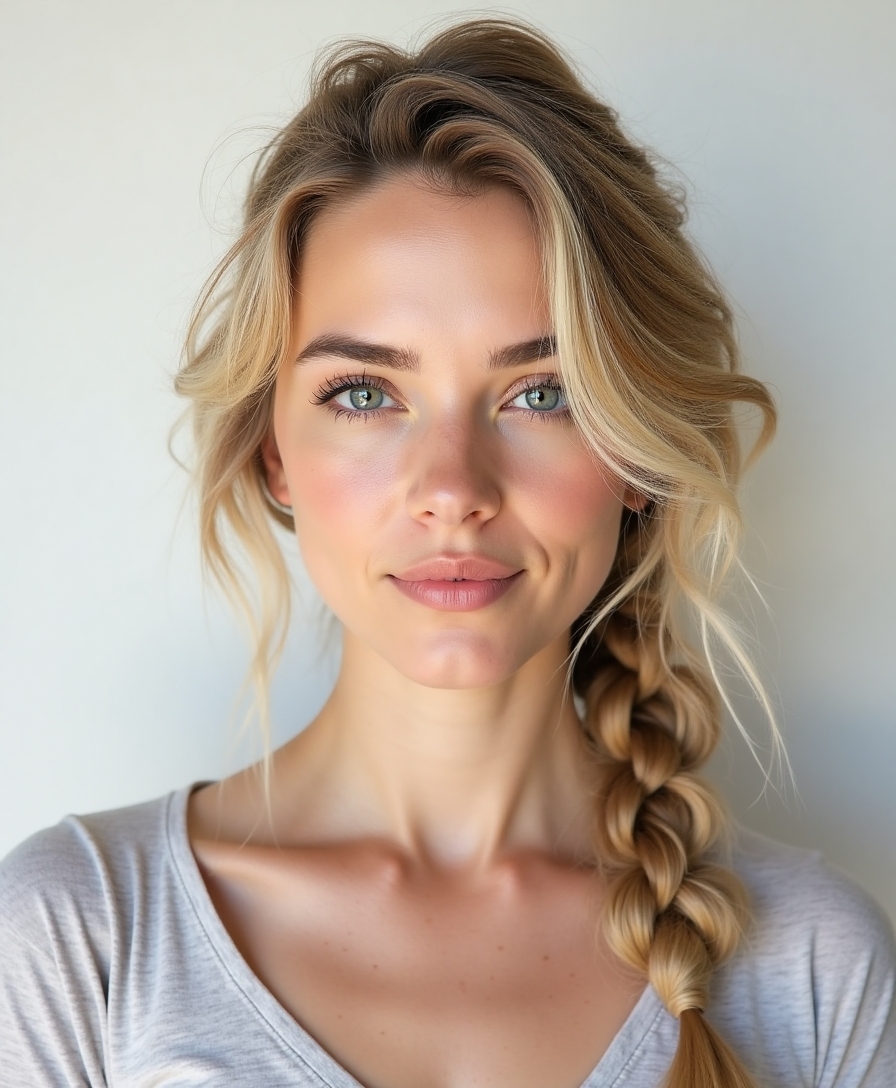
Let’s be honest—some mornings I wake up looking like I’ve been wrestling with my pillow all night, and washing my hair feels about as appealing as doing calculus before coffee.
That’s when I reach for my secret weapon: the side braid. Day-old hair actually holds better than freshly washed strands, making this messy-chic look foolproof. Additionally, the side braid is a great option for hairstyles for greasy hair since it effectively hides any unwanted oil or greasiness.
Two-Minute Space Buns for a Fun Retro Vibe

I’ll be honest—I used to think space buns were just for music festivals until I realized they’re actually the perfect “I woke up late but still want to look intentionally cute” hairstyle.
The secret lies in getting your hair sections right from the start, because crooked parts will haunt you all day like a bad math grade. Once you’ve mastered the basic technique and learned how to secure them quickly, you can throw in some fun hair ties or clips to make the whole look feel more “vintage cool” than “toddler tantrum.”
Plus, this style can easily be adapted into more elegant variations, such as elegant low buns, for special occasions.
Perfect Hair Section Technique
Two perfectly positioned hair sections can make or break your space buns – trust me, I’ve walked into first period looking like I stuck my finger in an electrical socket more times than I’d like to admit.
- Part down the middle using your phone camera as a mirror
- Draw horizontal lines from ear to ear
- Secure bottom sections with clips temporarily
- Check for evenness before proceeding
To achieve a polished look, consider applying a lightweight curl activator for added definition and hydration, which reflects the benefits of a deep conditioning routine.
Quick Securing Methods
Four elastic hair ties and thirty seconds of aggressive twisting are all that stand between you and vintage perfection – because honestly, who’s time for Pinterest-worthy tutorials when you’re already running late?
Split your hair down the middle, twist each side into messy buns, secure with elastics, and voilà – you look intentionally cute instead of accidentally disheveled. This quick style is perfect for busy mornings, making it one of the best easy hairstyles for long hair that you can rock in no time.
Adding Playful Accessories
Seven strategic hair accessories can transform your basic space buns from “I rolled out of bed” to “I’m channeling ’90s pop star energy on purpose.”
Start with colorful scrunchies instead of boring elastics – they’re forgiving when your buns aren’t perfectly symmetrical, and let’s face it, they won’t be.
- Glittery bobby pins for instant sparkle
- Hair ribbons threaded through for sweetness
- Small hair clips scattered randomly
- Headbands to hide messy hairlines
Adding playful accessories can elevate your look, making it a fun nod to trendy back-to-school hairstyles.
The Effortless Hair Scarf Wrap

Three minutes before the school bell rings and your hair looks like you’ve been wrestling with your pillow all night?
I’ve got you covered. Grab any silk scarf, fold it into a headband, and wrap it around your hairline. Tie it at the nape of your neck.
Instant chic vibes that hide the chaos underneath.
Simple Dutch Braids That Stay Put All Day

If you’re looking for something that’ll actually survive gym class without falling apart, let me introduce you to the Dutch braid – basically a regular braid’s cooler, more rebellious cousin.
Here’s why Dutch braids are my go-to:
- They grip your hair like they’re afraid of commitment issues
- Look intentionally messy when they get disheveled
- Work on dirty hair (thank goodness)
- Actually improve with wear
Additionally, Dutch braids with volume can enhance the overall thickness of your hairstyle, making them perfect for thin hair types.
Low Bun With Face-Framing Pieces
I’ll admit the low bun with face-framing pieces sounds fancy, but it’s actually my go-to when I’m running late and need to look put-together in under five minutes.
The key is nailing the quick styling steps that work with your hair texture instead of against it – trust me, I’ve learned this the hard way after countless bad hair days.
Once you master the basic technique and understand how your specific hair behaves, you’ll have a reliable style that looks effortless even when you definitely didn’t wake up early enough to actually be effortless. Incorporating elements like elegant hair ties can also enhance your look while keeping it simple.
Quick Styling Steps
Five simple moves will transform your messy hair into an effortlessly chic low bun that’ll have everyone thinking you spent way more time on it than you actually did (spoiler alert: we’re talking three minutes max).
- Gather hair at nape loosely
- Twist into messy bun
- Secure with elastic
- Pull out face-framing pieces strategically
Hair Texture Tips
Your hair texture can make or break this whole “effortless” bun situation, and trust me, I’ve learned this the hard way after showing up to first period looking like I stuck my finger in an electrical socket.
Fine hair needs texturizing spray before styling, while thick hair works better slightly damp with leave-in conditioner to tame flyaways.
The Textured Ponytail for Fine Hair

Fine hair and I’ve a complicated relationship – it’s like trying to convince a wet noodle to stand up and salute.
Here’s my foolproof textured ponytail rescue:
- Spray dry shampoo on dirty hair (embrace the grease)
- Scrunch sections while blow-drying
- Tease crown gently with fingers
- Secure with elastic, leaving pieces deliberately messy
Perfect imperfection wins every time.
Quick Fishtail Side Braid

When I’m running late and need something fancier than a basic braid, the fishtail side braid becomes my secret weapon – even though I’m basically all thumbs when it comes to intricate hair maneuvers.
I sweep everything to one side, split it into two sections, then grab tiny pieces from each outer edge and cross them over.
It’s surprisingly forgiving and looks intentionally messy. Plus, this style pairs beautifully with short layered bobs, which can add a chic touch to your overall look.
Twisted Half-Up Style Using Hair Ties Only

Sometimes I need something that sits between a messy ponytail and that fishtail braid – enter the twisted half-up that requires nothing but a few hair ties and my perpetually uncoordinated fingers.
- Grab front sections from each temple
- Twist backwards toward your crown
- Secure together with one hair tie
- Add second tie for extra security
The Slicked-Back Look With Gel or Pomade

I’ll be honest—I used to think slicked-back hair was only for Wall Street guys in movies, but it’s actually a sleek way to look put-together when you’re running late for first period.
The trick isn’t drowning your hair in product like I did my first attempt (hello, crunchy helmet head), but knowing exactly how much gel or pomade to use and where to apply it.
Once you nail the application technique and memorize the quick steps, you’ll have a polished look that takes less time than hunting for a clean hair tie.
Product Application Techniques
Although I used to think gel would turn my hair into a crunchy helmet (thanks to some questionable ’90s experiments), mastering the slicked-back look actually comes down to understanding your products and working with damp hair.
- Start with towel-dried hair that’s still slightly wet
- Use a quarter-sized amount of product maximum
- Comb through evenly from roots to ends
- Smooth with palms for that polished finish
Quick Morning Steps
When you’re stumbling around at 7 AM trying to look presentable before first period, the slicked-back style becomes your best friend because it takes literally three minutes and makes you look like you actually tried.
I just rake my fingers through damp hair, apply gel from roots to ends, and comb everything straight back. Done.
Bubble Braids for a Playful School Day

The bubble braid has become my go-to hairstyle when I want to look put-together but can’t be bothered with anything too complicated before my morning coffee kicks in.
Here’s why I’m obsessed:
- Takes literally three minutes (I’ve timed it)
- Looks intentional even when you mess up
- Works with yesterday’s unwashed hair
- Makes me feel fancy without effort
The Five-Minute Vintage-Inspired Victory Rolls
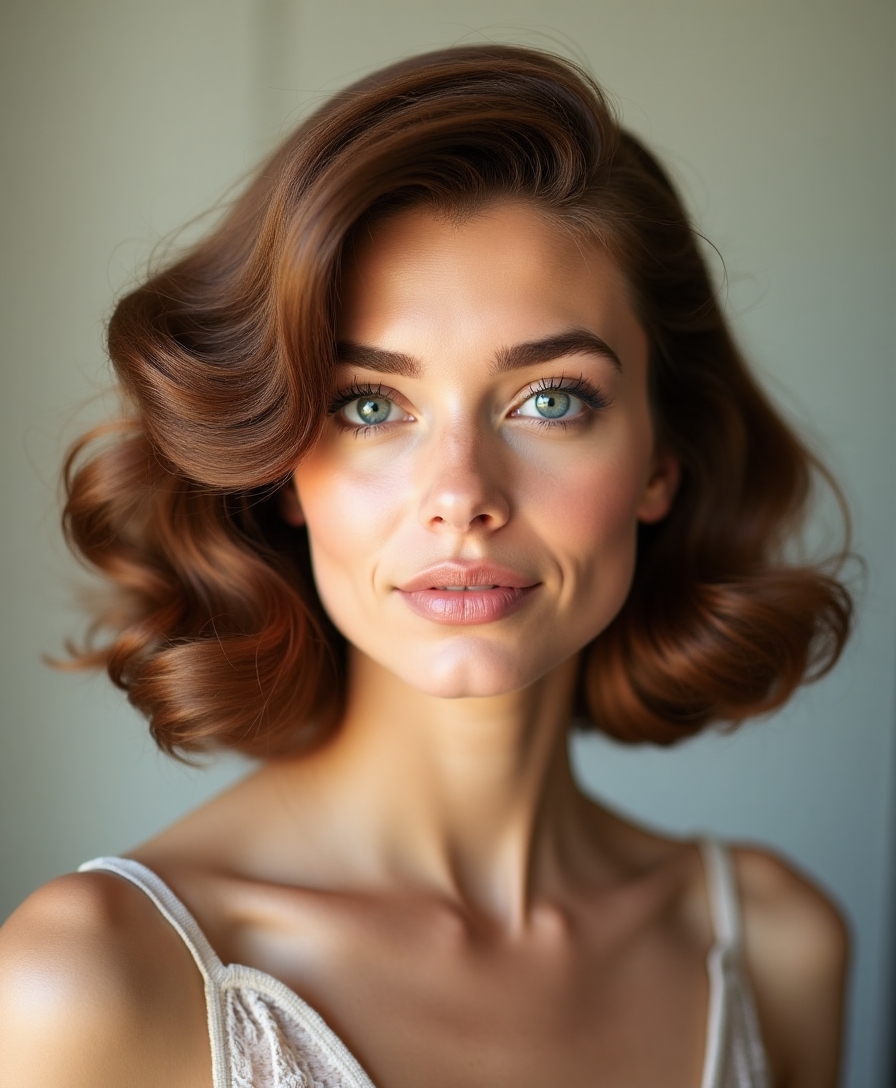
Since discovering that victory rolls don’t require a time machine or professional styling skills, I’ve been rocking this vintage look at least twice a week.
I just section my hair horizontally, roll each piece toward my face, and pin them down. It’s surprisingly forgiving when you’re half-awake and fumbling around your bathroom.
Look, I’ll be real with you – some mornings I can barely find matching socks, let alone create Pinterest-worthy hair. But these styles? They’re actually doable, even when you’re running on three hours of sleep and pure determination.
The best part is they look intentional, not like you stuck your finger in an electrical socket. Trust me, your future groggy self will thank you for mastering at least two of these.